♥ Halloween Nail Art
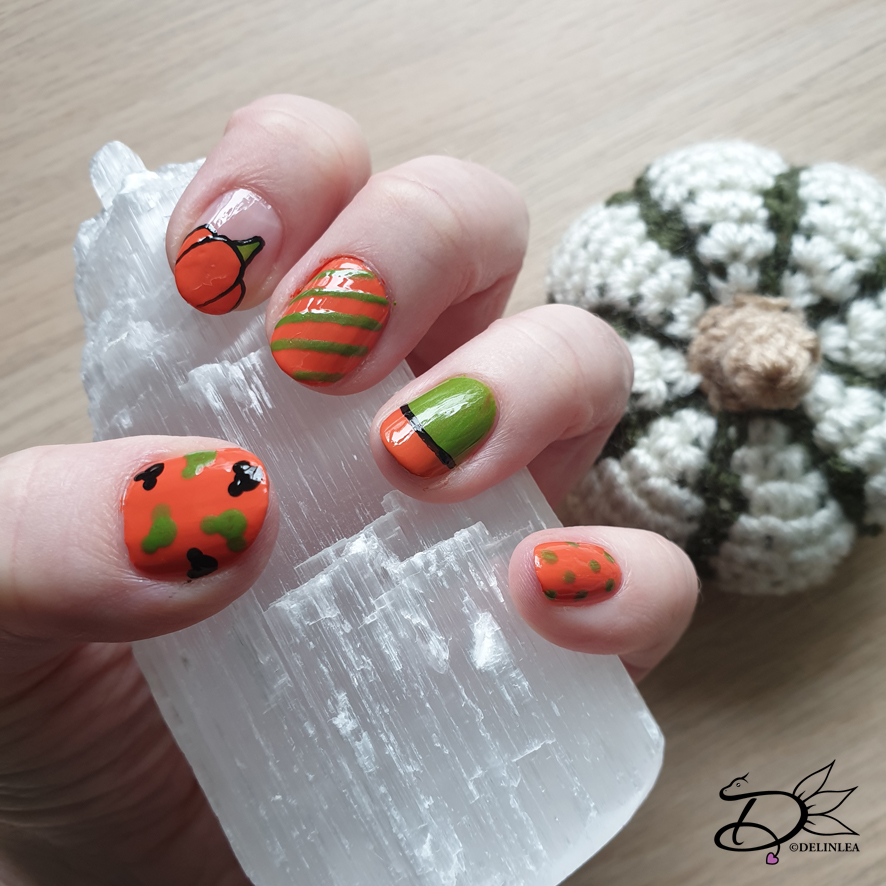
Hey Lovelies! It’s Halloween today! Are you celebrating it? I obviously won’t, here in The Netherlands it’s like not really a thing, it starts to get more, but yeah.. I just decorated my room, maybe watch a scary movie tonight and made my nails pretty. And that’s where it is about in this blog, nail art. for today’s tutorial I wanted to something Halloween related which you can do last minute. Some quick , easy nail art! It’s easier as it looks and I’ll explane how to do it.
For this Nail Art Tutorial you’ll need:
♥ Nailpolish Base Coat.
♥ Nailpolish in the colors Orange, Green and Black. (Or Black Acrylic Paint).
♥ Nailpolish Top Coat.
♥ Dotting Tool.
♥ Liner Brush.
♥ Nail Polish Remover
Note, before you start, if you use liner brushes or the dotting tool, make sure to clean them immediatly after every use, so you won’t ruin them. (With remover)
Tutorial
Make sure your nails are nice and clean. Apply a base coat to all your nails first, it’s important to protect your nails.
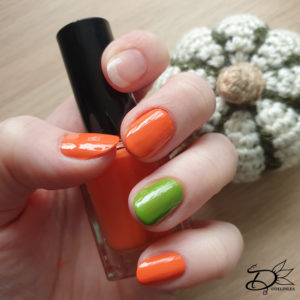
When the Base Coat is dry, make your thumb, middle finger and pinky Orange. Your ring finger Green and your index finger you’ll leave blank. It depends on the nailpolish you use if you need several coats. Make sure to let all layers dry well!
Thumb
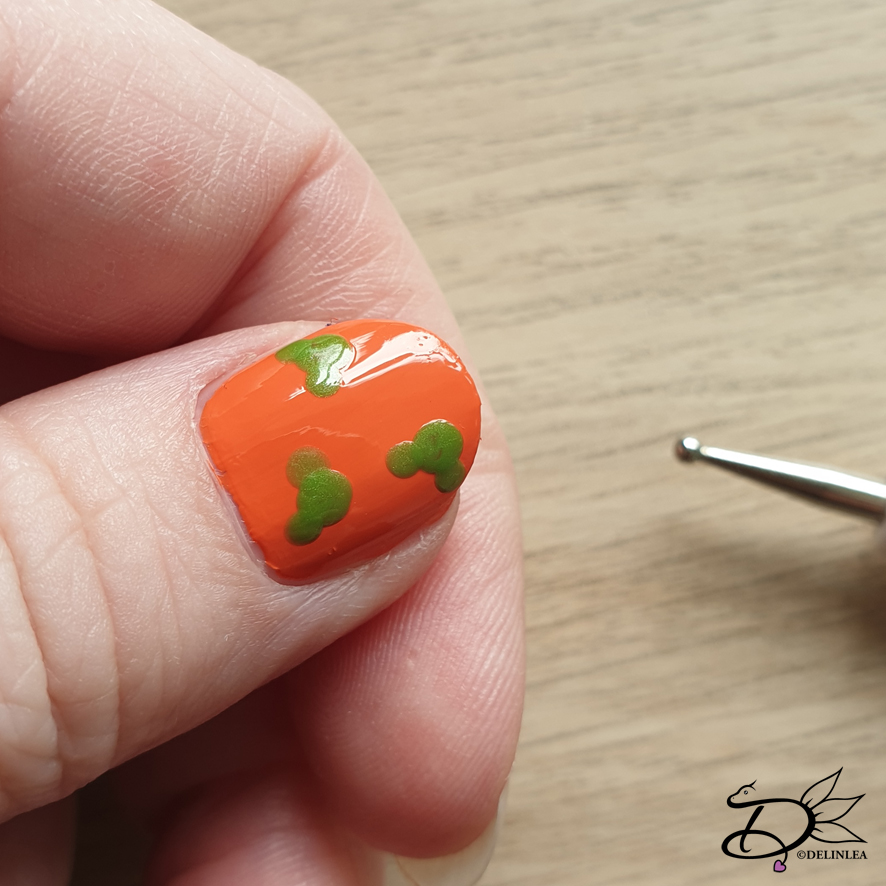
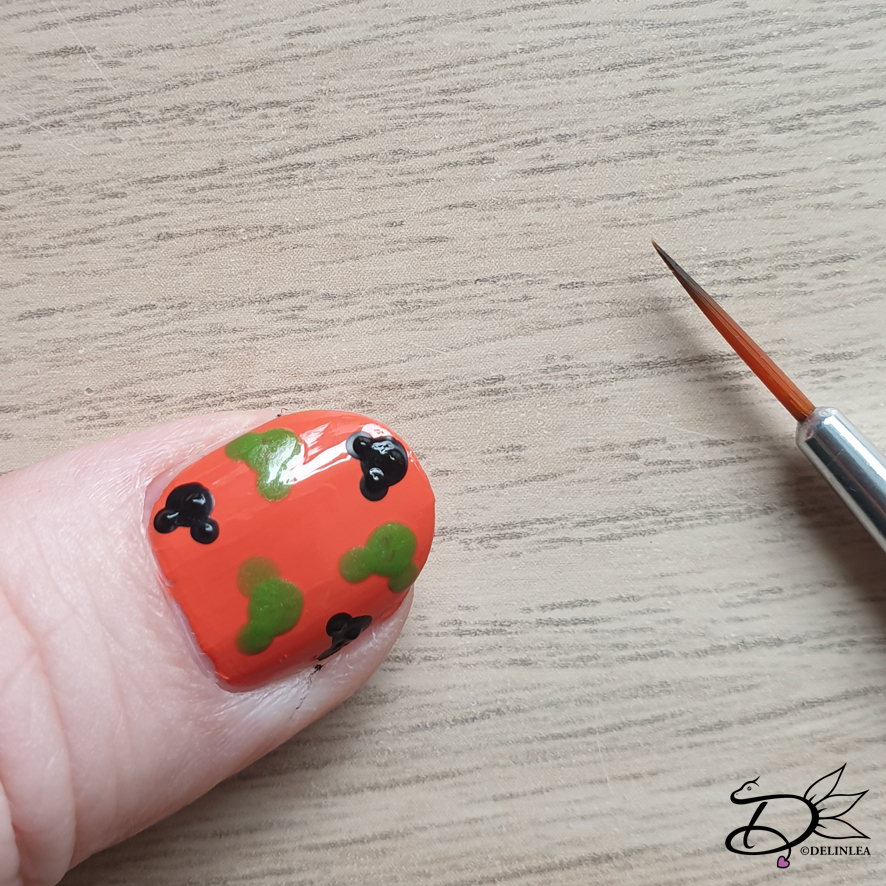
Take out your dotting tool, make 3 larger dots with Green on your nail. Now put two smaller dots on the sides of each big dot to create a Mickey shape. Do the same with Black in between the Green ones.
Index Finger
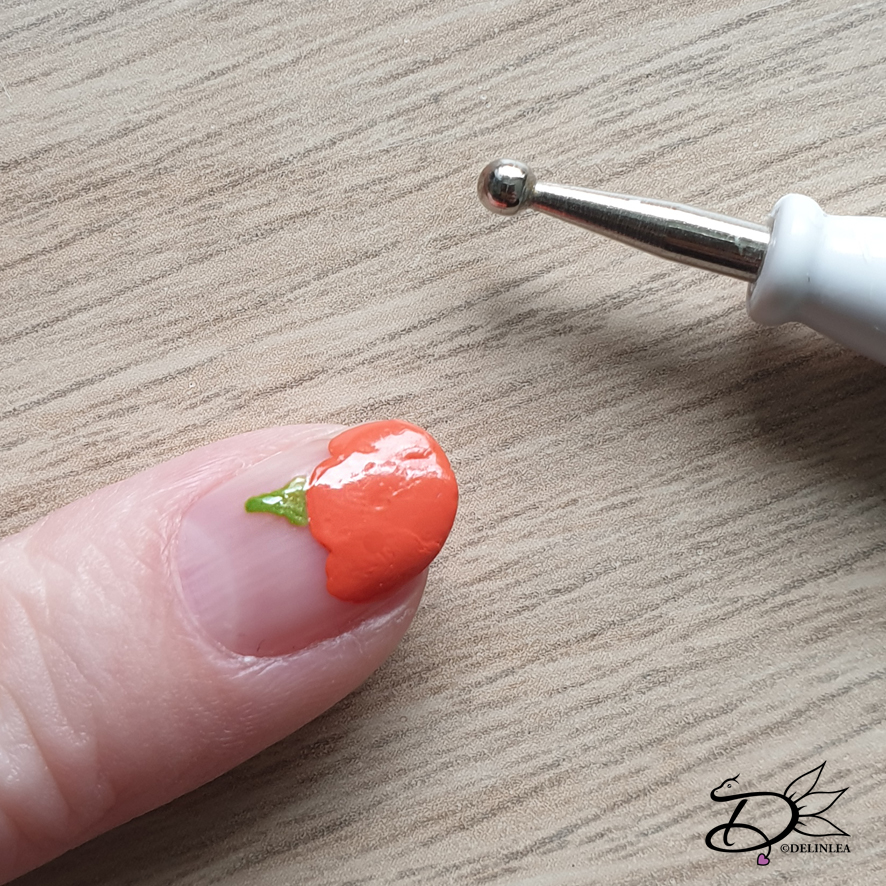
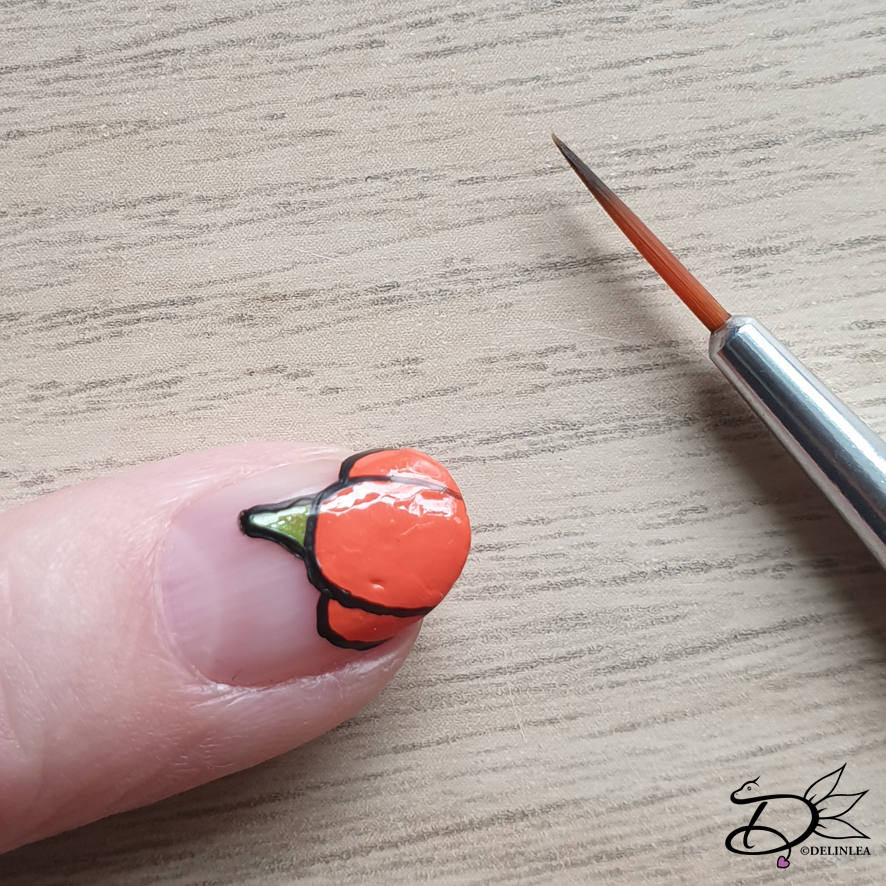
With a dotting tool, create the Orange part of the pumpkin. Just start with a oval and on the sides connected make smaller, half oval shapes (If that makes sense xD). With a liner brush, dipped into Green nailpolish, paint the stem. Let this dry well before you are going to add the black lines.
I used black acryllic paint here instead of polish, this makes it a bit easier to work with. Since you are appling a top coat after, you don’t have to be scared it’s gonna be washed off. Use a liner brush to make those thin lines.
Middle Finger
With the liner brush dipped into Green nailpolish, create diagonal lines. It’s okay if it’s a bit messy, just tell people it was on purpose xD.
Ring Finger
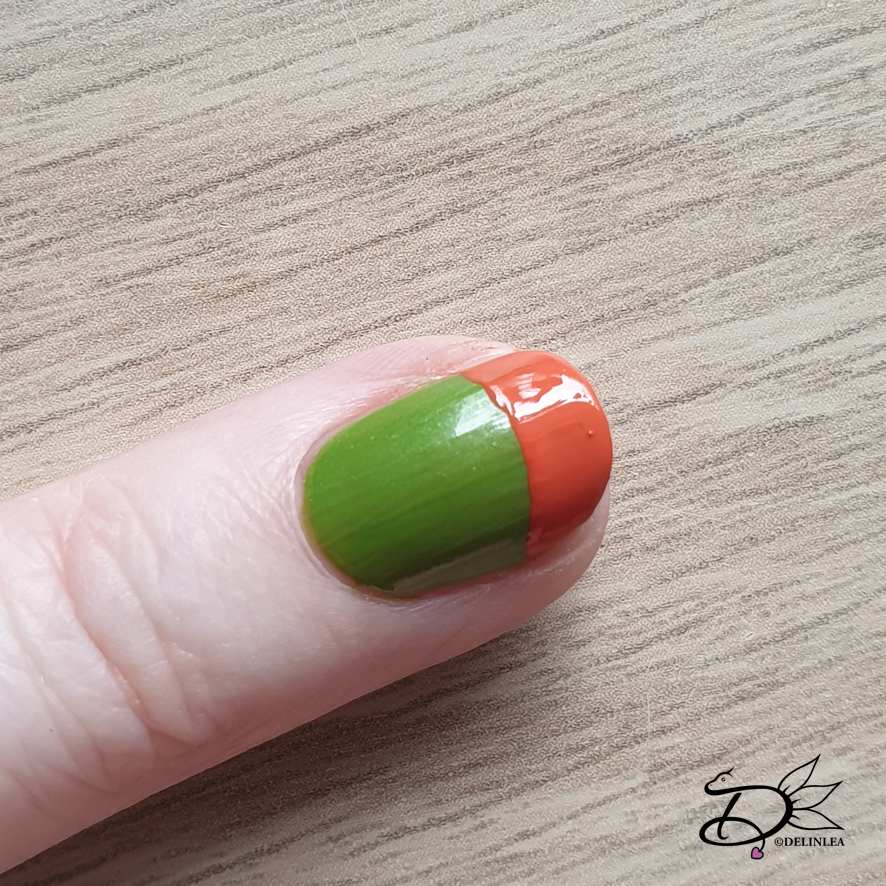
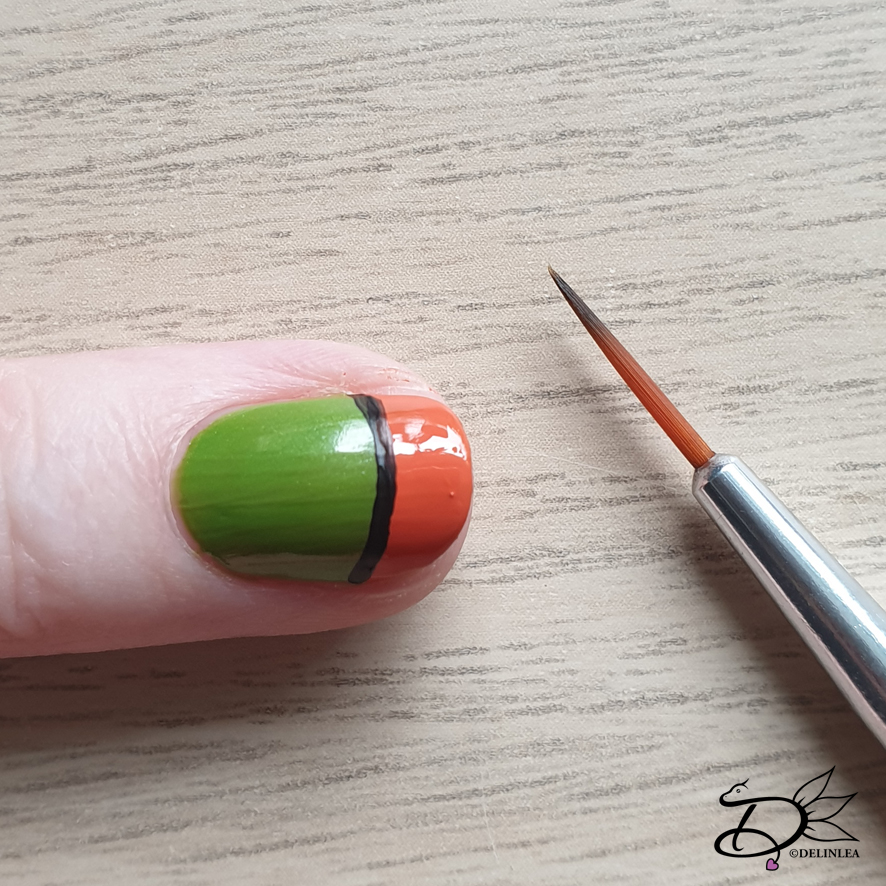
With Orange create a french nail. Let this dry nicely and add a Black line to seperate the Orange and Green. (I also used Acrylic paint for the black line here).
Pinky
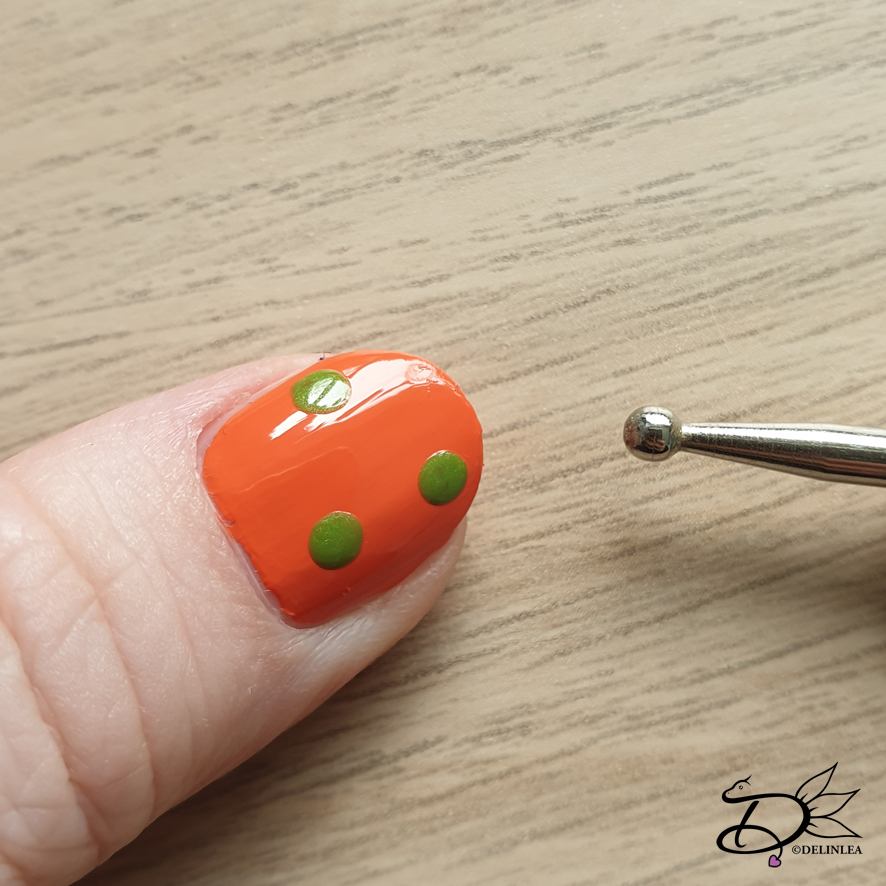
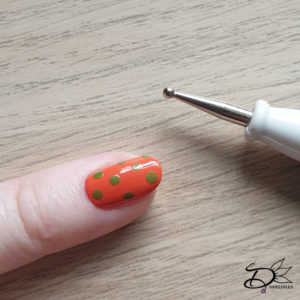
With a dotting tool create Green dots evenly spread on your nail.
For your other hand you can do the same, switch up the colors/pattern or if you are lazy, alternate orange and green (like I did xD)
Last finish all your nails of with a top coat to seal everything in. Let it all dry and you are done!
I hope you enjoyed this quick, fun tutorial for a last minute touch to you Halloween outfit! Enjoy your night!
Love
Danielle

