♥ Day 12; Lights
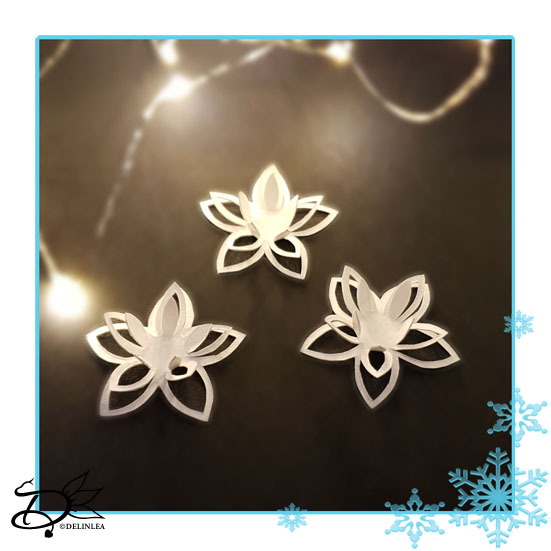
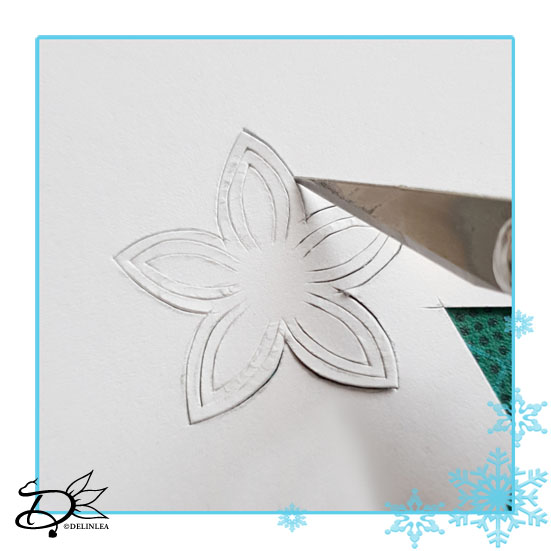
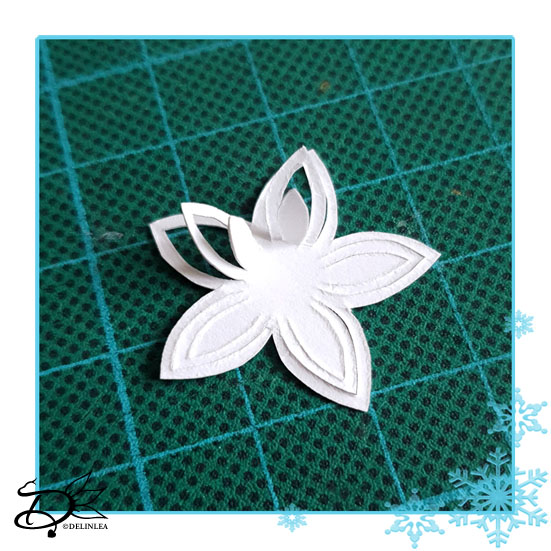
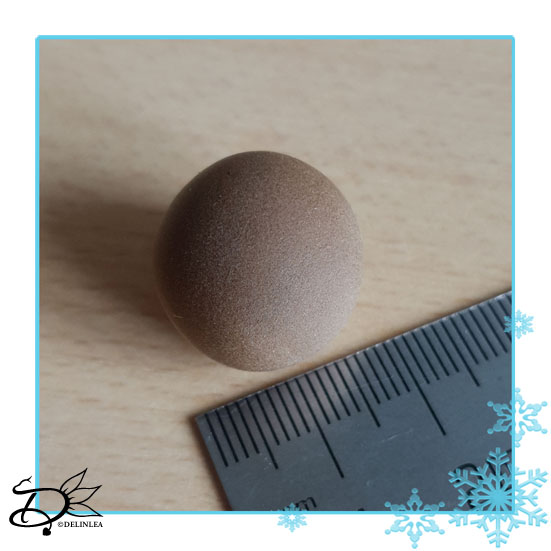
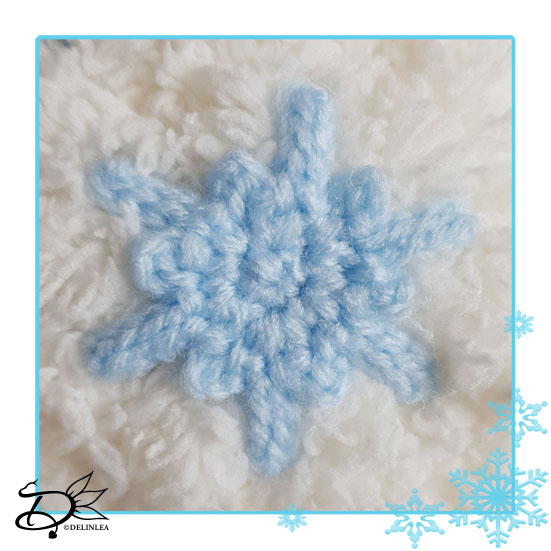
Hey Lovelies! To finish of this project there isn’t too much to it, I wanted to keep it simple just for Christmas! All you have to do now, if you haven’t yet, put all the parts together. Use glue or anything you feel good with. Put it together how you like, I’ve only given you an example on how it can possibly be, but use your imagination and create something that’s more fitting for you. That’s the beauty of arts and crafts, no two things will be exactly the same. And that’s what makes the artwork. You always put something of yourself in there.
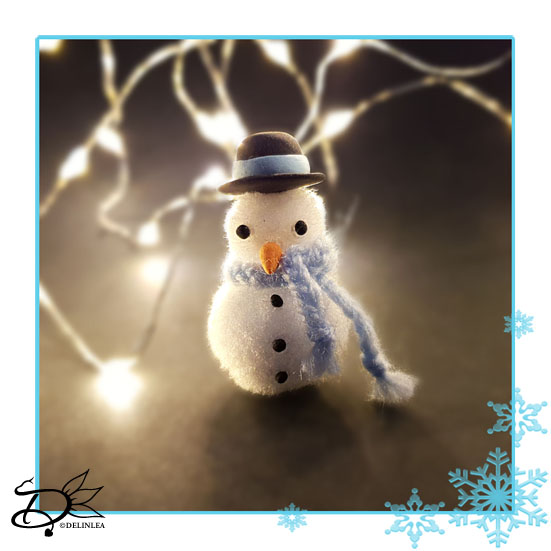
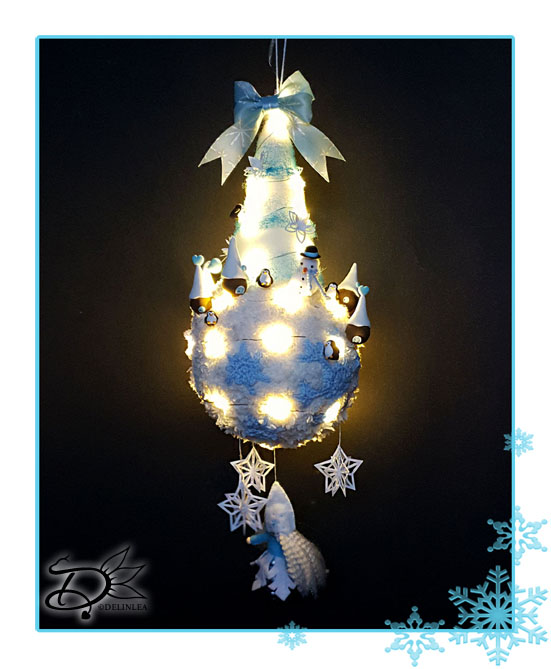
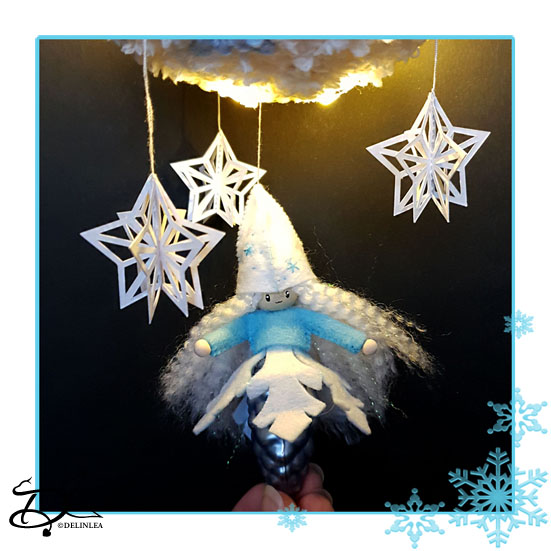
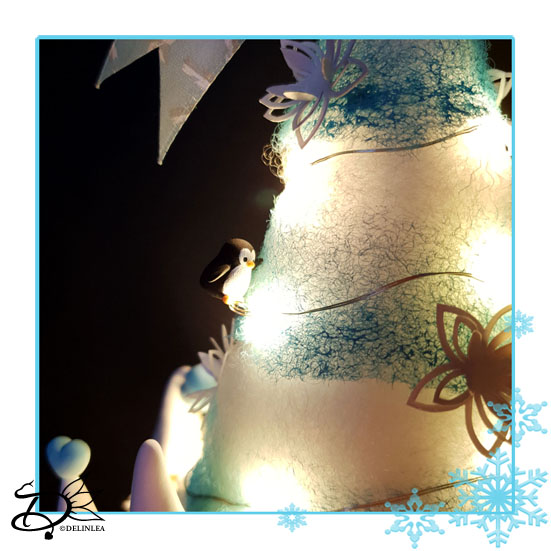
To finish it off completely, get out some led lights, just those tiny ones are fine. I use a 40 led/2meter string wire. But use what you have around or easily can get at the store/online. I know not everyone these days can run to a store to get things like this. But just be creative and use what you have around. I know you are capable of thinking outside the box! You can do it!
I hope you had fun along this blogmas journey with me. I definitely had! I know, this project maybe doesn’t scream Christmas, but sometimes I just wanna make something a little different. Constantly making the typical Christmas things isn’t fun either and I probably run out of /original/ ideas.
Have a wonderful and magical Christmas this year! Treasure what you are able to do, whatever that is. It’s always in the small things, even though it can be hard, look for things that matter! And maybe most of all, don’t compare with others. For you it can be something totally else as another that can make you happy. And maybe turn off social media during Christmas, what others show it usually only the best part of it.
If you decided to join this lovely project, or just some parts of it, show me on Twitter or Instagram what you are working on! I’d love to see!
If you like to buy the PDF pattern for this whole project, go to my ko-fi shop. This will have an extra story attached and no ads.
And again have a Wonderful Christmas and a Happy Creative New Year, I’ll see you next year!
Love
Danielle
PS. if you love those patterns, maybe you’d like to support me on Ko-Fi?! So I can keep making content like this!
// ©2021 Delinlea / Danielle Kaal // Items made with this pattern/DIY may be sold in a limited number. Credit to ‘Delinlea’ is appreciated. Not allowed for mass production or commercial purposes. You may not reproduce, translate, share, freely distribute or sell this pattern/DIY as your own in digital or printed from.