Hey Lovelies!
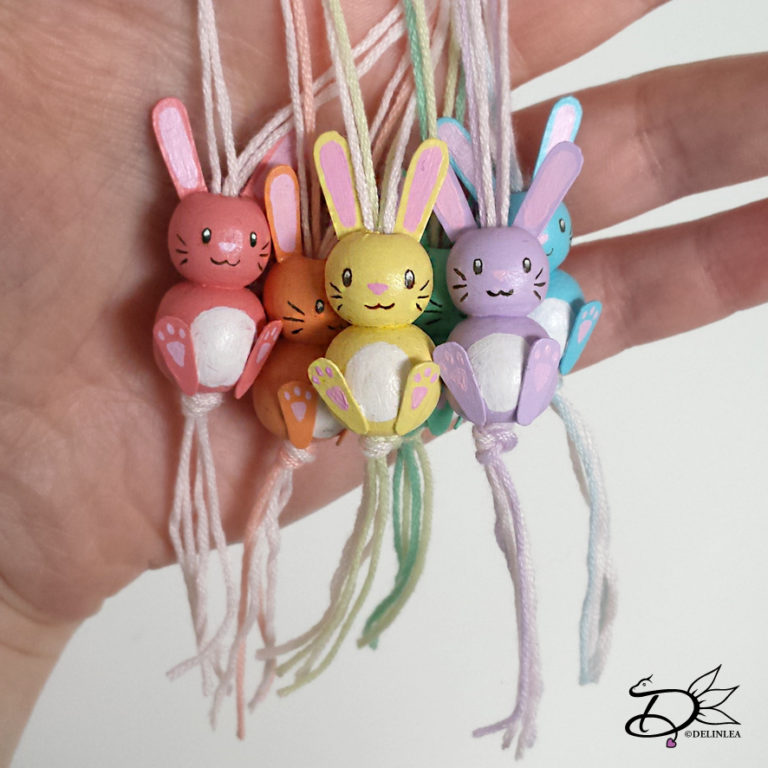
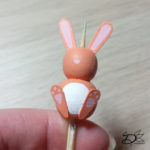
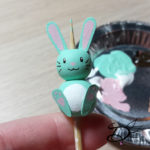
Easter is approaching faster as we think! So I thought why not make some decoration already?! We all know the easter branches we bring in our homes and decorate them with the cutest things. Today, I wanna make some Easter bunnies of wooden beads. I love how they turned out so why not show you how to make them too.
For this DIY you’ll need:
♥ 14mm Wooden Bead.
♥ 10mm Wooden Bead.
♥ Air Dry Clay or a small Bead for the tail.
♥ Cardstock in any color.
♥ PVA glue.
♥ Acryllic Paint in the colors you like.
♥ Varnish (optional).
♥ Embroidery Floss or Yarn.
♥ Brush.
♥ Scissors.
How To
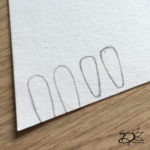
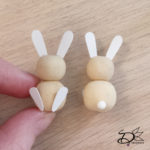
Glue the large bead to the small bead, make sure the holes line up and let that dry. This will be the body. While that’s drying, draw on the cardstock some ear and foot shapes and cut those out. Glue the ears and foot to the body and let those dry as well. Out of clay, make a small ball, this will be the tail, you can also use a small bead if you have those. Glue the tail to the back of the body.
Painting
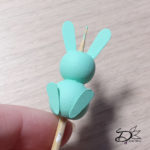
When everything is dry. You can start painting! I used pastel tones, I think that fits the whole spring/easter feel best. But ofcourse you can do whatever color you would like. Just paint the whole body in one color first, and later on you’ll paint on the details. It depends on the quality of you paint if the base color of the body need several layers or just one. Keep going until you are happy with the outcome.
Now it is time to paint the details. With white acryl, paint on a round belly shape in between the feet. And don’t forget to make the tail white as well. Mix some light pink paint and use this to color the inside of the ears and a paw print on the foot. Oh! and don’t forget his adorable tiny nose. Now use some brown or black acryl to paint on the face with a tiny brush. If you want add a small dot of white paint in the eye, to give it that little sparkle.
You can use varnish (matt or gloss) to give it that finishing touch and protect the paint, but that’s optional.
Final Step
Make sure everything is completly dry when you go to the next and final step. Cut 2 pieces of yarn with a length of 30cm. Fold those in half and make a knot about 5 cm from the loose ends. With help of a Needle, put the folded side of the yarn through the bottom to the top of the bunny and you are done!
I hope you enjoyed this DIY and make a lot! haha, the more the better. Don’t forget to show me with the #DelinleaDIY
Love
Danielle

