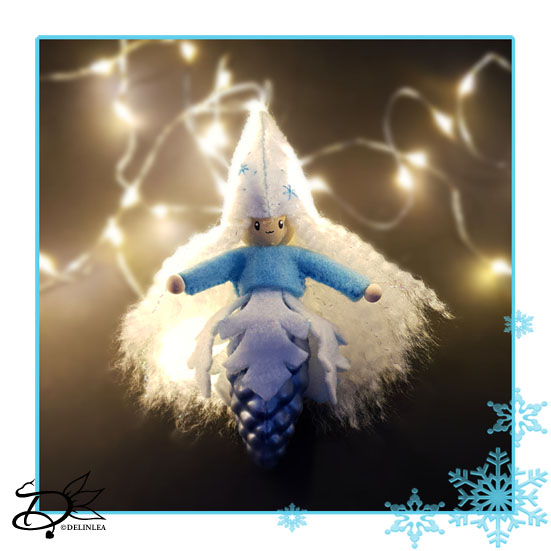
♥ Day 5; Winter Fairy from Felt
Hey Lovelies! I love fairies, what you do you think of fairies?! I hope you like them, because today I’ll gonna show you how to make this Winter Fairy from felt and a Bauble. I hope it’s not too fiddly, but I think it’s a good size this way. I hope you’ll have fun making this one.
Note; This tutorial, for this fairy, will only be available during December 2021, after that I will make a separate PDF file in my ko-fi shop.
For this DIY you’ll need:
♥ This Template. (This download gives you all templates for blogmas 2021)
♥ Oval Bauble, about 5,5-6cm in height.
♥ White and Light Blue Felt.
♥ White (Sparkly) Yarn.
♥ Needle and thread.
♥ 18cm of thin wire.
♥ Wooden Bead, 15mm.
♥ 2 Small Wooden Beads, 5mm.
♥ Acrylic Paint and Brush to make a face.
♥ (Hot) Glue.
♥ Pen.
♥ Scissors.
Winter Fairy DIY
Start with printing out this template and cut out all parts for the Winter Fairy.
Snowflake Skirt
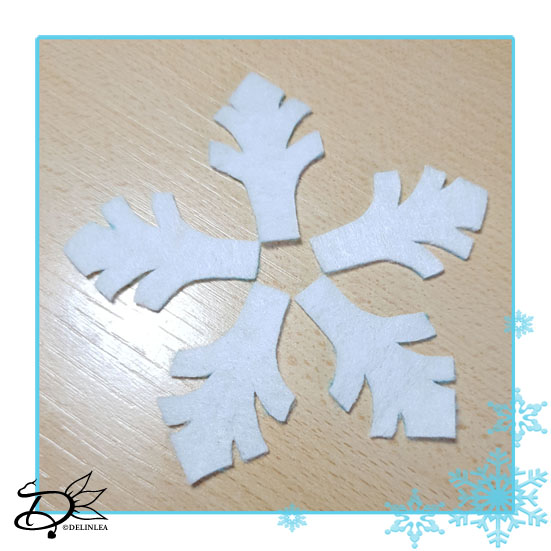
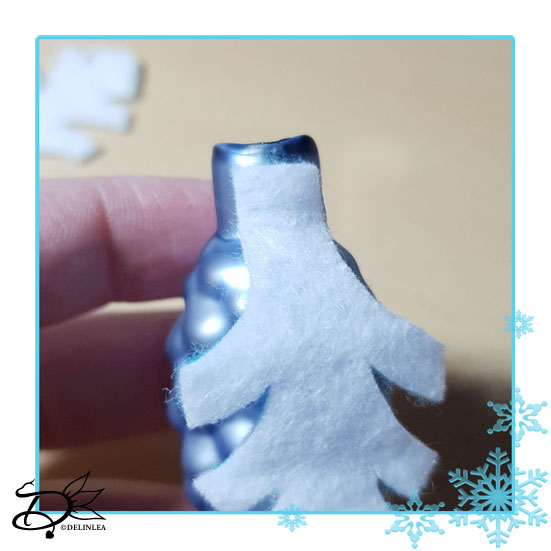
Start with part A, trace this on white felt, about 5 times (If your bauble is bigger, maybe you need more pieces). Cut those pieces out neatly. Glue all those pieces around the top of the bauble (Where the hook was).
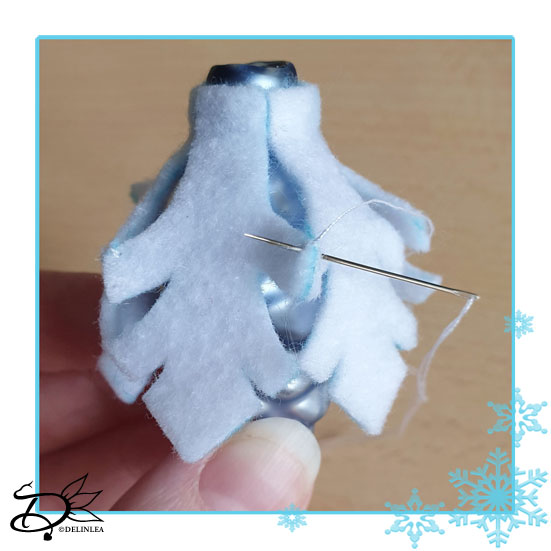
With a needle and thread, sew the points together that are next to each other, where the cross is in the template.
Body
Use part B of the template now and trace this on Light Blue felt. Cut out neatly.
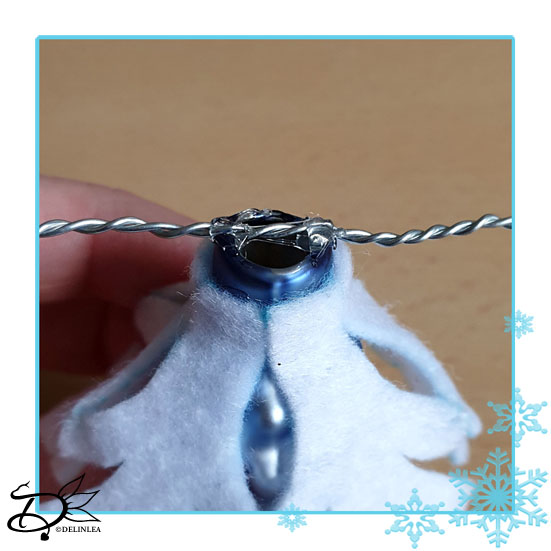
Take the 18cm of wire, fold it in half and twist it together. Glue this to the top of the bauble, this will be the structure for the arms.
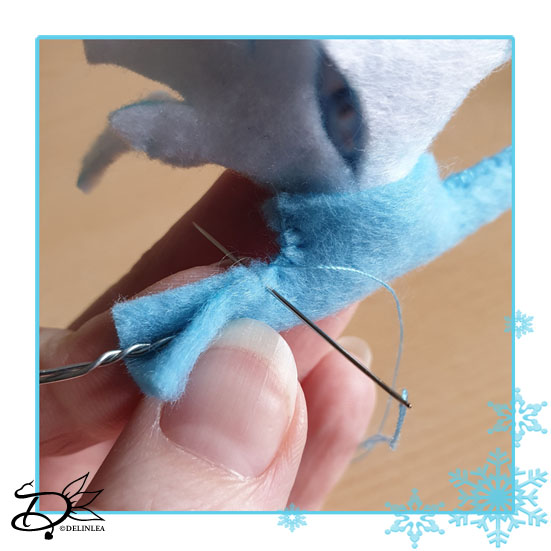
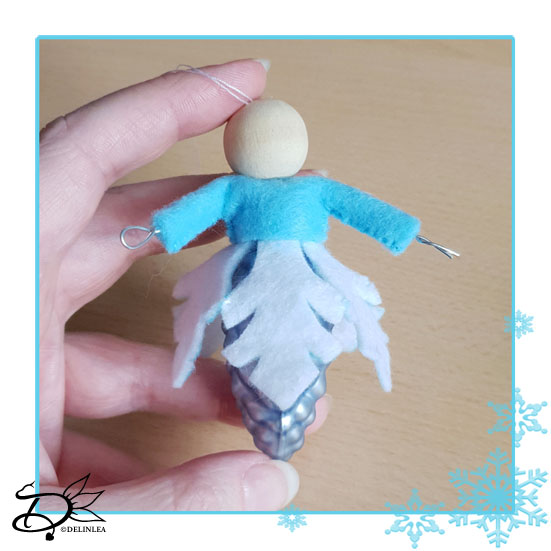
Sew part b around the arms/body with the blanket stitch, so it’s gonna be a shirt. Bend the arms down a bit, carefully.
Head
Take the 15mm bead and glue this on top of the body. You could draw/paint a face on it now, but I prefer to do that last.
Inside the bead, glue a loop from 20cm thread (You can make it longer, depends on how you wanna hang them).
Hands
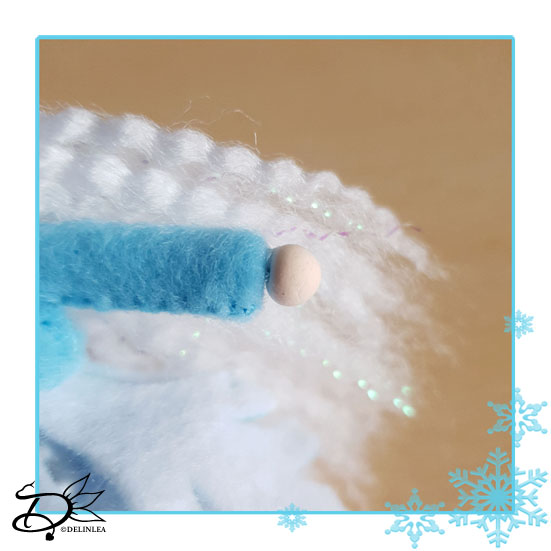
For the hands you use the 2 small beads. Trim the wire for the arms a bit if it’s still too long, it needs to stick out about 3mm from the sleeve. Then glue the beads on. (Since I didn’t had small beads, I used a bit of clay).
Hair
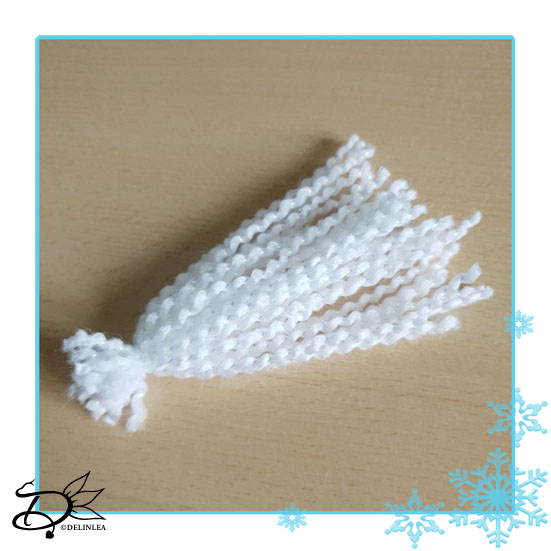
Get out the white yarn and cut 35 strands (or more) of about 8cm in length. Tie these tightly together, at the top, with a bit of white thread. Don’t worry about how neat it looks for now, you’ll trim that later on.
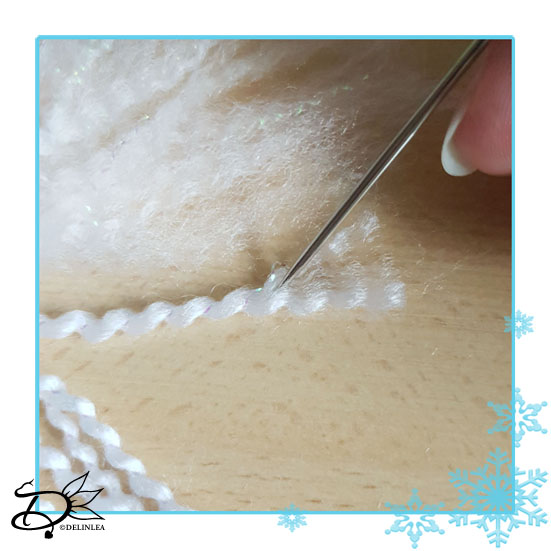
Unravel the strands of yarn with a big needle, so it’s looks a bit more like hair. This can be quite a progress, but if you lay it down on your desk and do it bit by bit, you’ll be fine.
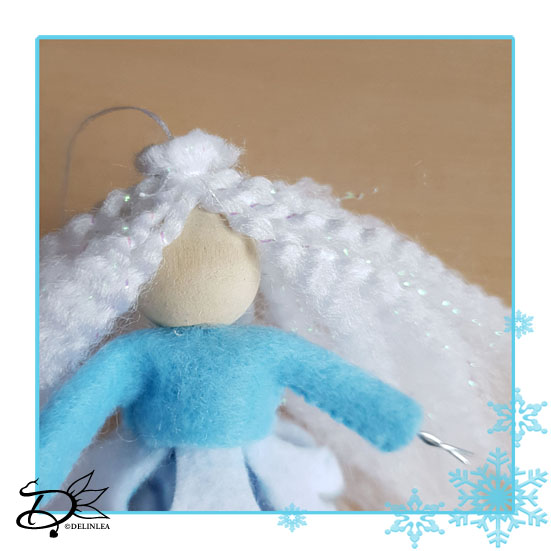
When that’s done, take the loop of thread and get that through the top of the hair with a needle. Glue the hair to the top of the bead. Keep in mind where you want to face to be, keep the hair to the sides of the face.
If you want you can trim the hair a bit now.
Hat
Trace part C three times on to white felt and cut those out.
On at least one part, embroider some ‘snowflakes’ and dots with light blue thread. When you’ve done that, sew it together using the long sides.
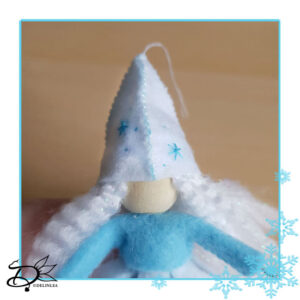
Now that the hat is created, carefully put it on its hat. Don’t forget to take the loop of thread through first! You can use a bit of glue if it won’t stay in place.
Finishing off
Last is to paint a face one with some acrylic, you can make it as fancy as you want. I kept it quite simple this time.
Now you can hang the Winter Fairy on to the Snowball. You can hang as many as you want.
If you decided to join this lovely project, or just some parts of it, show me on Twitter or Instagram what you are working on! I’d love to see!
If you like to buy the PDF pattern for this whole project, go to my ko-fi shop. This will have an extra story attached and no ads.
Have a wonderful day!
Love
Danielle
PS. if you love those patterns, maybe you’d like to support me on Ko-Fi?! So I can keep making content like this!
// ©2021 Delinlea / Danielle Kaal // Items made with this pattern/DIY may be sold in a limited number. Credit to ‘Delinlea’ is appreciated. Not allowed for mass production or commercial purposes. You may not reproduce, translate, share, freely distribute or sell this pattern/DIY as your own in digital or printed from.

