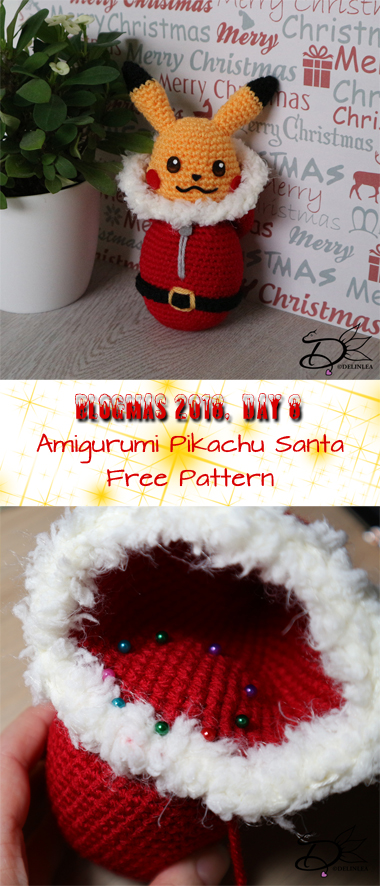
Hey Lovelies! It’s day 8 of Blogmas! And that means that weare already have survived one week! Time really flies! I hope you are havingfun so far. But for today we will have a new amigurumi! Pikachu in a Santasleepingbag! I hope you like him.

For this DIY you will need:
♥ Yarn, in Yellow, Black, Red and Grey.
♥ Plush Yarn in White.
♥ Pompom. (self made of bought)
♥ Crochet hook.
♥ Stitch marker.
♥ Yarn Needle.
♥ Sewing Pins. (optional)
♥ Fiber fill.
♥ Felt in the colors Black, Brown andRed.
♥ Glue.
♥ Scissors.
Stitches used:
CH = Chain.
SC = Single Crochet.
FSC = Foundation Single Crochet.
ST = Stitch.
Inc = Increase.
Dec = Decrease.
Slst = Slip Stitch.
(…) = Repeat the space in brackets the given number of times.
[…] = Total number of stitches.
Pattern
Pikachu Head
In Yellow.
1: 6SC in Magic Ring. [6]
2: 2SC in each ST around. [12]
3: (1SC, inc) 6 times. [18]
4: (2SC, inc) 6 times. [24]
5: (3SC, inc) 6 times. [30]
6: SC in each ST around. [30]
|
9: SC in each ST around. [30]
10: 7SC, inc, 1SC, inc, 4SC, inc, 4SC, inc, 1SC, inc, 8SC. [35]
11: 7SC, inc, 3SC, inc, 10SC, inc, 3SC, inc, 8SC. [39]
12: SC in each ST around. [39]
13: 7SC, dec, 3SC, dec, 10SC, dec, 3SC, dec, 8SC. [35]
14: SC in each ST around. [35]
15: 7SC, dec, 1SC, dec, 4SC, dec, 4SC, dec, 1SC, dec, 8SC. [30]
16: (3SC, dec) 6 times. [24]
17: (2SC, dec) 6 times. [18]
18: (1SC, dec) 6 times. [12]
19: Dec all around. [6]
Fasten off and weave in tail.
Pikachu Ears (2)
Start with Black.
1: 4SC in Magic Ring. [4]
2: (1SC, inc) 2 times. [6]
3: (1SC, inc) 3 times. [9]
4: SC in each ST around. [9]
5: (2SC, inc) 3 times. [12]
Change to Yellow.
6: SC in each ST around. [12]
|
8: SC in each ST around. [12]
9: (2SC, dec) 3 times. [9]
10: SC in each ST around. [9]
|
13: SC in each ST around. [9]
Fasten off and leave a long tail for sewing.
Sleeping Bag
In Red.
1: 6SC in Magic Ring. [6]
2: 2SC in each ST around. [12]
3: (1SC, inc) 6 times. [18]
4: (2SC, inc) 6 times. [24]
5: (3SC, inc) 6 times. [30]
6: (4SC, inc) 6 times. [36]
7: (5SC, inc) 6 times. [42]
8: SC in each ST around. [42]
|
20: SC in each ST around. [42]
21: (5SC, dec) 6 times. [36]
22: (4SC, dec) 6 times. [30]
21: (3SC, dec) 6 times. [24]
22: (2SC, dec) 6 times. [18]
Fasten off and weave in tail.

Hood of the Sleepingbag.
In Red.
1: 6SC in Magic Ring. [6]
2: 6SC. [6]
3: (1SC, inc) 3 times. [9]
4: (2SC, inc) 3 times. [12]
5: (3SC, inc) 3 times. [15]
6: (4SC, inc) 3 times. [18]
7: (5SC, inc) 3 times. [21]
8: (6SC, inc) 3 times. [24]
9: (7SC, inc) 3 times. [27]
10: (8SC, inc) 3 times. [30]
11: (9SC, inc) 3 times. [33]
12: (10SC, inc) 3 times. [36]
13: (11SC, inc) 3 times. [39]
14: (12SC, inc) 3 times. [42]
15: 42SC. [42]
|
24: 42SC. [42]
Change to the White Plush Yarn.
25: 42SC. [42]
If your Plush yarn is thinner as mine, you might need to do 1 or 2 extra layers.
Fasten off and weave in tail.
Belt
In Black.
Crochet 40 FSC! Fasten off and leave a long tail for sewing.

Assembling
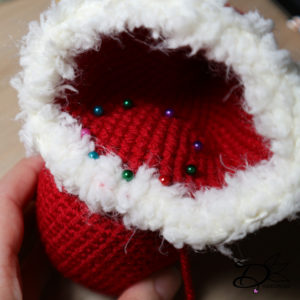
Use some sewing pins to pin the hood to the sleepingbag.This will help you to sew it on neathly, and sew it on.
Make a circle of the belt, sew both ends together. Place the belt around thesleepingbag and sew that on. The belt is not placed in the middle, but a littlelower. With some yellow yarn you’ll embroider the belt buckle on.
With some grey yarn you’ll make the zipper, and finish of with a tiny piece of greyfelt.
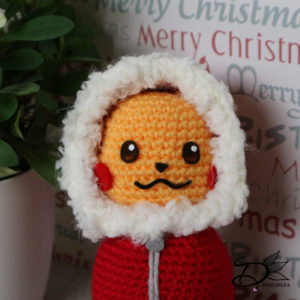
This to complete his head. Sew on his ears. Make sure you’ll keep the head theright way, the pattern has made the shape for the cheeks already. When the earsare on, you can sew his head to the sleepingbag. This can be a bit tricky, justuse some sewing pins to make sure it’s placed right and then start sewingcarefully.
Now cut out some eyes, nose, mouth and cheeks out of felt and glue those on.For the eyes I used brown felt and colored them black so you’ll have a littleshine in the eyes. With a white dot of felt of acryllic paint in the eyes you’ll finish it off.
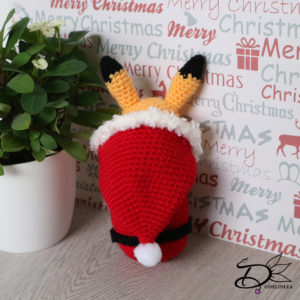
Glue or sew a pompom to the tip of his hood.
And you are all done! isn’t he cute?! I hope you’ll have fun making him! and if you did so, share yours with the #DelinleaBlogmas2018DIY or #DelinleaDIY on twitter or insta.
Have a wonderful day and I’ll see you tomorrow.
Love
Danielle

