Delinlea - My little fantasy world
  • ♥ Home
  • ♥ About Me
  • ♥ Blogmas 2021
  • ♥ Free Patterns
    • ♥ Amigurumi; Spring/Easter
    • ♥ Amigurumi; Fall/Halloween
    • ♥ Amigurumi; Winter
    • ♥ Amigurumi Tsum Tsum
    • ♥ Amigurumi Ufufy
    • ♥ Amigurumi Others
    • ♥ Christmas Countdown 2017
    • ♥ Blogmas 2018
    • ♥ Blogmas 2020
  • ♥ Tutorials
    • ♥ Easter
    • ♥ Home Deco
    • ♥ Others
  • ♥ Drawing Lessons
  • ♥ FanFic
    • ♥ Chapter 1
    • ♥ Chapter 2
    • ♥ Chapter 3
    • ♥ Chapter 4
    • ♥ Chapter 5
    • ♥ Chapter 6
    • ♥ Chapter 7
  • ♥ Gallery
    • ♥ Crafts
    • ♥ Drawings
    • ♥ Poseable Art Dolls
  • ♥ Links
  • ♥ Contact

blogmas 2018

♥ Blogmas 2018 Stops

18 december 2018 by Delinlea 1 Comment

Hey Lovelies! As you probably noticed, I haven’t updated my blog the last few days. And I have to dissapoint everyone who has been looking forward for the remaining days. I have to stop Blogmas 2018 immediatly. Due to health reasons I am not able to continue this year. My right shoulder is inflamed and I need to take care of that.

I am so sorry! But I hope to see you next year!

Love
Danielle

Posted in: Blogmas 2018 Tagged: blogmas 2018, stops

♥ Day 15; Popplio Felt Ornament

15 december 2018 by Delinlea Leave a Comment

Hey Lovelies! It’s Day 15 of Blogmas, and on this very moment, when this blog get released, I will know who won the ‘HaakSTER’ Competition! I am so nervous! Oh gosh, I have no clue what’s going to happen, I will keep you updated! Anyway, for today I planned another felt ornament! It’s popplio’s turn! He got his cute antlers out!

For this DIY you’ll need:
♥  Felt in the colors Dark Blue, Blue, White,Red, Green and Brown
♥  Sewing thread in matching colors to the felt.
♥  Sewing Needle.
♥  Trick Marker or anything else where you can copy the pattern with onto your felt.
♥  Pattern.
♥  Scissors.
♥  Stuffing.
♥  Fabric Glue. (optional)
♥  Acryllic Paint in white, black and Red(optional)

DIY

First off all, download the pattern HERE! And print it out (or draw it from your screen). The good thing is, you can make it as big as you want! Then cut out all the pieces. On every piece is stated how many times you need to cut it out of felt.

Copy all part to the felt with a trick marker. Cut part A out of Dark Blue felt, Part B out of White, Part C out of Red, Part D out of Blue felt, Part E out of Brown felt and Part F out of Green felt.

Now sew parts A together with a Blanket stitch. I started by the head, when I finished that part I stuffed it. Continued the body  and legs. The flippers you don’t have to stuff, just the body itself.
For 2 parts a line is drawn through by the body, this you will stitch with arunning stitch, just to give Popplio a little bit more dimension.

The rest of the parts I glued on. I went for the easy way cause I was in a rush. But you can also choose to sew them on.

For the eyes and mouth, I painted them on, but you can choose to make them out of felt as well. Do what suits best for you!

And that was it! Quick but cute! I hope you like it anyway, and give him some love by making him as well, share it with #DelinleaBlogmas2018DIY or #DelinleaDIY

Have a lovely day!

Love
Danielle


Posted in: Blogmas 2018, Christmas, Pokemon Tagged: blogmas 2018, Christmas, diy felt ornament, Pokemon, popplio

♥ Day 14; Pokeball Snowglobe Terrarium

14 december 2018 by Delinlea Leave a Comment

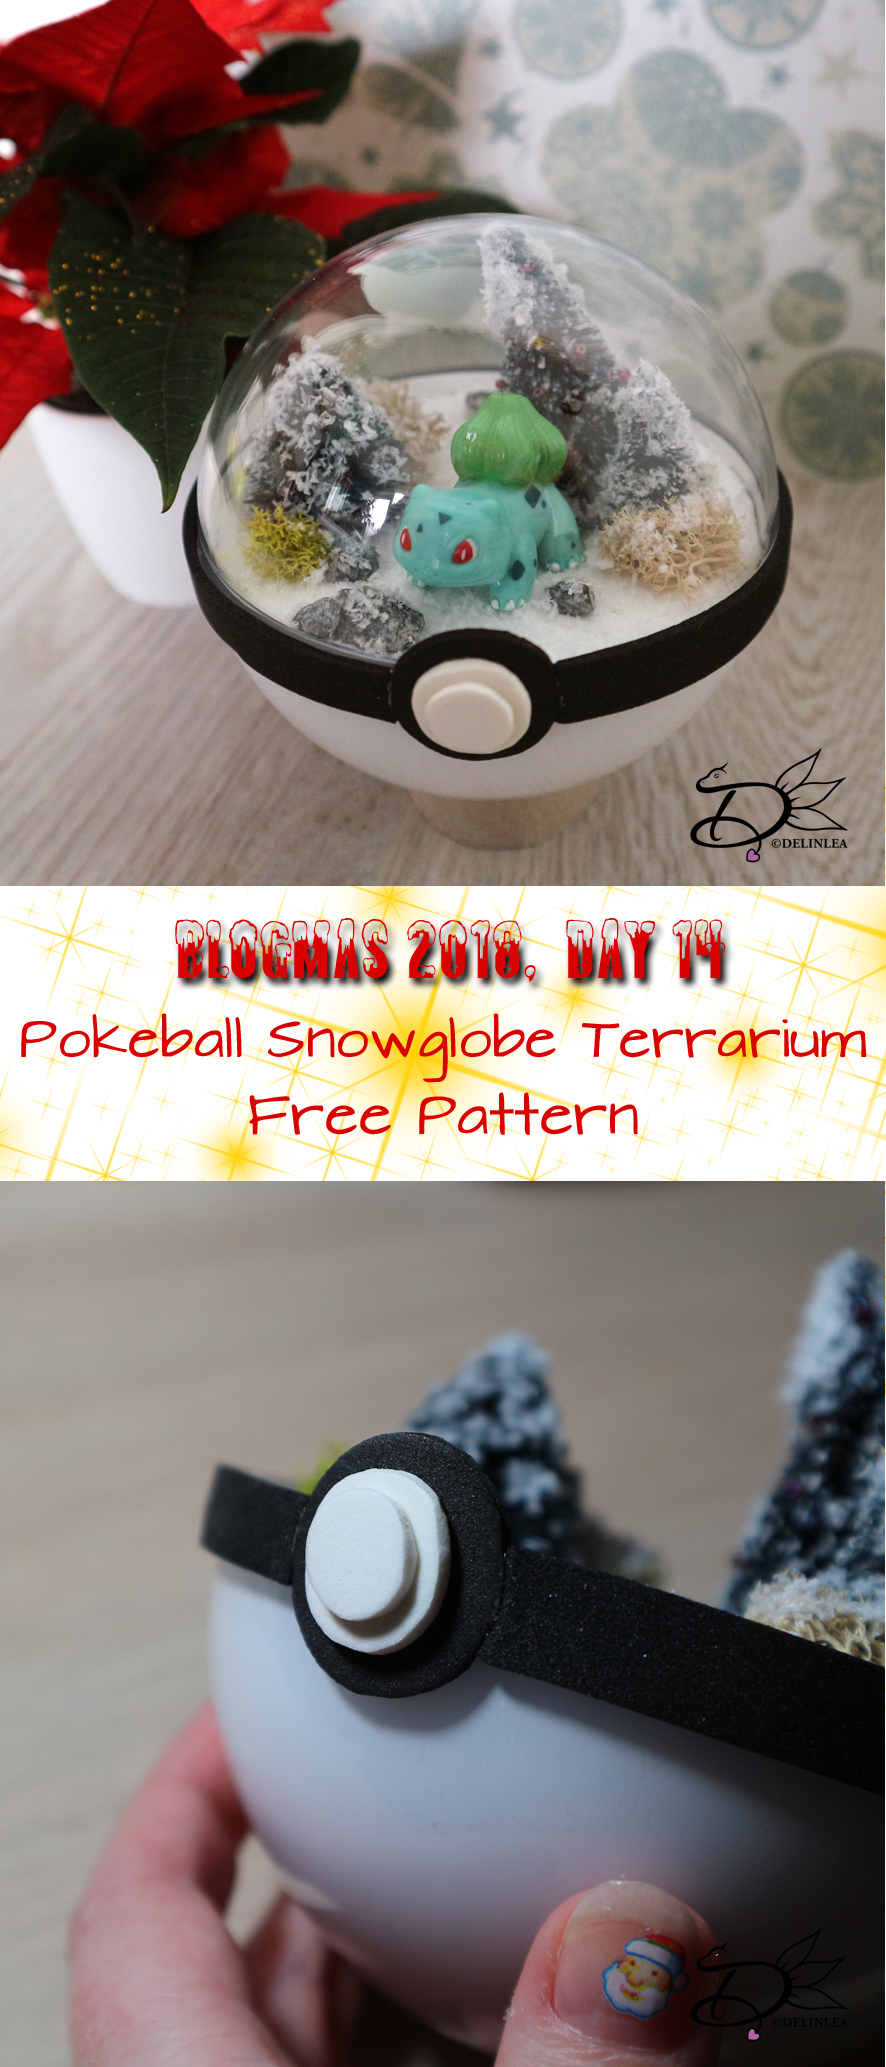
Hey Lovelies! It’s day 14 of Blogmas 2018 and it’s time for something cute! I am not sure if you saw them before, but I just had to make my own variation on it. I made a Pokeball snowglobe terrarium! I love how it turned out and the options are endless!

For this DIY you’ll need:
♥ Plastic Ball Ornament, 10cm.
♥ White Acryllic Paint.
♥ Cardboard.
♥ Black and White Foam.
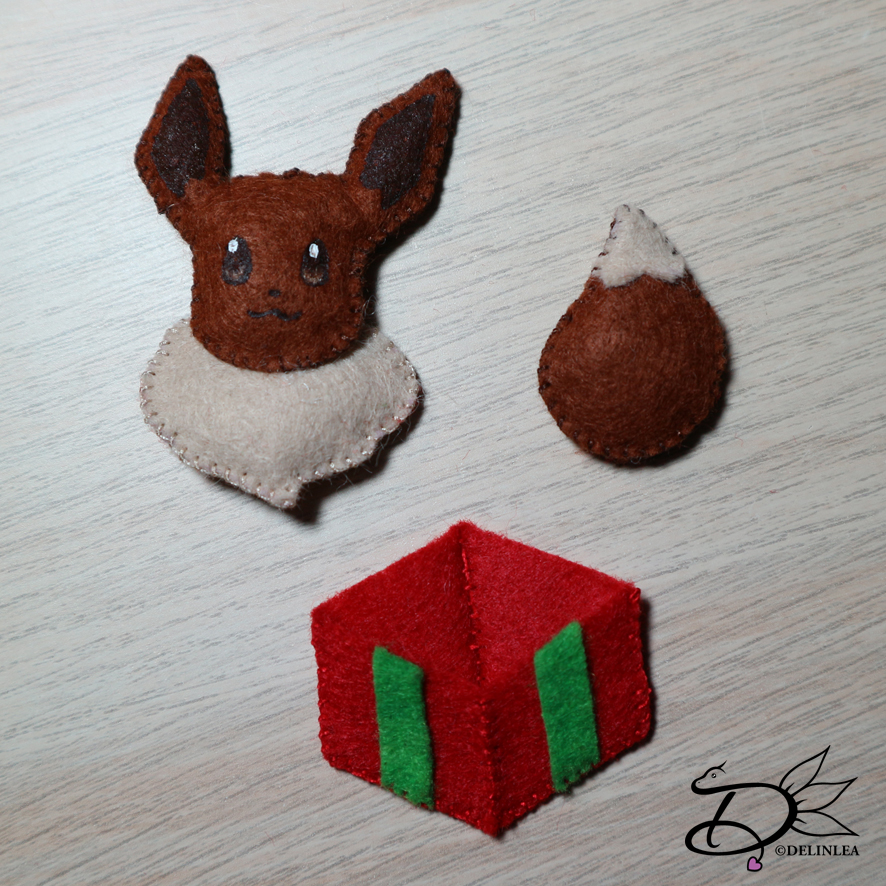
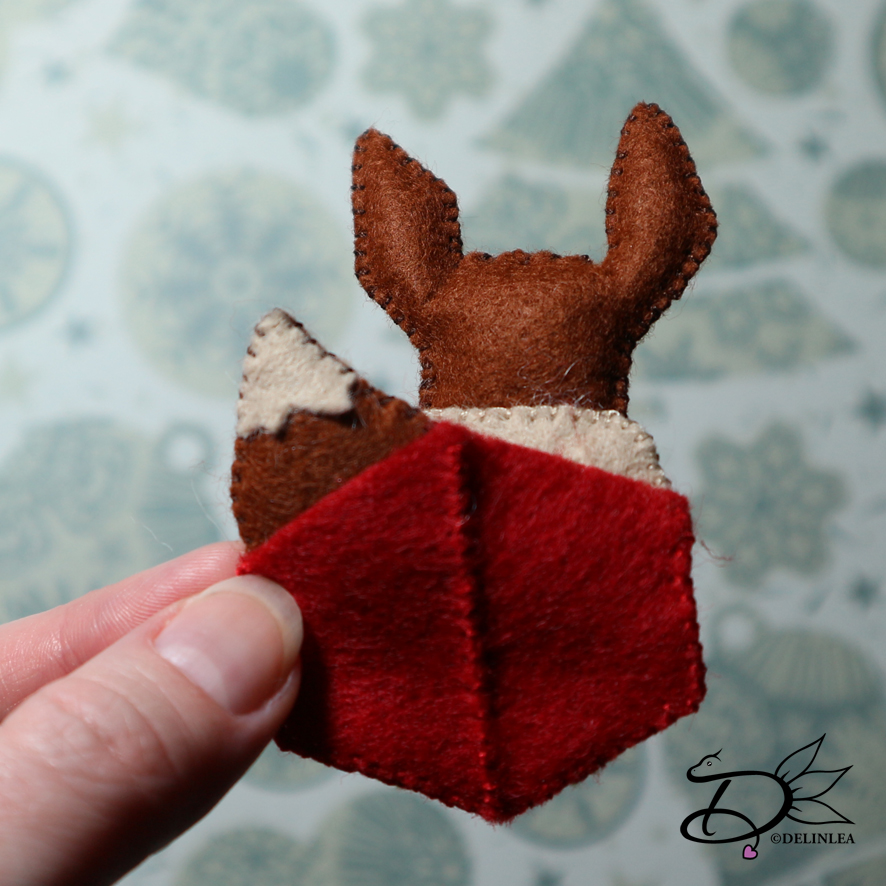
♥ Small Pokemon that can fit in there, or make one.
♥ Fake Small Trees.
♥ Fake Snow.
♥ Anything else you can decorate with, Like stones, branches, moss, etc.
♥ Pliers where you can cut with.
♥ Glue. (crafters as wel as hot glue)
♥ Scissors.
♥ Brush.

DIY

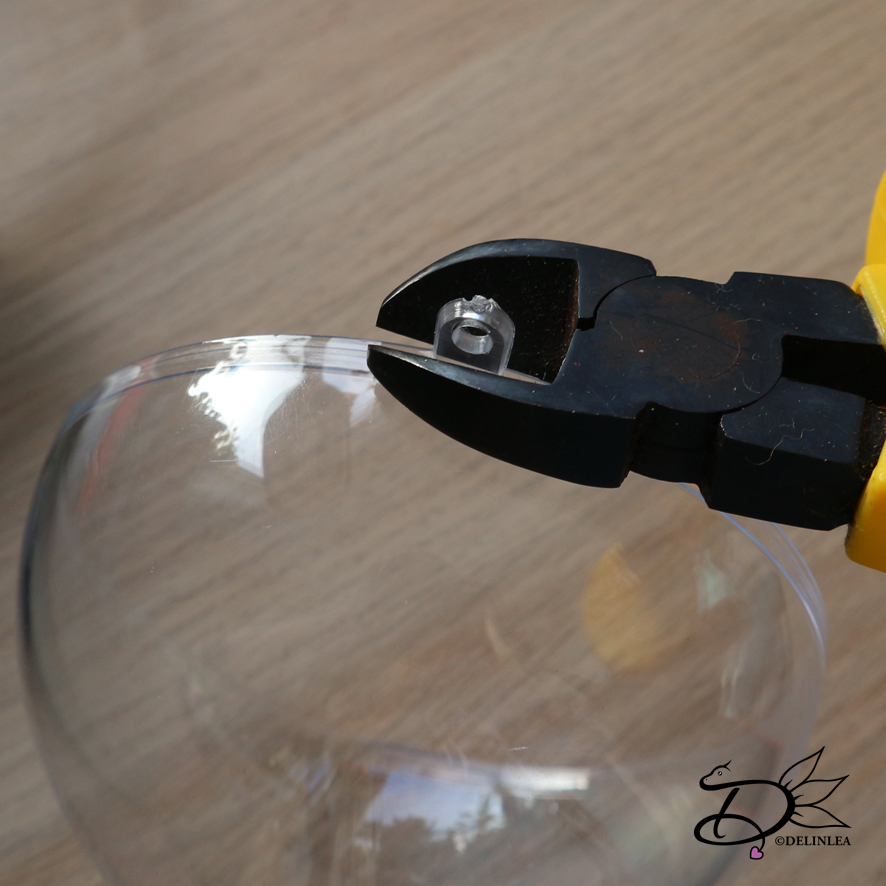
First off, cut of the thing you normally hang the ornament with, with pliers.

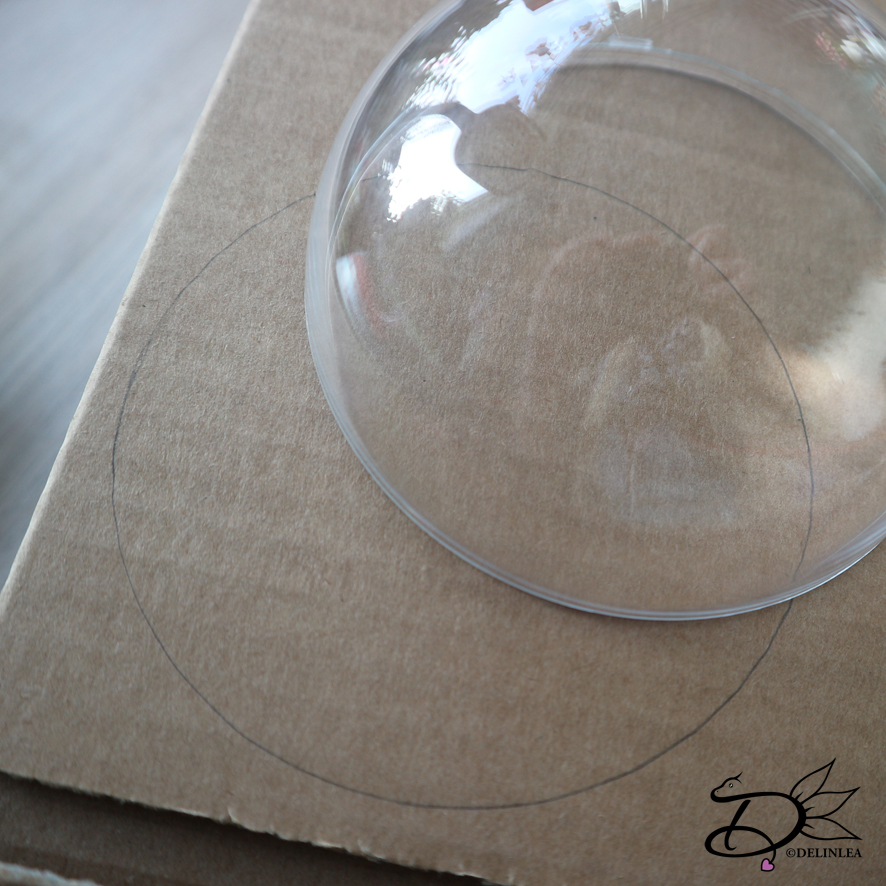
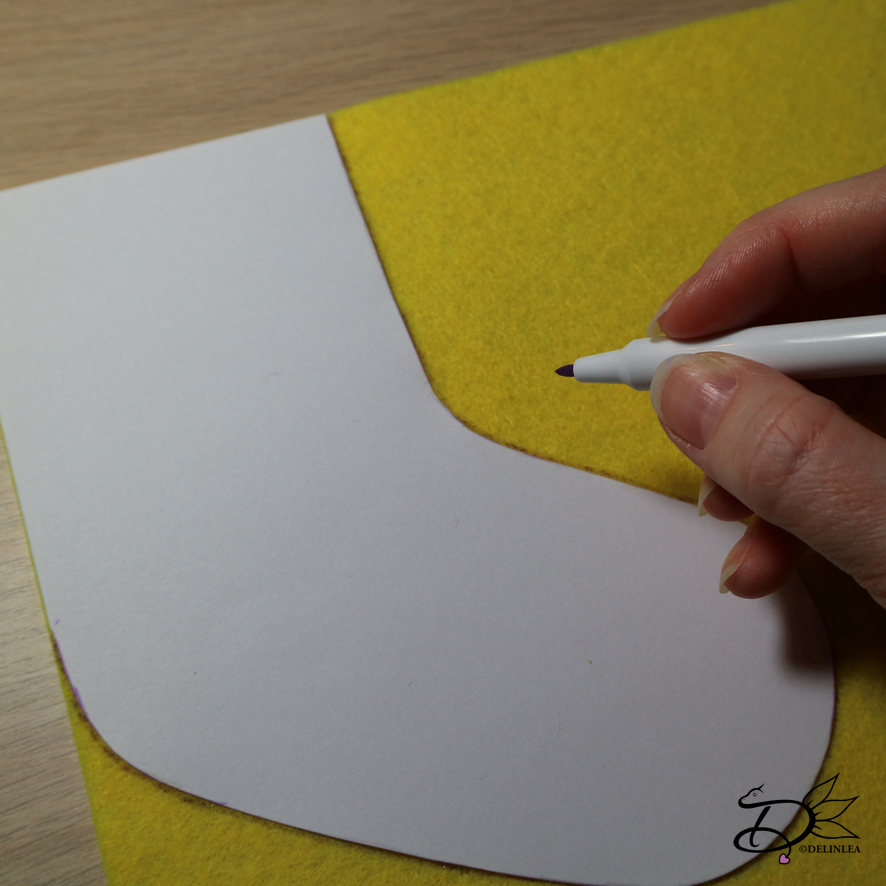
Trace one of the parts on cardboard and cut this circle out. You wanna cut it slightly smaller so it will fit inside! but don’t put it inside yet. You can try if it fits in tho.

Now, paint the lower half of the ball white in the inside, paint the cardboard you just cutted, white as well. You might need several layers, just keep checking.

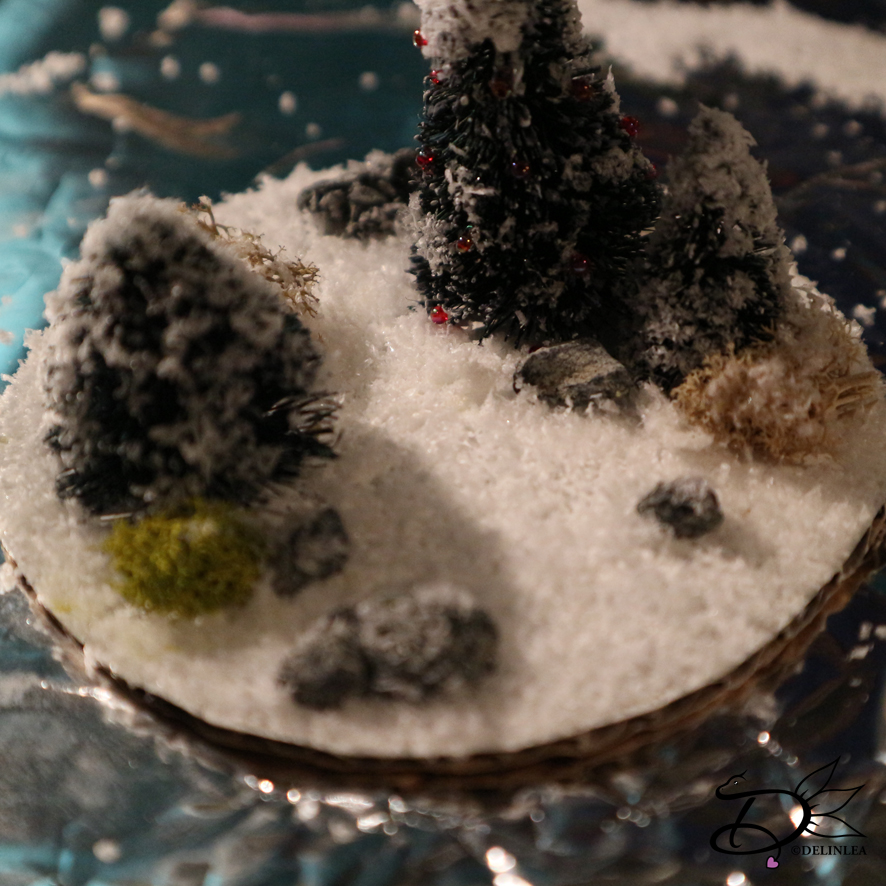
When everthing is fully dry, take your cardboard. On this you will make the scenery you want. Place trees, bushes, anything you like. There are no rules to do this, as long as you make sure the upper part of the ball ornament will fit over it. To make it a bit more christmassy, I glued red beads in one of the trees.

Last I put crafters glue where ever I wanted snow, and then dumped the snow over it. To prevent it from getting a huge mess. Make sure you have a sheet of paper or anything underneath, so that can catch all the loose snow that will fall off. xD Shake off the loose snow on the paper.

Now place the cardboard with your scenery in the lower part of the ball, the one you painted white. You can use a bit of glue to make it secure, but I didn’t have to do that.

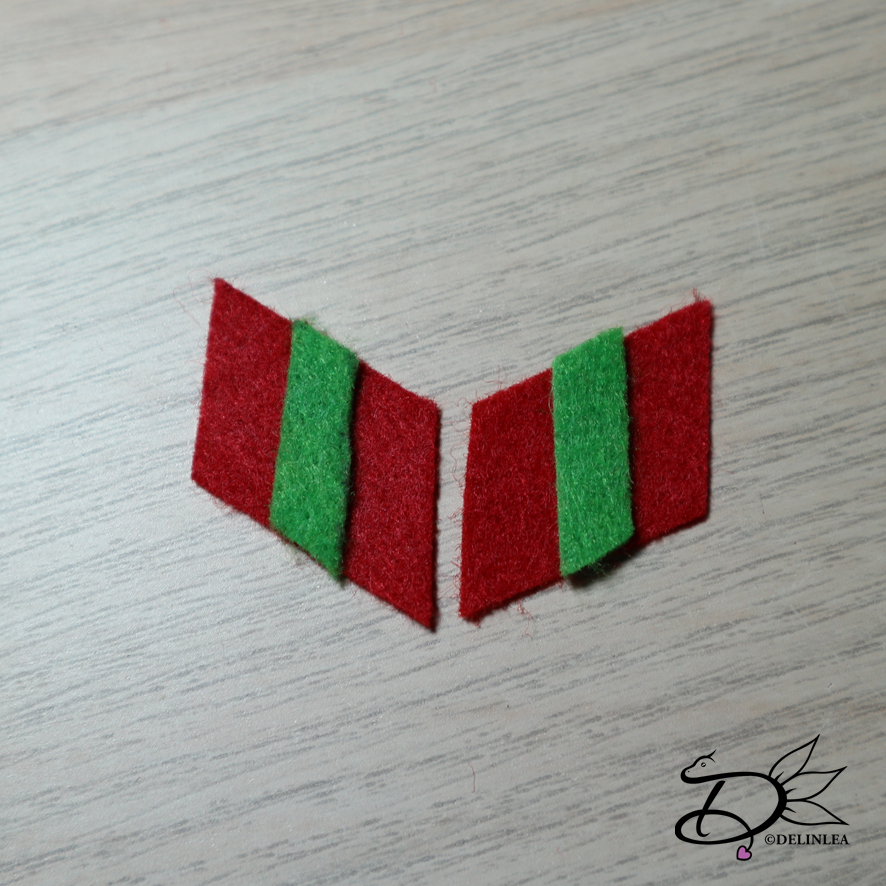
Cut from black foam a stroke of 1cm by 32cm. And 1 large circle from black, about 2,5cm. From white you cut 2 smaller circles. Glue the 3 circles on top of each other. And glue this to the place you chopped of the thingy at the beginning, but onlyto the lower part of the ball, the upper half is still loose! So it’s nice and covered and stil be able to open the ball. 

Now, the stroke of black foam you’ll glue around the ornament. Just like with the circles, glue it only to the lower part of the ball.

Last but not least, place in your pokemon. And place the upper part of the ball over everything.

Cut a ring, if you don’t have to place the ball on, of a toiletroll. Just to have something to stand on.

And you are finished! I hope you will have as much fun as I had while making this! so many options, I might make a few more xD. And don’t forget to show me yours with #DelinleaBlogmas2018DIY or #DelinleaDIY

Enjoy your day and I’ll see you tomorrow!

Love
Danielle


Posted in: Blogmas 2018, Christmas, Pokemon Tagged: blogmas 2018, DIY, pokeball, Pokemon, snowglobe, terrarium

♥ Day 12; Pikachu Stocking

12 december 2018 by Delinlea Leave a Comment

Hey Lovelies! It’s day 12 of Blogmas 2018. And that means, we are half way through! Are you happy it’s going so fast, or do you want it to slow down?! For today’s DIY I wanted to make a stocking, even tho it doesn’t have those Christmassy colors, I think you will still like it. I actually wanted to do a charmander one, but I had no orange felt, so a Pikachu Stocking it is! But ofcourse you can change it to any pokemon you want! Have fun!

For this DIY you’ll need:
♥  Felt in the colors White, Yellow, Red andBlack.
♥  Sewing thread in matching colors to the felt.
♥  Sewing Needle.
♥  Trick Marker or anything else where you cancopy the pattern with onto your felt.
♥  Pattern.
♥  Scissors.
♥  Stuffing.
♥  Fabric Glue. (optional)
♥  Acryllic Paint in White. (optional)
♥  15cm of white yarn.

DIY

First off all, download the pattern HERE! And print it out (or draw it from your screen). The good thing is, you can make it as big as you want! Then cut out all the pieces. On every piece is stated how many times you need to cut it out of felt.

Cut part A out of Yellow Felt, Part B and F out of White felt. Part C out of Red felt. Part D, E and the mouth out of Black felt. Optional: the white dot in the eye, you can either paint it on or cut it out of white felt.

Sew parts B to parts A with a running stitch, only the part that’s in the middle of the sock.

Glue or sew on the face of Pikachu, make sure you don’t forget the white dots in the eyes, with either paint or felt. The circles for his cheeks I trimmed down the edge.

Now it’s time to sew parts a together with a Blanket stitch. All around.

When you’ve done that, it’s time to glue or sew on part F to the sock. I placed it about half way. (see the pic) But later I thought it would look better to fold in 1 cm from the top. Its best to do that first, and then glue/sew it to the sock.

Last but not least, tie a knot in both end together in the piece of yarn, so you’ll get a loop. And glue this to the stocking.

And it’s done! See, you can make many variations on this! Go wild, get creative! Have fun! And don’t forget to share with #DelinleaBlogmas2018DIY or #DelinleaDIY.

Love
Danielle

Posted in: Blogmas 2018, Christmas, Pokemon Tagged: blogmas 2018, DIY, felt, pikachu, Pokemon, Stocking

♥ Day 11; Eevee Felt Ornament

11 december 2018 by Delinlea Leave a Comment

Hey Lovelies! Day 11 of Blogmas is here! And time for another felt ornament, and I thought, how cute would Eevee look in a presents box! So let’s make that!

For this DIY you’ll need:
♥  Felt in the colors Brown, Beige, Red and Green.
♥  Sewing thread in matching colors to the felt.
♥  Sewing Needle.
♥  Trick Marker or anything else where you can copy the pattern with on to your felt.
♥  Pattern.
♥  Scissors.
♥  Stuffing.
♥  Fabric Glue. (optional)
♥  Acryllic Paint in Dark Brown and  White.

DIY

Eevee

First off all, download the pattern HERE! And print it out (or draw it from your screen). The good thing is, you can make it as big as you want! Then cut out all the pieces. On every piece is stated how many times you need to cut it out of felt.

Cut part A and D out of Brown felt, B and E out of Beige felt, F and H out of Red felt and G out of Green felt. Part C you can also cut out of dark Brown felt of you can paint it on like I did. For the eyes the same, depends on what look you are going for.

Sew parts A together with a Blanket stitch, this stitch you will use through this whole diy. Make sure you stuff the ears already when you have finished sewing those. Other wise you won’t be able to. And before entirely closing the head, stuff it as well.

 Sew Parts B together as well, and don’t forget to stuff.Stitch of glue part A to part B.

Place part E on part D for the tail. You can stitch or glue this on, but you can also leave it as it is, and only sew the outer edges, while you sew the whole tail together. What you will be doing now.

Paint on the eyes, nose and mouth, and the inside of the ears if you chose paint. Or place the felt eyes, etc. now.

Time to make the box!!

Sew part F in the middle with the same stitch to each other. Do the same for part H. Then glue or stitch part G to parts F. Now place parts F on top of part H and sew these together.

Now you can put Eevee in the box, I used glue to do that!

And he’s already done! cute right?! Oh! And if you make him, don’t forget to share with #DelinleaBlogmas2018DIY or DelinleaDIY.

Have a wonderful day and I’ll see you tomorrow!

Love Danielle

Posted in: Blogmas 2018, Christmas, Pokemon Tagged: blogmas 2018, Christmas, DIY, eevee, felt ornament, Pokemon
1 2 3 Volgende »

What are you looking for?!

My Socials

Ko-Fi

I love making all these free things for you, tho it would be very helpfull if you can support me on Ko-Fi! (You don’t have to tho, totally up to you!)

Ko-Fi Shop!!

In my Ko-Fi shop you can find PDF Amigurumi Patterns!! You can pay easily with PayPal.
Go to the shop here!!

Recent Blog Posts

  • ♥ Happy 2022!
  • ♥ Day 12; Lights
  • ♥ Day 11; Flower Deco
  • ♥ Day 10; Snowman
  • ♥ Day 9; Gingerbread Houses

Recent Comments

  • Liane Van der Donck op ♥ Amigurumi Ghost
  • Kimberly Spear op ♥ Free Pattern; Amigurumi Shiber
  • Delinlea op ♥ Pua Tsum Tsum Amigurumi
  • Marfermar op ♥ Free Pattern; Easter Bunny
  • mary op ♥ Pua Tsum Tsum Amigurumi

Categories

  • animation
  • Beadwork
  • Blogmas 2018
  • Blogmas 2020
  • Blogmas 2021
  • Books
  • Bujo
  • Christmas
  • Christmas CAL 2019
  • Christmas Countdown 2017
  • Contest
  • Crafting
  • Crochet
  • Drawing
  • Drawing Lesson
  • Easter
  • Geen categorie
  • Life
  • Miniature
  • Nail Art
  • New Year
  • Paper
  • plush
  • Pokemon
  • Poseable Art Doll
  • Recipe
  • Sewing
  • Shop Pattern
  • Sinterklaas
  • Social Media
  • Tsum Tsum
  • Ufufy

Copyright © 2023 Delinlea - My little fantasy world.

Family WordPress Theme by themehall.com