Hey lovelies! I don’t know if you love reading or not at all? I personally love books, reading them, collecting them. I often get inspired by them and that brings me to today’s post. A while ago I got introduced to something called a “booknook”, or bookshelf insert. It’s just a little world inside a nook of your bookshelf. Ever since I saw one, I kept looking at videos of people who would make them. Everyone makes them how they want to, it’s really fun. You could make them inspired by books or movies, or just make something up yourself. So, today I will show you a bit of progress on my first ever booknook that I will make. I’m very excited already! It’s not really a tutorial what I will make here. But more like an explanation of what you could do. Be inspired and get creative yourself. This is gonna be fun! Ah, right, this will be part1, part2 will come next month, didn’t wanna rush.
Base of the booknook
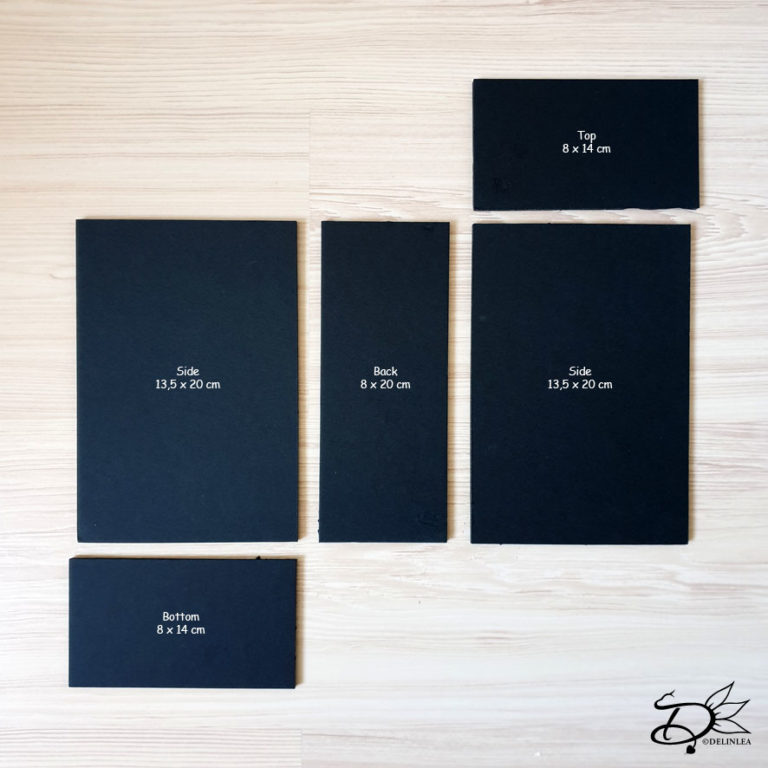
First I started off with the base of the booknook, I used foamboard for it, since that was still lying around from school days. I’d better use it now. But you could also use wood or cardboard. Just what you have around. For the size, it is really up to what your plan is. That’s why I made a sketch first to see how much detail I wanted. Then I measured up a book to figure out the height and the depth.
I used tape at first to put it together but then decided I wanted to glue one side, the back and the bottom together to have some sturdiness going on already. The other parts I wanted to keep loose so I could remove them while working on the inside.
The Inside
For the inside you could use any material you would like. Think of clay, miniature objects either made yourself or bought, foliage, wood, etc. Use anything you could think of to make the nook you want.
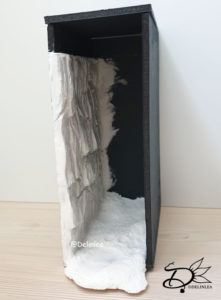
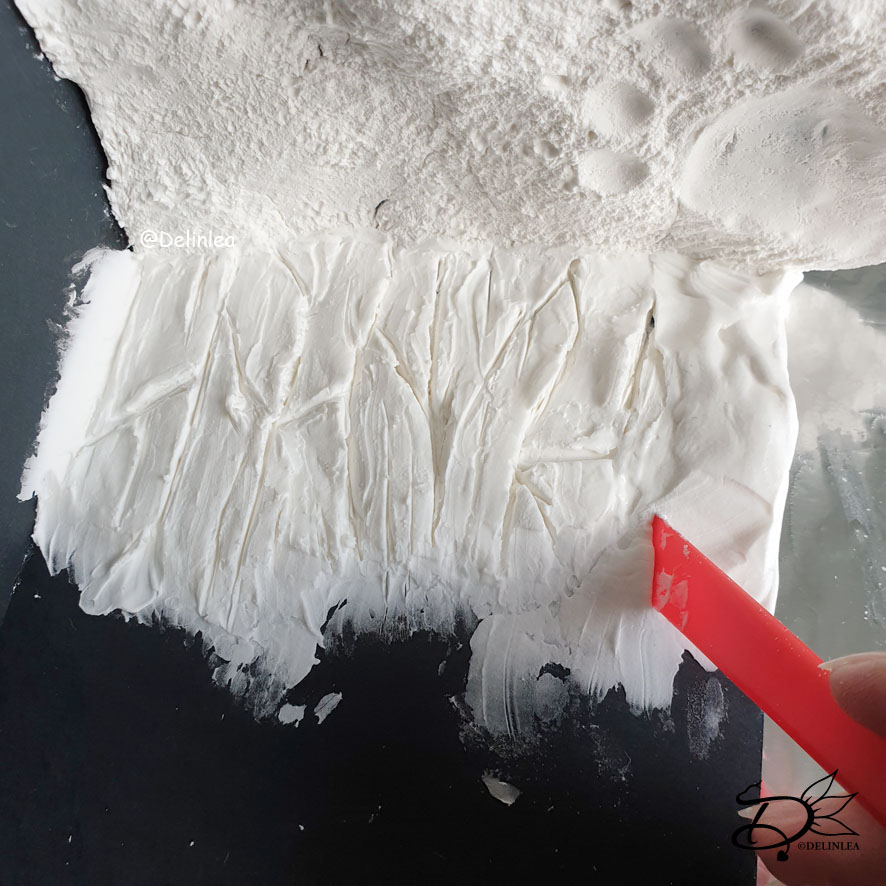
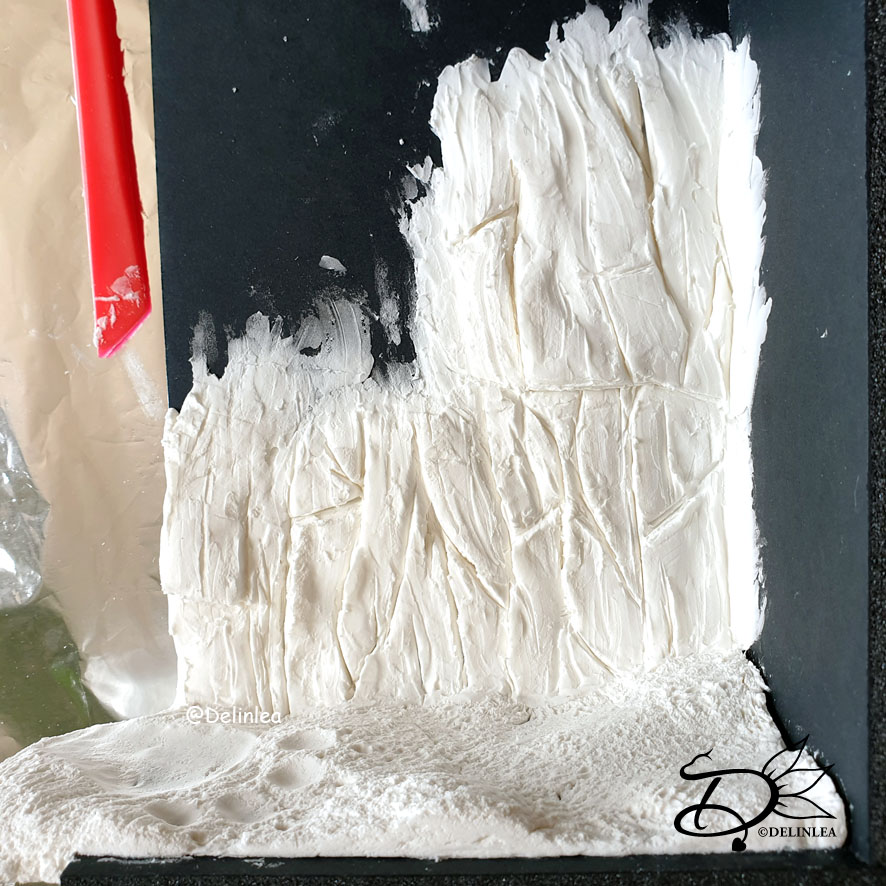
Since I wanna make a booknook based of “Helende Bladeren” by Claudia Boon. I went ahead and started with clay, as you can see in the pictures. Since I used light air dry clay, I had to deal with drying time. And that’s the main reason I’ve split up this blog post. I wanted to let all parts dry properly before continuing to paint etc.
So next month I will release part 2, hopefully I’ve a finished booknook to show to you. But I already know now, that I really wanna make more of them. Different themes though, just wanna have fun! I hope you get inspired by my work as well. If you do, don’t forget to tag me on Twitter or Instagram, I’d love to see what you create!
I hope you have a wonderful day and I’ll see you next week!
Love
Danielle
PS. if you love those DIYs, maybe you’d like to support me on Ko-Fi?! So I can keep making content like this!
// ©2021 Delinlea / Danielle Kaal // You may not reproduce, translate, share, freely distribute or sell this tutorial/craft as your own in digital, made or printed from.


