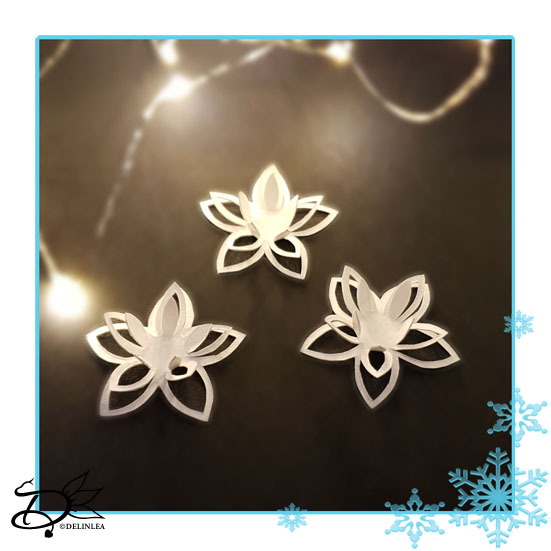
♥ Day 11; Flower Deco
Hey Lovelies! Another paper craft it is! I just love to work with paper, I just don’t do it enough. Even though these look simple to make. I think they are very pretty and elegant for our Christmas tree. I hope you think so as well. We are reaching the end of this Blogmas 2021, in fact this is the last craft you are gonna make. But we are still not totally done, one day to go, wait for it, you’ll find out what that’s gonna be!
For this DIY you’ll need:
♥ This Template. (This download gives you all templates for blogmas 2021)
♥ White Paper, 200gr/m2.
♥ X-Acto Knife.
♥ Cutting Mat.
DIY Flower Deco
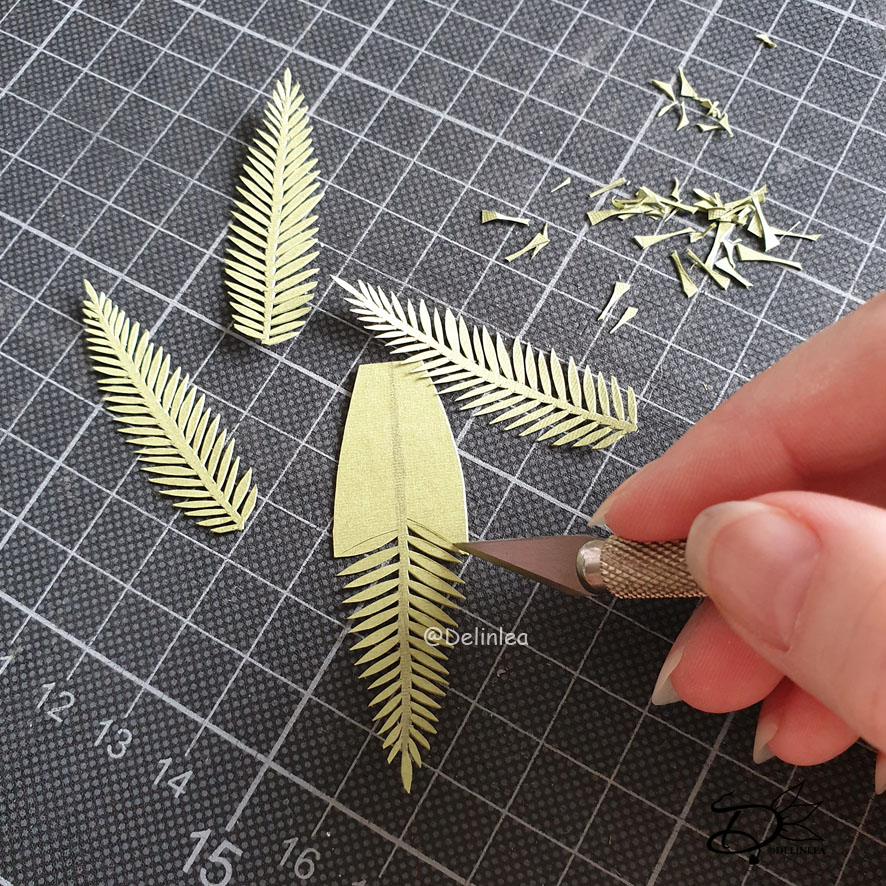
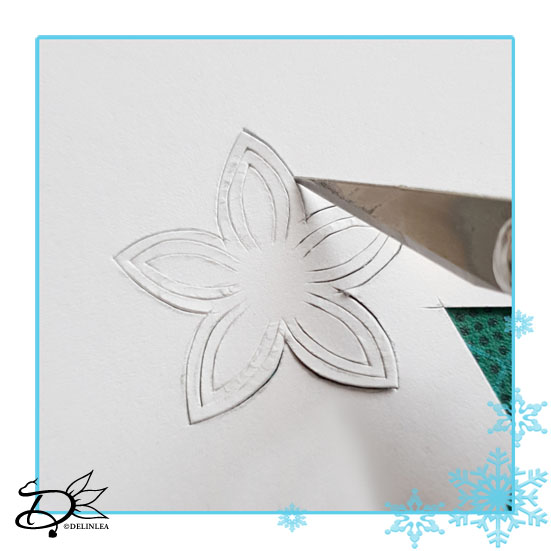
First print out the template.
Cut along all the lines with an x-acto knife, make sure to put a cutting mat underneath your work, you don’t wanna cut into your desk. Be careful with the small thin parts, you don’t wanna damage those.
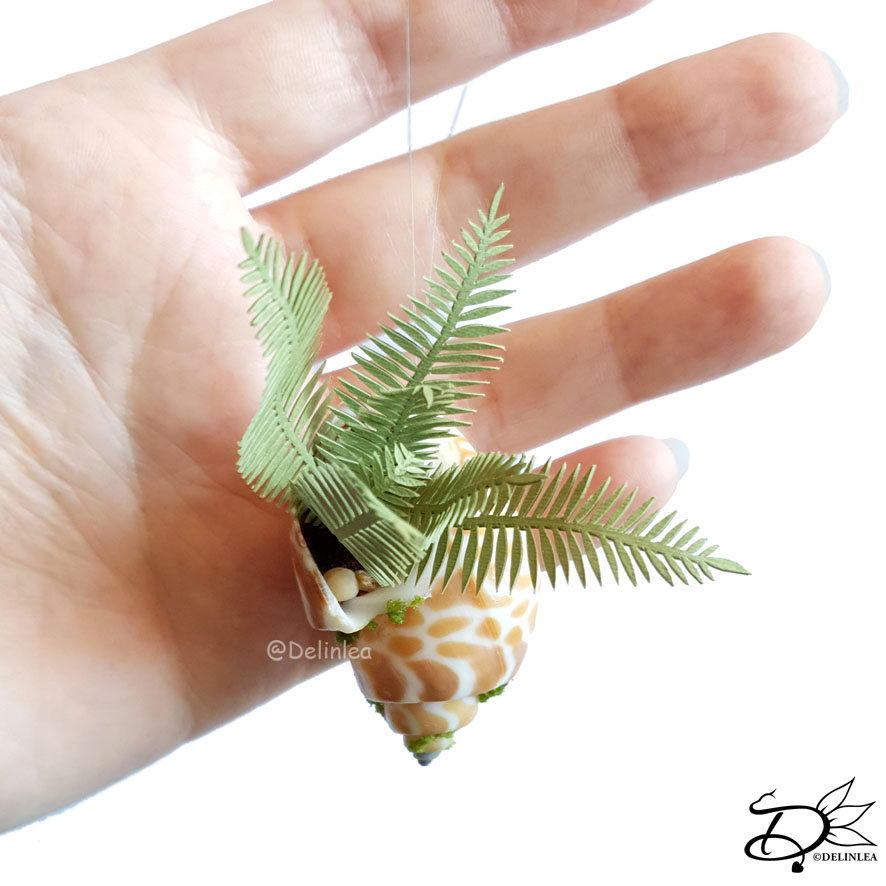
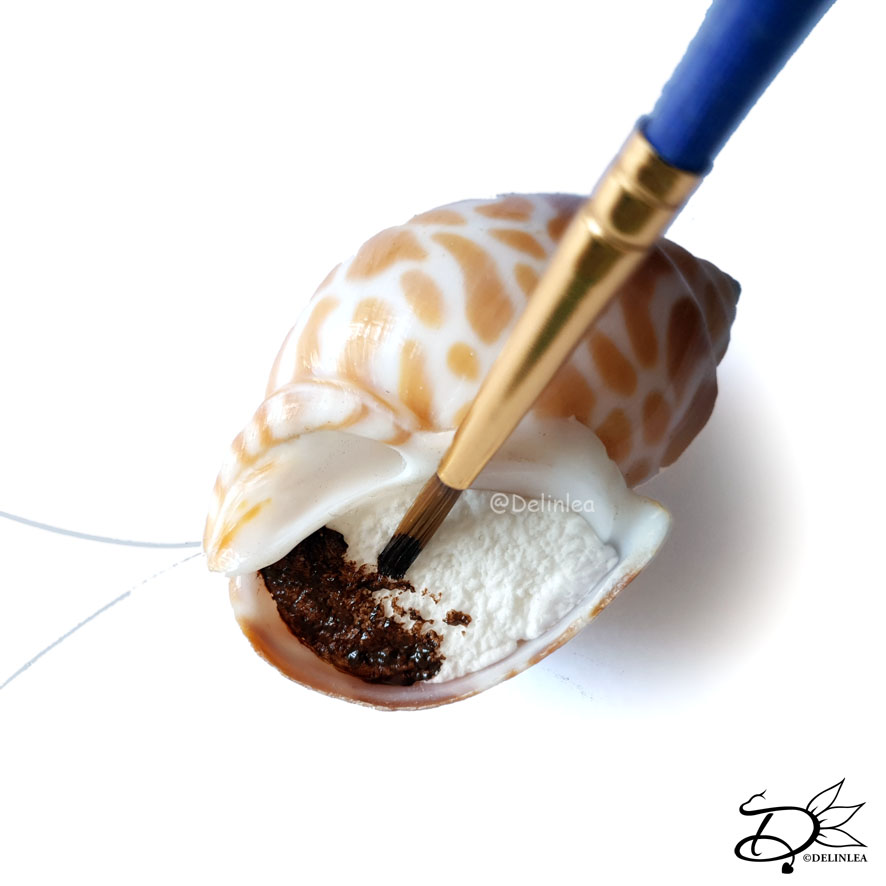
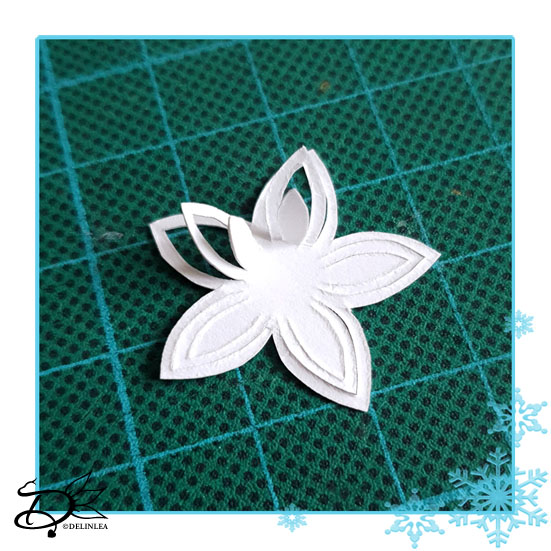
When you’ve done that, fold up the inner petals. This way you create a beautiful 3d flower.
Now you can decorate your tree with all those flowers, make as many as you like.
If you decided to join this lovely project, or just some parts of it, show me on Twitter or Instagram what you are working on! I’d love to see!
If you like to buy the PDF pattern for this whole project, go to my ko-fi shop. This will have an extra story attached and no ads.
Have a wonderful day!
Love
Danielle
PS. if you love those patterns, maybe you’d like to support me on Ko-Fi?! So I can keep making content like this!
// ©2021 Delinlea / Danielle Kaal // Items made with this pattern/DIY may be sold in a limited number. Credit to ‘Delinlea’ is appreciated. Not allowed for mass production or commercial purposes. You may not reproduce, translate, share, freely distribute or sell this pattern/DIY as your own in digital or printed from.