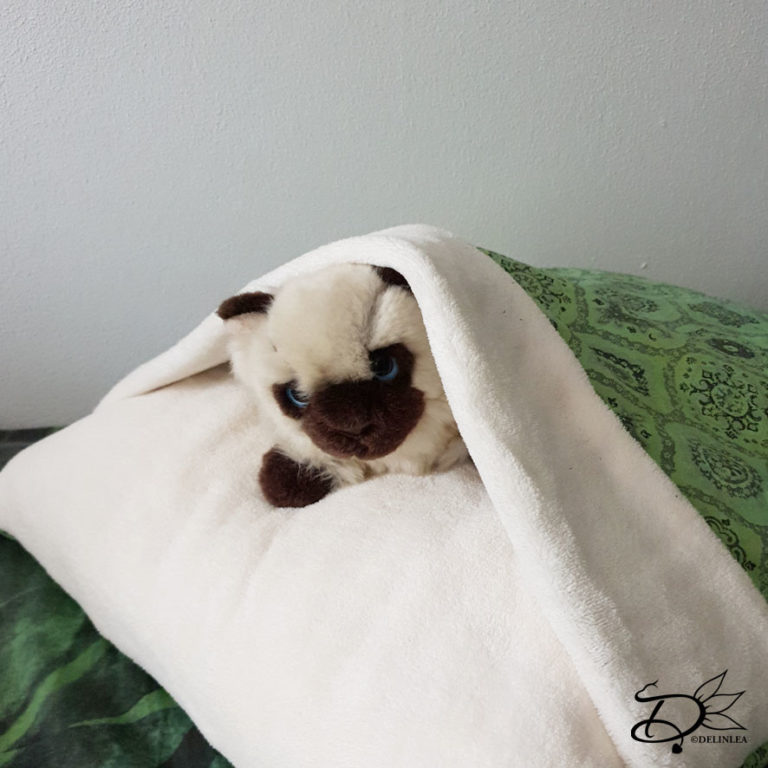
Hey Lovelies! It’s been a long while since I posted something on my blog. I really needed some time off, and still, I can’t promise that there will be a blog next week or every week. We will see what happens. I try to let go of it more, and just see what I feel like doing/making. For today I wanted to make a pillow for my cat, since she loves to crawl under blankets etc. I hope she will use this pillow as well, where she can be cozy.
I tried to write this tutorial down as good as possible, but it might be slightly confusing since I forgot to take pictures often. If you have any questions, just let me know, I’ll try to help you out!
For this DIY you’ll need:
♥ Pillow. (Can be any size, as long as it’s big enough for your cat, mine is 50x60cm)
♥ Cotton Fabric in a color of choice.
♥ Coral Fleece in a color of choice. (You can also choose to skip the cotton fabric and make it out of fleece only).
♥ Zipper, about 30cm.
♥ Sewing Pins.
♥ Scissors.
♥ Sewing Machine.
♥ Iron. (Optional)
Tutorial Cat Bed Pillow
Measure the pillow you wanna use and maybe add a cm, so the pillow stays nice and fluffy ones you put the cover over it. Mine is 50 by 60 cm.
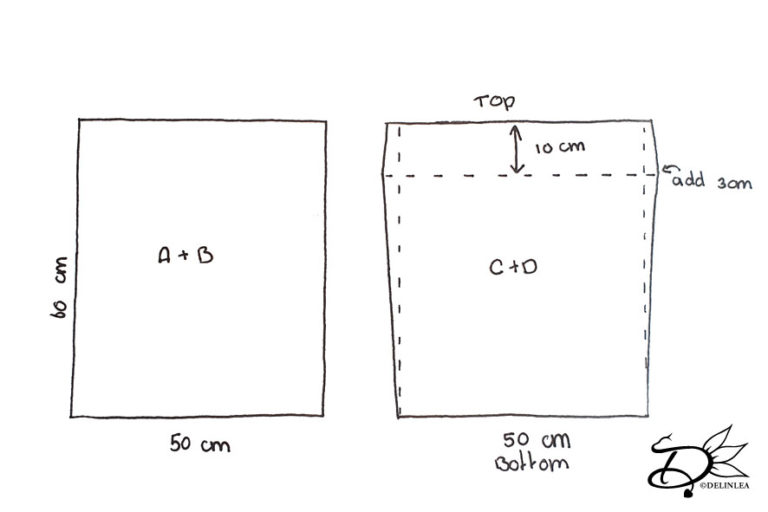
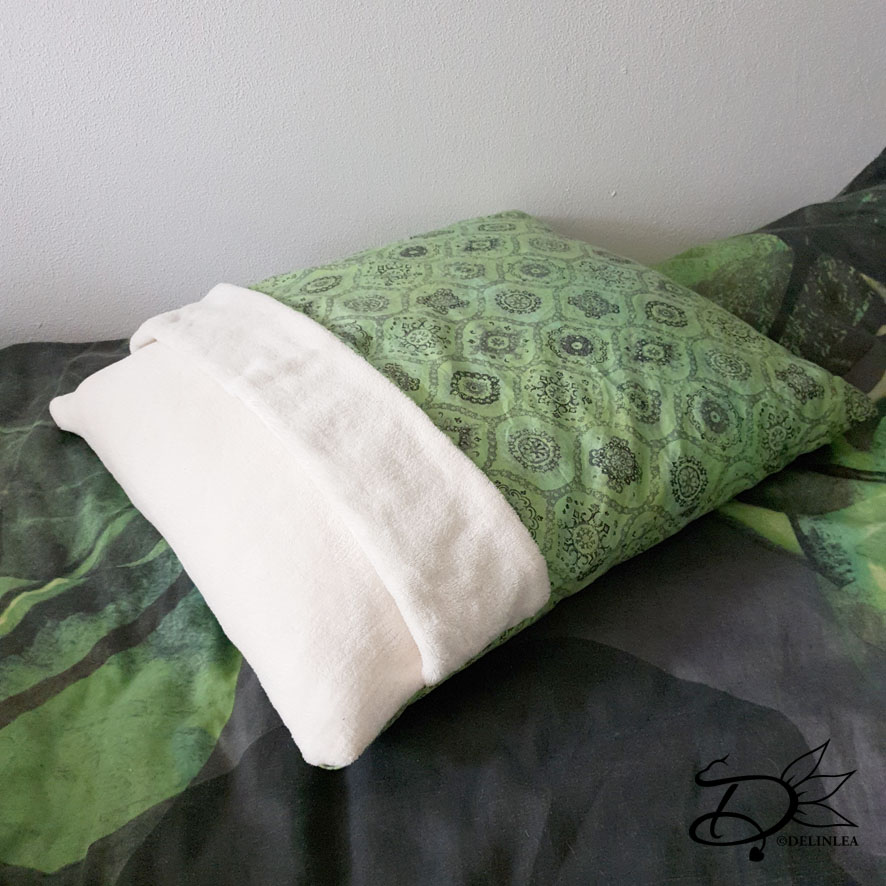
Now I wanted the “blanket” to be slightly bigger on one side so the cat can go in easily and have some space. And I wanted to flip a small part back, about 10cm, so it looks cute! Like they will be sleeping in a small bed.
Cutting Fabric
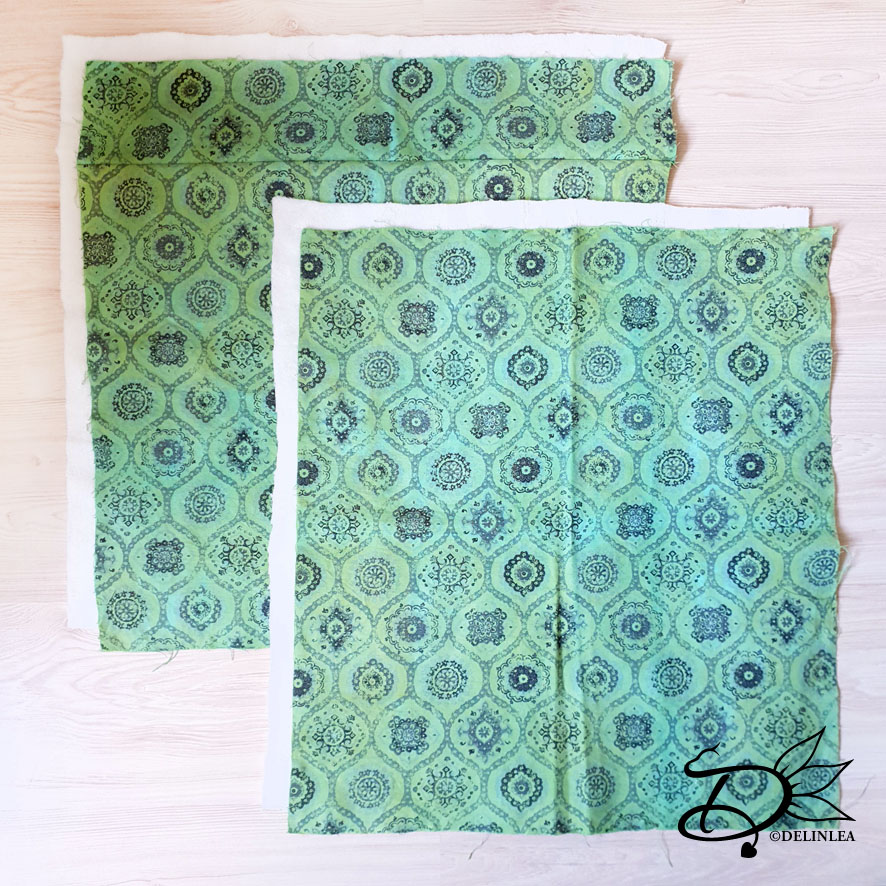
Cut a piece as big as your pillow from cotton (Part A) and one out of fleece (Part B), don’t forget to add seam allowance, about 1cm! This will be the pillow cover.
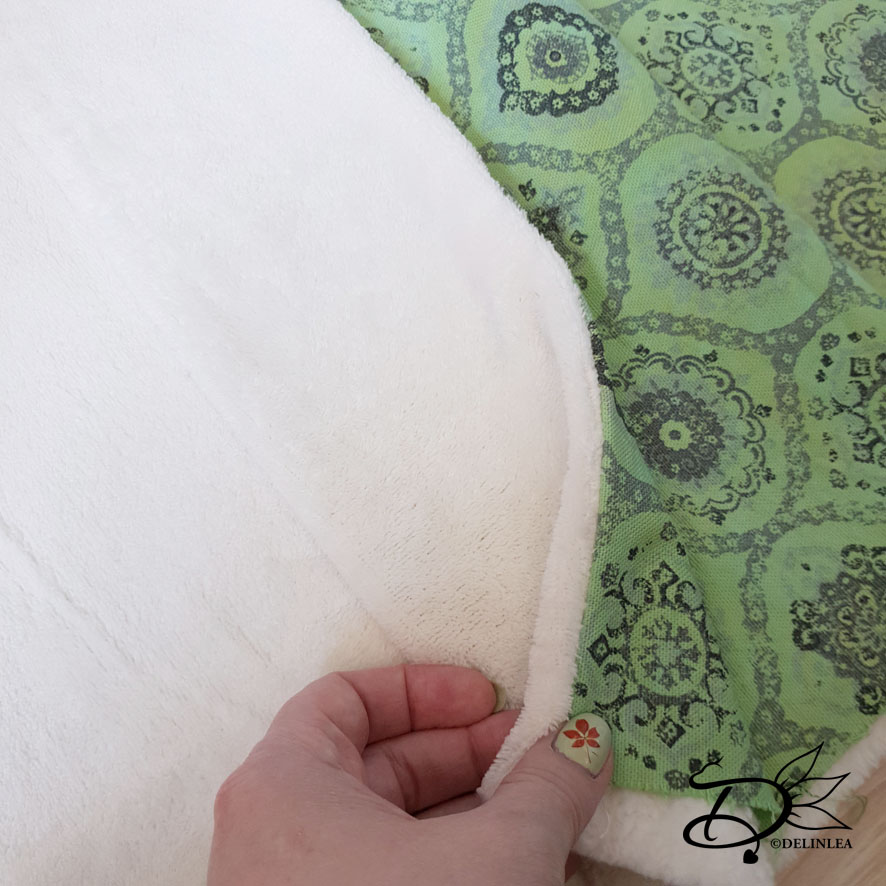
For the blanket, make a template first, from paper. Or draw directly on the cotton fabric if you want to, make sure you do this on the wrong side. Draw the size of your pillow, measure 10cm down one of the short sides, and add 3cm at the 10cm mark to the width. As you can see in the picture one of the shorts sides will be extended a bit as well. But since you might be using a different size pillow, the easiest way to do this is to cut the bottom part with seam allowance already, up to the 10cm mark, fold the fabric on the 10cm line and trace the sides of the bottom. (I did this wrong myself at first and had to cut of that 10cm that you’ll flip back later, and add it with another piece of fabric with the right measurements). When you’ve drawn that right, cut the remaining out as well. The cotton sheet will be Part C. Cut the same from Fleece (Part D).
Sewing the First Part
Take part C and D, lay these on top of each other neatly with the right sides on the inside. Sew only the top side together.
Flip the fabric, so the right sides are on the outside now, iron the seam if you want to, or make it at least neat.
Zipper
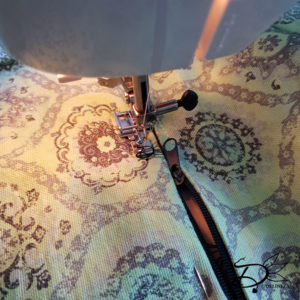
Sewing a zipper to a piece of fabric is not something I seriously know how to do, so if you don’t know how, maybe look up a tutorial. Add one part of the zipper, with sewing pins, to one of the short sides of part A, center it neatly. Sew this on using the sewing machine.
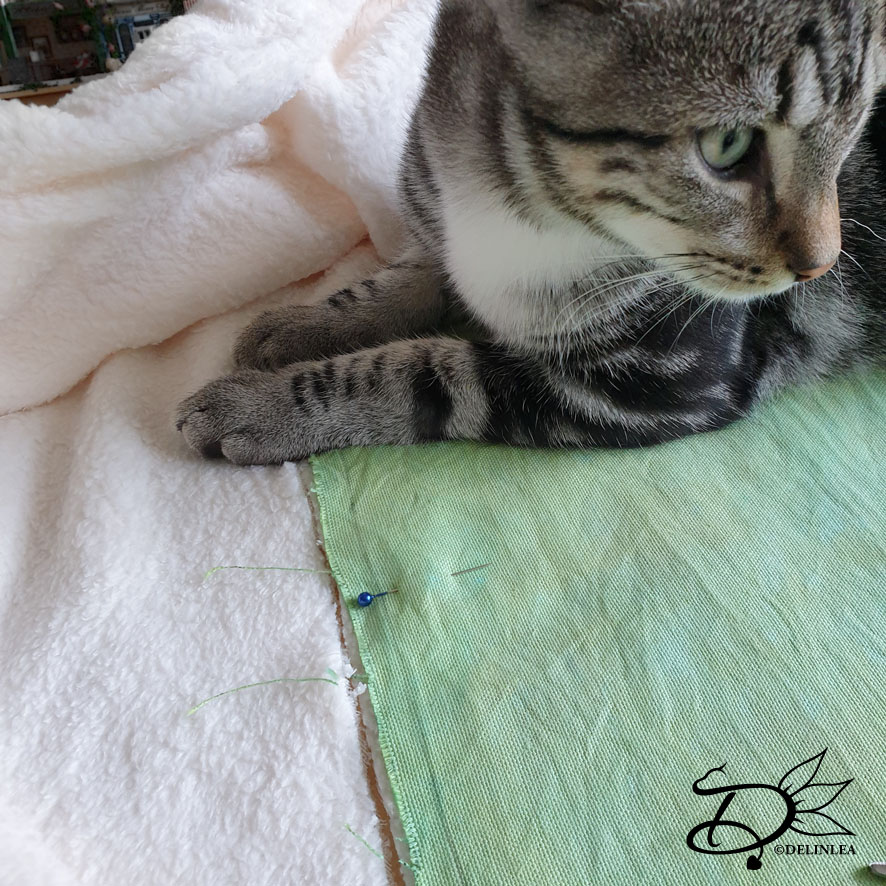
The other side of the zipper is a bit harder, the other 3 layers go this part. Part C and D you’ve sewn together just now, you will add the zipper to the bottom side. But before you do this, you’ve to put part B on top of part D, with the right sides together, line it up neatly. I’ve sewn those 3 layers together first, so I was sure it was all attached. Now center the zipper as well with sewing pins, make sure the cotton fabric (Part C) is facing up just like the other side of the zipper, and sew it on.
Finishing off
On to the last part, the zipper is attached. Put part A on top of part C with the right sides together. The pillow should be inside out right now. The hard part is gonna be the blanket at this point, but just make sure that all the sides are lined up and the 10cm part of the blanket should be flipped back now. Take your time to pin all the sides neatly, so you’ll only have a rectangle shape left.
Open the zipper if it wasn’t yet and start sewing around the all the edges but the zipper part. Take your time to sew it neatly, some parts have many layers, not all sewing machines like that. Just be careful. Trim the corners when you are done sewing, so it corners will look nicer after flipping.
Last is to flip the pillow cover inside out and put the pillow inside! You are done! You made it, I hope your cats will love it a lot. Luna has sit in it for a few seconds and left again, I think it’s not cold enough yet haha. Anyway, if you decided to make one as well, show it to me on Twitter or Instagram, I’d love to see how yours turned out!
I’m sorry for the lack of pictures, I was just in the flow and then I just forget things oops. I hope you don’t mind too much.
Have a wonderful day!
Love
Danielle
PS. if you love those kind of tutorials, maybe you’d like to support me on Ko-Fi?! So I can keep making content like this!
// ©2021 Delinlea / Danielle Kaal // Items made with this pattern may be sold in a limited number. Credit to ‘Delinlea’ is appreciated. Not allowed for mass production or commercial purposes. You may not reproduce, translate, share, freely distribute or sell this pattern as your own in digital or printed from.

