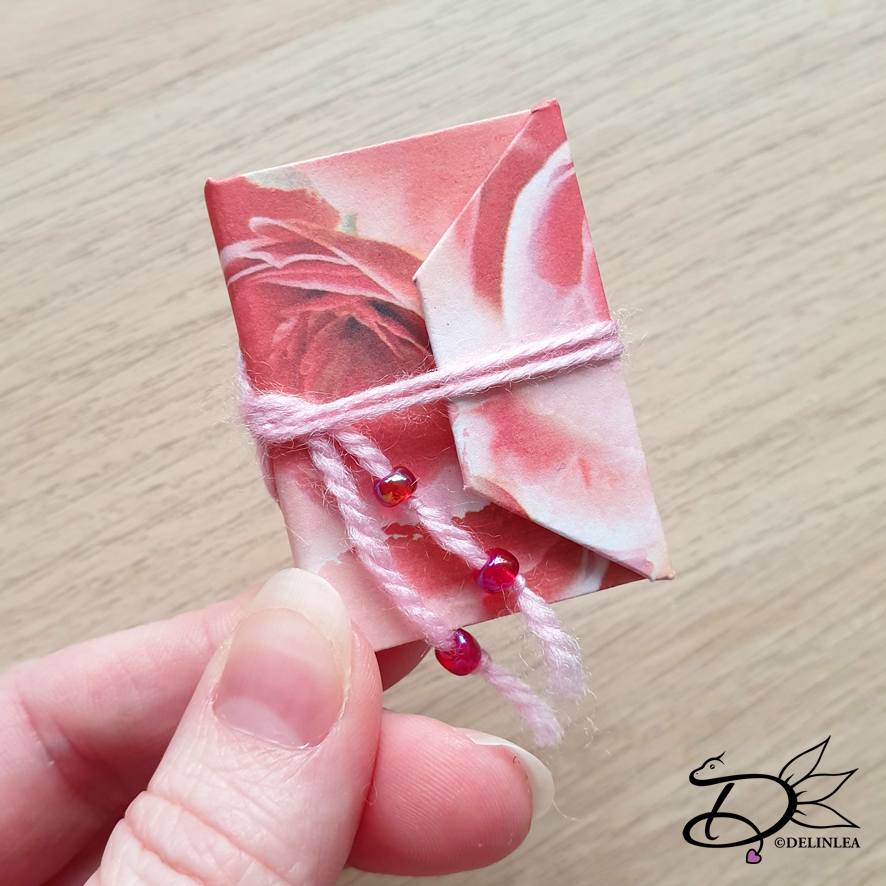
Hey Lovelies! Did you also survive the storm Ciara, if you lived in Europe? It really went nuts here, but nothing got damaged and I could walk most of the days without been blown away haha. I kinda like to walk outside when it storms, not completely sure why, just love it. For today I wanted to make a small booklet that looks like an envelope. I first wanted to create something else, but what I imaged, didn’t worked out in reality. So sad, but sometimes it’s like that. I hope you’ll like this tutorial. The booklet would also be very cute to use as a valentines gift with little notes or drawings, how cute would that be?!
For this DIY you’ll need:
♥ 1mm Board.
♥ Pretty Cardstock or Paper.
♥ Paper for the sheets inside, I used dark and light pink.
♥ Scissors.
♥ Ruler.
♥ X-acto Knive.
♥ Glue.
♥ Needle that’s strong enough to poke through board.
♥ Piece of Yarn, about 30cm.
♥ Beads. (optional)
DIY
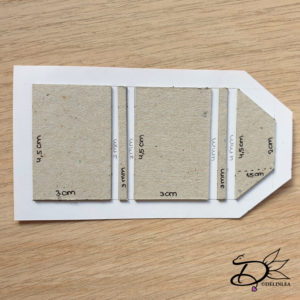
Cut the board to size, according to the picture below. All heights are the same, 4,5cm.
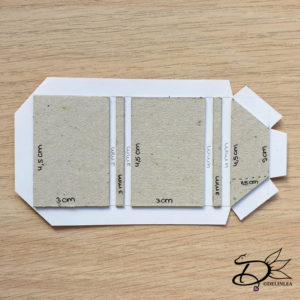
Then also cut the cardstock that you wanna use for the cover. The best way to do this is to start measuring out 0,75cm, then line up all the pieces including the space in between the spine pieces of the book, and add another 0,75cm. Add 0,75 on the top and bottom as well. Try to make it look like the picture below. (The good side of the paper is facing down).
Glue all pieces of board to the cardstock.
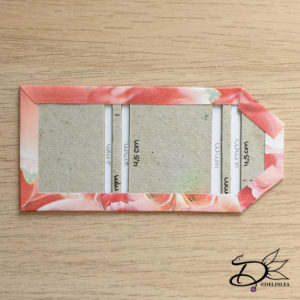
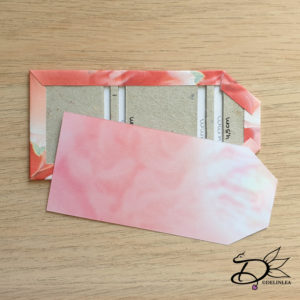
Now cut all the corners of the cardstock, like I did in the picture. Make sure to leave a little space close to the board (about 1mm) so the corners will get covered nicely.
Now glue all edges around the board.
For the
inside of the cover, choose some paper/cardstock you like and cut it to size.
It’s the same size but 1,5mm less from all edges.
Glue this to the inside.
Pages for the Booklet
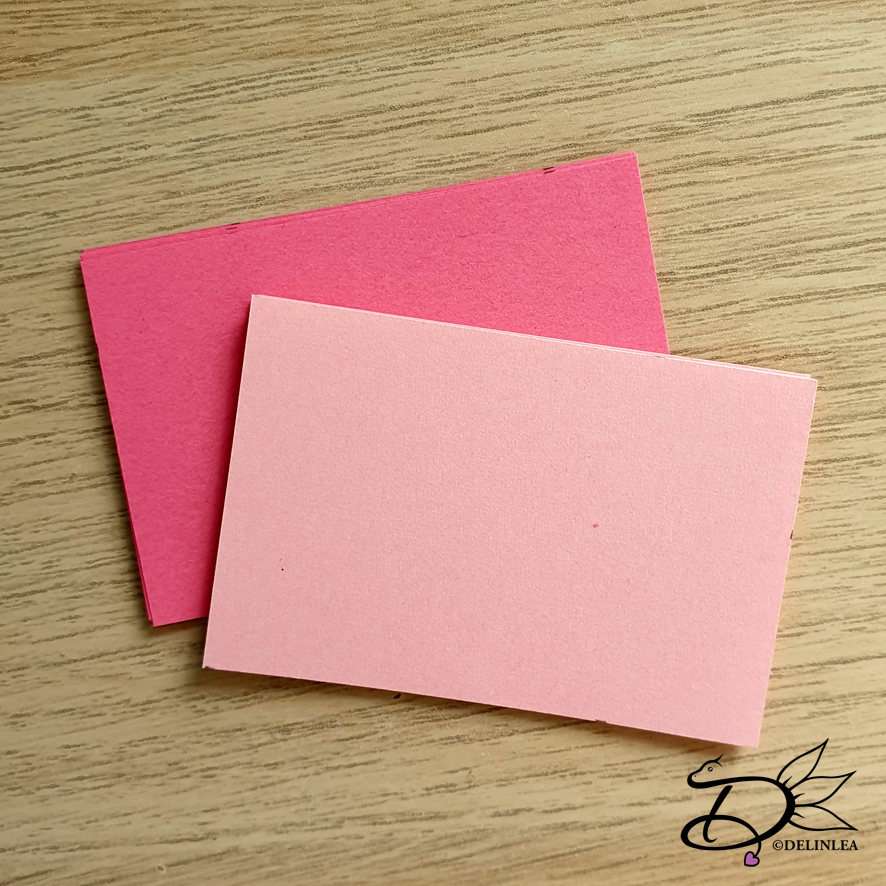
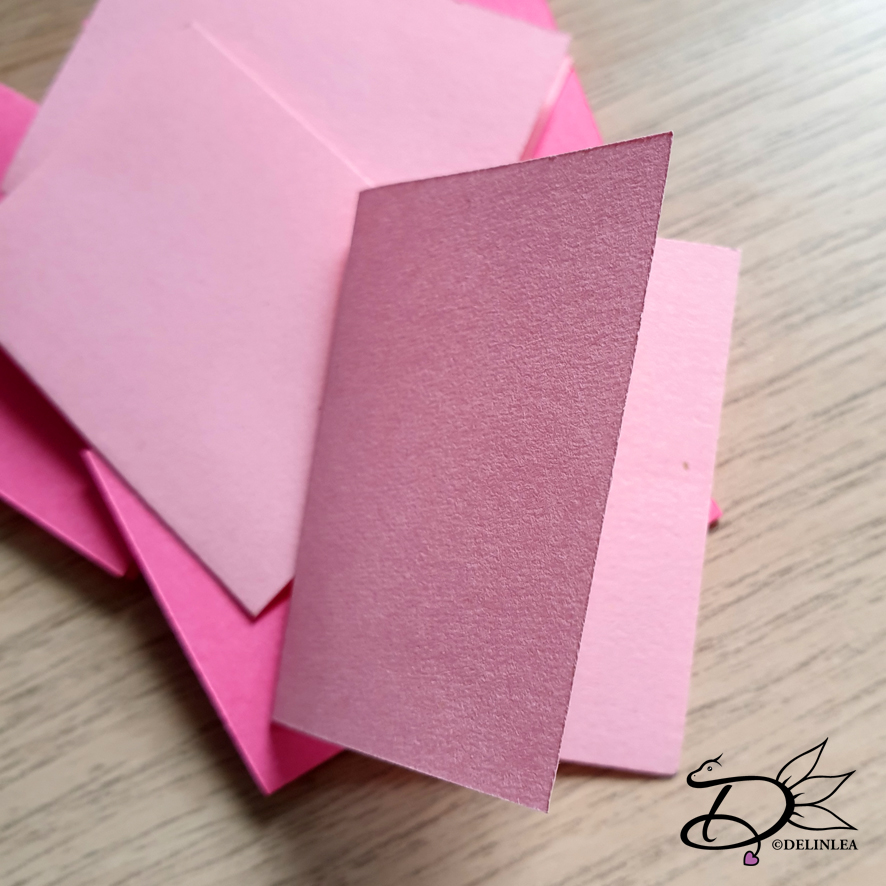
Cut 7 sheets of paper for the pages of the booklet, 6 by 4cm. Fold them in half on the short side, so you get folded sheets of 3 by 4cm.
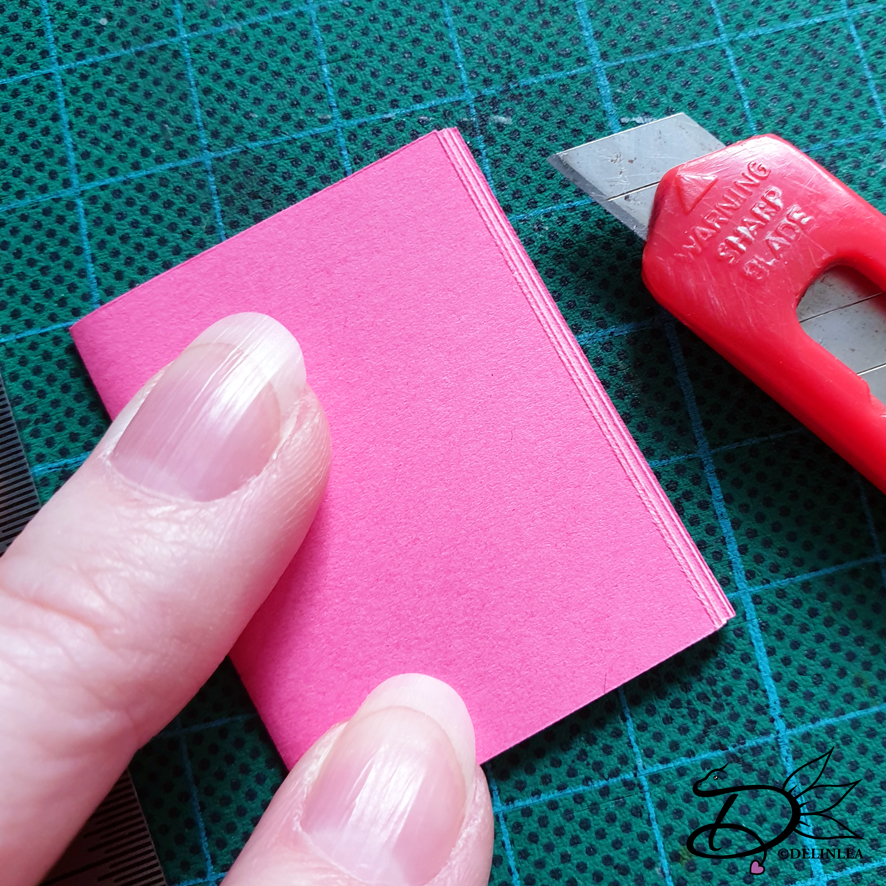
Stack all sheets together. As you will notice, when you stack them together, you can an outward facing V-shape on the side where you would open the book. You can leave them as it is. Or trim it down smooth. Just what you prefer.
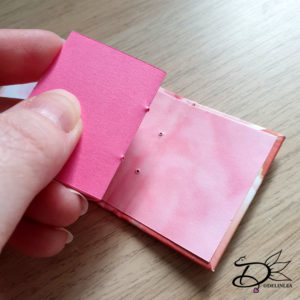
It’s time to make the binding holes. Measure 1,25cm inwards on the spine at the left side. Both from top and bottom so you’ll end up with 2 holes. Poke those through with a needle, make sure to be careful. Copy those holes to the pages and poke those through as well.
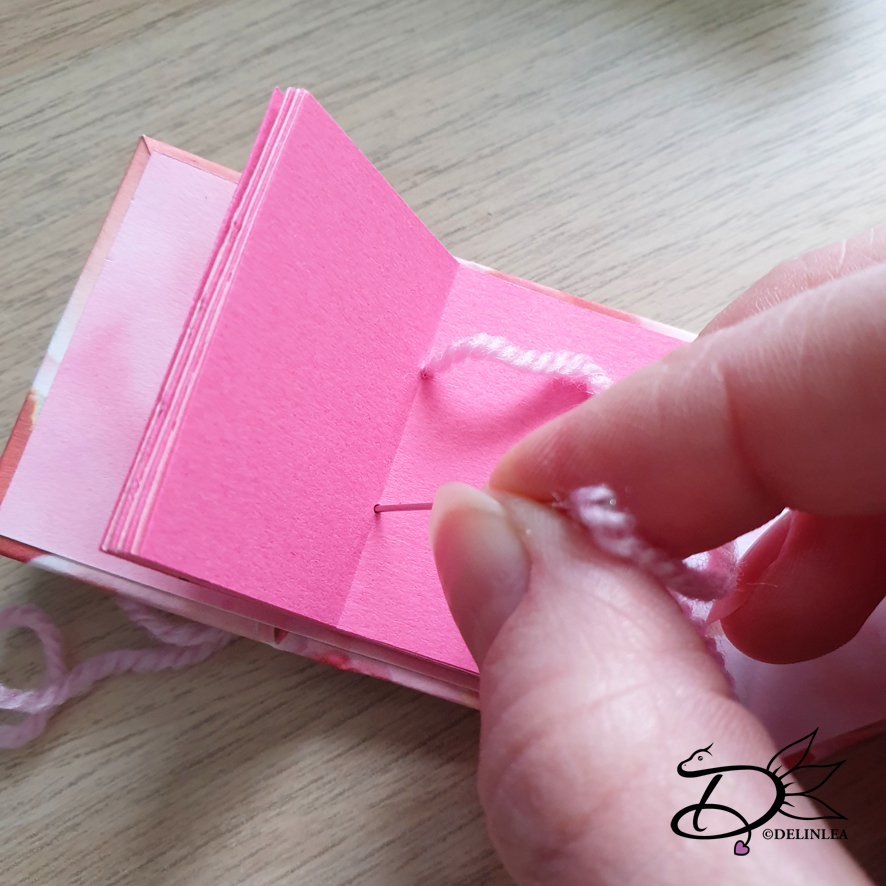
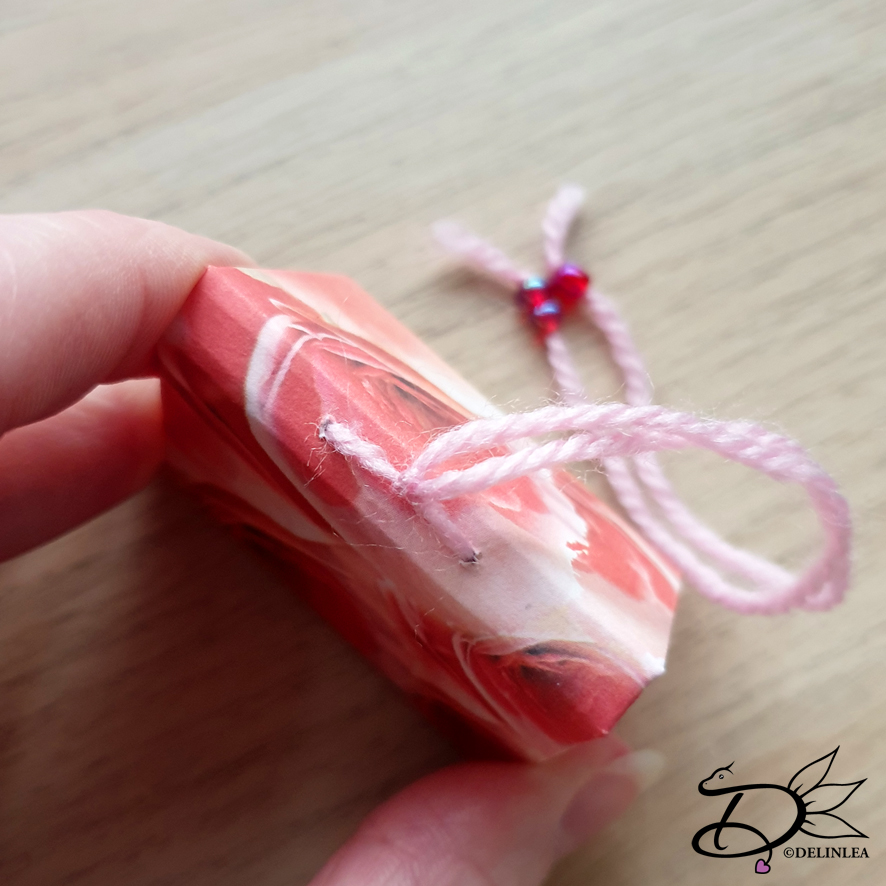
Using the yarn, put it on your needle and go from the outside of the book to the inside, through the stack of pages. Then go through the other hole to the outside again. Tie a knot on the outside, on the spine. Try to have even ends of the yarn.
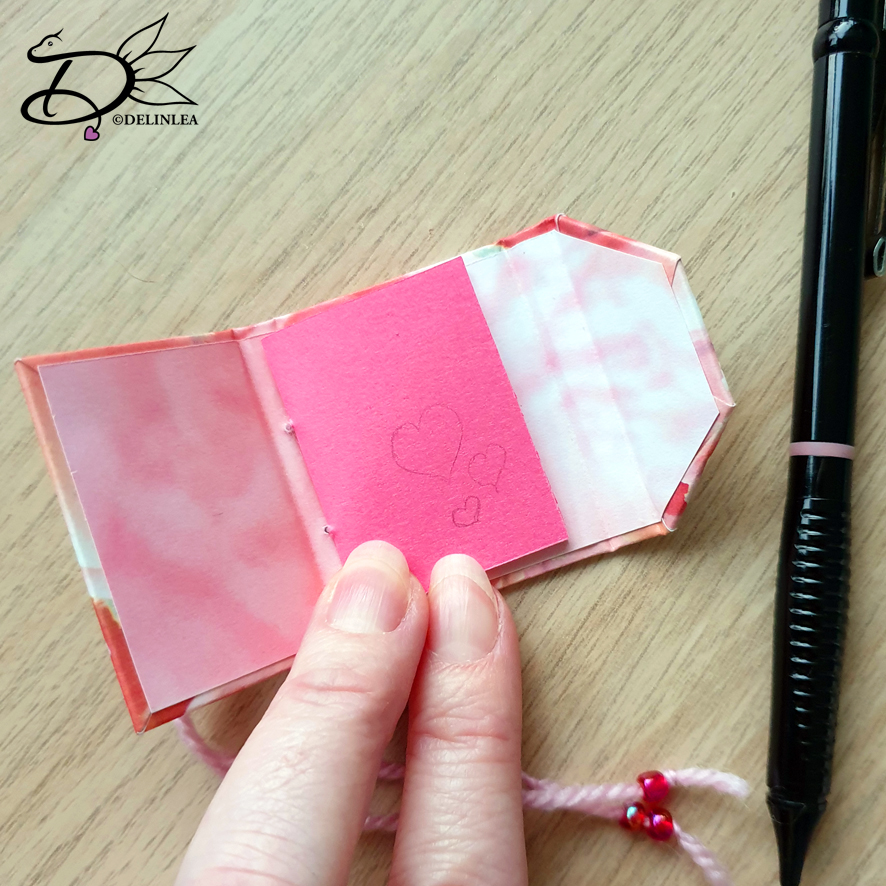
The ends of the yarn you can decorate if you prefer, for example with beads and use those ends to be able to close the book. You can also use a sticker for example to close it or anything else you can think of.
And you just reached the end of the DIY. I hope you enjoyed making this little booklet! It would be a fun gift for your valentine with a cute little message or drawings.
I hope you had fun, and I’ll see you next week!
Love
Danielle

