Delinlea - My little fantasy world
  • ♥ Home
  • ♥ About Me
  • ♥ Blogmas 2021
  • ♥ Free Patterns
    • ♥ Amigurumi; Spring/Easter
    • ♥ Amigurumi; Fall/Halloween
    • ♥ Amigurumi; Winter
    • ♥ Amigurumi Tsum Tsum
    • ♥ Amigurumi Ufufy
    • ♥ Amigurumi Others
    • ♥ Christmas Countdown 2017
    • ♥ Blogmas 2018
    • ♥ Blogmas 2020
  • ♥ Tutorials
    • ♥ Easter
    • ♥ Home Deco
    • ♥ Others
  • ♥ Drawing Lessons
  • ♥ FanFic
    • ♥ Chapter 1
    • ♥ Chapter 2
    • ♥ Chapter 3
    • ♥ Chapter 4
    • ♥ Chapter 5
    • ♥ Chapter 6
    • ♥ Chapter 7
  • ♥ Gallery
    • ♥ Crafts
    • ♥ Drawings
    • ♥ Poseable Art Dolls
  • ♥ Links
  • ♥ Contact
    • Privacy Policy

♥ Caran D’Ache Contest

1 maart 2018 by Delinlea 2 Comments

Hey Lovelies!

Today won’t be a DIY but I will be talking about my experience with a Contest and what I won. haha Okay I already gave it away. But you will get details later~

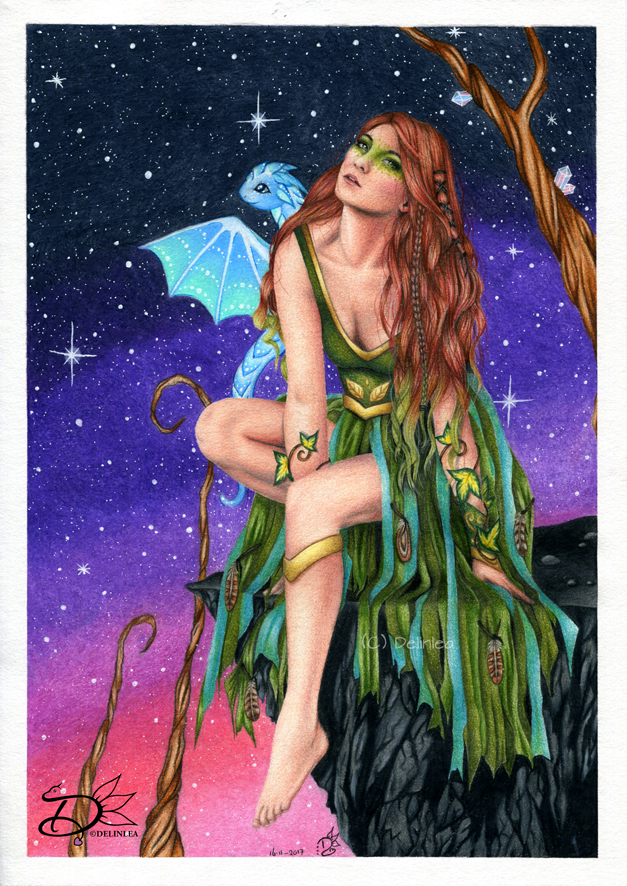
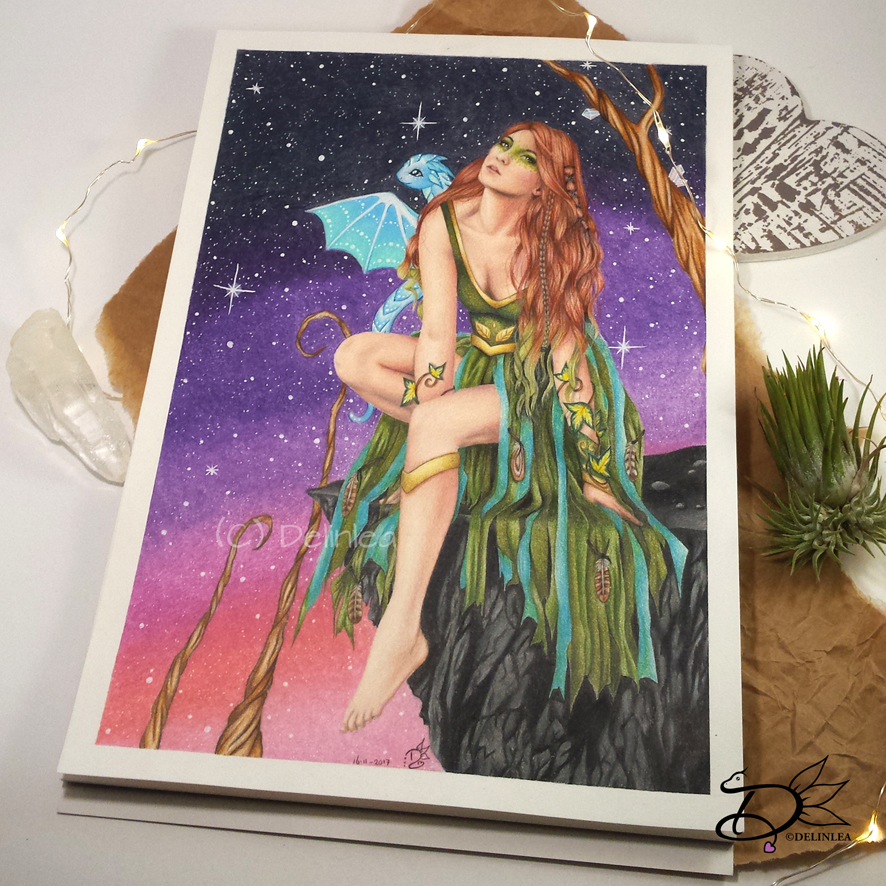
Back in November last year(!) (that feels ages ago already) Caran D’Ache announced on their instagram that they will hold a contest. And the theme was Super Heroes! Well.. to be honest, I am not really into super heroes. So the struggle started. As they said to create your own super hero, I got excited! Because.. now I could create a drawing that’s close to myself instead of drawing an already excisting super hero, that I don’t really like.
Super Hero

Caran D’Ache created this contest to celebrate the new super hero movie, Justice League. They made some ballpoint pens in order to celebrate. This was what you could win, a full set of Justice League ballpoint pens. And an additional prize will be chosen by one of the 3 CDArtists. So it depended on by who you got chosen as a winner in order to know what the exact prize would be. And as Heather Rooney, a CDArtist, (You should totally check her out!) was one of the judges.. I decided to join. I’ll tell you later why.

Tight Deadline

So the contest was announced nov 3rd, and the deadline was nov 17th. Pretty tight deadline, how to get a full colored drawing done in such a small amount of time, in the like busiest time of the year! I didn’t even had an idea yet of what to draw! aaaa! the frustration was real, I wanted to join so badly but ideas were lacking. So, I asked my brother and sister for some advice, since they do love super heroes. And my brother said ‘you should look up Poison Ivy, but you could use dragons as well in your drawing’. Actually I could do anything, as long as I made up a story. Well, I looked up Poison Ivy and that gave me finally some ideas after days of thinking of the subject.

I searched for some hours for the right reference I wanted to use. (This is the stock photo I used) I always have an idea of the pose I wanna use, but to find that pose in a picture within seconds. That never happened. I lost more time, but I could finally start after the struggle of coming up with an idea.


The Stock photo I used.

The Drawing

I believe I drew the whole drawing within a week. The last day I worked on it.. I pushed through to get it done. Since the next day I had to go to the dentist and that was also deadline day. Well I could tell you, I was so happy I pushed through and got it done before the dentist. Cause when I came back from there, I felt so sick (I’m horrible with anesthesia), I wouldn’t have been able to finish it if I didn’t finished it the night before.


Waiting

I got it up on Instagram, since that was the way to enter. And now the waiting started. There wasn’t a date set for the announcement, so, Yeah wait till there was activity somewhere haha.
On nov 25th the first 3 winners were announced by Heather! And YES I WAS ONE OF THEM! I was so excited! I couldn’t believe it! There were so many good entries! But I was in her top 3. Altough it wasn’t clear if I won something, I thought only the number 1 had won, and I was stated as second. A lot confusion over there. I tried to ask what I won, but nobody replied, until after the weekend. They changed the post and stated all 3 will get a full set of Justice League ballpoint pens and a box of Luminance 6901 colored pencils! YAY! That’s where I did it for! Those pencils.. they are just amazing! But so expensive, I only own 3 at that moment.

After all winners were be announced, 9 in total, Caran D’Ache contacted us privately (about a week past again) and asking us for our address. I gave it and they replied that it could be that we would recieve the goods at the end of December cause of busiest time of the year. All shipping was slow.

Lost hope

Time went by, I waited and waited, but still no package. In the mean time the year ended and new year started and still nothing. In the end I wrote them again, to tell them I still hadn’t reveived my things. And they didn’t reply.. I could see they saw my notice, but nothing back. Now I got really scared.. lost hope that I will ever get what I won. More time went by..

Someone rings the door..

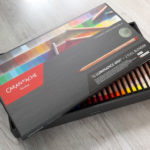
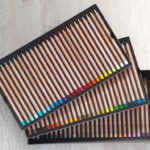
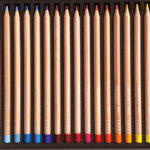
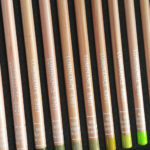
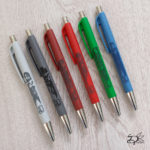
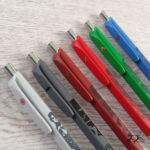
It was the end of January and someone rang the door, my mom opened and I thought it would be a package for my sister. But my mom said it was for me.. I was clueless cause I didn’t expect anything, right?! Then I saw the logo of Caran D’Ache on the package and I got so excited! I couldn’t believe it was finally here! I lost all hope but it is actually here! I immediatly started opening the huge box (it was bigger then expected). And I couldn’t believe my eyes!  IT WAS A FULL SET OF LUMINANCE 9601 COLORED PENCILS and 6 Justice Leagea ballpoint pens. I knew I would get these pens and pencils but I thought I would get a set of 12 Luminance colored pencils haha. It was never stated we would get a full set! Beyond amazing!

Here are some drooling pictures of the box and pens!



I haven’t tried the pencils yet, no time haha. But I hope to find some time soon to try them.. wait.. I wanna do a portrait with them, but who to draw?! *sigh the struggle is real.. every. time. But, I guess, that’s part of the creative process xD. I will let you know when I got the chance to try them!

Love Danielle
Posted in: Contest, Drawing Tagged: art, caran d'ache, contest, drawing, Fantasy, justice league, super hero

♥ Crochet Plant Pots, Ivy Part 4

22 februari 2018 by Delinlea Leave a Comment

Hey Lovelies!

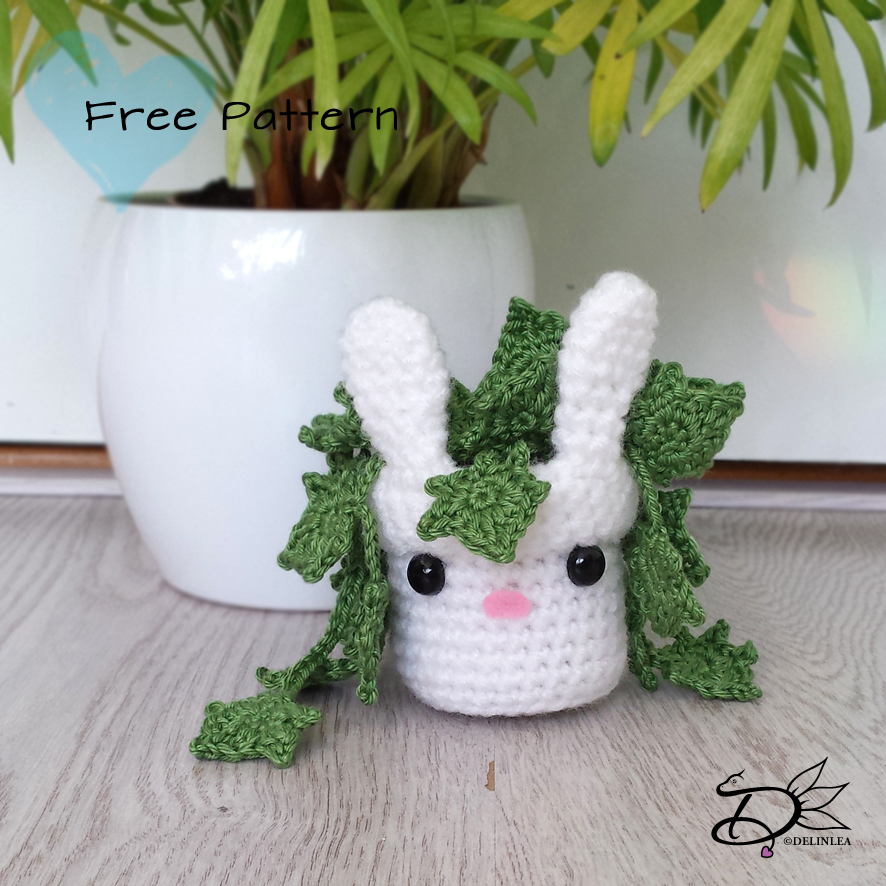
The last on of our plant pot series! today we will crochet some Ivy! I actually wanted to do a 2 colored one, but wasn’t sure how to do that, so I just made it in one color! Cute as well.

Plant pot can be found here.
Sanseviera Plant can be found here.
Senecio rowleyanus Plant can be found here.

Are you ready to crochet some Ivy?!

For this DIY you’ll need.
♥  Wool, in Green and Brown
♥  Crochet hook.
♥  Stitch marker.
♥  Yarn needle.
♥  Scissors.
♥  Fiber Fill
♥  Toilet roll tube. (optional)

Stitches used:
CH = Chain.
SC = Single Crochet.
HDC = Half Double Crochet.
DC = Double Crochet.
TR = Treble Crochet.
Picot
ST = Stitch.
Inc = Increase.
Dec = Decrease.
Slst = Slip Stitch.
(…) = Repeat the space in brackets the given number of times.
[…] = Total number of stitches.

Pattern:

Soil/ground:
in Brown.

1: 1: 6SC in magic ring. [6]
2: SC in each ST around. [12]
3: (1SC, inc), 6 times. [18]
4: (2SC, inc), 6 times. [24]
5: SC in each st around. [24]
Fasten off and leave long tail for sewing.

Ivy leaf small: (15)
In Green.

1: 6SC in magic ring. [6]
2: Crochet in the first st, 1SC, 1HDC, picot. In the second st you make 1SC, 1DC, picot, 1HDC. In the third st you make, 1DC, 1TR, picot. In the fourth st, 1TR, 1DC. In the fifth st 1HDC, Picot, 1DC, 1SC, picot. In the sixths st make 1HDC, 1SC and finish off with a slst. [14]
Now weave in the tail and set aside..

Ivy leaf Big: (5)
In Green

1: 6SC in magic ring. [6]
2: SC in each st around. [12]
3: Crochet in the first st, 2SC. In the second st you make 1HDC, 1DC, Picot. In the third st you make, 1SC, 1HDC. In the fourth st, 1DC, Picot, 1DC, 1HDC. In the fifth st, 1SC, 1HDC. In the sixths st make, 1DC, 1TR, Picot. In the seventh st, 1TR, 1DC. In the eighth st, 1HDC, 1SC. In the Ninth st, 1HDC, 1DC, Picot, 1DC. In the Tenth st, 1HDC, 1SC Picot. In the 11th, 1DC, 1HDC. And in the last st, 2SC and finish off with a slst. [26]
Now weave in the tail and set aside.

Assembling

To make the strings with leaves you have to crochet some chains and connect the leaves with an SC. I did about 5-6 CH in between each leave.
So, for example, CH5, add a big leave with an SC, CH6, add a small leave with a SC, CH6, add a small leave with an SC and fasten off and weave in tail. I made 3 of these.
I also made one with 2 small leaves. One with 1 big leave and 3 small leaves. One with 1 big leave and 4 small leaves.
Sew all of the Leave strings one by one to the soil/ground. I spaced them kinda evenly in the middle, but you can do it however you like them best.
Cut down your toilet roll tube to about 4 cm long, and place this inside you plant pot. I did this, so the pot will keep it’s shape. This is optional, you don’t have to do it.
Now sew in your soil/ground just above the toilet roll tube, or if you didn’t use it, just a bit under the edge of the pot. Make Sure to stuff the pot lightly before you entirly closed it with the soil/ground.

And you are done with your adorable plant pot with ivy! And this was the last one of these tiny series. Next week something different! You will see~.

Have a lovely day everyone

Love
Danielle

Posted in: Crafting, Crochet Tagged: Amigurumi, Crochet, DIY, Free Pattern, haken, ivy, plant

♥ Crochet Plant Pots, Senecio rowleyanus part 3

15 februari 2018 by Delinlea Leave a Comment

Hey Lovelies!

A new week for a new DIY! For this weeks DIY I will continue the plant pots! We will make a Senecio rowleyanus plant! I always loved these succulents, but I thought I never would own a real one. Never saw one in our stores.. until, some time ago! I bought a tiny plant, it will grow bigger soon I hope! haha I just love these! Anyway I wanted to crochet one as well so here we go!

Oh BTW, before we start, here you can find how to make the plant pot itself, and here you can find how to make a Sanseviera Plant.

For this DIY you’ll need.
♥  Wool, in Green and Brown.
♥  Crochet hook.
♥  Stitch marker.
♥  Yarn needle.
♥  Scissors.
♥  Toilet roll tube. (optional)

Stitches used:
CH = Chain.
SC = Single Crochet.
ST = Stitch.
Inc = Increase.
Dec = Decrease.
Slst = Slip Stitch.
(…) = Repeat the space in brackets the given number of times.
[…] = Total number of stitches.

Pattern:

Soil/ground:
in Brown.

1: 1: 6SC in magic ring. [6]
2: SC in each ST around. [12]
3: (1SC, inc), 6 times. [18]
4: (2SC, inc), 6 times. [24]
5: SC in each st around. [24]
Fasten off and leave long tail for sewing.

Senecio rowleyanus small chain: (5)
In Green.

1: Chain 20
2: Insert hook in 2nd chain, 4SC, insert hook in 1st ST. [4]
3: Inc in each ST around. [8]
4: SC in each ST around. [8]
5: Dec all around. [4]
Fasten Off and weave in tail. Now, repeat row 2-5, two more times. Space them evenly on the chain. I did them in about every 5th chain. You will end up with 3 balls/leaves on the chain.

To make different lengths of the leave chains. I have used a count of 25CH and 35CH. For the 25CH I have 4 balls/leaves, make these 4 times. For the 35CH I have 6 balls/leaves, make these 3 times.

Assembling

Cut down your toilet roll tube to about 4 cm long, and place this inside you plant pot. I did this, so the pot will keep it’s shape. This is optional, you don’t have to do it.
Sew all of the Leave chains one by one to the soil/ground. I spaced them kinda evenly in the middle, but you can do it however you like them best.
Now sew in your soil/ground just above the toilet roll tube, or if you didn’t use it, just a bit under the edge of the pot. Make Sure to stuff the pot lightly before you entirly closed it with the soil/ground.

And you are done with your adorable plant pot with plant. Next week I will teach you how to make another plant, the last one. After we are done with the plant pots I will come up with something new! ^-^ And don’t forget to share your Senecio rowleyanus plant with the #DelinleaDIY

Have a nice day everyone!

Love
Danielle


Posted in: Crafting, Crochet Tagged: Amigurumi, Crochet, DIY, Free Pattern, haken, plant, Senecio rowleyanus

♥ Valentines DIY: Bear Sock Plush

8 februari 2018 by Delinlea Leave a Comment

Hey Lovelies!

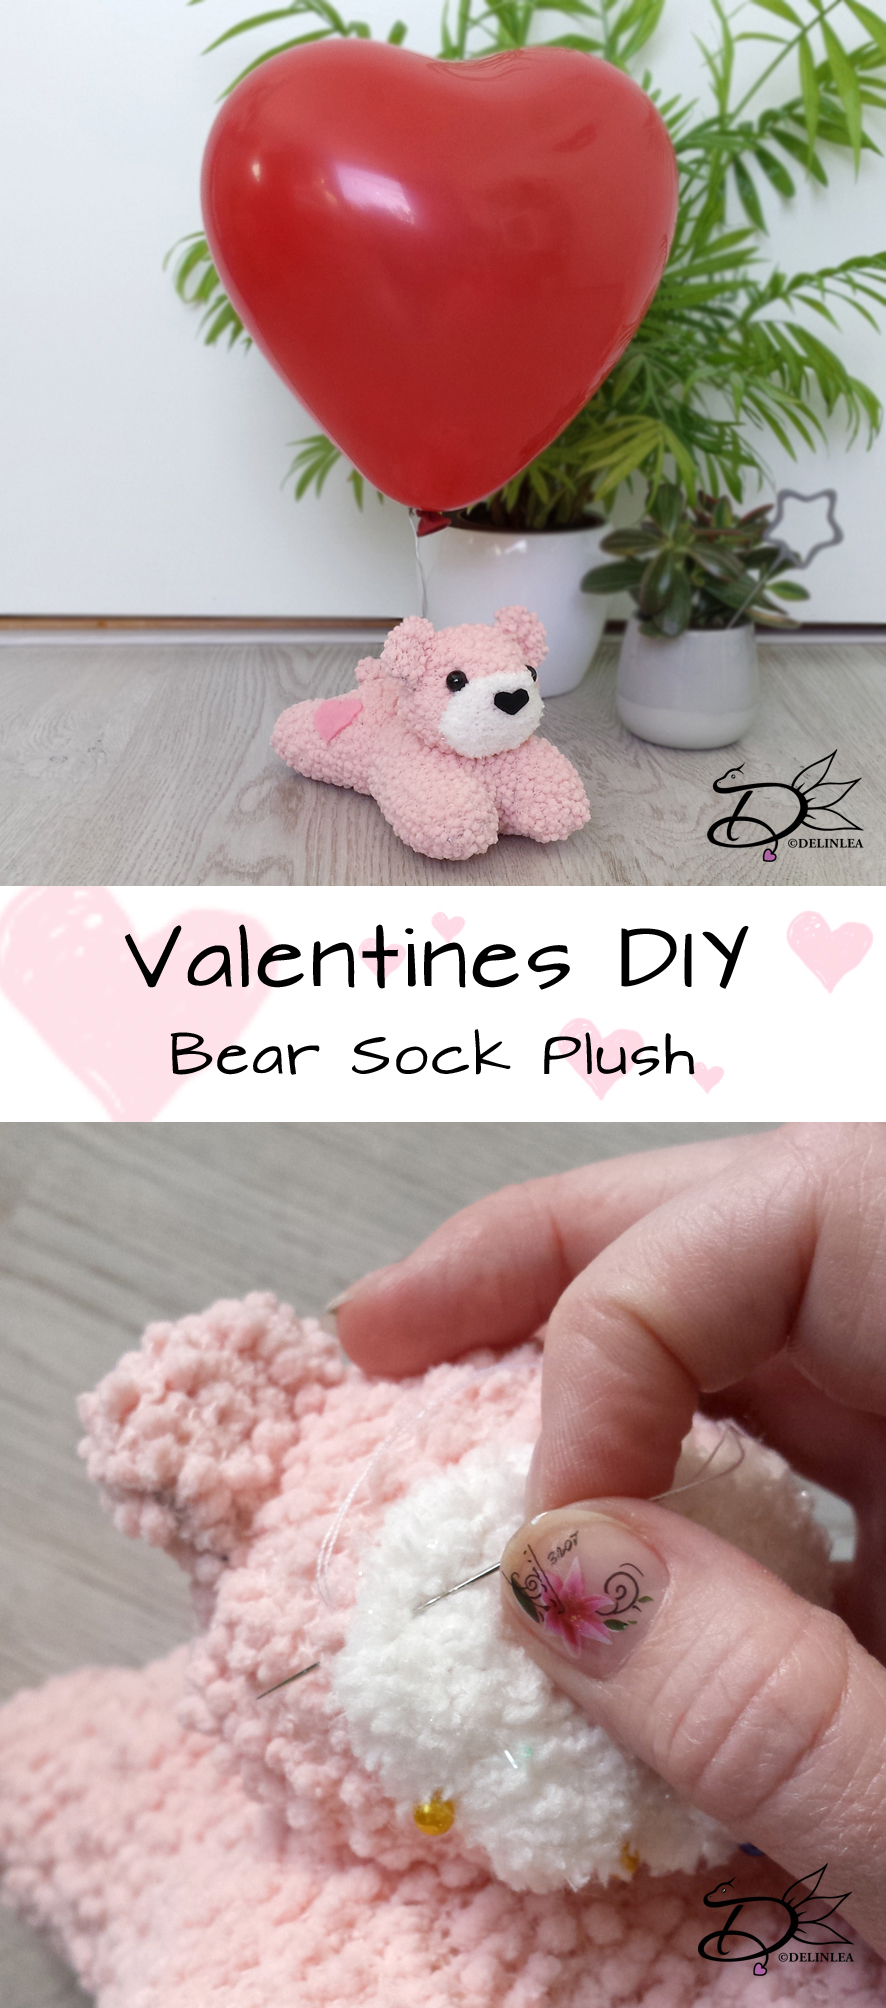
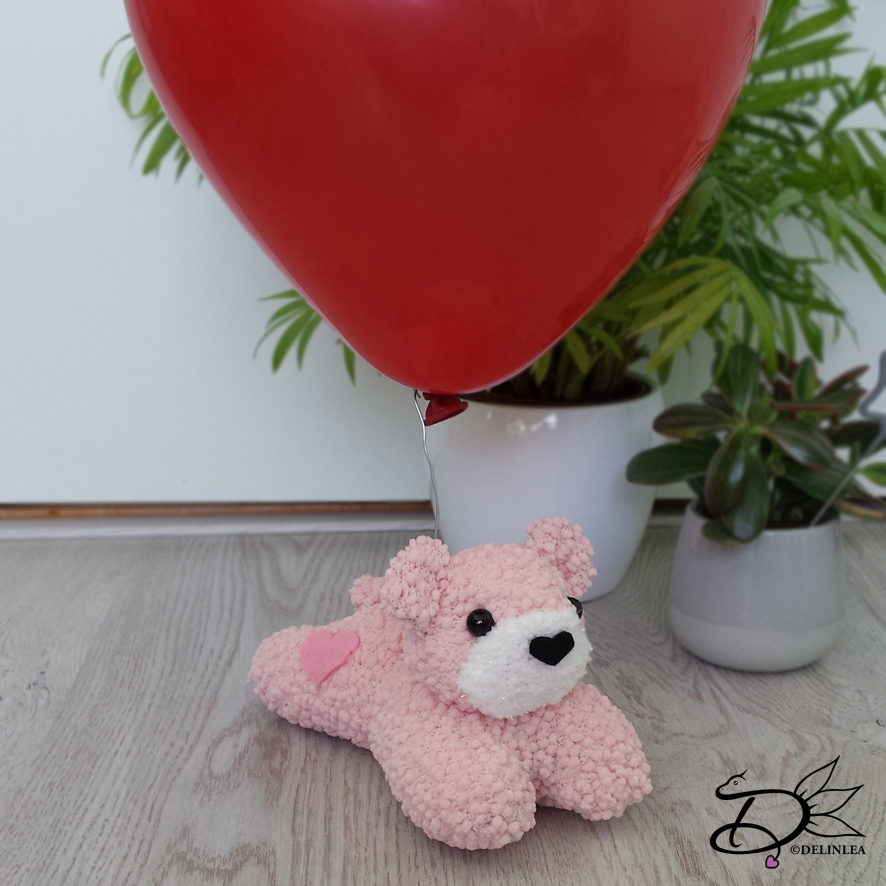
If you didn’t notice yet, wednesday, next week, it’s valentines day! Okay, I have nothing with that day, I won’t even celebrate.. forever alone day hahaha. But I thought let’s make a DIY for those who will celebrate and have no clue yet what to give~. So, why not make a sock pluch, that’s easy to make, yet cute! Sounds good, right?! Well let’s make a cute little bear with a balloon.

For this diy you’ll need:
♥ A fluffy sock in a color of choise. (I used pink, you can use 2 socks if you feel you don’t have enough of 1).
♥ A (scrap piece of a) white fluffy sock (or other fabric).
♥ Felt in Black and Pink.
♥ Needle and thread.
♥ Scissors.
♥ Marker.
♥ Glue (optional).
♥ 2 Beads.
♥ Wire.
♥ Heart shaped balloon.

Tutorial:

Body

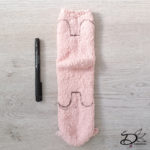
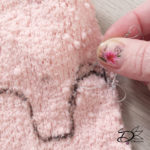
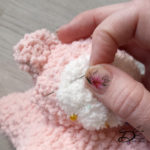
Turn your sock, that you wanna use for the body, inside out. Now draw out the legs as shown in the picture (keep the heel in the middle). I used a black marker to make the lines, so you can see better, but use whatever color you feel comfortable with (black can show through). Now, sew along those lines with a matching color of thread.

When you are done sewing the legs, cut around the lines. BUT not on the lines, don’t cut your just sewn lines haha.
Now draw a half circle on the heel and cut this out, keeping both sides of the heel together, so you’ll end up with a circle, you will use this part for his tail. Put this aside, I’ll come back about it later.
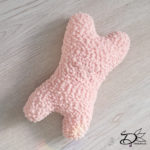
Turn the body inside out and stuff it. Make sure you stuff the legs slightly more as the body it self, so you’ll get a bone shaped body.
It’s time to close up the hole in the body, use a straight stitch along the edge of the hole, and pull tight. (try to push the edges inside when pulling it tight.) For now we are done with the body, put aside until later.


Ears

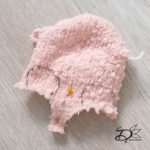
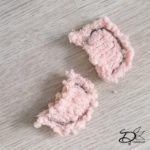
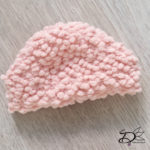
Get the toe part of the sock, which you cutted off earlier and draw 2 ear shapes on the open side. Don’t make them to big, cause the rest of the toe part you will use for the head. Sew along the the lines and cut them out.


Head

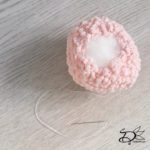
The rest of the toe part you will use for the head. Cut the opening straight and turn inside out. Sew with a Straight stitch along the edge. Pull the thread slightly and stuff. When you are done stuffing, pull the thread completly~ and finish off.


Tail

Find the circle you cutted out from the heel. Sew along the edge with a straight stitch. Pull the thread slightly and stuff the tail a bit. Now pull the thread completly and tie it off.

Assembling.

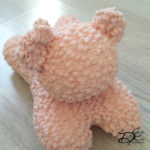
Sew the head to the front part of the body and the tail on it’s butt. Place the ears with safety pins on the head so you can position them well. When you are happy with the position, sew them on.
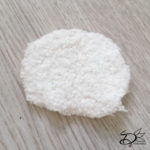
Now cut out a oval from a white fluffy sock, this will be the mouth, with safety pins, I placed it on the head and sew it on. Now draw a heart shape on black felt, this will be the nose. Cut it out and glue it on if you are laze like me (okay I’m not really lazy, my arm hurts >_<) or you can sew it on of course. Mark the position for the eyes with a marker. And with needle and thread you’ll gonna sew the eyes (beads) on.
Now cut out an additional heart out of pink felt and glue this on his butt.


Attach some wire around his body, leave about 10cm standing up and finish it with a circle. Blow up the balloon and put it inside the circle of wire. And you are done with you cute Valentines gift!

I hope you enjoyed this tutorial! I know I had fun and I have made this cutie for myself haha. Why not tread yourself, right?!

Happy early Valentines day everyone!

Love
Danielle


Posted in: Crafting, plush Tagged: bear, DIY, free tutorial, sock plush, Valentine

♥ Crochet Plant Pots, Sanseviera part 2

1 februari 2018 by Delinlea Leave a Comment

Hey Lovelies!

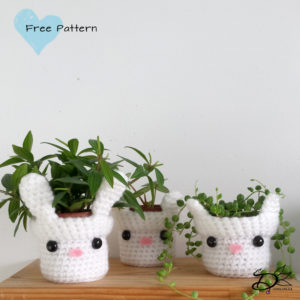
Last week I gave you a pattern of adorable crochet plant pots! You could make 3 versions, and leave them as they are.

But as promised I will teach you to make a fake plant for them! The best thing is that when you finish it, you don’t have to care for it at all, and it will stay as pretty as it is! Awesome, right?!

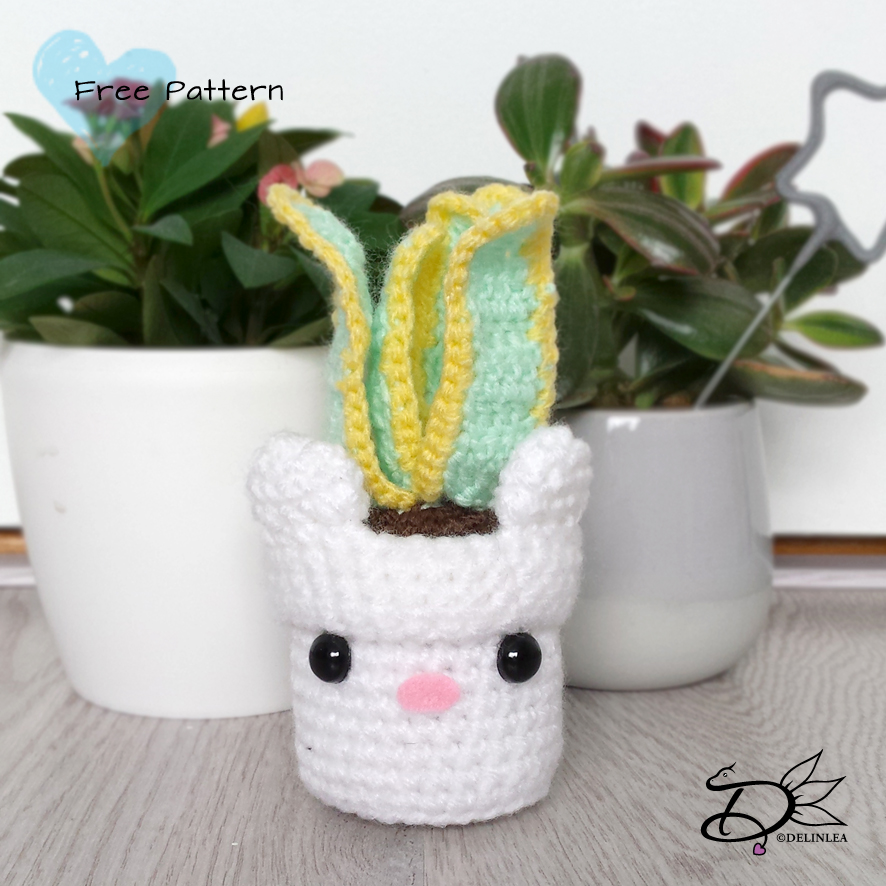
So, I decided to make a Sanseviera today. It’s a pretty easy plant to crochet but looks still cute. I made it with pastel colors but you are free to change it up to your likings! ^-^

For this DIY you’ll need.
♥  Wool, in Pastel Green and Pastel Yellow and Brown
♥  Crochet hook.
♥  Stitch marker.
♥  Yarn needle.
♥  Scissors.
♥  Toilet roll tube. (optional)

Stitches used:
SC = Single Crochet.
DC = Double Crochet.
ST = Stitch.
Inc = Increase.
Dec = Decrease.
Slst = Slip Stitch.
(…) = Repeat the space in brackets the given number of times.
[…] = Total number of stitches.

Pattern:

Soil/ground:
in Brown.

1: 1: 6SC in magic ring. [6]
2: SC in each ST around. [12]
3: (1SC, inc), 6 times. [18]
4: (2SC, inc), 6 times. [24]
5: SC in each st around. [24]
Fasten off and leave long tail for sewing.

Sanseviera leave small: (3)
Start with Pastel Green.

1: Chain 6, insert in 3rd chain from hook, 4DC, Turn. [5]
2: Chain 2 (this will count as the first DC), 4DC, Turn. [5]
|
4: Chain 2, 4DC, Turn. [5]
5: Chain 2, 2DC, Dec, Turn. [4]
6: Chain 2, 1DC, Dec, Turn. [3]
7: Chain 2, Dec,  [2]
Fasten Off and leave long tail for sewing.
Now, crochet with Pastel Yellow, SC around the 2 long sides of the leave, Fasten off and weave in tail.

Sanseviera leave large: (3)
Start with Pastel Green.

1: Chain 6, insert in 3rd chain from hook, 4DC, Turn. [5]
2: Chain 2 (this will count as the first DC), 4DC, Turn. [5]
|
6: Chain 2, 4DC, Turn. [5]
7: Chain 2, 2DC, Dec, Turn. [4]
8: Chain 2, 1DC, Dec, Turn. [3]
9: Chain 2, Dec,  [2]
Fasten Off and leave long tail for sewing.
Now, crochet with Pastel Yellow, SC around the 2 long sides of the leave, Fasten off and weave in tail.

Assembling

Cut down your toilet roll tube to about 4 cm long, and place this inside you plant pot. I did this, so the pot will keep it’s shape. This is optional, you don’t have to do it.
Now sew in your soil/ground just above the toilet roll tube, or if you didn’t use it, just a bit under the edge of the pot. Make Sure to stuff the pot lightly before you entirly closed it with the soil/ground.
Get your 3 small leave and sew those together, you only have to sew the short side of the leaves together. Now sew your 3 large leaves around the 3 small ones.
When all the leaves are sewn together to your likings, then sew them to the soil/ground. You can also use (hot) Glue if you are lazy haha.

And you are done with your adorable plant pot with plant. Next week I will teach you how to make another plant, or maybe the week after, since Valentines day is coming up as well, maybe I’ll do a DIY for that.

Until then, and stay Healthy and Safe!

Love
Danielle
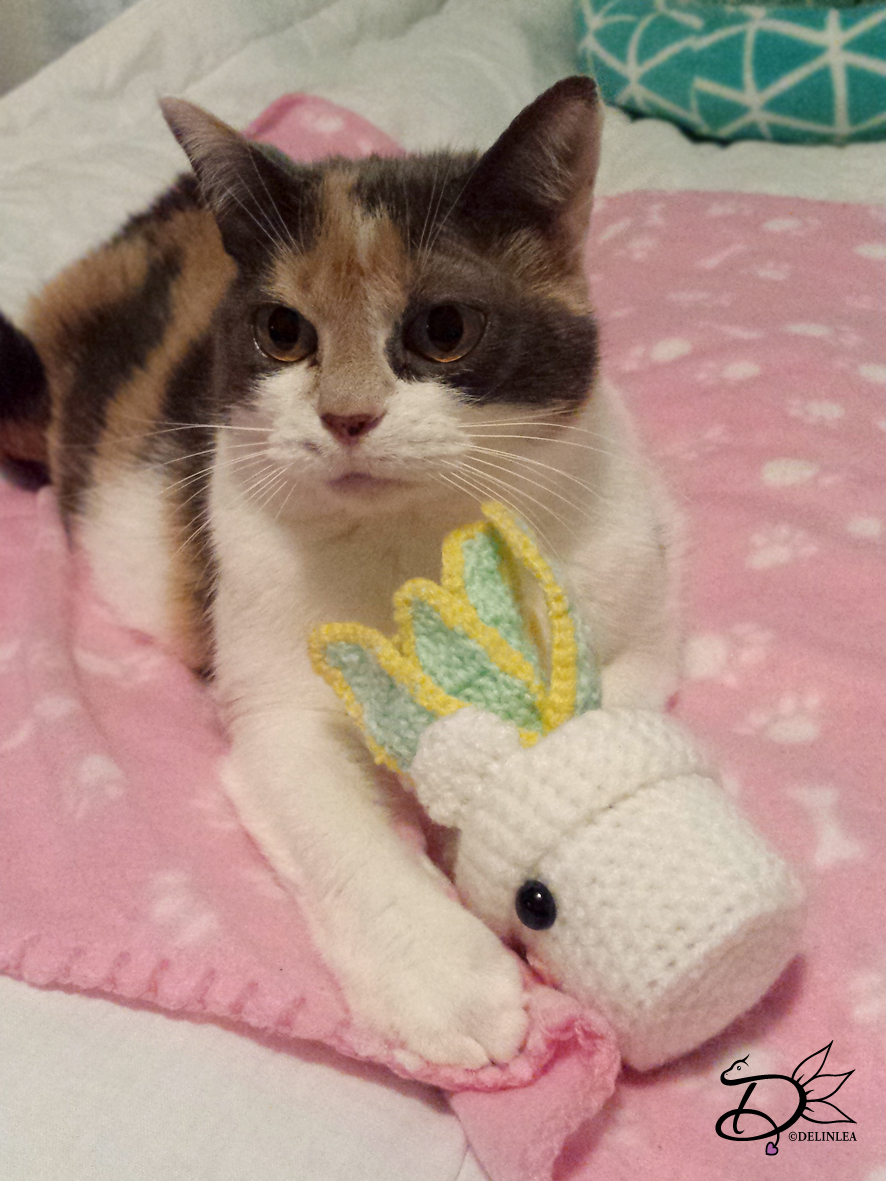
Bonus picture, my cat didn’t give me the plant back anymore, Dangerous xD.

Posted in: Crafting, Crochet Tagged: Amigurumi, Crochet, cute, DIY, Free Pattern, haken, plant, sanseviera
« Vorige 1 2 3 4 5 … 39 40 41 42 43 44 45 46 47 48 49 50 51 52 Volgende »

What are you looking for?!

My Socials

Ko-Fi

I love making all these free things for you, tho it would be very helpfull if you can support me on Ko-Fi! (You don’t have to tho, totally up to you!)

Ko-Fi Shop!!

In my Ko-Fi shop you can find PDF Amigurumi Patterns!! You can pay easily with PayPal.
Go to the shop here!!

Recent Blog Posts

  • ♥ Happy 2022!
  • ♥ Day 12; Lights
  • ♥ Day 11; Flower Deco
  • ♥ Day 10; Snowman
  • ♥ Day 9; Gingerbread Houses

Recent Comments

  • Erzsebet M. Marosvari op ♥ My Entry For a Faber Castell Contest
  • Delinlea op ♥ Pietje Gnome Amigurumi
  • Delinlea op ♥ Toy Story Alien TsumTsum Amigurumi
  • Delinlea op ♥ Pua Tsum Tsum Amigurumi
  • Charli op ♥ Free Pattern; CNY Mouse Amigurumi

Categories

  • animation
  • Beadwork
  • Blogmas 2018
  • Blogmas 2020
  • Blogmas 2021
  • Books
  • Bujo
  • Christmas
  • Christmas CAL 2019
  • Christmas Countdown 2017
  • Contest
  • Crafting
  • Crochet
  • Drawing
  • Drawing Lesson
  • Easter
  • Geen categorie
  • Life
  • Miniature
  • Nail Art
  • New Year
  • Paper
  • plush
  • Pokemon
  • Poseable Art Doll
  • Recipe
  • Sewing
  • Shop Pattern
  • Sinterklaas
  • Social Media
  • Tsum Tsum
  • Ufufy

Copyright © 2026 Delinlea - My little fantasy world.

Family WordPress Theme by themehall.com