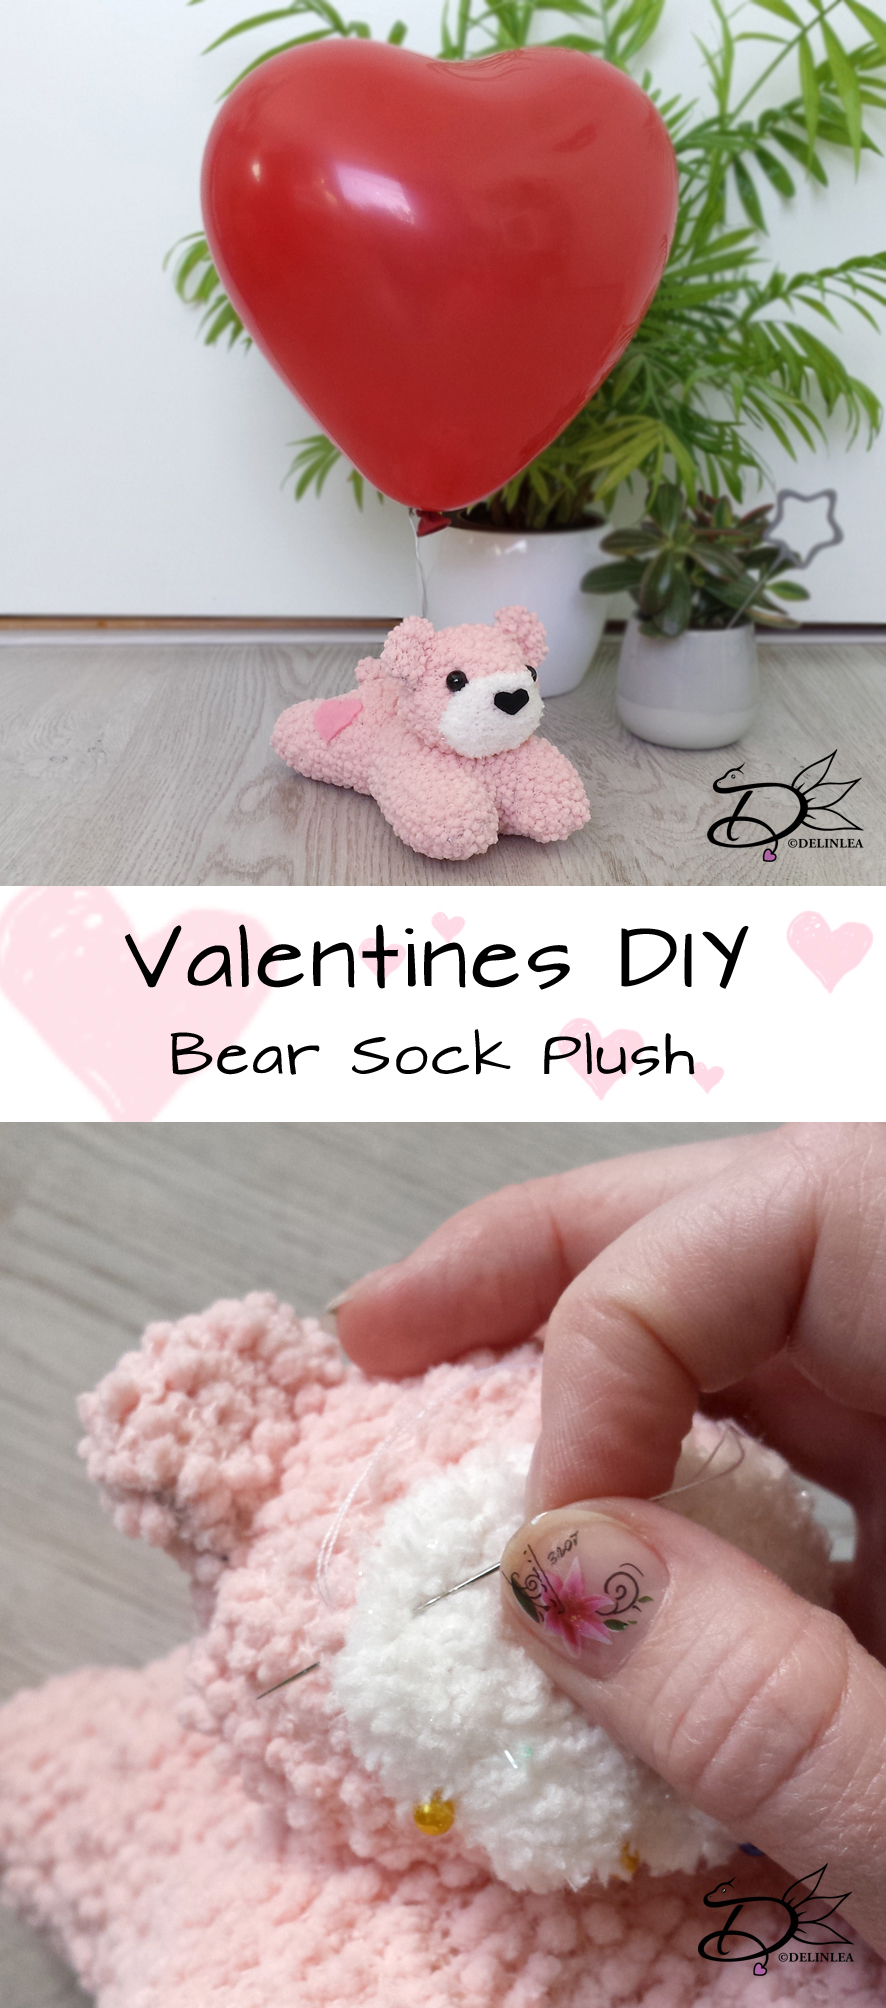
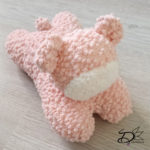
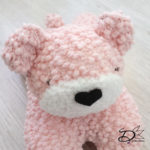
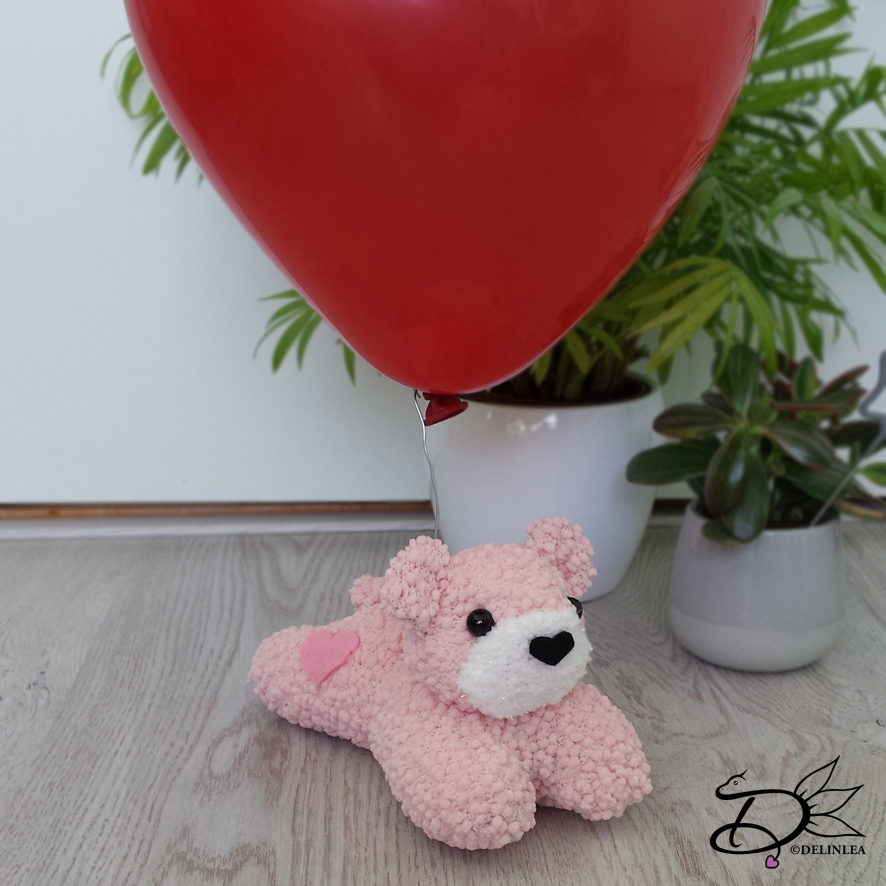
♥ Free Pattern; Hearty
Hey Lovelies! Are you ready for today’s blog? I hope you are. Soon it will be Valentine’s day, so to stay in the love thoughts I made something with a heart, used as a body for today’s amigurumi! You can make this for your lover.. or.. maybe even better something just for yourself. It’s very important to love yourself! Hearty will love you for sure. Let’s go to the pattern.
For this Pattern you’ll need:
♥ DK Yarn in the colors; Pink and White. (I used Stylecraft Special)
♥ Some extra Red yarn for the Nose.
♥ Crochet Hook (I used a 2,5mm hook).
♥ Stuffing.
♥ Scissors.
♥ Sewing Pins.
♥ Yarn Needle.
♥ Wire, 0,3mm, about 10cm.
♥ 2 White Mini Pompom’s, 1cm in diameter, bought or made by yourself.
♥ Glue.
♥ Safety Eyes, 7mm.
Stitches used (US Terms):
Magic Ring.
CH = Chain.
SLST = Slip Stitch.
SC = Single Crochet.
DC = Double Crochet.
TR = Treble Crochet.
ST = Stitch.
BL = Back Loops.
FL = Front Loops.
Inc = Increase.
Dec = Decrease.
(…) = Repeat the space in brackets the given number of times.
[…] = Total number of stitches.
Pattern Hearty
For this pattern you will work in continues rounds, unless stated otherwise.
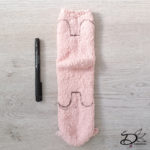
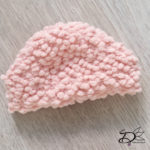
Body
Use the Pink yarn.
1: 6SC in Magic Ring. [6]
2: 2SC in each st around. [12]
3: (1SC, inc) 6 times. [18]
4: 18SC. [18]
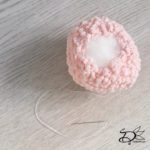
Cut the yarn and make row 1-4 a second time without cutting the yarn.
5: 9SC, attach the other part you made earlier, 18SC, continue working on the first part, 9SC. [36]
6: 36SC. [36]
The eyes go between those 2 rows, about 3cm apart.
7: (4SC, dec) 6 times. [30]
8: 30SC. [30]
9: 30SC. [30]
10: (3SC, dec) 6 times. [24]
11: 24SC. [24]
12: (2SC, dec) 6 times. [18]
13: 18SC. [18]
14: (1SC, dec) 6 times. [12]
15: 12SC. [12] Stuff.
16: Dec all around.[6]
Fasten off and weave in tail.
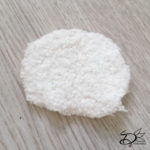
Belly
Use the White yarn.
In a Magic Ring, Ch3, 2TR, 3DC, Ch1, 1TR, Ch1, 3DC, 2TR, Ch3, SlSt in the base of the Magic Ring and pull tight. Leave a long tail for sewing.
Arms (Make 2)
Use the Pink yarn.
1: 6SC in Magic Ring. [6]
2: (1SC, inc) 3 times. [9]
3: 9SC. [9]
Fasten off and leave a long tail for sewing.
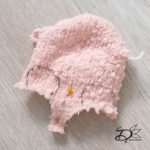
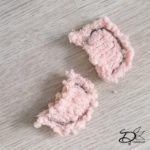
Feet (Make 2)
Start with the White yarn.
1: 6SC in Magic Ring. [6]
2: 2SC in each st around. [12]
Change to the Pink yarn.
3: FL, 12SC. [12]
4: 12SC. [12]
5: 12SC. [12]
6: Work this row just as you would normal, but also work in the BL of row 3 at the same time. This way you will create some definition in the feet. It can be a bit fiddly, but it’s doable. 12SC. [12]
7: 12SC. [12]
8: 6SC. [6]
Fasten off and leave a long tail for sewing. Stuff as well.
Tail
Use the White yarn.
1: 6SC in Magic Ring. [6]
2: 6SC. [6]
Fasten off and leave a long tail for sewing.
Ears (Make 2)
Use the Pink yarn.
1: 6SC in Magic Ring. [6]
2: 2SC in each st around. [12]
3: (3SC, inc) 3 times. [15]
4: 15SC. [15]
5: 15SC. [15]
Fasten off and leave a long tail for sewing.
Assembling
I always use sewing pins to position all of the parts first. This way I can easily move things around until I am happy with how it looks. I suggest you do the same.
Under the eyes, position the Heart Belly first and sew it on. From there position the feet the way you want them and sew those on too. Now you know where the arms go and the tail as well, sew those on. Last but not least sew on the ears, I place them from the first row of the body down.
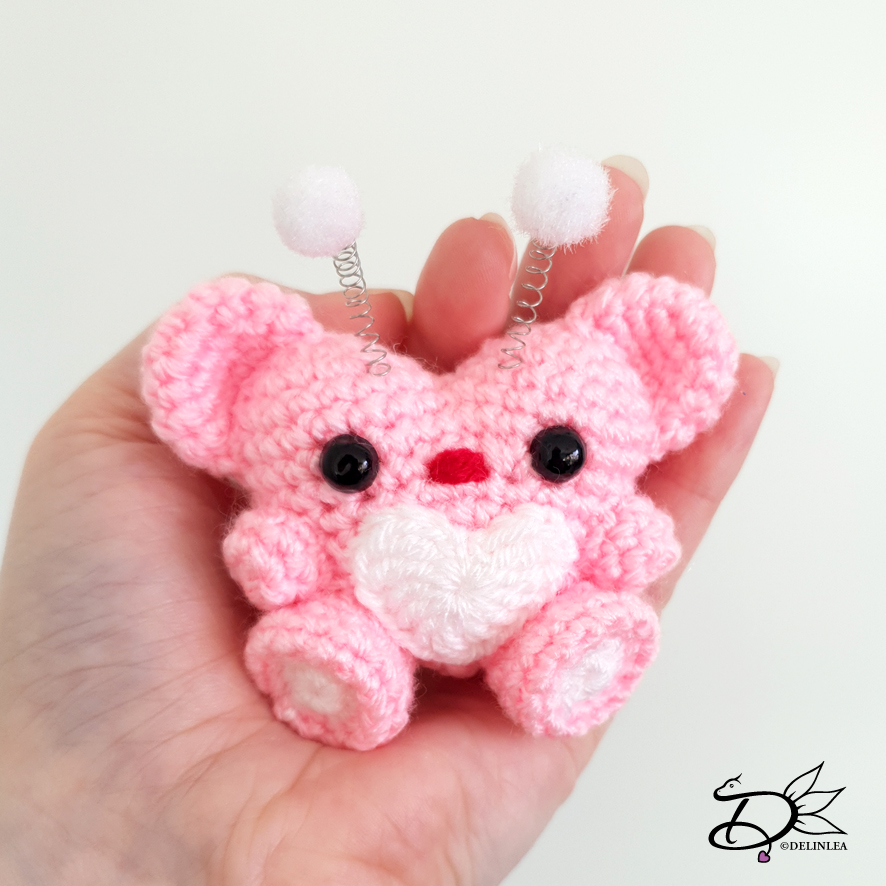
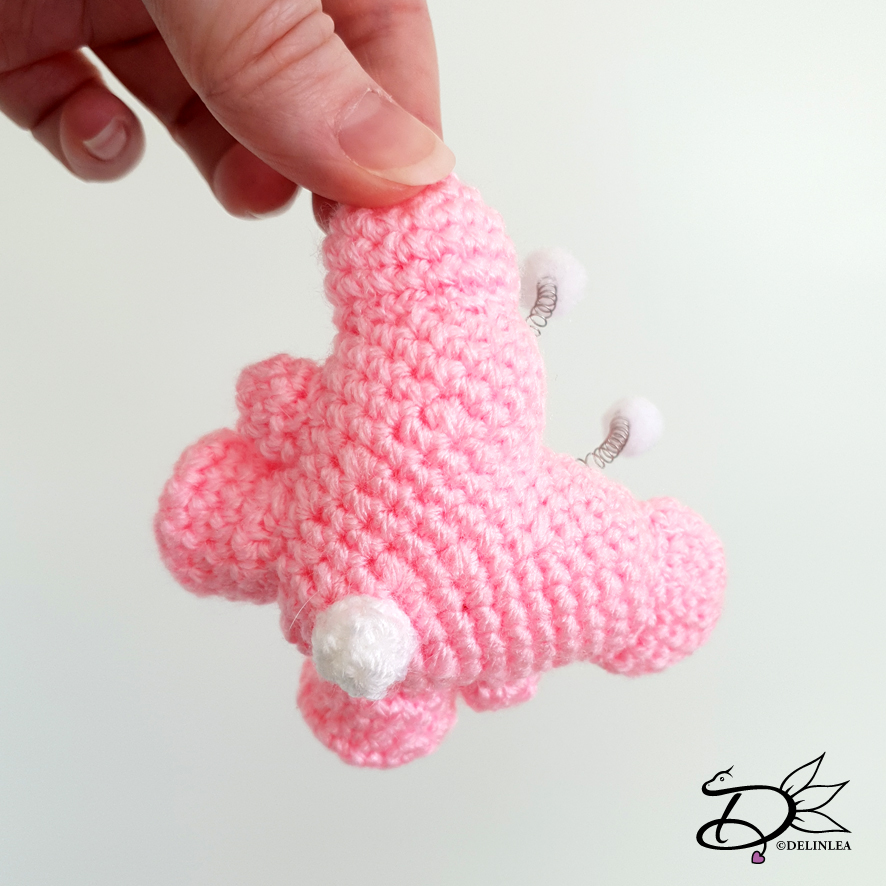
From the wire, twist it around something round, like your crochet hook, but make sure your are able to get it off. Twist the whole length of the wire, closely beside each other. Take it off and cut in half. Stretch it to the length you want and glue one side to the pompom and one side to the head of the body.
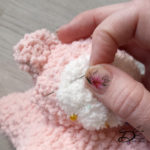
With the bit of Red yarn, stitch on the nose as a finishing touch of Hearty!
Congratz! You finished Hearty!! xD I hope you enjoyed this pattern, if you did, please show me on socials! I would love to see!
Have a wonderful day!
Love
Danielle