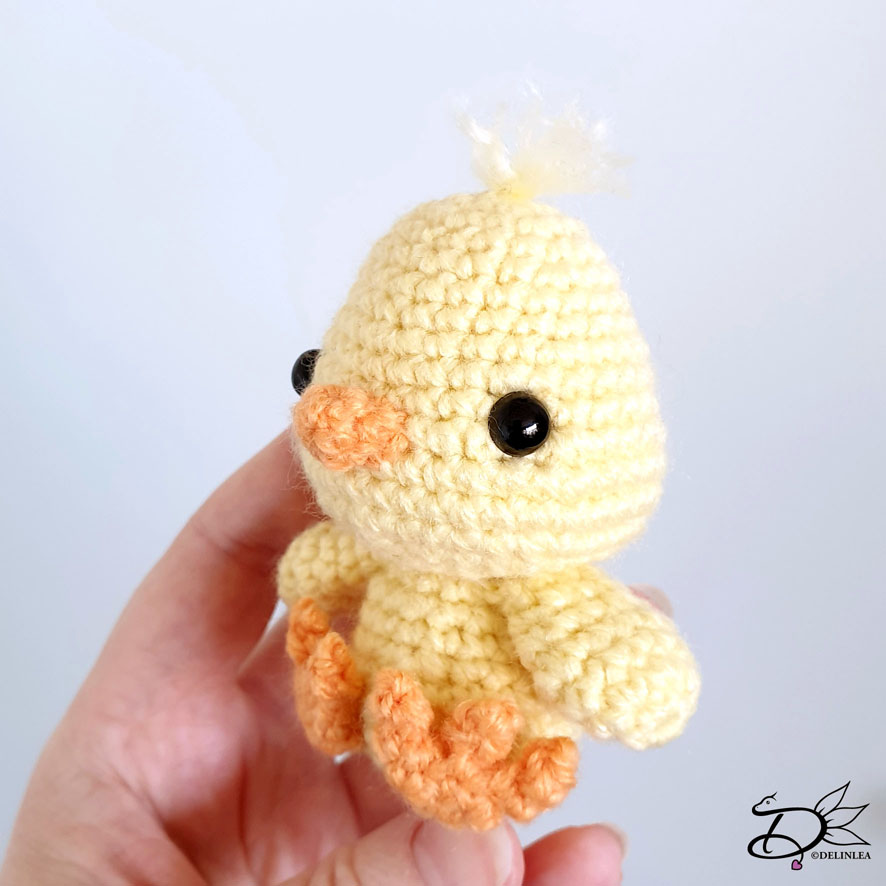
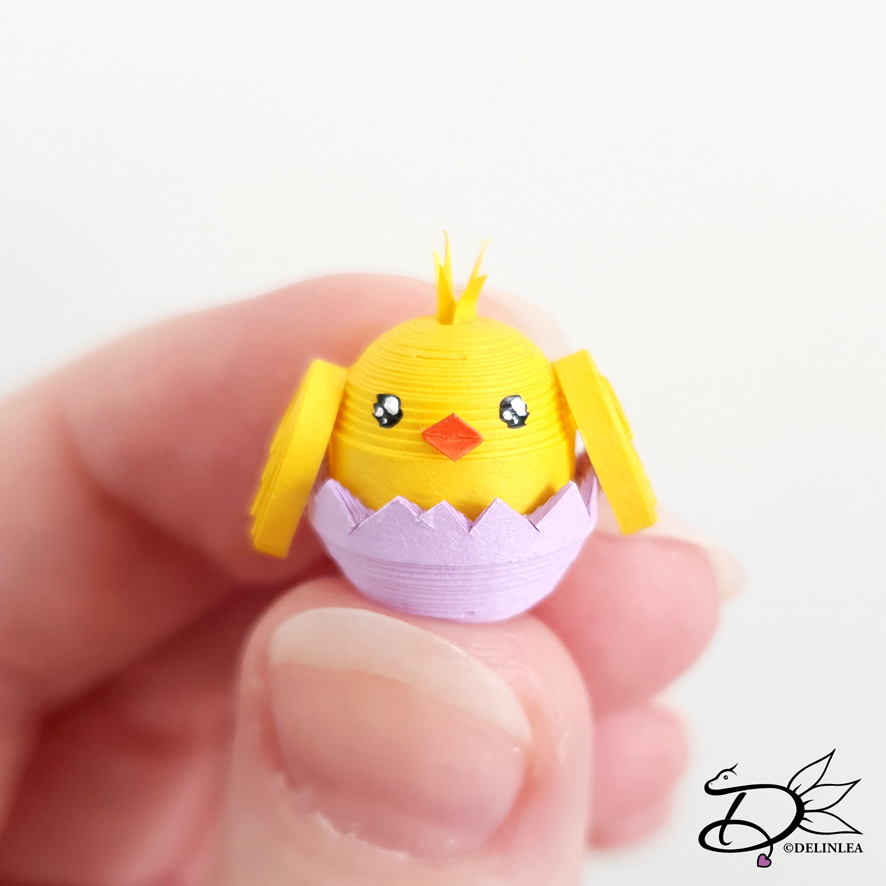
♥ Quilled Easter Baby Chick
Hey Lovelies! Are you ready for Easter? I know these are weird times, but if you don’t make it fun for yourself, no one else would do it for you. And a way to make you feel better if to decorate your place with fun stuff and lovely (homemade) food! So I have a fun project for you to do! Most of us have paper around, just find the right colors and cut it to size. Then you are ready to make those adorable Easter baby chick!
For this DIY you’ll need:
♥ 3 Strokes of Yellow, 3mm by 21cm each.
♥ 4 Strokes of Purple, 3mm by 21cm each. (Of course you can use another color!)
♥ 2 Strokes of Yellow, 1,5mm by 10,5cm each.
♥ Bit of extra Orange and Yellow Paper.
♥ X-Acto Knife.
♥ Glue.
♥ Acrylic Paint, Black and White.
♥ Brush.
Tutorial
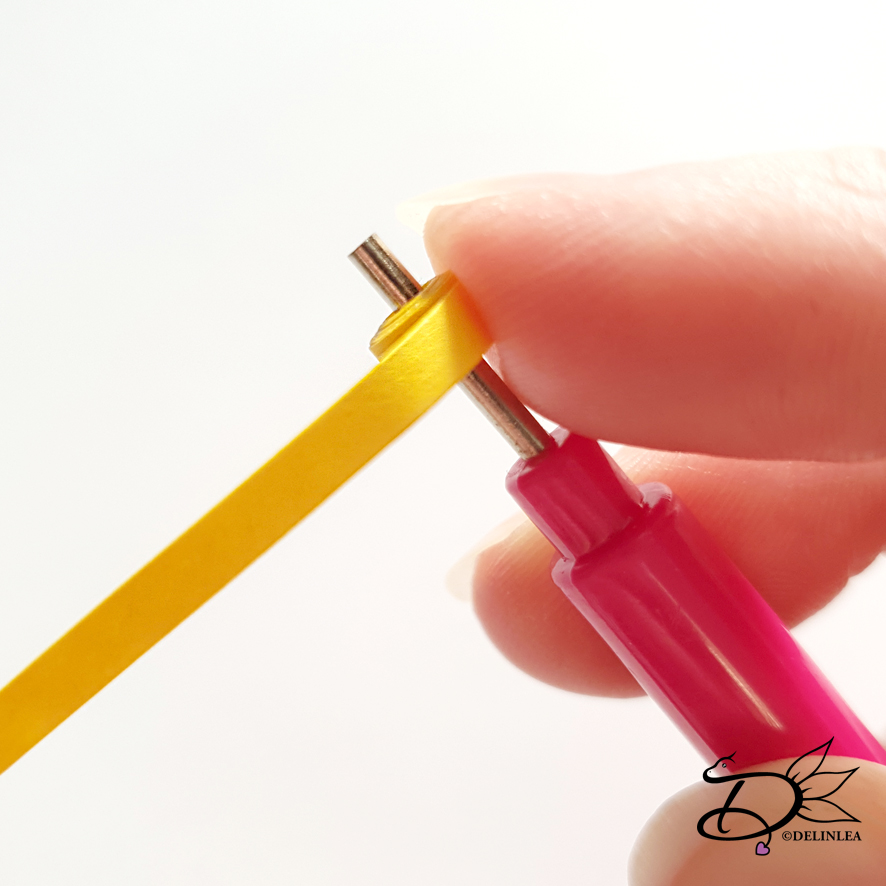
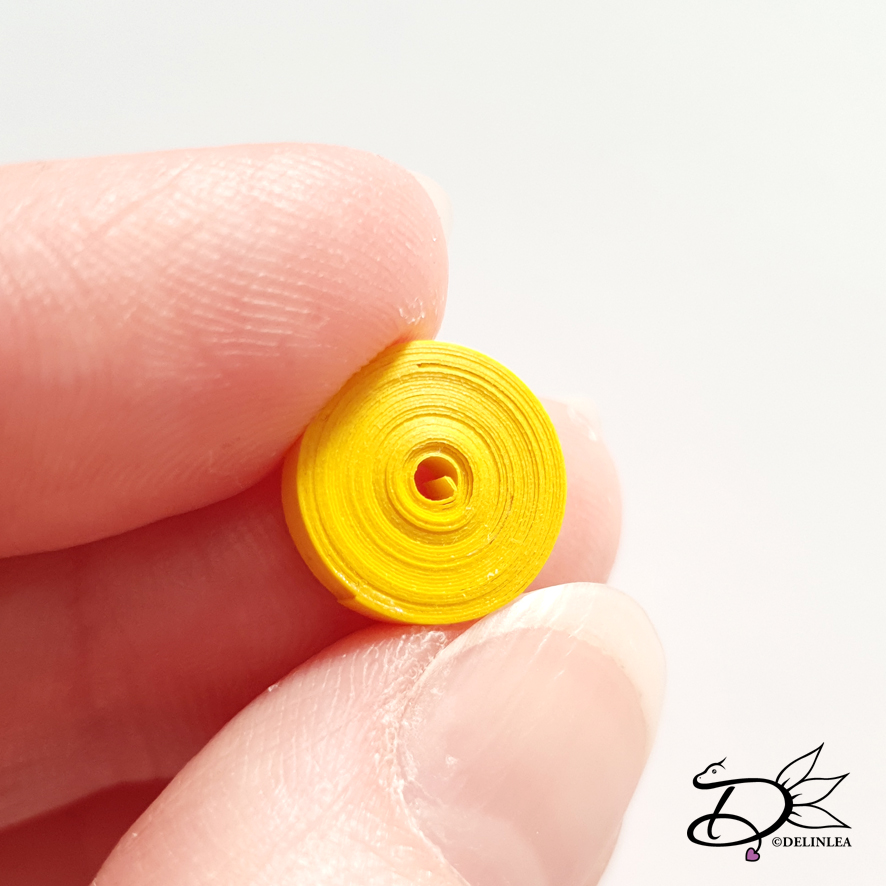
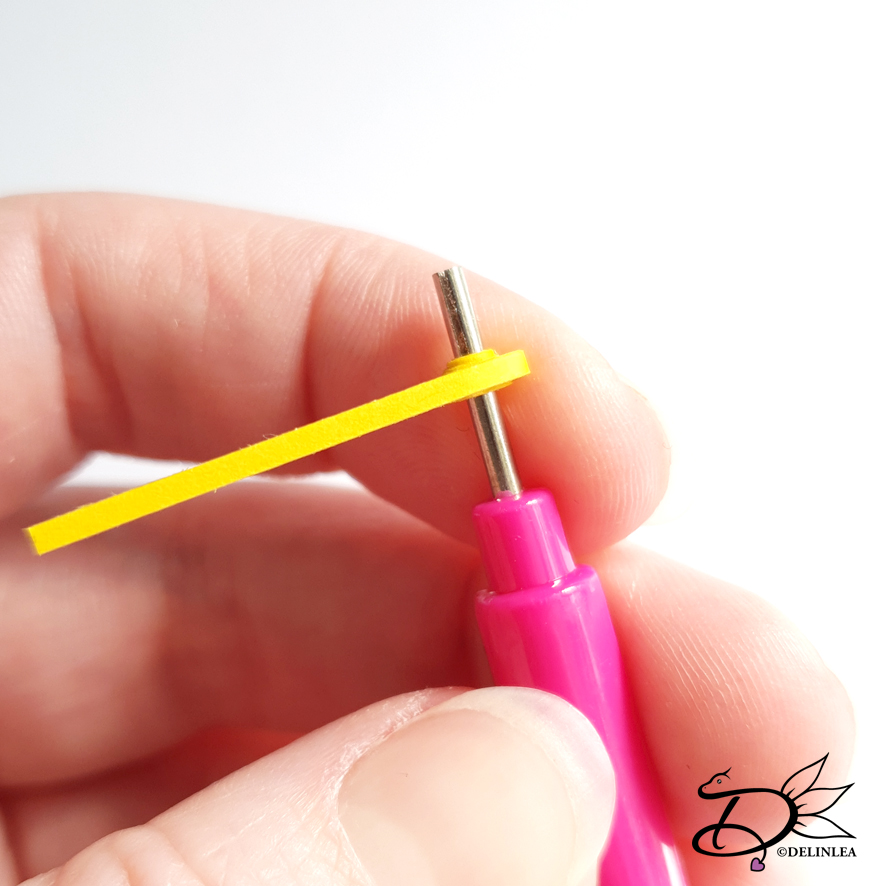
Roll up the 3 yellow strokes (3mm by 21cm), use glue if you need to add a new stroke to make it easier (you don’t have to). Glue the end of the last stroke so it keeps the tight, round shape.
Making shapes
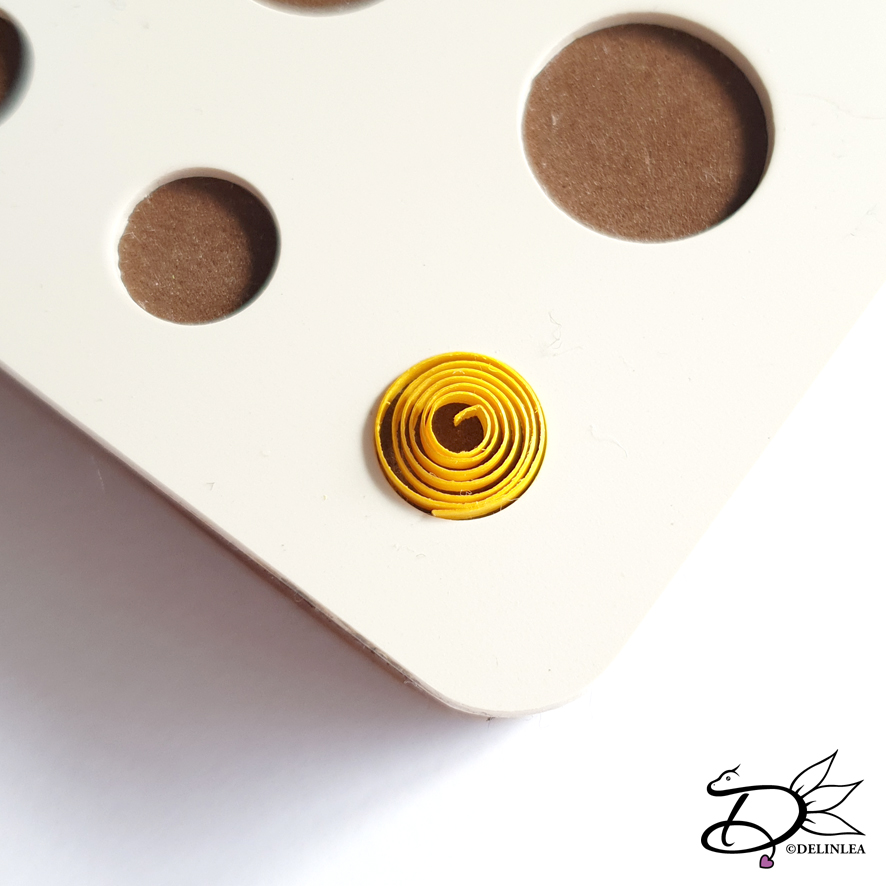
If you have
this quilling board to make 3d shapes, please us it, it makes life a lot
easier. If you don’t try to shape it without or try to find similar shapes to
what I show in the pictures.
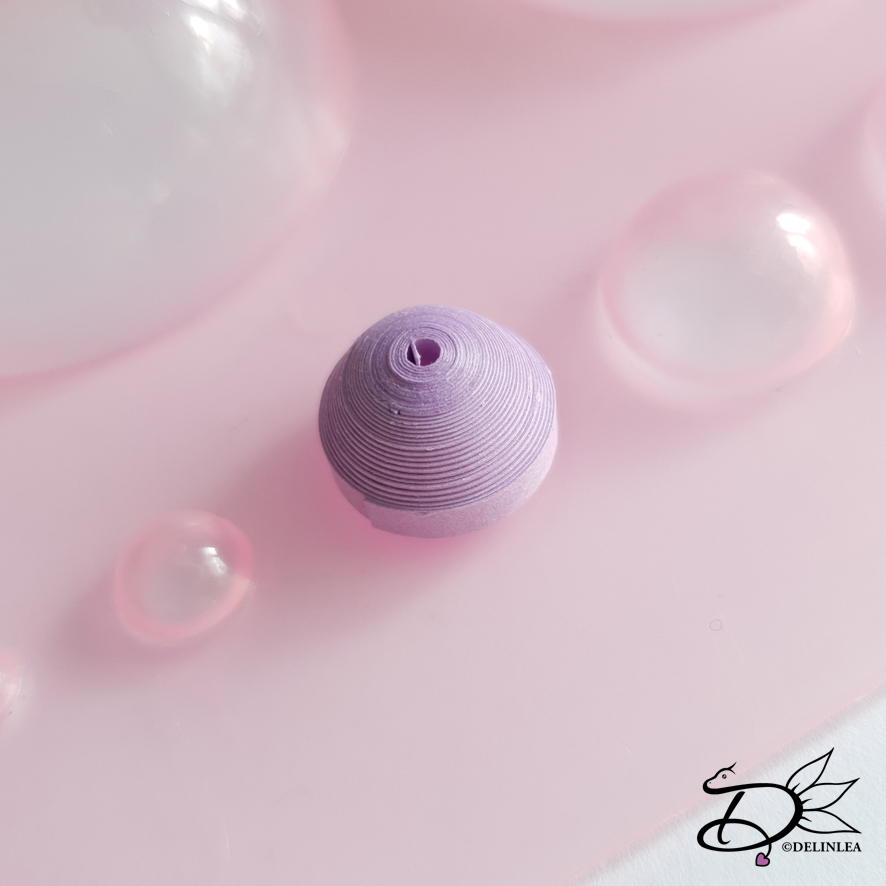
The board is easy to use, just push the circle, with your fingers, over the
shape, carefully. Do it for both colors, for yellow I used a slightly cone
shape one, for purple a half ball shape.
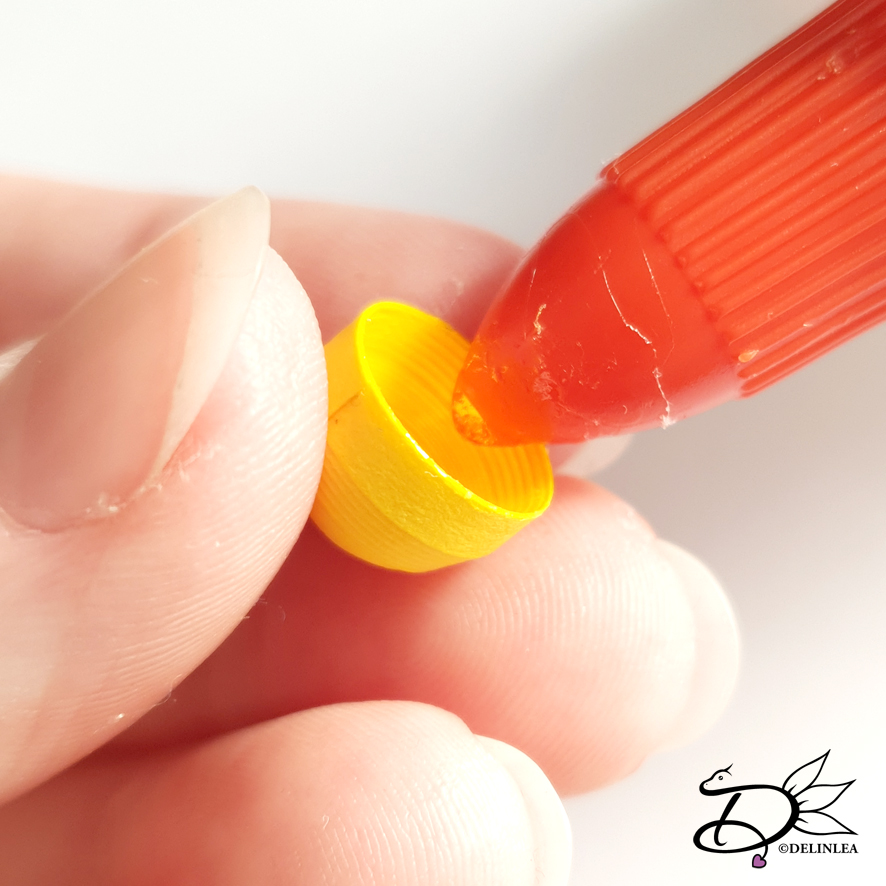
When you have your shapes ready, make sure to put a layer of glue on the inside. This will prevent it to lose its shape. Let this dry before you continue.

Egg Shell
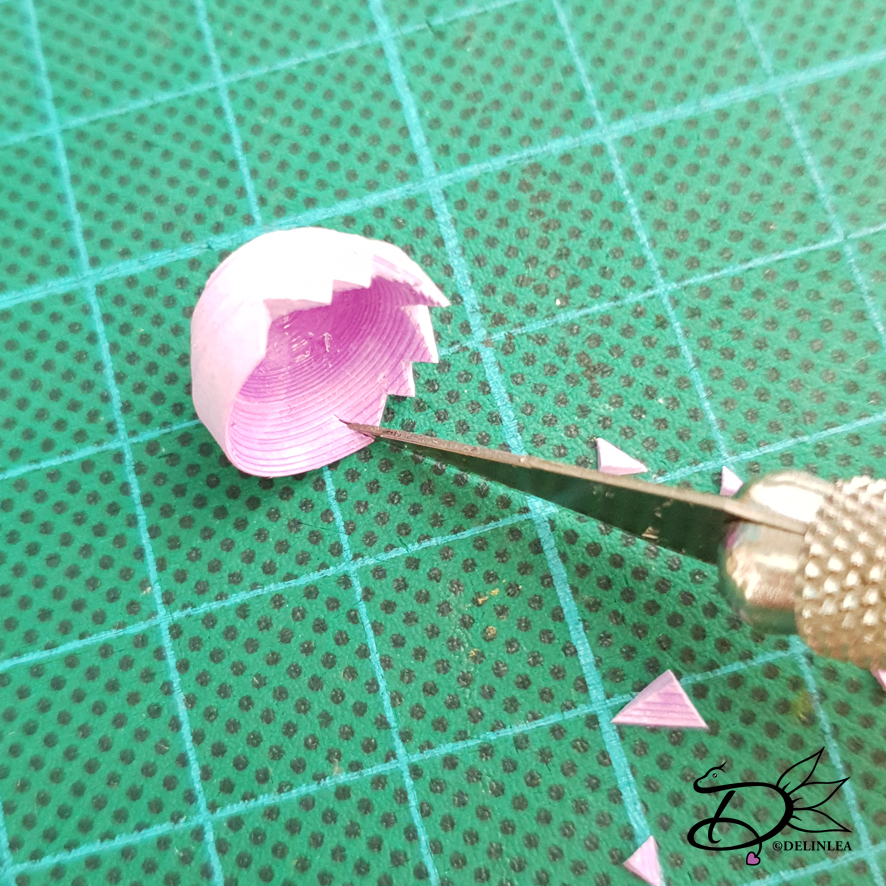
The purple one, on the edge, you wanna cut out little triangles. You don’t want them to exactly the same, if you break an egg, they aren’t either. Be careful that you don’t cut them to deep. This will be the egg shell.
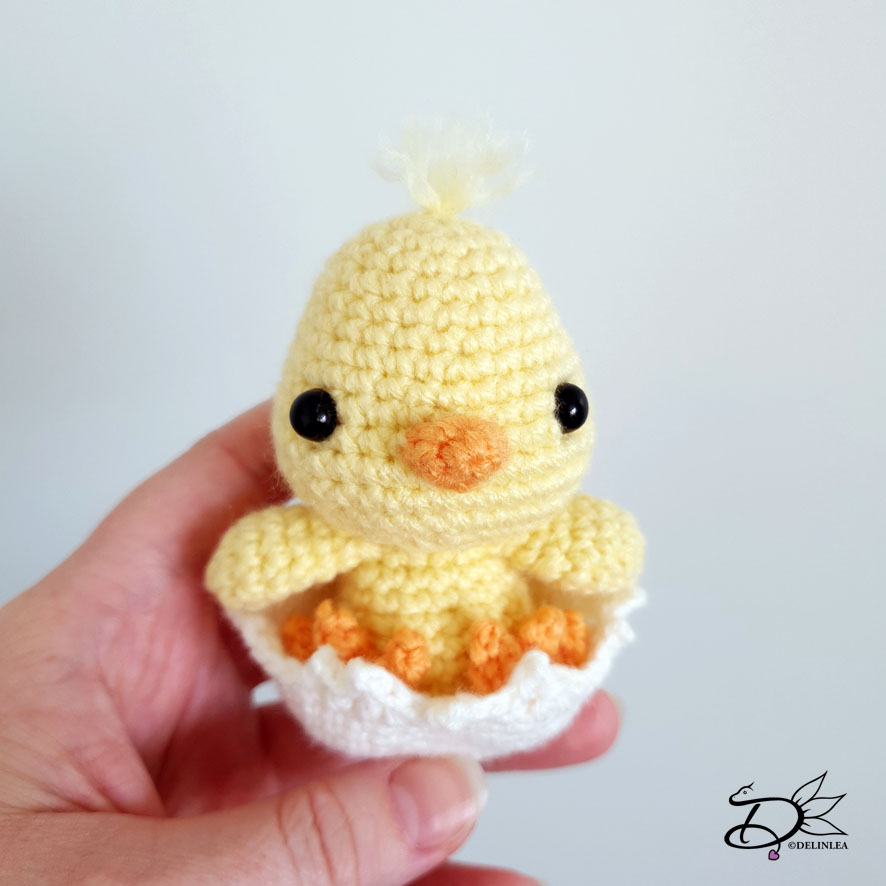
Now, glue the yellow part inside the purple part. So the little chick inside the egg shell.
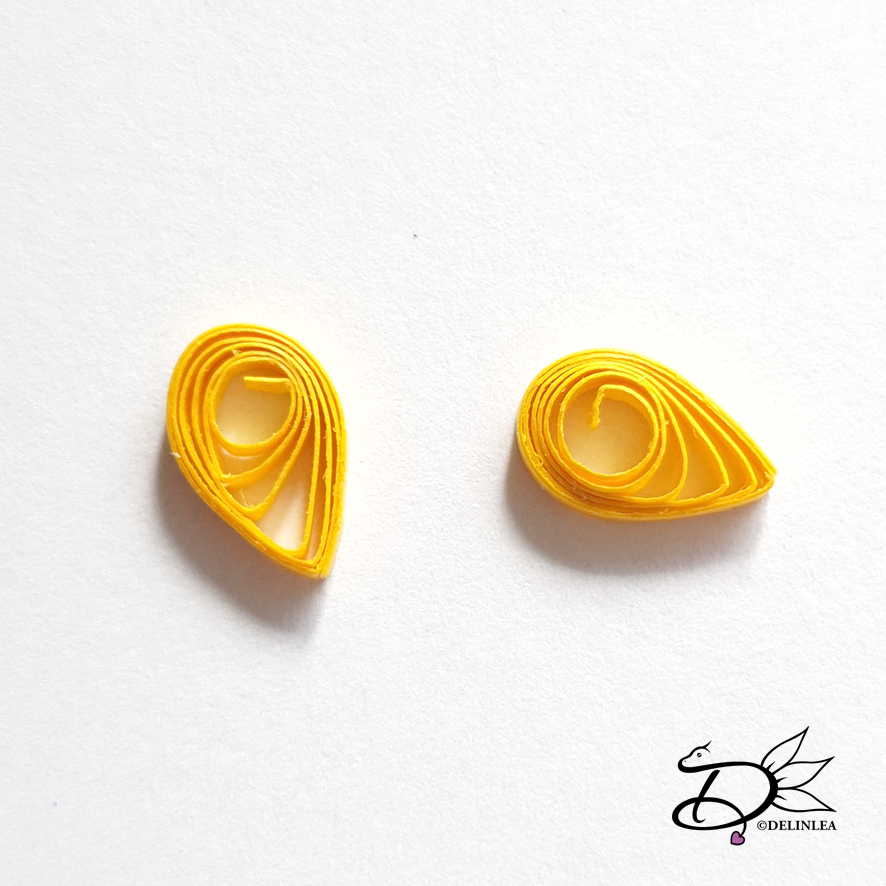
Wings
Roll up the
other yellow strokes, those will be for the wings. Let them expand to around
8mm and secure with a bit of glue. Pinch one side so you will get the shape as
shown in the picture.
Glue the wings to body sides of the body of the baby chick.
Finishing Off
Last but not least, create a beak, hairs and eyes. I used paper for the beak and hairs and paint for the eyes. Since it’s so tiny, it’s hard to make everything from paper. Just do what works for you!
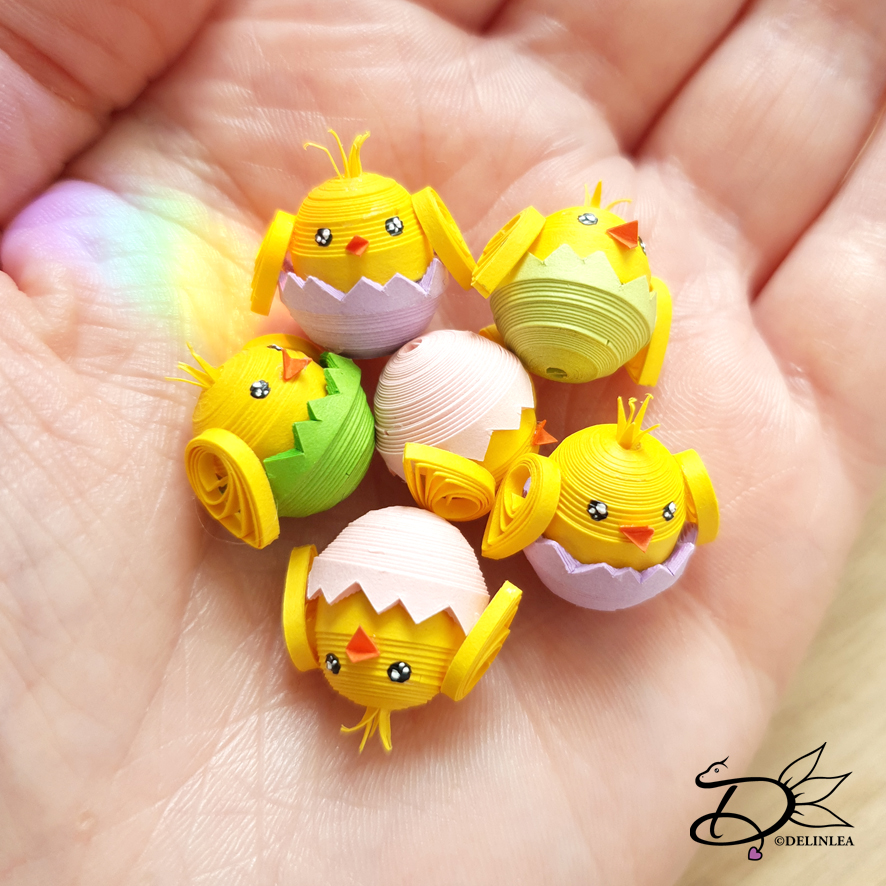
You could also decorate the eggs if you like to! And maybe add some thread to be able to hang them up. ^-^
I hope you had fun with this tutorial. I love exploring things with paper, you can do so much with it. I did quilling in the past, but never anything 3D. Although I obviously know how to make it. It was fun!
Have a wonderful day!
Love
Danielle