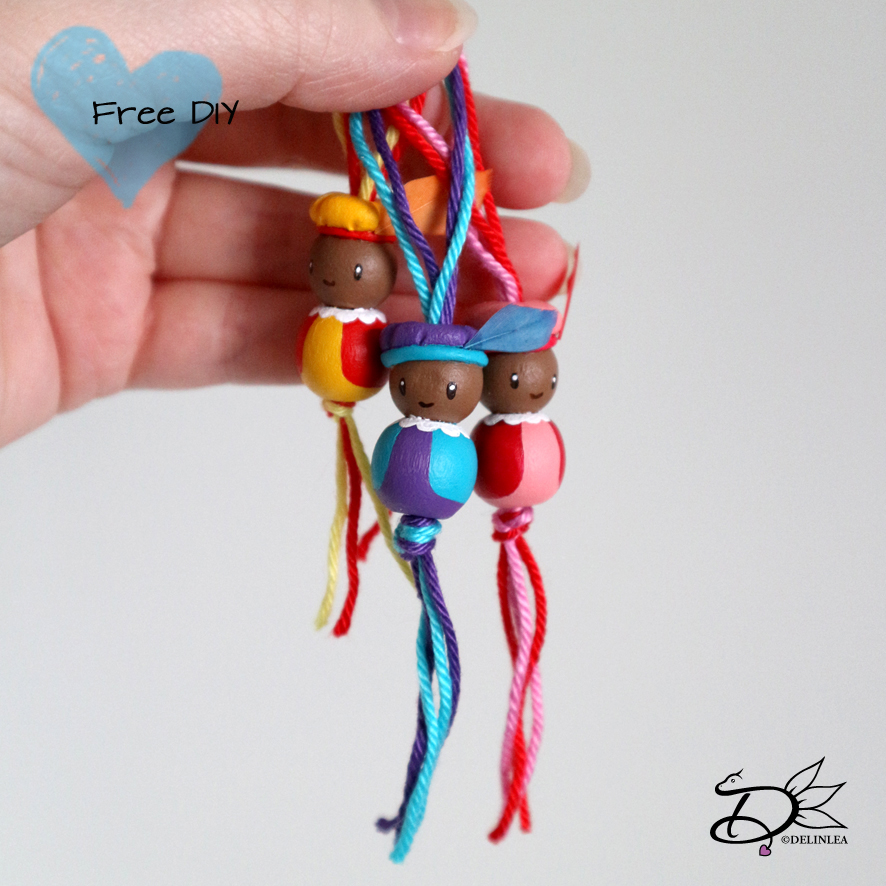
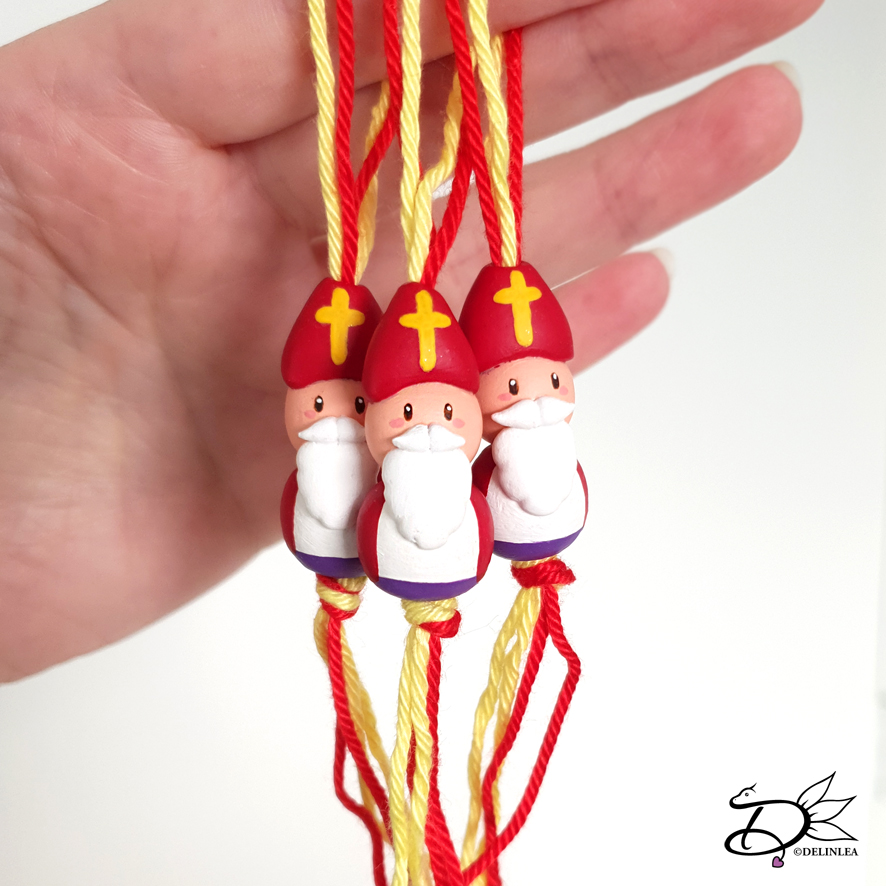
♥ Sinterklaas Lucky Charms
Hey Lovelies! Sinterklaas is back in town xD! You excited?! Haha me not so much, but I like to get crafty around this time of year. *Sigh I wish my family would do something called ‘surprises’, but we don’t. Oh well, I’ll buy something nice for myself then! If you do live in a country where they have Sinterklaas, how do you celebrate it?
Okay, back to the crafty part of this blog. Last year I made those Pietjes lucky charms! Do you remember? This year I had to add Sinterklaas lucky charms, as promised. I just like making those charms I believe~ hehe.
For this DIY you’ll need:
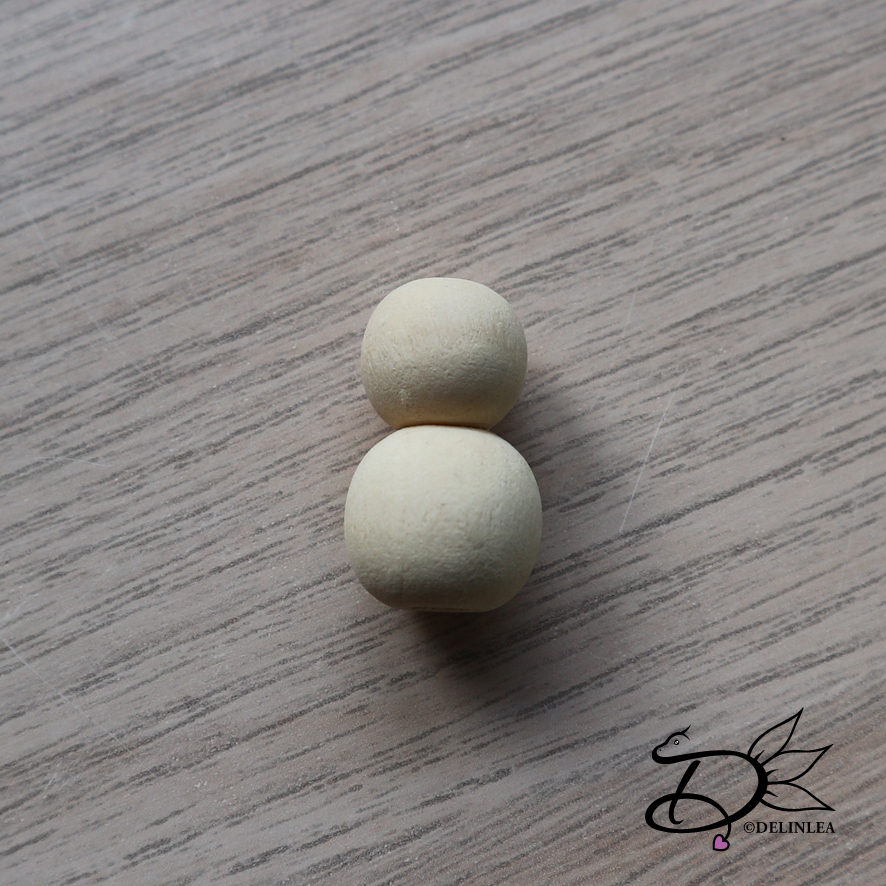
♥ Wooden beads in 2 sizes. (you can make them as big as you want)
♥ Air Dry Clay.
♥ PVA Glue.
♥ Skewer or Toothpick.
♥ Acrylic paints in colors of choice.
♥ Paintbrush.
♥ Matching pieces of thread, to the paint.
♥ Varnish (optional).
♥ Scissors.
Tutorial
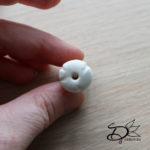
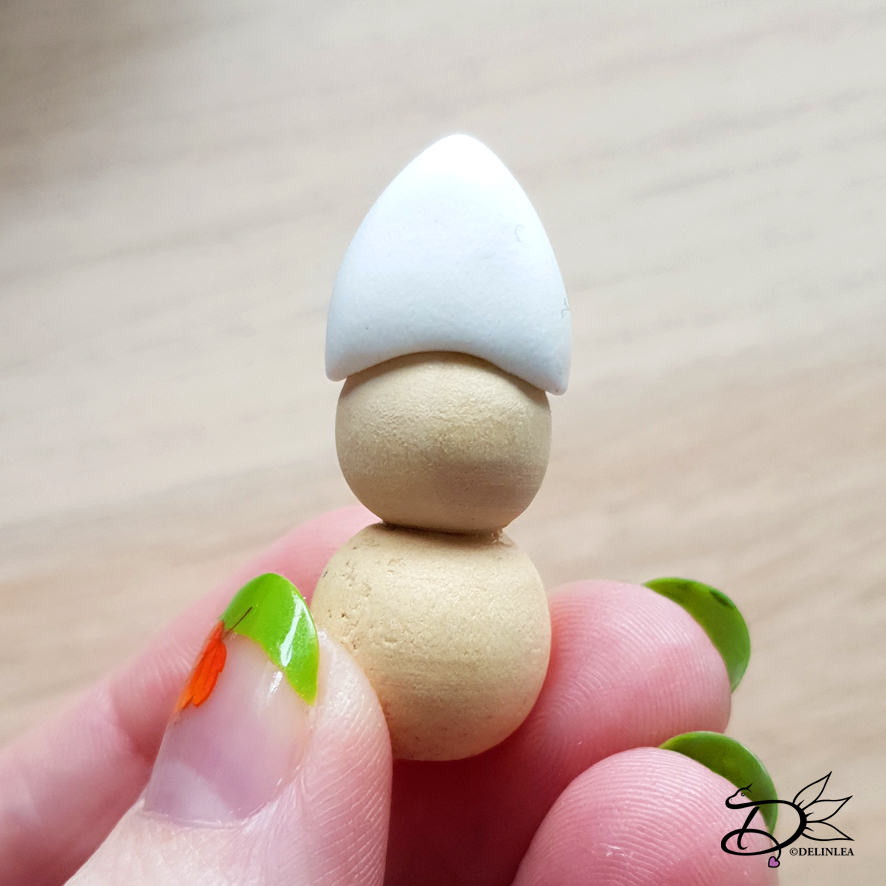
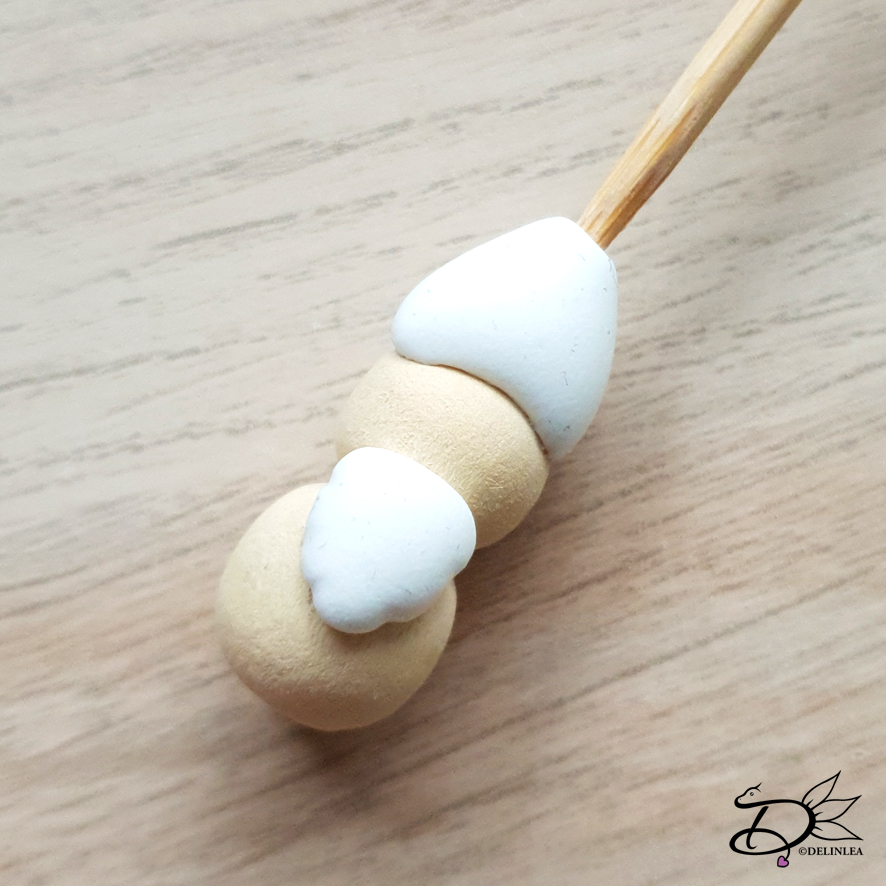
Glue the 2 wooden beads together, make sure to line up the holes. Let those dry before you continue.
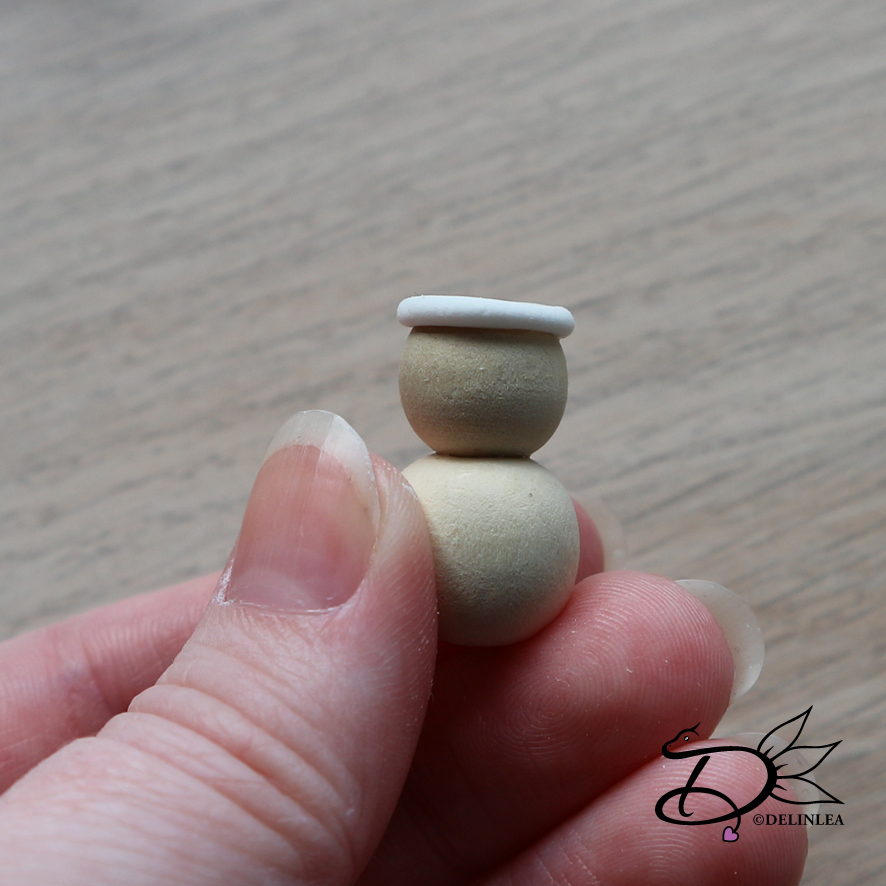
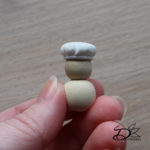
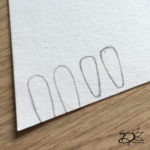
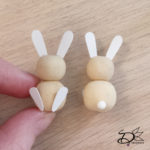
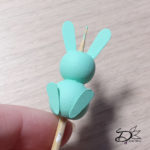
From a bit of clay, make a triangle for his ‘mijter’ and place this, with some glue, on top of the small bead.
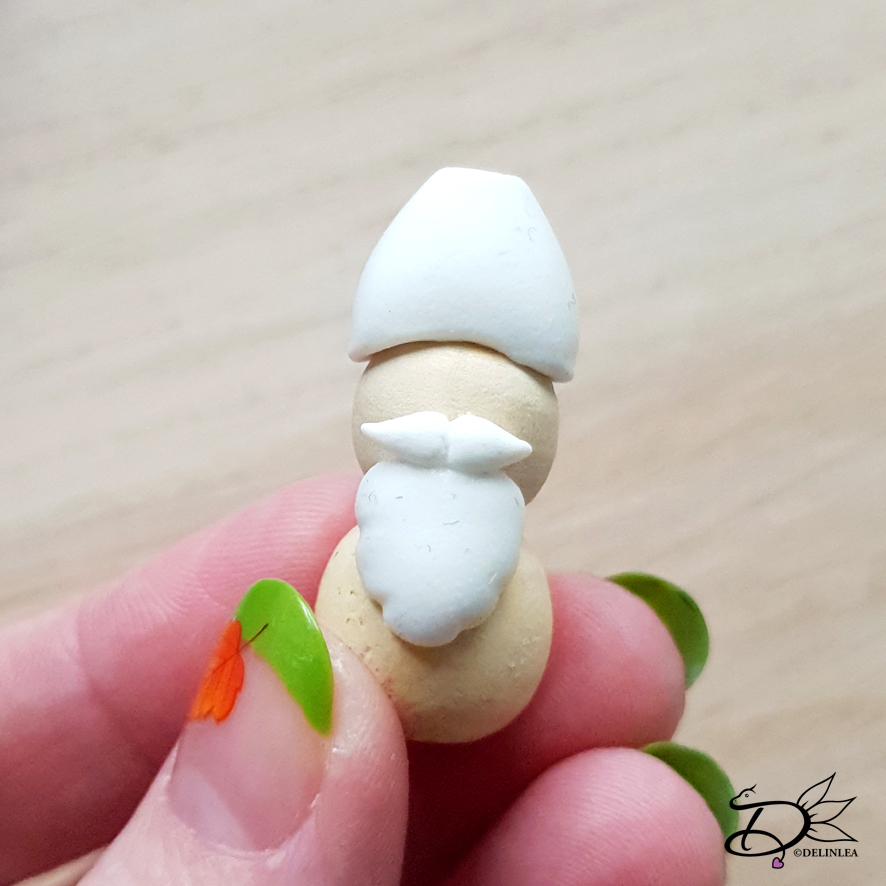
Make another triangle of clay, a bit smaller for his beard. Place those, with some glue as well, on his head/body, were the beard is suppose to be xD. With the skewer of toothpick, make a few indences to give it a bit more shape.
With the skewer or toothpick, poke a hole though the ‘mijter’. This is so you can add the threads through later.
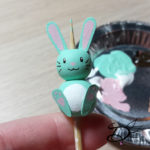
Make a moustache out of clay, it’s a bit fiddly, but I am sure you can do it! Glue it on and shape it until you like it. Make sure to let everything dry first.
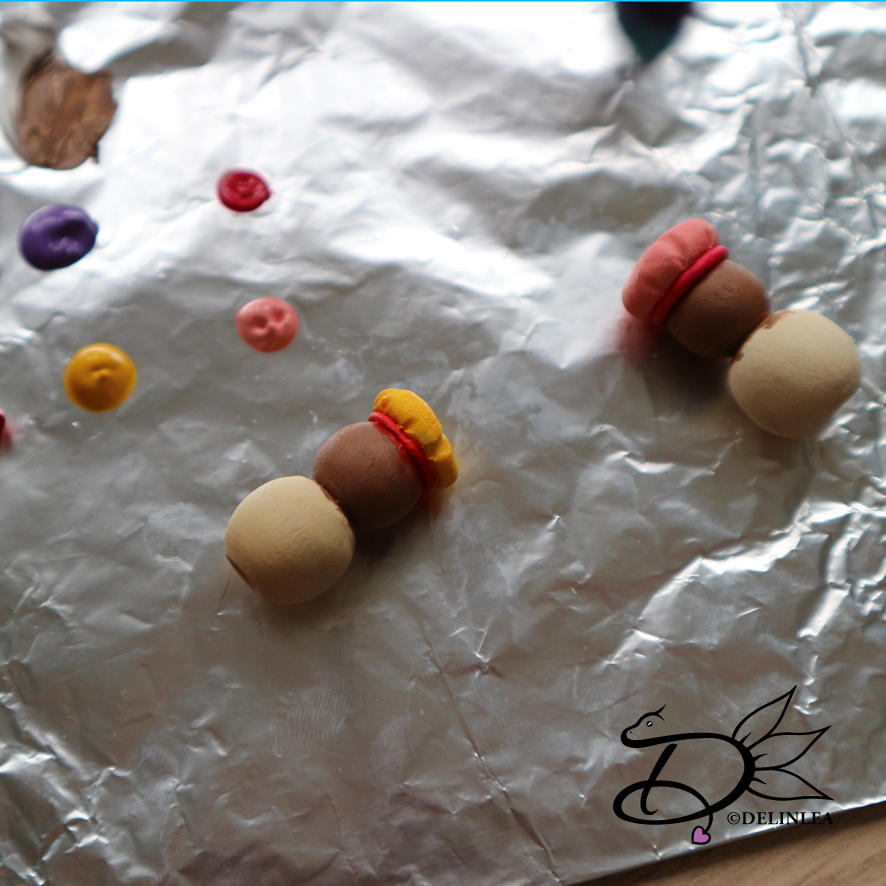
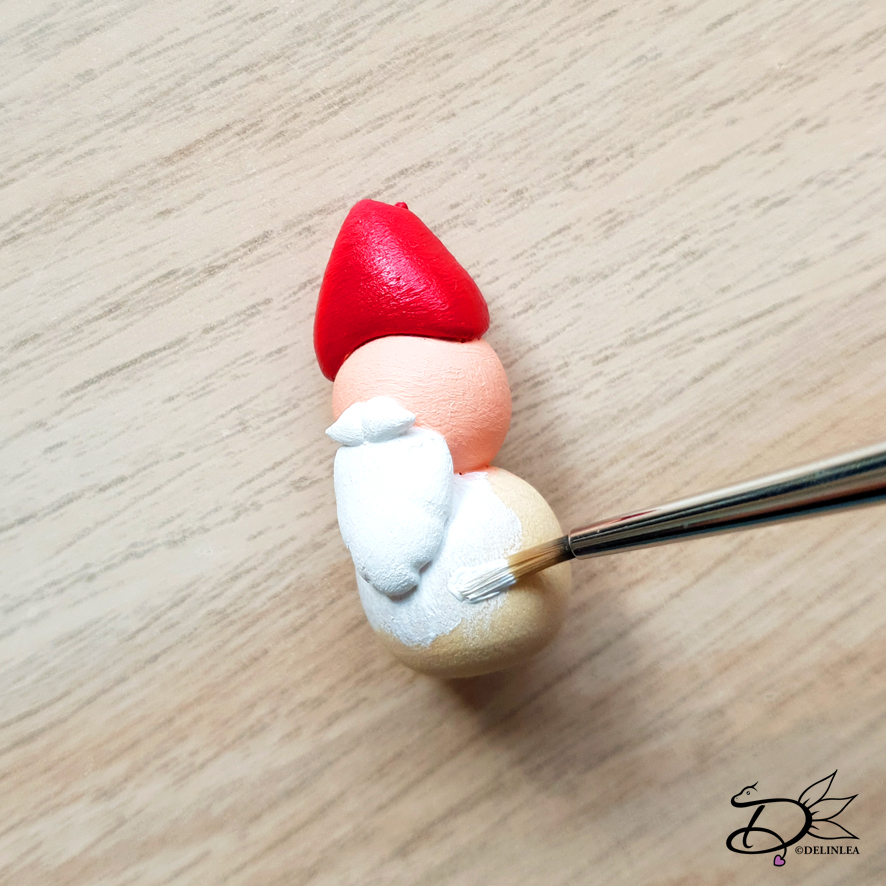
Painting
Now for the fun part, painting!! Let’s give those buddies some color! You can paint them however you want, of course. But I kept them sorta traditional. It is possible that you need several layers of paint for good coverage. When you are finished, you can varnish it, if you want.
Lastly, add 2 pieces of thread (about 30cm) through the body. Make sure to have a loop at the top and tie a knot at the bottom.
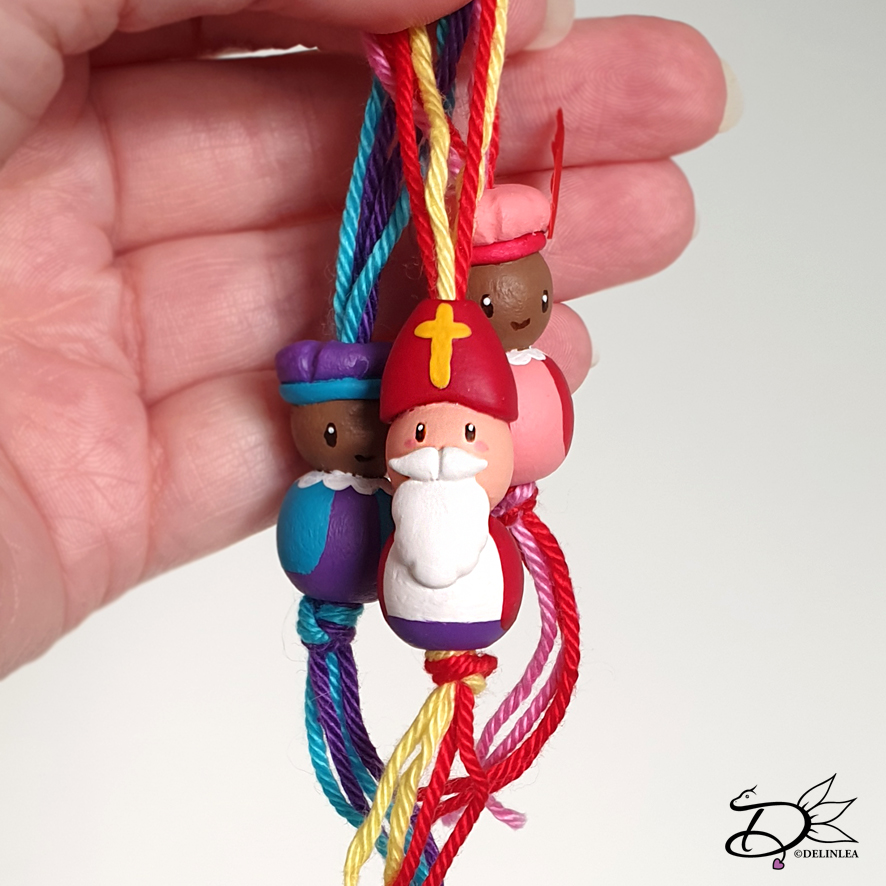
And it’s completely done! I hope you enjoyed this little tutorial for Sinterklaas Lucky Charms!
Have a wonderful day, stay warm, stay healthy!
Love
Danielle