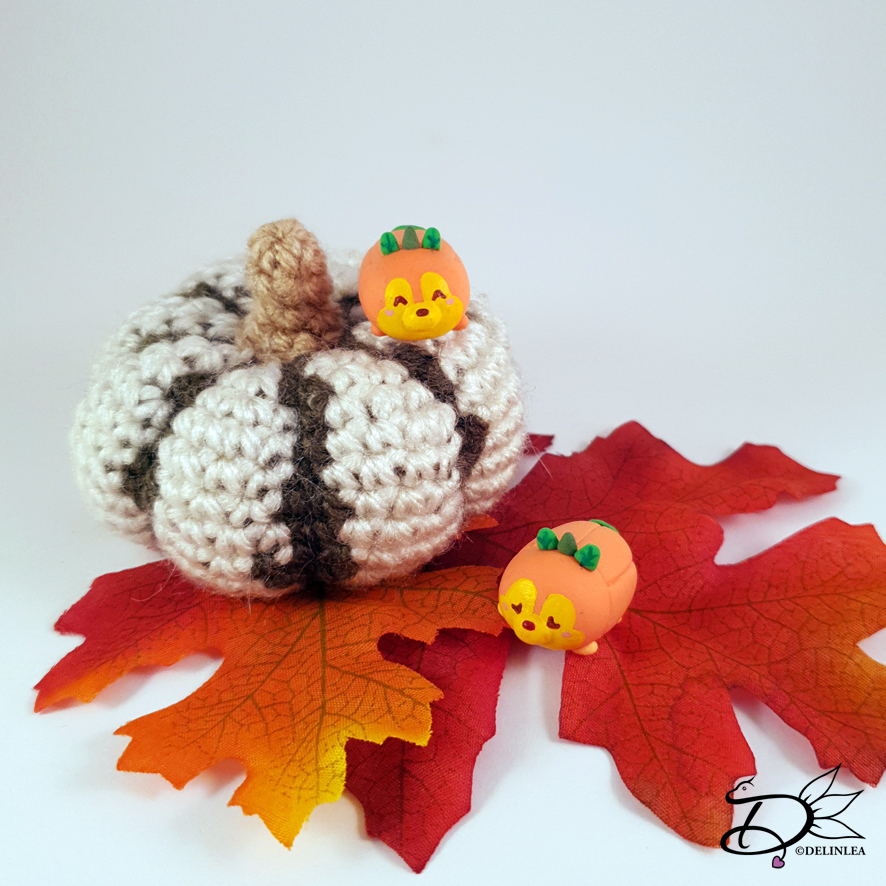
♥ Halloween Turning TsumTsum Amigurumi
Hey Lovelies! Happy Halloween!! I hope you don’t mind that I am late with this week’s blog! I think this fun pattern will make up for it. Until the last possible moment, I wasn’t sure if this was going to work out. So, I could have ended up with no blog at all this week. But, As you can see, the blog is here, so it worked out, sorta! It’s 2 Tsum Tsum’s in one! You can turn this one inside out, so you have a normal Donald Tsum and a Halloween version. So are you ready for a turning Tsum Tsum?!

For this pattern you’ll need:
♥ DK yarn, in the colors; White, Orange, Black, Blue and Green. (I used Stylecraft Special)
♥ Crochet hook. (I used a 3mm hook)
♥ Thinner Red yarn with a 2mm Hook.
♥ Brown Sewing Thread and Needle.
♥ Yarn Needle.
♥ Stitch Marker.
♥ Brown and Black Felt for the eyes.
♥ (Fabric) Glue.
Stitches used (US Terms):
Magic Ring.
CH = Chain.
SLST = Slip Stitch.
FSC = Foundation Single Crochet.
SC = Single Crochet.
HDC = Half Double Crochet.
DC = Double Crochet.
ST = Stitch.
FL = Front Loops.
BL = Back Loops.
Inc = Increase.
Dec = Decrease.
(…) = Repeat the space in brackets the given number of times.
[…] = Total number of stitches.
♥ Pattern Turning Tsum Tsum
This pattern is made using continues round, unless stated otherwise. Use a stitch marker to mark you first/last stitch.
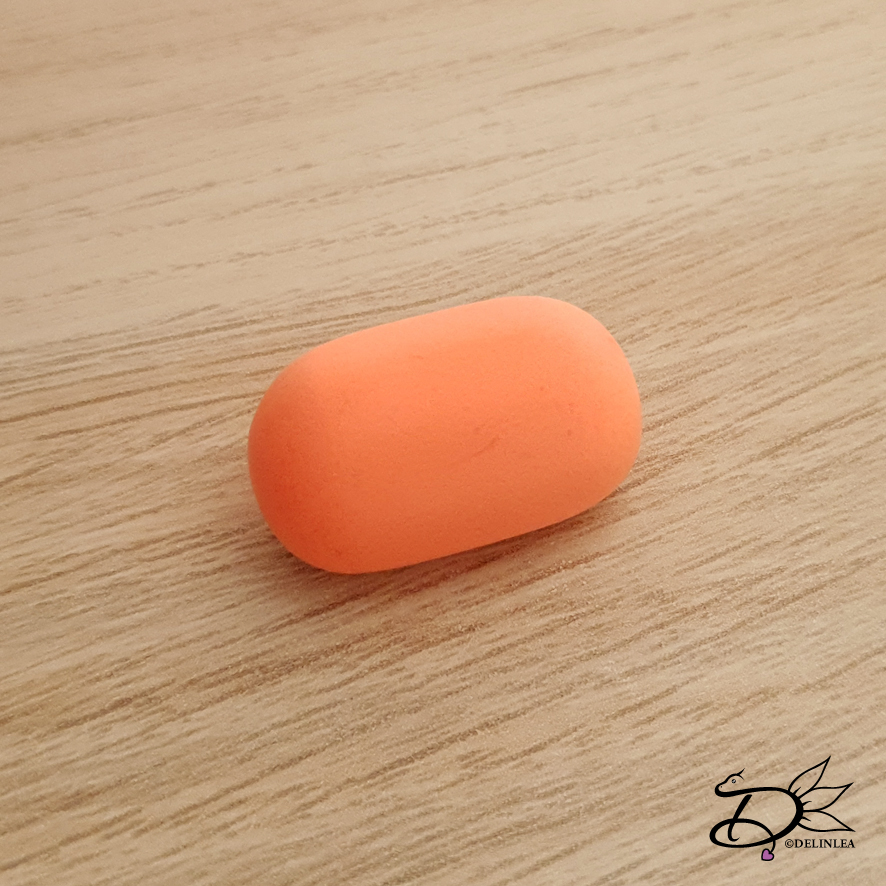
Body (Make 2)
Make 1 in Orange and 1 in White.
1: Ch7, insert in second ch from hook, 5SC, 3SC in the last st, now continue along the other side of the chain, 4SC, inc. [14]
2: Inc, 4SC, (inc) 3 times, 4SC, (inc) 2 times. [20]
3: 1SC, inc, 4SC, (1SC, inc) 3 times, 4SC, (1SC, inc) 2 times. [26]
4: 1SC, inc, 6SC, (inc, 2SC) 2 times, inc, 6SC, inc, 2SC, inc, 1SC. [32]
5-8: 32SC. [32]
9: 1SC, dec, 6SC, (dec, 2SC) 2 times, dec, 6SC, dec, 2SC, dec, 1SC. [26]
10: 1SC, dec, 4SC, (1SC, dec) 3 times, 4SC, (1SC, dec) 2 times. [20]
Fasten off and leave a long tail on one of the bodies. For the other you’ll weave in the tail.
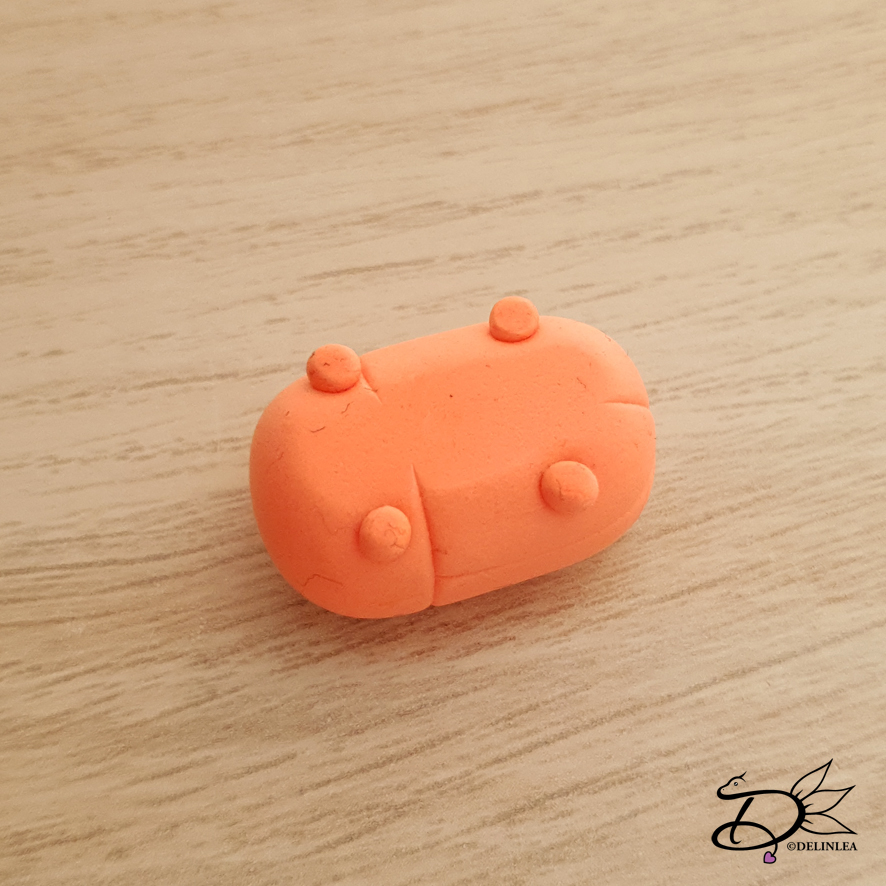
Legs (make 8 total)
Make 6 in Orange and 2 in White.
1: 4SC in a Magic Ring. [4]
2: 4SC. [4]
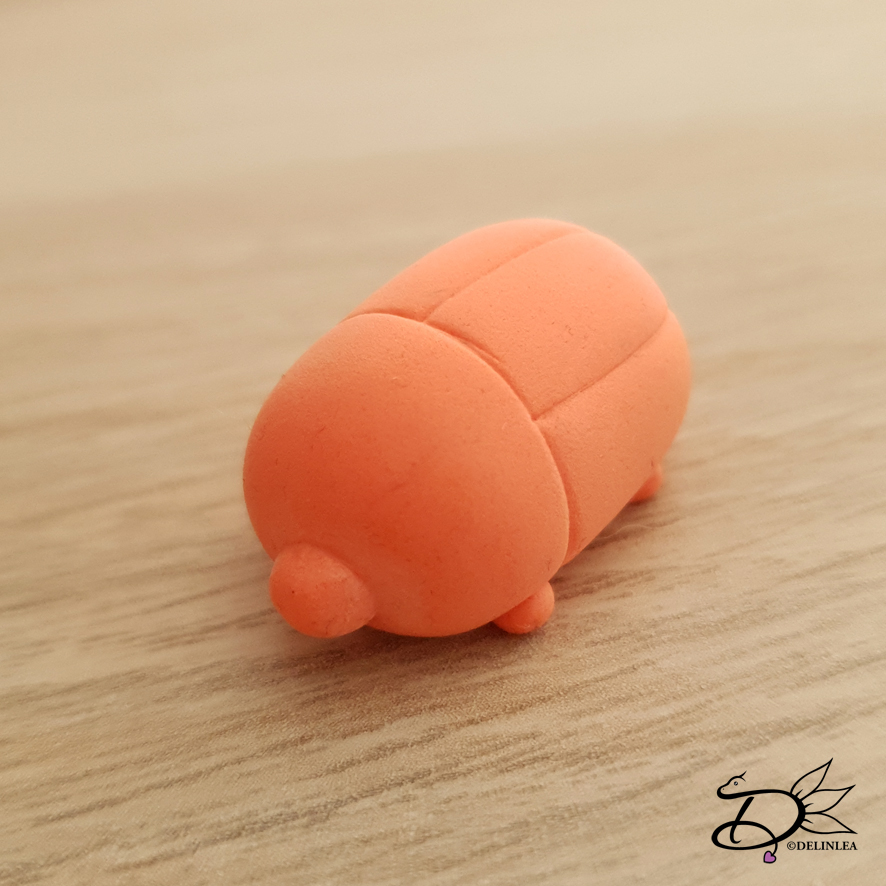
Beak (Make 2)
Use the color Orange.
1: 7SC in a Magic Ring. [7]
2: 7SC. [7]
Fasten off and leave a long tail for sewing.
Bow (Make 2)
Use the color Red.
In a Magic Ring; (1SC, 1HDC, 2DC, 1HDC, 1SC) 2 times. [12]
Fasten off and wrap the tail a few times around the bow tightly, where the SC’s are. If you like how it looks, fasten off and leave the rest of the tail there for sewing.
♥ Donald Parts
Shirt
Use the color Blue
This part won’t be working in continues rounds.
1: 20FSC, turn. [20] (You can also Ch21, insert in second ch from hook, 20SC)
2-5: 20SC, turn. [20]
Fasten off and leave a long tail for sewing.
Hat
Start with the color Blue.
1: 5SC in a Magic Ring. [5]
2: 2SC in each st around. [10]
3: BL, 10SC. [10]
Change to the color Black.
4: Fl, Dec around. [5]
Fasten off and leave a long tail for sewing.
♥ Pumpkin Parts
Hat
Start with the color Black.
1: 5SC in a Magic Ring. [5]
2: 2SC in each st around. [10]
3: BL, 10SC. [10]
4: (Dec, 3SC) 2 times. [8]
Change to the color Blue.
5: 8SC. [8]
Change back to Black.
6: FL, 2SC in each st around. [16]
Fasten off and leave a long tail for sewing.
Stem
Use the color Green.
You won’t work this part in continues rounds.
Ch3, insert in second ch from hook, 1SlSt, 1SC. [2]
Fasten off and leave a long tail for sewing.

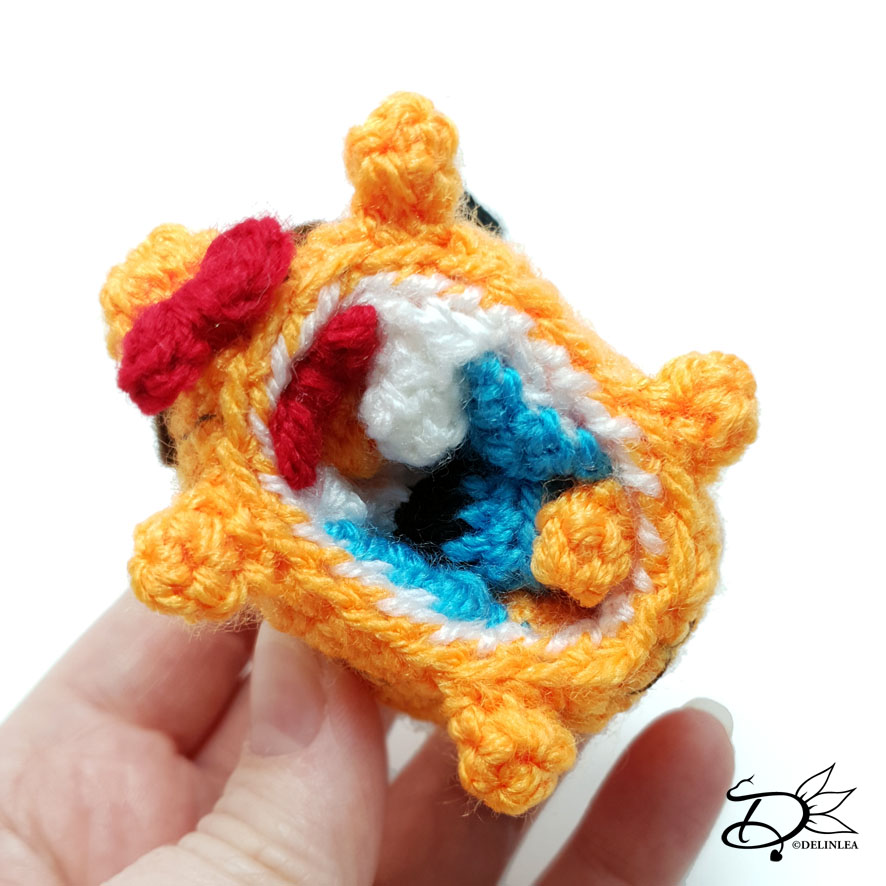
♥ Assembling Truning Tsum Tsum
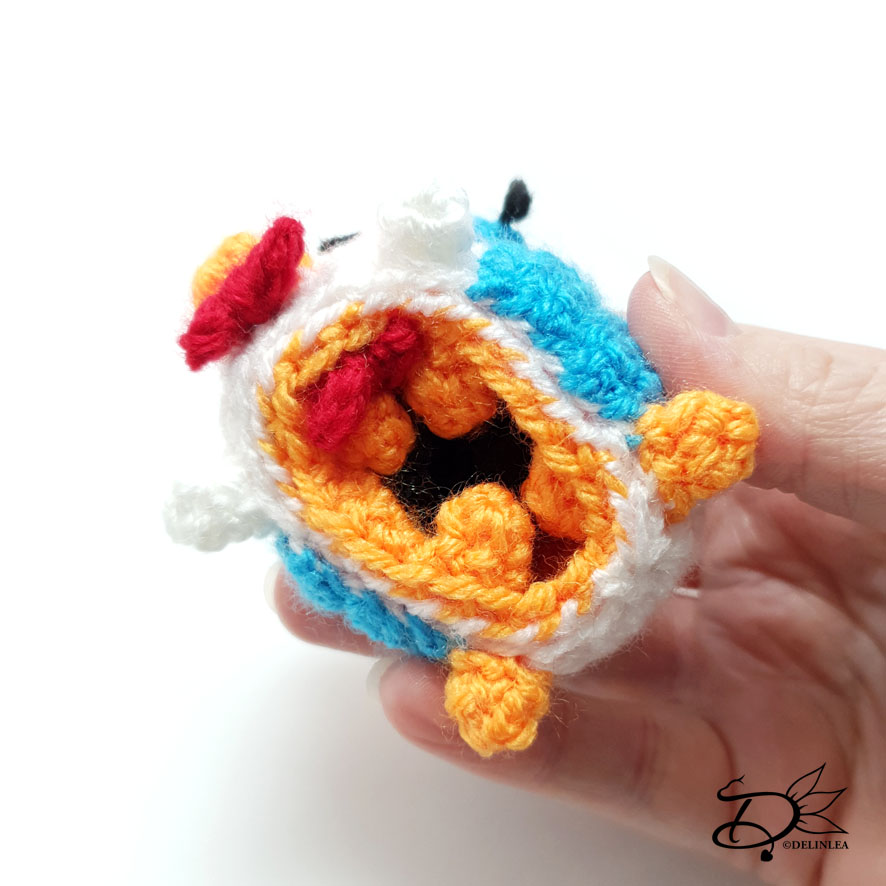
Usually I use sewing pins to put amigurumi together first, but since you don’t use any stuffing for this one, that’s gonna be a bit tricky, you could try if you want to.
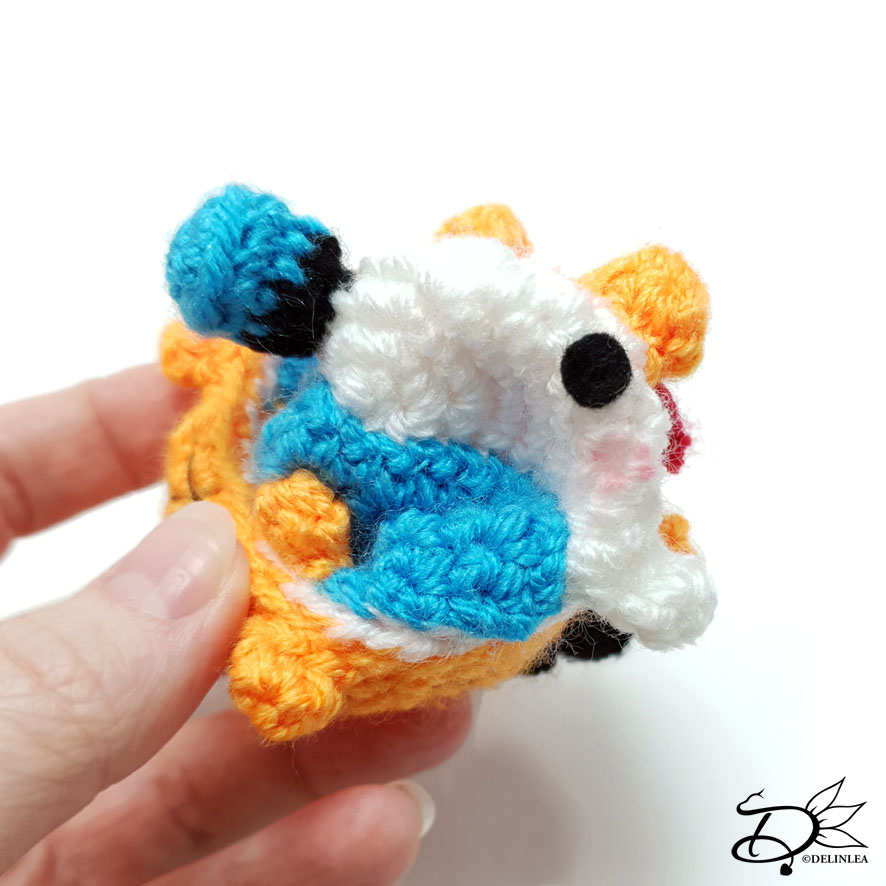
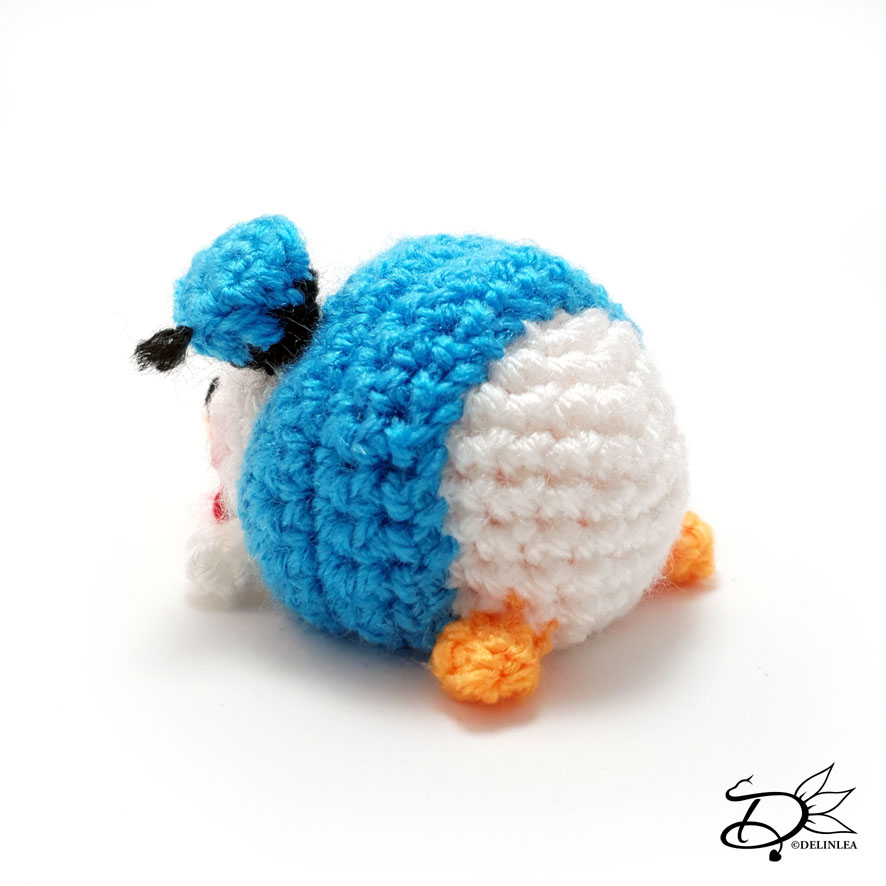
On both the Orange and White body, sew the beak on. On the White body, sew his shirt one, make sure to sew along all the edges, so it’s secure enough to flip it inside out. Then sew on his legs, 2 Orange at the back and the White in front. Under his Beak you will add his little bow. And last add his little hat, when you have sewn it on, make sure you use the tail end to make the small detail on top (lacking English here, help! Haha)
Now, back to the pumpkin version, since the beak is on, you can add all the lines on the body. It’s a bit hard to explain where they should go. But on the head there are 4 lines and on the body as well. Keep in mind that it should be a pumpkin, the lines on the head go from bottom to top, where they meet, and the lines on the body go from the head to the butt and meet there. Use the sewing thread and needle to do this. Or paint/draw them on if you feel that’s better/easier. When that’s done, sew the stem, hat, 4 legs and bow to the body.
Now let’s make some eyes, for the Pumpkin use brown felt, and make the eyes slightly bigger and oval, as you would normally do for Donald. And for the normal Donald, use black felt and cut out small circles. Glue those on and let dry well.
Now for the last part of assembling, put them together, the opening should be completely lined up and sew those together. I used only the back loops to do so. Now you can push one side inside the other. And if you feel like you want to other side, flip it. The first few times, this won’t go too smoothly, but after a few times, this goes easier.
I hope you had fun with this turning Tsum pattern and hope you will make it! If you did, please, show me on Twitter or Instagram with #DelinleaDIY, I’d love to see!
Happy Halloween!! and I’ll see you next week!
Love
Danielle