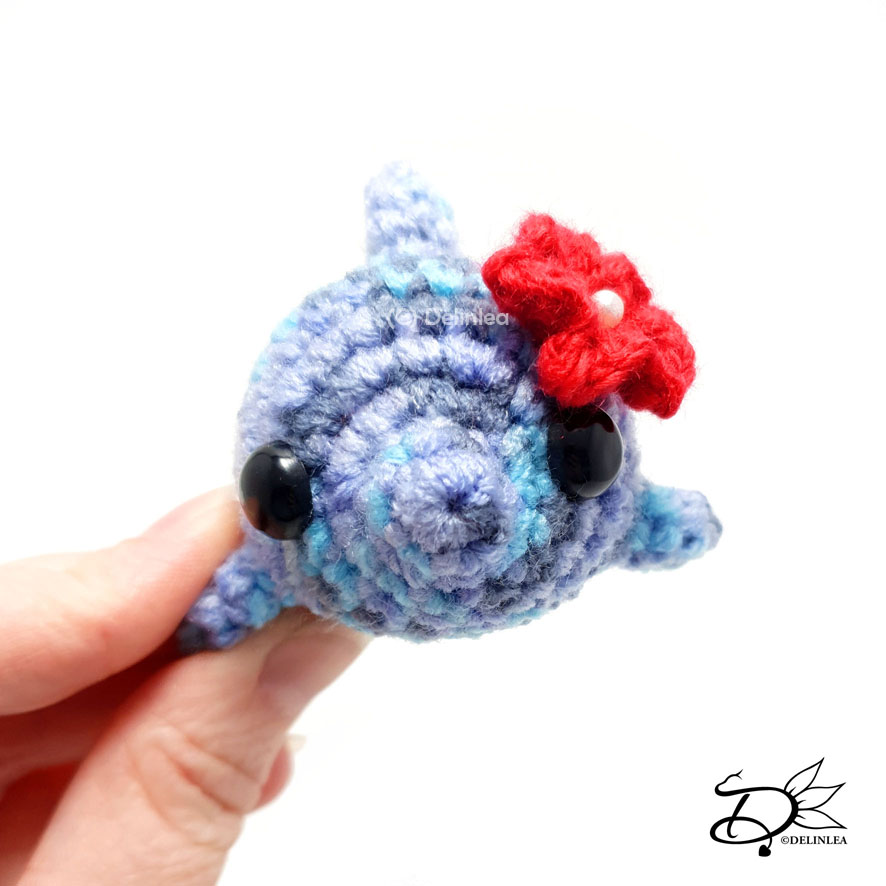
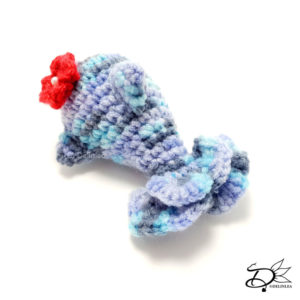
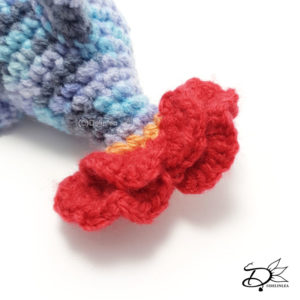
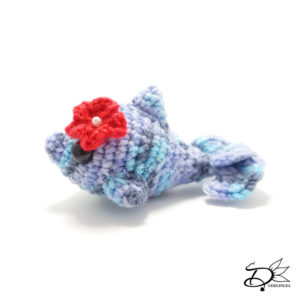
Hey Lovelies! I always struggle making things with a Summer theme. Maybe because I dislike Summer, but when I started to write down things that are Summery, there are quite some things I love. Like, all those beautiful flowers and plants, Dolphins, etc. So, I tried to combine flowers with a dolphin, a Floral Dolphin. Well, I sorta like how it turned out, but the tail without the bright, flowery, colors I probably like better. But you can be the judge and make your own version with your lovely color choices. Let’s go to the pattern, shall we?
For this Pattern you’ll need:
♥ Yarn in the colors; Blue and Red (I used a mix of DK yarns)
♥ Crochet Hook. (I used a 2,5mm)
♥ Safety Eyes, 9mm.
♥ Stuffing.
♥ Yarn Needle.
♥ Sewing Pins.
♥ Stitch Marker.
Stitches used (US Terms):
Magic Ring.
CH = Chain.
SLST = Slip Stitch.
SC = Single Crochet.
ST = Stitch.
Inc = Increase.
Dec = Decrease.
(…) = Repeat the space in brackets the given number of times.
[…] = Total number of stitches.
♥ Pattern Floral Dolphin
This pattern is made with continues rounds, unless stated otherwise. Use a stitch marker to mark your first/last stitch of your row.
Body
Start with the color Blue.
1: 6SC in a Magic Ring. [6]
2: 6SC. [6]
3: (1SC, inc) 3 times. [9]
4: (inc) 5 times, 4SC. [14]
5: (1SC, inc) 4 times, 6SC. [18]
6: (1SC, inc) 6 times, 6SC. [24]
7: 24SC. [24]
|
11: 24SC. [24]
Add the eyes between row 5-6.
12: (4SC, dec) 3 times, 6SC. [21]
13: (4SC, dec) 3 times, 3SC. [18]
14: 18SC. [18]
15: (1SC, dec) 6 times. [12]
16: 12SC. [12] Stuff the body
17: (2SC, dec) 3 times. [9]
18: 9SC. [9]
19: 9SC. [9]
Now make the end of the tail flat, horizontal, to see if your stitches line up the way the tail should line up with the body. You need to have 5 stitches on the bottom and 4 on top.
Tail Part1
Use the same color as the body or use some colorful, flowery colors.
This with be the bottom part of the tail, made on the 5 stitches, I talked about earlier.
This part won’t be made in continues rounds.
1: 5SC, turn. [5]
2: Inc, 3SC, inc, turn. [7]
3: Inc, 3SC, turn. [5]
4: 4SC, inc, turn. [6]
5: (4SC in the next st) 5 times, SlSt. [21]
As you noticed from row 3 on you don’t use all the stitches on the tail. That’s because the tail is split up in the middle. Repeat row 3 to 5 again from the outer stitch of the tail. (Just like the part you made already, just opposite). The middle stitch of row 2 is used for both sides of the tail, be aware of that.
Fasten off and weave in all the tails that might be there.
Tail Part2
Use the same color as the body or use some colorful, flowery colors.
This with be the upper part of the tail, made on the 4 stitches, I talked about earlier.
This part won’t be made in continues rounds.
1: 4SC, turn. [4]
2: 3SC in the next st, 1SC, turn.
3: 1SC, (4SC in the next st) 3 times. [13]
Same as with part1 of the tail, you need to repeat row 2 and 3 to complete the tail.
Fasten off and weave in any tails.
Fins (Make 3)
Use the color Blue,
1: 4SC in a Magic Ring. [4]
2: (1SC, inc) 2 times. [6]
3: (inc) 2 times, 2SC, (inc) 2 times. [10]
Fasten off and leave a long tail for sewing.
Flower
Use the color Red.
In a Magic Ring, crochet; (Ch2, 2DC, Ch2, 1SC) 5 times.
Pull tight and leave a long tail for sewing. Add a pearl or anything you would like in the middle of the flower.
♥ Assembling
For any amigurumi I’m gonna assemble, I use sewing pins first, This way I can move parts around until I am happy with the outcome, and then sew it on. I would recommend you do so as well!
For this amigurumi there is not much to assemble, just the back and side fins and the flower if you chose to make it. Add all these on where you think it’s cute.
And that was it for this floral dolphin! Obviously I chose this name because of the tail. I hope you enjoyed this cutie! If you decided to make this pattern, I would love to see it, so show me on Twitter or Instagram with #DelinleaDIY.
Have a wonderful day and I’ll see you next week!
Love
Danielle


