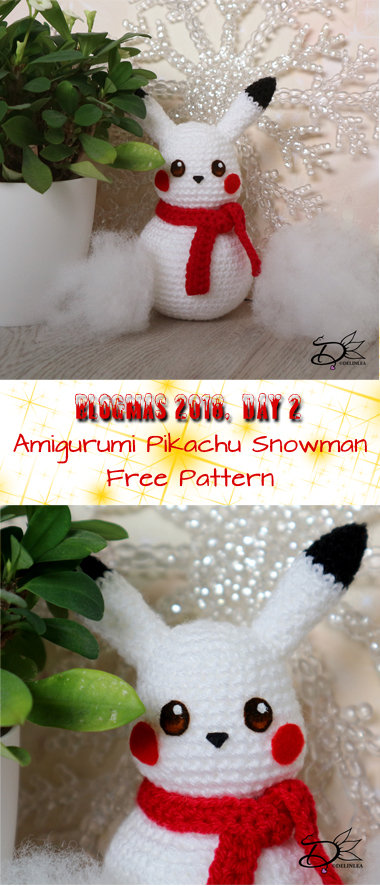
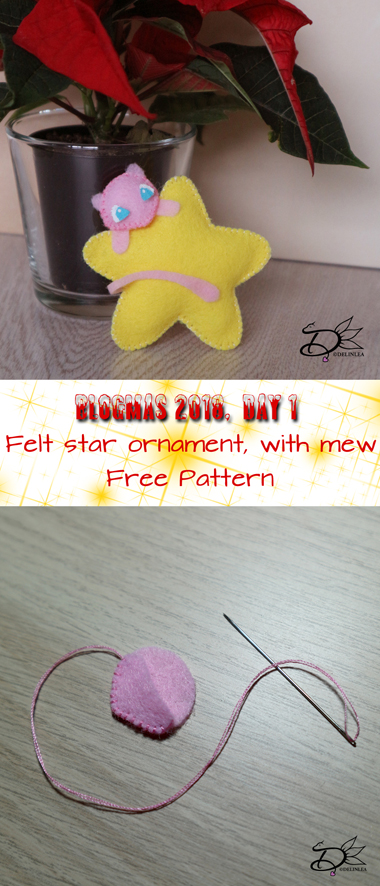
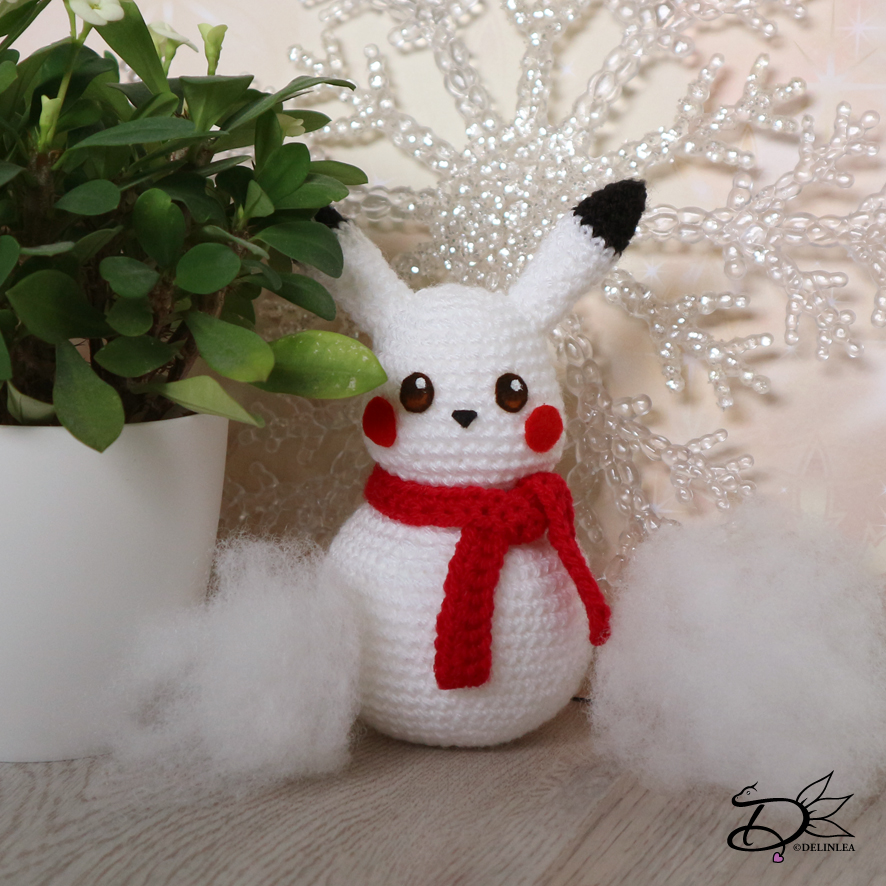
♥ Day 2; Amigurumi Pikachu Snowman
Hey Lovelies! Day 2 is here! I have a feeling this month is gonna fly like it’s nothing! But I am excited, and I hope you are too! Today is a Amigurumi, a Snowman Pikachu! I love how it turned out. So I really hope you will like it as well~.
For this DIY you will need:
♥ Yarn, in White, Black and Red
♥ Crochet hook.
♥ Stitch marker.
♥ Yarn Needle.
♥ Sewing Pins. (optional)
♥ Fiber fill.
♥ Felt in the colors Black, Brown and Red.
♥ Glue.
♥ Scissors.
Stitches used:
CH = Chain.
SC = Single Crochet.
FSC = Foundation Single Crochet.
ST = Stitch.
Inc = Increase.
Dec = Decrease.
Slst = Slip Stitch.
(…) = Repeat the space in brackets the given number of times.
[…] = Total number of stitches.
Pattern
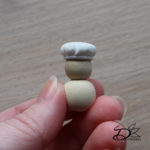
Pikachu Head
In White.
1: 6SC in Magic Ring. [6]
2: 2SC in each ST around. [12]
3: (1SC, inc) 6 times. [18]
4: (2SC, inc) 6 times. [24]
5: (3SC, inc) 6 times. [30]
6: SC in each ST around. [30]
|
9: SC in each ST around. [30]
10: 7SC, inc, 1SC, inc, 4SC, inc, 4SC, inc, 1SC, inc, 8SC. [35]
11: 7SC, inc, 3SC, inc, 10SC, inc, 3SC, inc, 8SC. [39]
12: SC in each ST around. [39]
13: 7SC, dec, 3SC, dec, 10SC, dec, 3SC, dec, 8SC. [35]
14: SC in each ST around. [35]
15: 7SC, dec, 1SC, dec, 4SC, dec, 4SC, dec, 1SC, dec, 8SC. [30]
16: (3SC, dec) 6 times. [24]
17: (2SC, dec) 6 times. [18]
18: (1SC, dec) 6 times. [12]
19: Dec all around. [6]
Fasten off and weave in tail.
Pikachu Ears (2)
Start with Black.
1: 4SC in Magic Ring. [4]
2: (1SC, inc) 2 times. [6]
3: (1SC, inc) 3 times. [9]
4: SC in each ST around. [9]
5: (2SC, inc) 3 times. [12]
Change to White.
6: SC in each ST around. [12]
|
8: SC in each ST around. [12]
9: (2SC, dec) 3 times. [9]
10: SC in each ST around. [9]
|
13: SC in each ST around. [9]
Fasten off and leave a long tail for sewing.
Body
In White.
1: 6SC in Magic Ring. [6]
2: 2SC in each st around. [12]
3: (1SC, inc) 6 times. [18]
4: (2SC, inc) 6 times. [24]
5: (3SC, inc) 6 times. [30]
6: (4SC, inc) 6 times. [36]
7: (5SC, inc) 6 times. [42]
8: (6SC, inc) 6 times. [48]
9: 48SC. [48]
|
18: 48SC. [48]
19: (6SC, dec) 6 times. [42]
20: (5SC, dec) 6 times. [36]
21: (4SC, dec) 6 times. [30]
22: (3SC, dec) 6 times. [24]
23: (2SC, dec) 6 times. [18]
Fasten off and leave a long tail for sewing.

Shawl
In red.
1: Crochet 55FSC, turn. [55]
2: CH1, 55SC. [55]
Fasten off and weave in tail.
Assembling
Sew the body to the head. Place the ears with some sewing pins, if you are happy with the look, sew them on. Tie the shawl on his neck.
Cut eyes, ears and nose out of felt. The eyes I cutted out of brown felt, and with a black waterproof marker I made the rest of the eye black, this way you get some dimension in the eye. With white acryllic paint I made a white dot in the eye. This is ofcourse optional.
I hope you enjoyed this pattern! Don’t forget to share yours with #DelinleaBlogmas2018DIY on twitter or insta.
I’ll see you tomorrow again!
Love
Danielle