Author: Delinlea
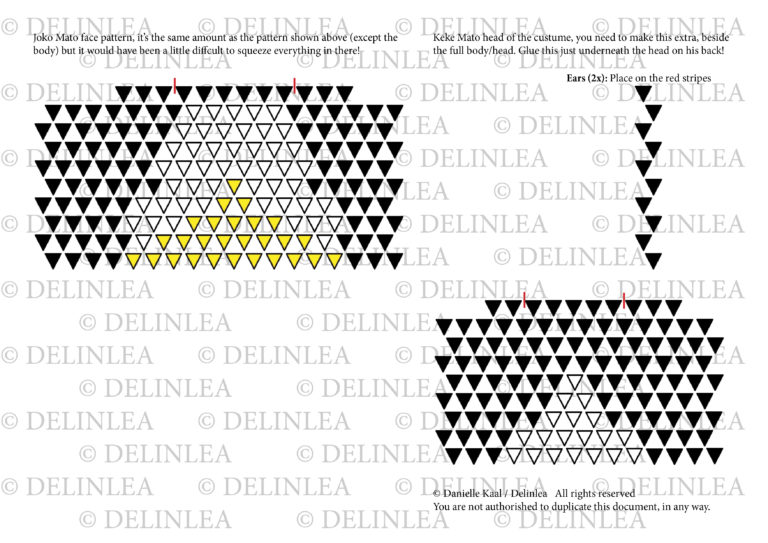
♥ 3D Origami; Matoki Diagram
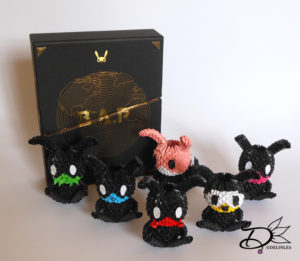
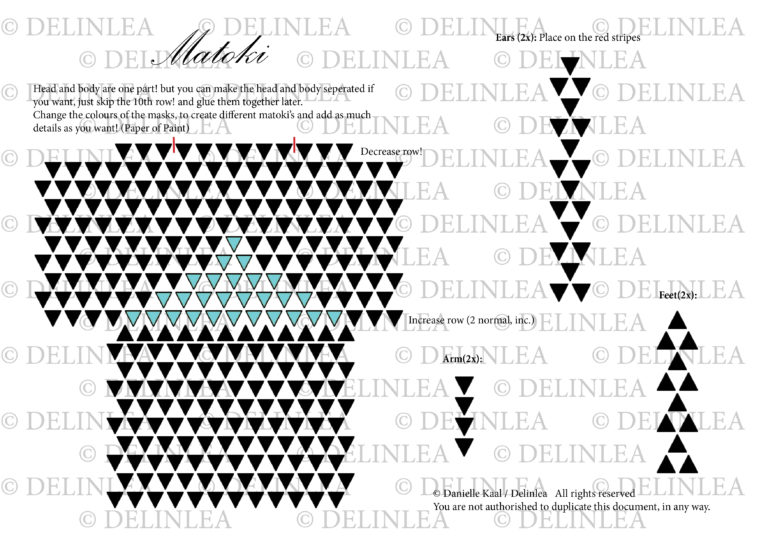
Hey Lovelies! Today no new tutorial or DIY, wel not for me at least, it’s a repost from my old website. Today I wanna give you the 3D Origami pattern of Matoki’s. These are the alien of B.A.P a Korean boyband.
I am so busy that I have barely time to breath, so I throw this one in quickly~! I hope you will enjoy it anyway! If you don’t know how you have to do 3DO, just google search it, there’s plenty of tutorials to be found out there, plenty of videos as wel.
Next week I will repost the last 3DO pattern from my old website, so I can delete that one. It has no use anymore.
After that week, I can hopefully create new content for you! Please bear with me for a while.
Love
Danielle
♥ ShuShu
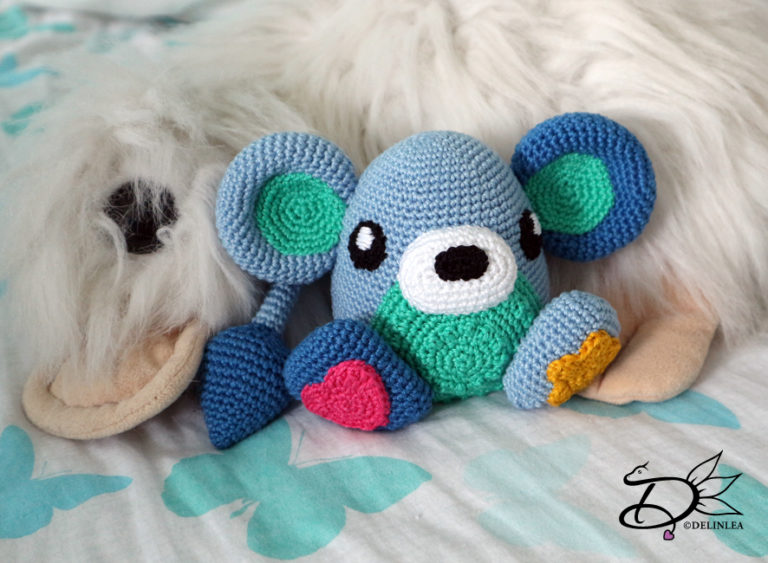
Hey Lovelies! We had to make something for a Baby, there wasn’t stated what kind of something for a Baby. But we had to use a rattle bead. Besides that we had a package with a range of colors and a wooden animal where babies can chew on. We didn’t have to use all the stuff in there, but the rattle bead we had to use.
We mochten iets voor een baby maken, er was niet beschreven wat precies. Maar we moesten een rammelkraal gebruiken, dit was het verplichte onderdeel. We hadden een pakket gekregen met Yarn and Colors Must-Have garen in verschillende kleurtjes, de rammelkraal en een houten bijtring. We hoefden niet alles te gebruiken dat we hadden gekregen.
So I came up with this cute creature! I struggled a lot with this challenge, since I had way to many ideas! I actually wanted to make a bazillion things, but in 1 week, that’s impossible xD.
Dus kwam ik met het idee van dit schattige beestje. Ik had het best moeilijk met deze opdracht, ik had veels te veel ideeën! Eigenlijk wou ik duizend dingen maken, maar in 1 week?! Dat gaat niet xD.
Love
Danielle
♥ Trinity Heart Hat
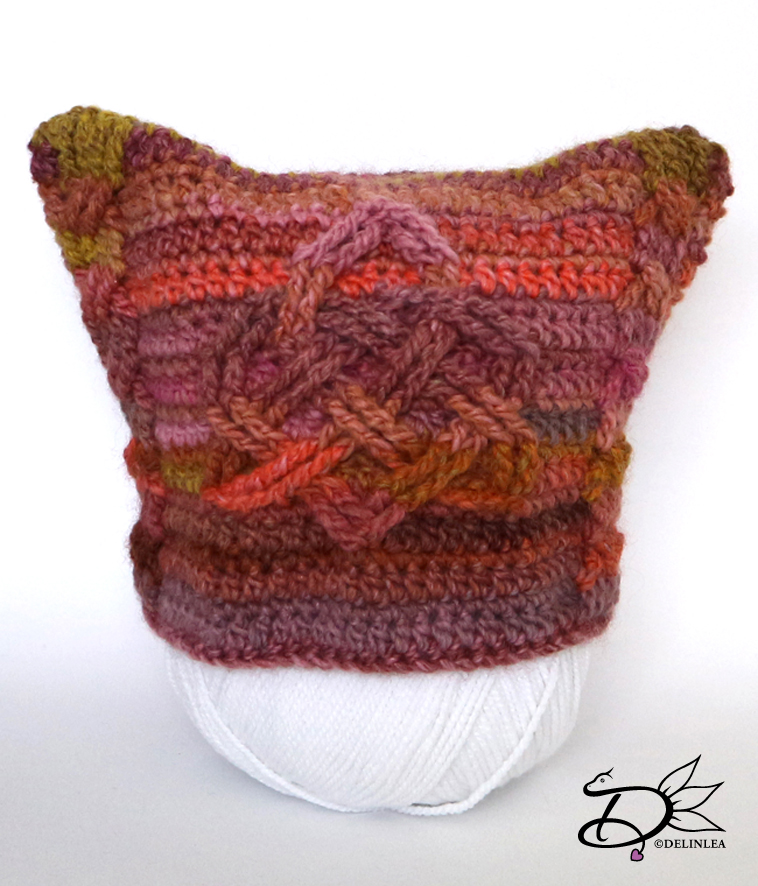
Hey Lovelies! yeah, we had to make gloves or a hat! We got this challenge when it was mid summer, like 35 degrees. *mental breakdown* it was so weird to make something like that in such hot weather! But we survived.
I didn’t really like the color of yarn I got, But we had no choise and had to make it with what I had gotten. So I just made the best out of it! I could barely finish it with the amount of yarn we got, just enough! That was scary tho!
Hoi Allemaal, ja, we mochten voor deze opdracht dus een muts of wanten maken. We kregen deze opdracht midden in de zomer, toen het 35 graden buiten was. *mental breakdown* Het was zo raar om met dat hete weer iets voor de winter te haken! Maar ik hebben het overleeft.
Ik vond de kleur garen die ik had gekregen, niet zo heel mooi. Maar ik had geen keus en moest het doen wat ik had gekregen. Ik heb geprobeerd er het beste van te maken! Ik had het bijna niet afgekregen, zat even met m’n tenen krom, ik had net genoeg garen voor deze opdracht! Zoveel stress haha.
Have a wonderful day everyone!
Love
Danielle
♥ Amigurumi: Jack Skellington TsumTsum
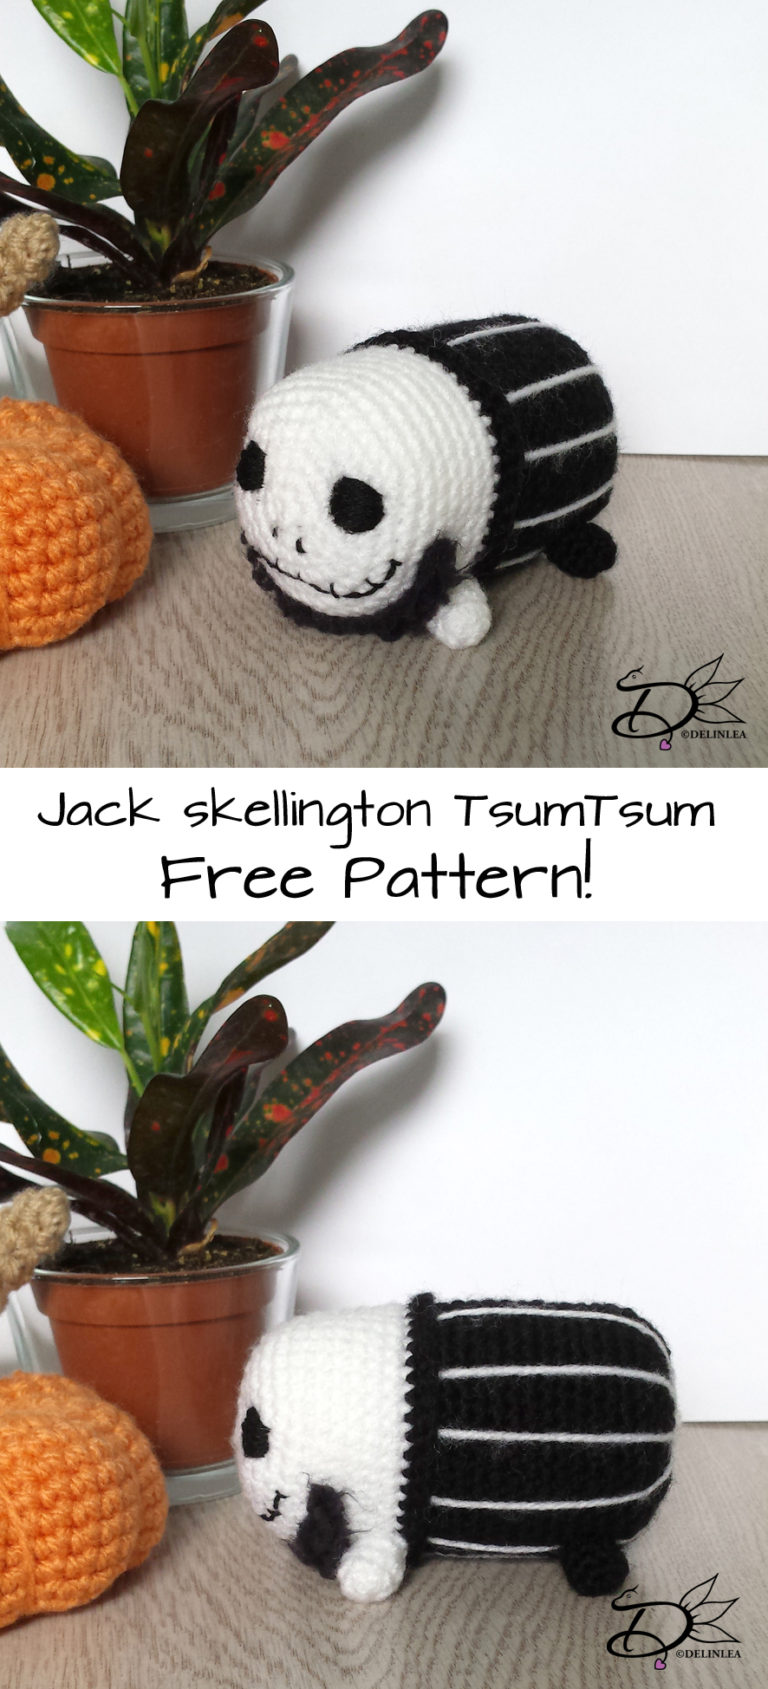
Hey Lovelies! Today I really wanted to make you another TsumTsum pattern, and since halloween is coming, I wanted something a it less cute haha xD. So today we will make a Jack Skellington Tsum! I hope you will enjoy~~!
For this DIY you will need:
♥ Yarn: in the colors Black and White.
♥ Crochet hook.
♥ Stitch marker. (optional)
♥ Fiber fill.
♥ Yarn needle.
♥ Embroidery needle with black thread or black felt.
♥ Scissors.
Stitches used (US):
SC = Single Crochet.
ST = Stitch.
Inc = Increase.
Dec = Decrease.
BL = Back Loops only.
Slst = Slip Stitch.
(…) = Repeat the space in brackets the given number of times.
[…] = Total number of stitches.
Pattern
Body
Start with the color White
1: 6SC in magic ring. [6]
2: Inc in each st around. [12]
3: (1SC, inc), 6 times. [18]
4: (2SC, inc), 6 times. [24]
5: (3SC, inc), 6 times. [30]
6: (4SC, inc), 6 times. [36]
7: (5SC, inc), 6 times. [42]
8: SC in each st around. [42]
|
14: SC in each st around. [42]
Change to Black.
15: SC in each st around. [42]
16: SC in back loops only, in each st around. [42]
17: SC in each st around. [42]
|
29: SC in each st around. [42]
30: (5SC, dec), 6 times. [36]
31: (4SC, dec), 6 times. [30]
32: (3SC, dec), 6 times. [24]
33: (2SC, dec), 6 times. [18] Stuff the body here.
34: (1SC, dec), 6 times. [12]
35: Dec around. [6]
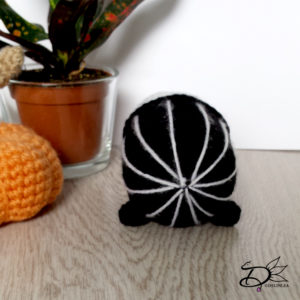
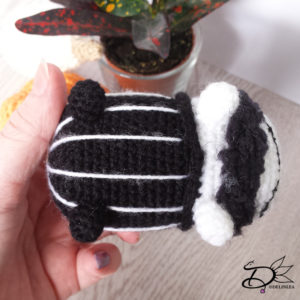
Fasten off and weave in tail. Make with White yarn some stripes on the black part, make it look like his fancy suit!
Now at row 16 you worked in the back loops only. Join now, with black in the front loops, and crochet 42SC around. [42]
Legs (4)
2 in White, 2 in Black.
1: 4SC in magic ring. [4]
2: Inc in each st around. [8]
3: SC in each st around. [8]
|
5: SC in each st around. [8]
Fasten off and leave a long tail vor sewing.
Assembling
To make sure you sew all parts in the right place, you can use some sewing pins to position them. When you are happy with the position, you can sew them on.
Sew the legs on to the bottom of the body, the front legs are pointing to the front. The back legs are pointing to the side.
For the eyes, nose and other details, you can either choose to use felt or you can embroider them on. I chose to embroider them on, cause yeah why choose the easy way haha. But which way you choose, your Tsum will be cute anyway.
With some black plushy yarn I created his beard, but you can use regular yarn for it as well. Just go around half way his face, pull the yarn through and repeat a few more times.
I hope you Enjoyed this pattern! Don’t forget to show me when you did make him~~.
Love
Danielle

