♥ Easter Shakers DIY
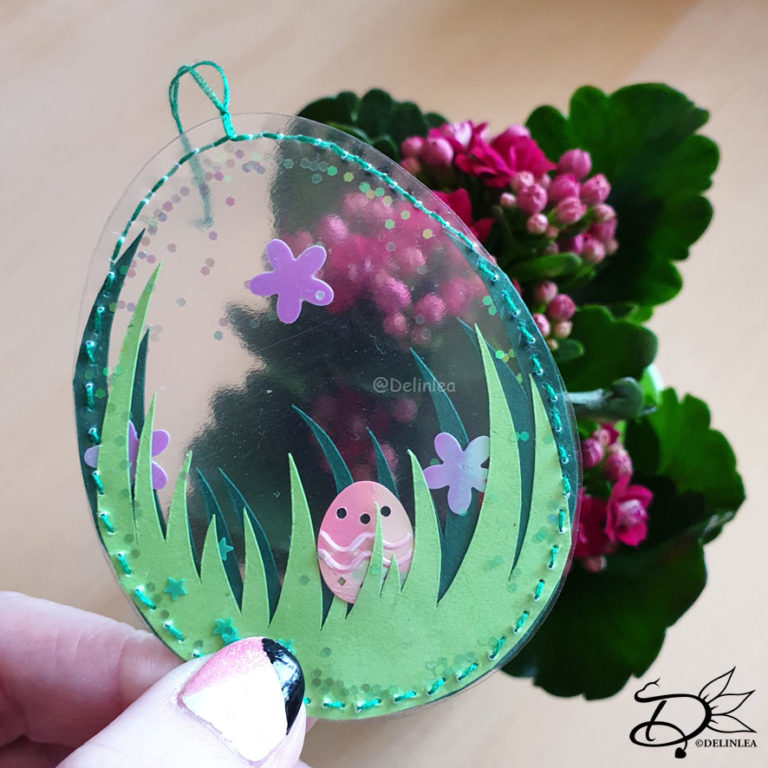
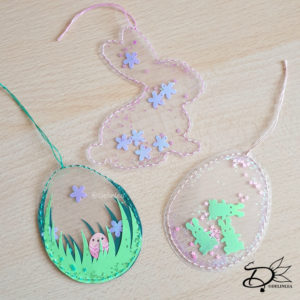
Hey Lovelies! It’s almost Easter time and I have barely done anything this year. While usually I have plenty of ideas that I wanna make/do. *Sigh not sure why actually. Maybe I’m just too tired still (and in pain, but let’s not talk about that). Anyway, let’s go to today’s tutorial! We are gonna make some Easter shakers, you can put them to decorate of as a little gift or just to play around with. It’s fun and I hope you will join me to make some.
For this DIY you’ll need:
♥ Paper.
♥ Pencil/Marker.
♥ Printer. (optional)
♥ Sheet of clear plastic.
♥ Needle and Thread. (color of choice)
♥ Glitter, Sequins, etc. (to put inside)
♥ Glue.
DIY Easter Shakers
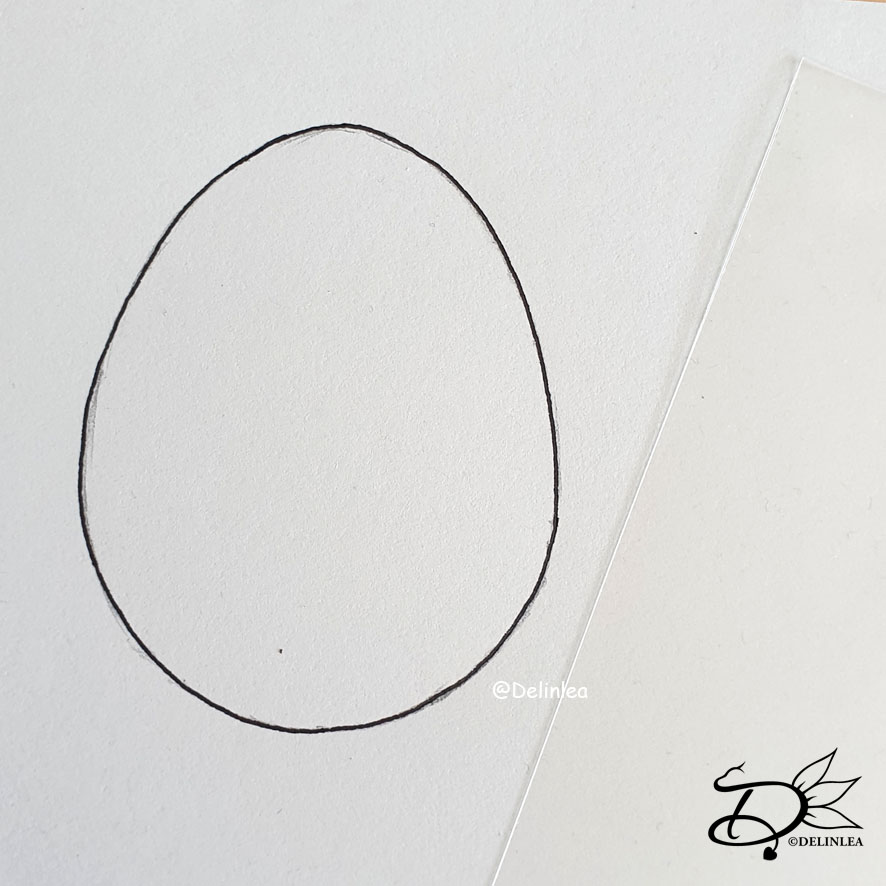
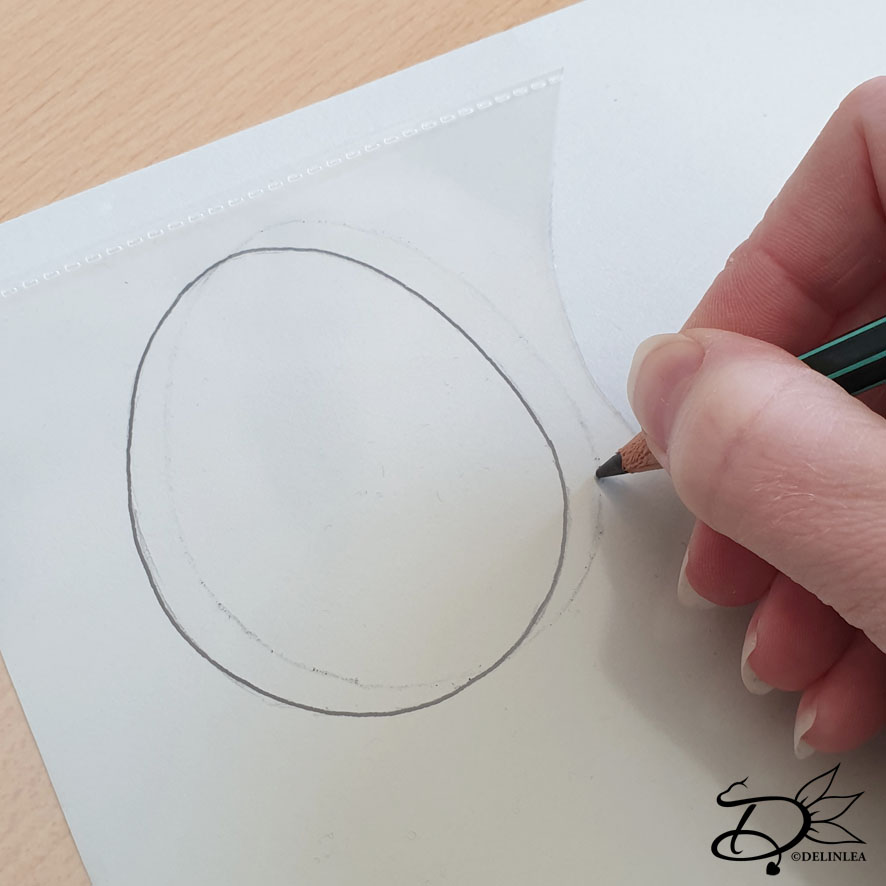
Start with drawing or printing out an egg shape on paper, make it as big as you want. This will be your guide. Trace this with pencil or a marker (test what works for you) on a sheet of clear plastic. Make sure you cut out 2 of the same shape.
Option 1, Easy
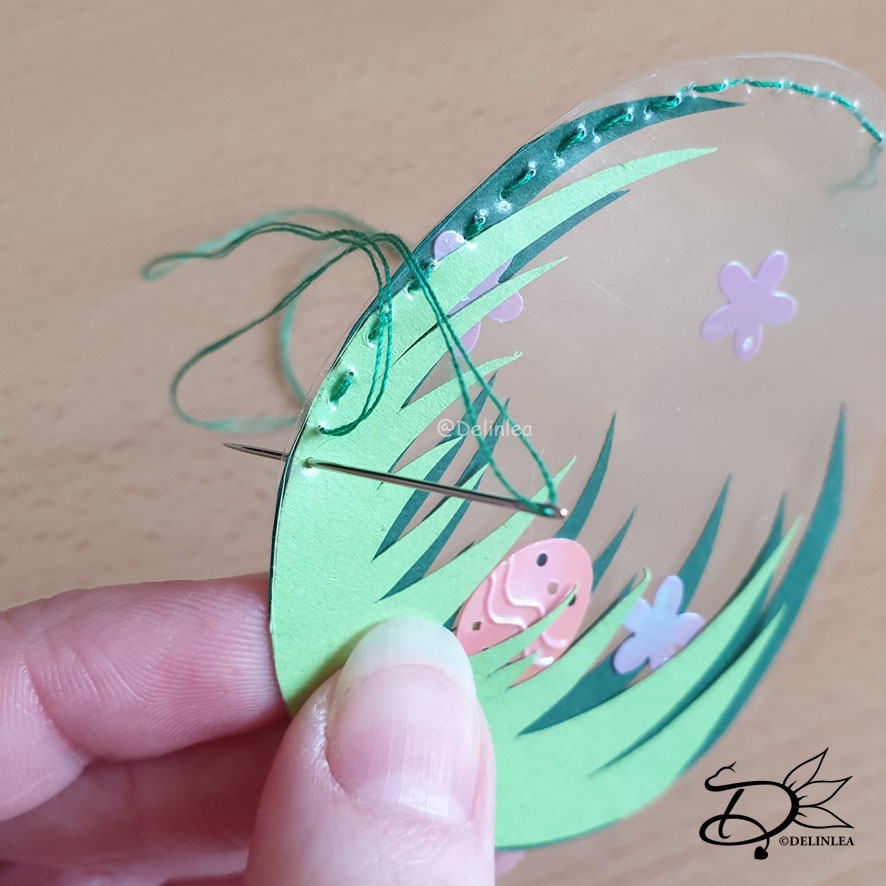
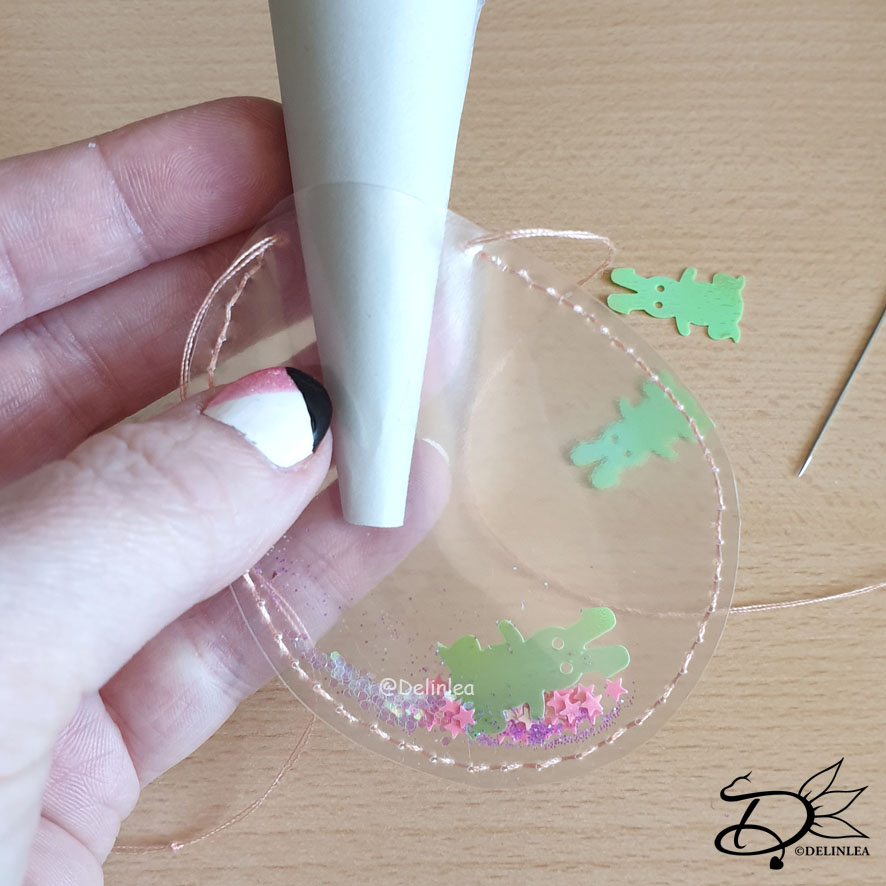
Prepare some glitter, sequins, etc, that you can put inside your egg. Set it aside and continue with the clear egg. Take your needle and thread color of choice and start sewing the 2 sheets of the egg together. Sew about 2-5mm from the edge, with a running stitch (a blanket stitch will work too). Try to make your stitches not too far apart from each other, or the glitter or other things will fall out. When you almost reached the end of sewing the 2 pieces together, about 2cm left, open this hole up and put the glitter you prepared inside, you might wanna make a funnel of paper to make this easier. Then continue to sew the opening close. Tie a knot in the yarn and with the left over yarn you can make a loop to be able to hang it.
Option 2, Harder
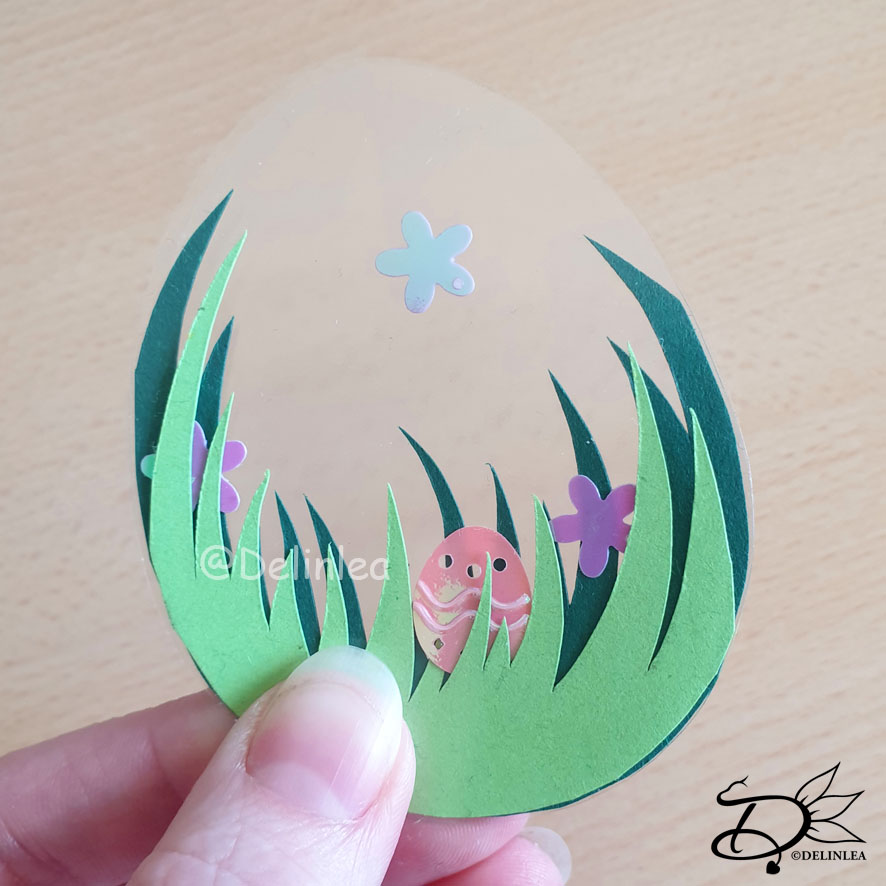
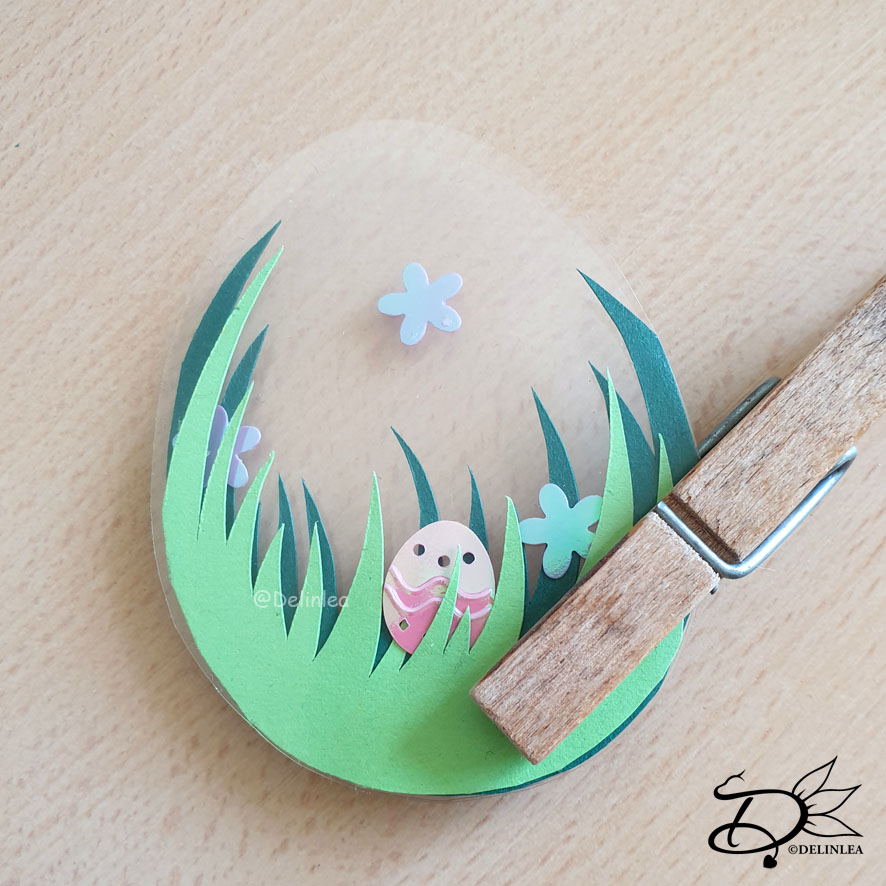
Trace the egg on green colored paper as well, I used 2 different shades of green but 1 is fine as well. Draw grass in those egg shapes and cut out. You can make as many layers as you like, use a bit of glue in between the layers to make it a bit easier. Now you can choose to glue some of the sequins/glitter to the grass already, or add those later, or do both, glue and add later like I did. Next, put the paper in between the two plastic egg shape sheets. Make sure to hold it in place well, maybe with the help of a clip. Now start sewing like I explained by option 1.
Wrap up
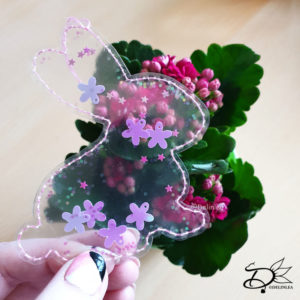
Now your fun egg shape shakers are done! I hope you will like them, I absolutely did and went ahead to make some different shapes as well. I love the clear and shaker effect of it. A bit more playful! If you had fun making some as well, make sure to show me on Twitter or Instagram with #DelinleaDIY, I’d love to see what you made!
Have a wonderful day and I’ll see you next week!
Love
Danielle
PS. if you love those DIYs, maybe you’d like to support me on Ko-Fi?! So I can keep making content like this!
// ©2021 Delinlea / Danielle Kaal // Items made with this tutorial may be sold in a limited number. Credit to ‘Delinlea’ is appreciated. Not allowed for mass production or commercial purposes. You may not reproduce, translate, share, freely distribute or sell this tutorial as your own in digital or printed from.

