
♥ Memoboard DIY
Hey Lovelies!
I’ve been drawing polaroids weekly, well I try to. And I’m putting them like everywhere in my room and quit a few are put away already. Now I’m kinda afraid some get damaged so I though of having a place where I could put them. That’s why I’m making a memoboard today, where I can collect them without having to worry!
I know this tutorial isn’t gonna be very original, but I still wanna share with you all, how I made mine!

For this DIY you’ll need:
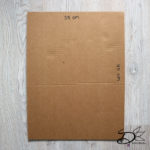
♥ Cardboard (25 by 45cm).
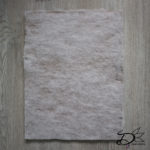
♥ Sheet stuffing (not sure how it’s called, I used a snow blanket xD)
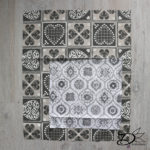
♥ Fabric (55 by 45cm) make sure it’s not a stretchy fabric but choose something like cotton.
♥ Fabric (30 by 30cm) Same for this one, don’t pick a stretchy fabric but choose something like cotton.
♥ Yarn or Ribbon.
♥ Glue Gun.
♥ (Fabric) Scissors.
♥ Sewing Pins.
Let’s start
Plug your glue gun in first so it has time to warm up.
Make sure your cardboard has the right size. Now take the sheet stuffing and cut that down to the same size of the cardboard, and glue these two together.
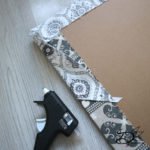
Take your main fabric of 55 by 45cm and place this on a flat surface with the good side facing down. Place the cardboard with the stuffing on top, with the stuffing facing down as well. Now take your glue gun and glue all the corners of the fabric to the cardboard, just as shown in the pictures.
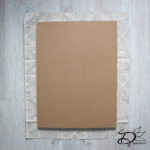
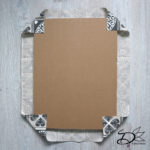
When that’s done, it’s time to glue all sides to the cardboard as well. I started in the middle of each side and working my way down to the corners. While glueing down the sides make sure to stretch the fabric so any oneven things in the fabric will be gone. I learned in school to start in the middle by making things like these with fabric, so the surface will be nice and sturdy. If you start at a corner and work to the other corner there’s a higher chance that there will form any wrinkles, and that’s not what you want.

Decorating
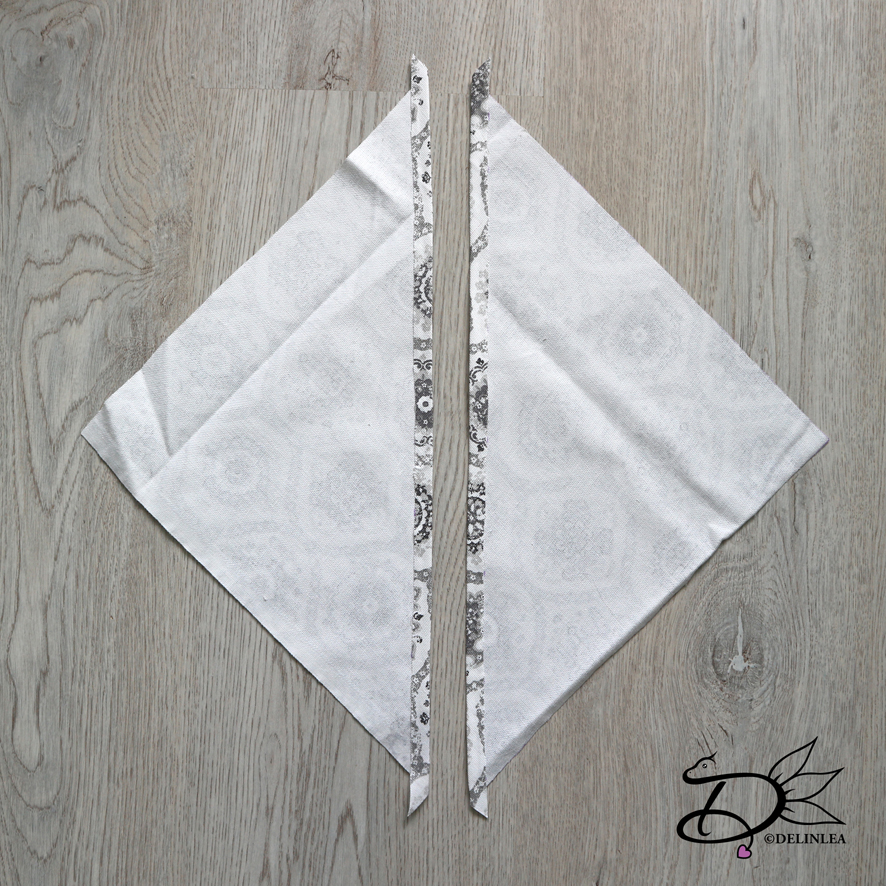
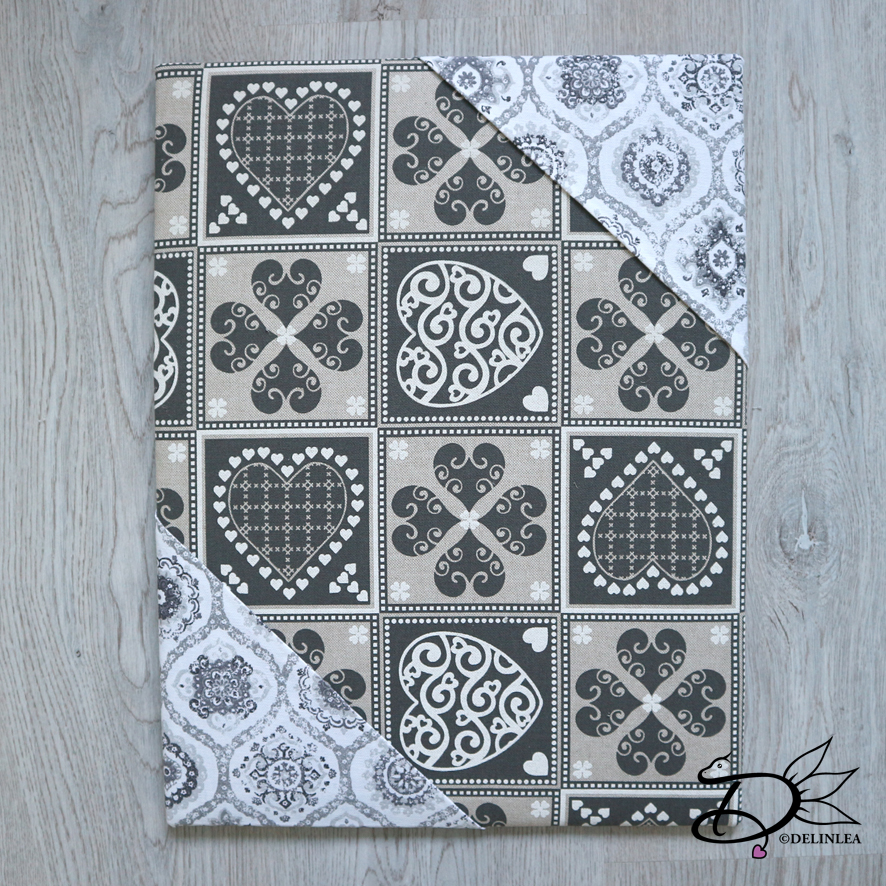
This step you can skip if you want, but we are gonna work with the second fabric (30 by 30cm). Cut this diagonal, so, from one corner to the other. Fold about 1cm over of the longest side of both triangles. You can choose to sew this down but I chose to glue it down with my glue gun, quick and easy. Just don’t burn yourself like I did xD.
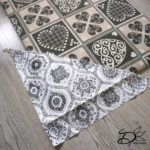
Take one triangle and place it of the right side of your memoboard, with the good side of the fabric facing up. Position it the way you like, but make sure you have enough fabric going over the cardboard to glue down. When you are happy with the way it looks, use a sewing pin to keep it in place. And flip the whole thing over.
Do the same for glueing down as the main fabric, start with the corner. And glue down the side.
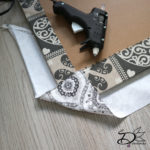
Repeat for the other triangle.
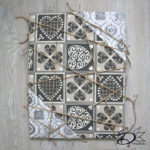
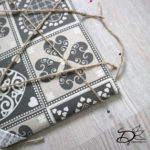
Get out your yarn or ribbon that you chose. and start wrapping it around the memoboard. I used Pins to hold the place I wanted them to stay in. I loved wrapping it criss cross around the board but you can do it however you want, like straight lines. When you are happy with how it looks, glue everything down on the sides of the cardboard, make sure you glue them on tight, so it stays in place forever xD. To secure it more, I glued the yarn/ribbon once more on the back as well.
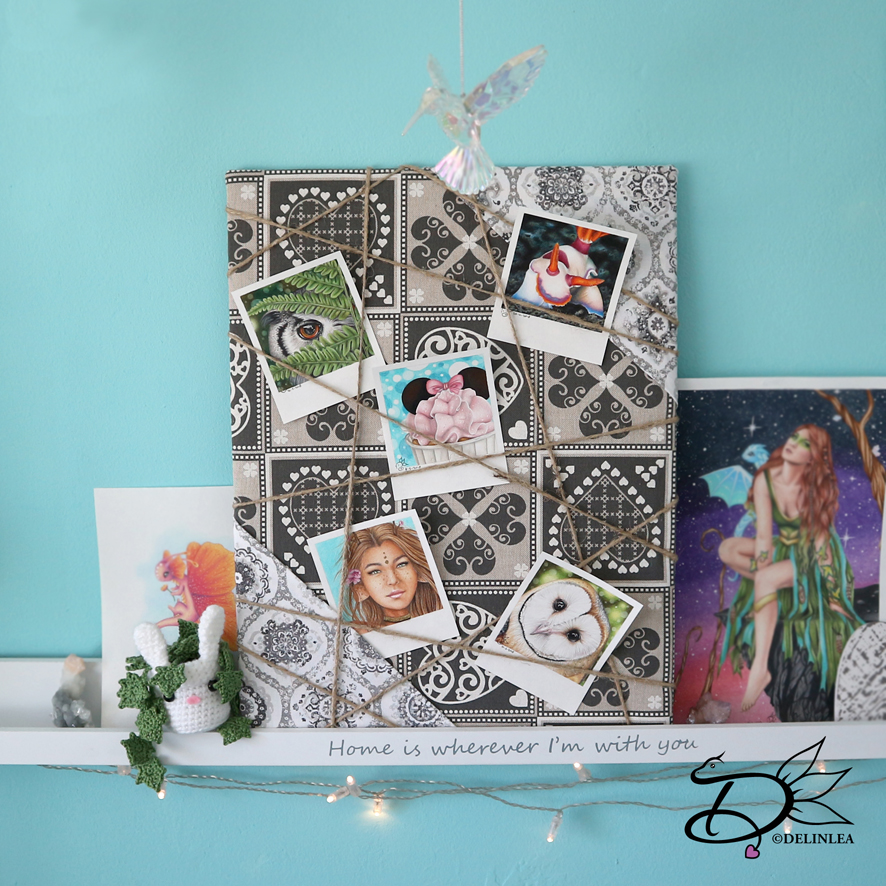
Finished!
And you are done! Yay! ^-^ Now you can stick all those memories on there, or like I did, my drawings. You can use pins on there, or use those tiny clothespins on the threads.
I hope you enjoyed this tutorial and if you made it, show it to me on instagram or twitter with the hastag #DelinleaDIY. Have a lovely day everyone!
Love
Danielle