Delinlea - My little fantasy world
  • ♥ Home
  • ♥ About Me
  • ♥ Blogmas 2021
  • ♥ Free Patterns
    • ♥ Amigurumi; Spring/Easter
    • ♥ Amigurumi; Fall/Halloween
    • ♥ Amigurumi; Winter
    • ♥ Amigurumi Tsum Tsum
    • ♥ Amigurumi Ufufy
    • ♥ Amigurumi Others
    • ♥ Christmas Countdown 2017
    • ♥ Blogmas 2018
    • ♥ Blogmas 2020
  • ♥ Tutorials
    • ♥ Easter
    • ♥ Home Deco
    • ♥ Others
  • ♥ Drawing Lessons
  • ♥ FanFic
    • ♥ Chapter 1
    • ♥ Chapter 2
    • ♥ Chapter 3
    • ♥ Chapter 4
    • ♥ Chapter 5
    • ♥ Chapter 6
    • ♥ Chapter 7
  • ♥ Gallery
    • ♥ Crafts
    • ♥ Drawings
    • ♥ Poseable Art Dolls
  • ♥ Links
  • ♥ Contact

planter

♥ Geometric Planter 3

31 mei 2018 by Delinlea Leave a Comment

Hey Lovelies!

As I am typing this, I don’t feel to well. I’m not doing good with hot weather, and yesterday, I went cycling to another city, maybe not the best decission xD. But I am glad it’s raining right now, so I hope the heat will go away for some time!
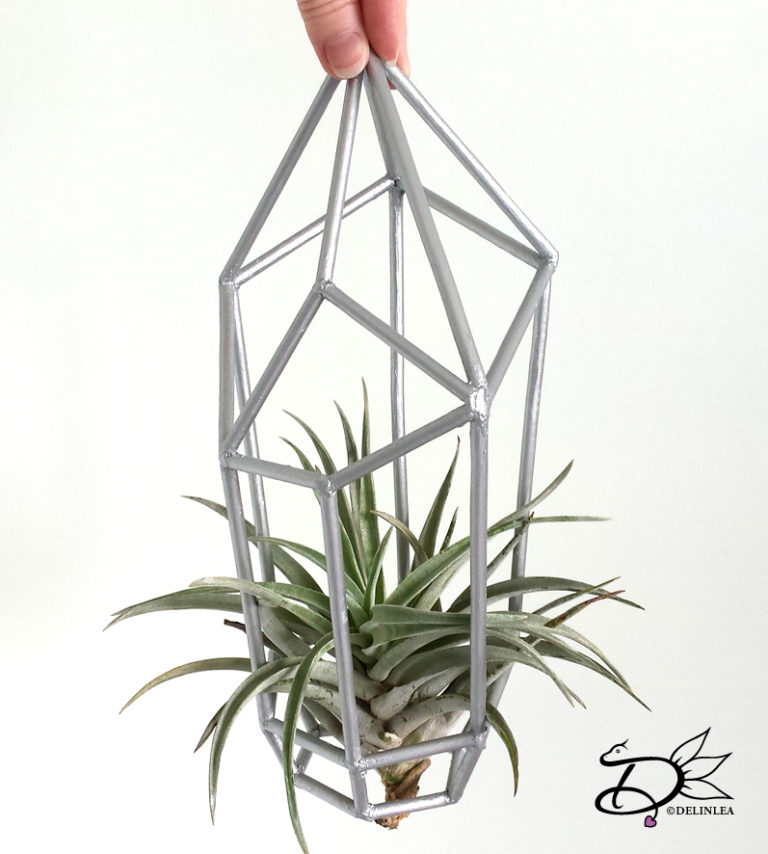
Anyway, today we will make the last geometric planter, probably the most complicated one to explane. you will find out why soon.

For this DIY you’ll need:
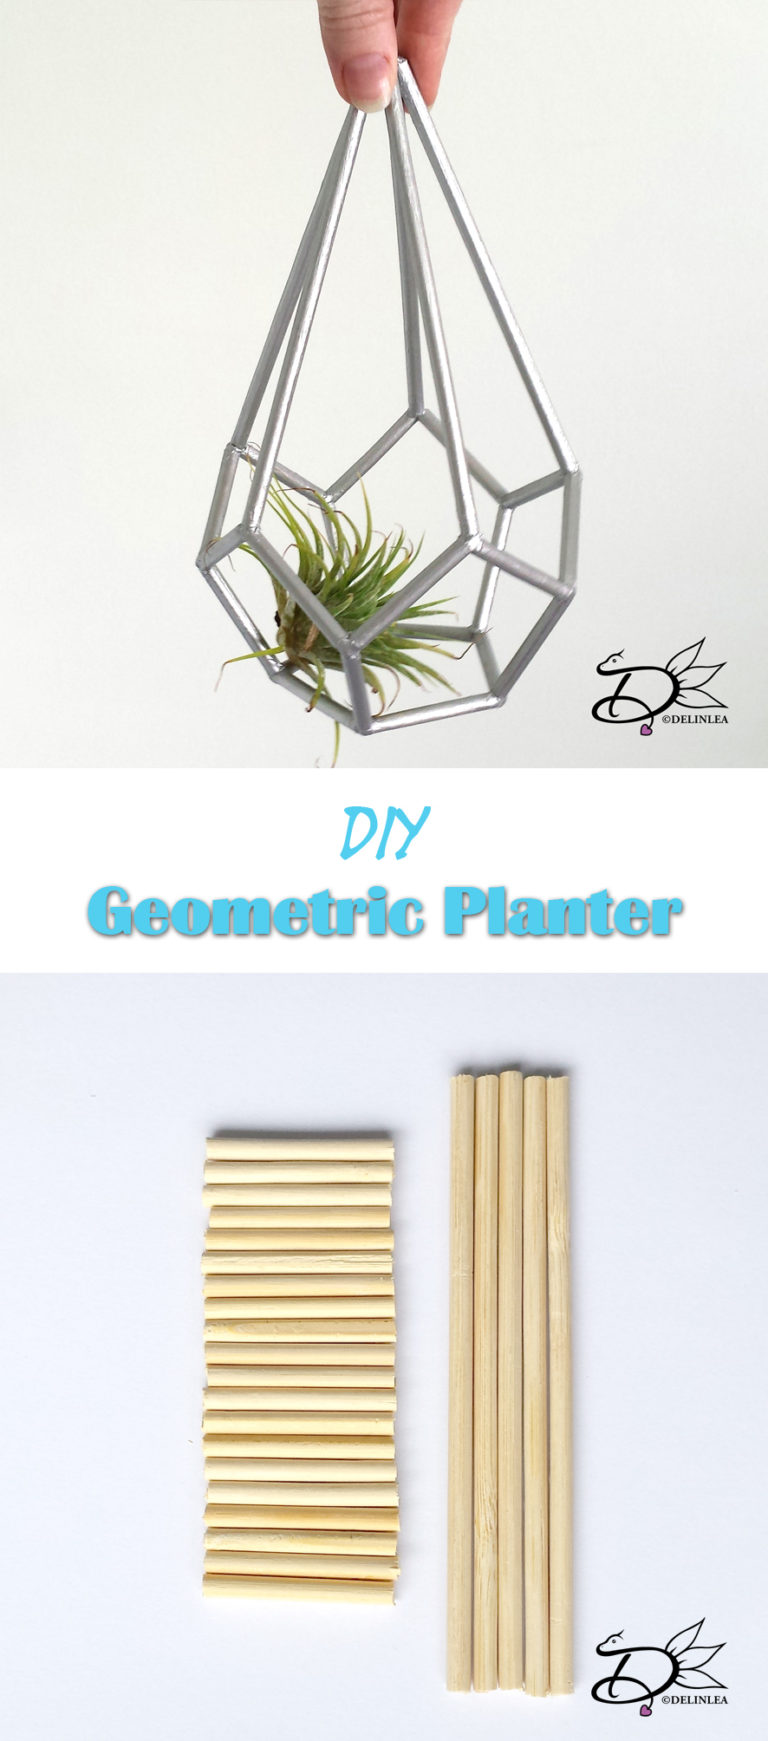
♥  4 Wooden Sticks of about 40cm. (Can be longer or shorter, you only need more or less)
♥  Saw or anything to cut the sticks with.
♥  Pencil.
♥  Ruler.
♥  Masking Tape.
♥  Hot Glue Gun and Glue.
♥  (Metallic) Acryllic Paint.
♥  Brush.

First step

For this geometric panter we won’t precut all the pieces, why?! Because I kinda freestyled it as I go. So I’ll gonna explane you step by step what to do exactly! oh and btw, get that glue gun hot!

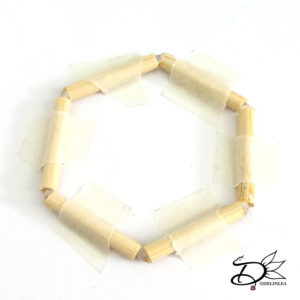
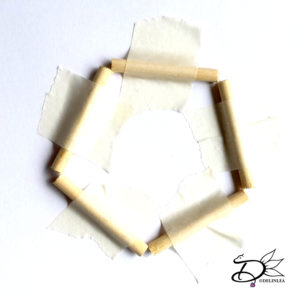
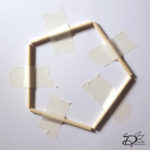
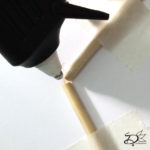
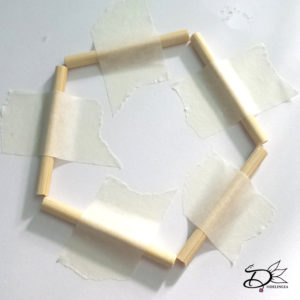
First cut 6 pieces of 3cm in length of the wooden sticks. Chop these with a tool you prefer, I used a handsaw. Place these on a piece of paper in the shape of a hexagon. I used some masking tape to keep them in place. Glue all the corners together with a bit of hot glue!

Second step

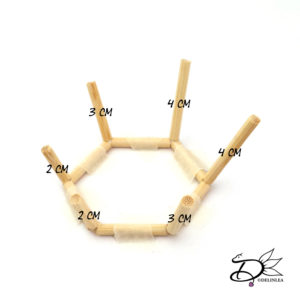
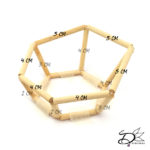
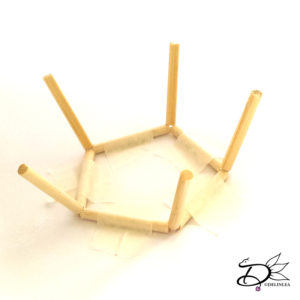
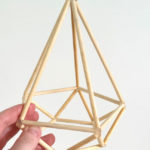
Now we need 6 more pieces; 2 of 2cm, 2 of 3cm and 2 of 4cm. Cut these to the desired length. With some hot glue you’re glueing these to every corner, on a slight angle to the outside. Use the below to see where I placed every length.

Third step

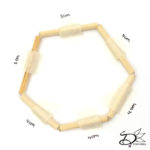
For the next layer we need 3 sticks of 4cm and 3 of 5cm. Just like the first step you are gonna place these in the shape of a haxagon first. Put them on a piece of paper again (to prevent your service you’re working on to get glued). Get them in the right shape, tape them down, and glue all the corners. This hexagon won’t be even, cause of the different sizes in length.

Now glue this hexagon to the sticks of step 2. How to place it exactly?! Use the pictures below. I will add all lengths to all sticks.


Fourth step

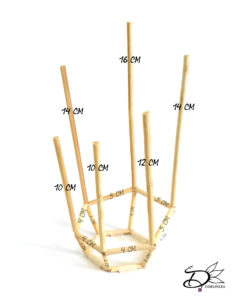
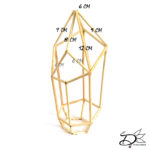
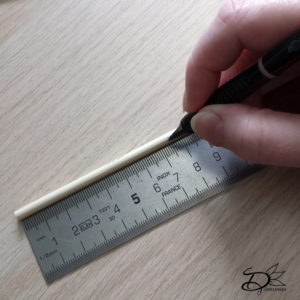
Cut 1 stick of 16cm, 2 of 14cm, 1 of 12 cm and 2 of 10cm in length. This is where you get you height of the planter. You can always make them longer if you want to. I liked it this way.

Now, glue these sticks straight up! On every corner of the hexagon from the previous row, use the pictures again to know which one goes, where. You don’t have to do it too precise. It will turn out good anyway! Like I explaned last 2 times, the glue is gonna stay flexible after setting, you’ll be able to move them around a bit.

Fifth step

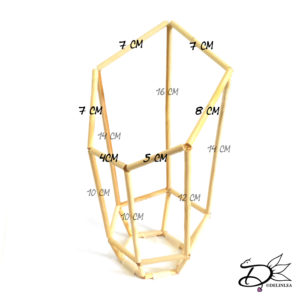
Chop up some more sticks in the length of: 3 of 7cm, 1 of 8cm, 1 of 5cm and 1 of 4cm. When you have done that, use the pictures below to see which stick goes where and glue those on the sticks of the previous row.

Sixth step

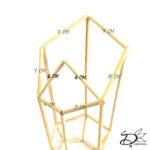
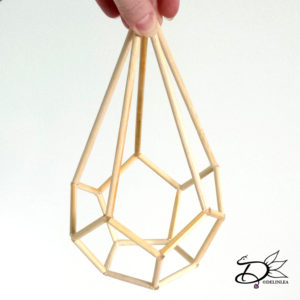
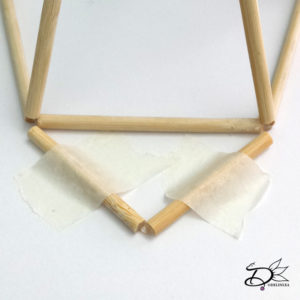
The last step to complete the planter. For this step you need 7 sticks instead of 6. The lengths are: 3 of 6cm, 1 of 8cm, 2 of 9cm and 1 of 12 cm. Now, take 2 sticks of 6cm and glue these together so they form a wide V shape. When the glue has set, glue these in place following the pics below.

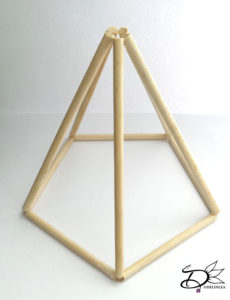
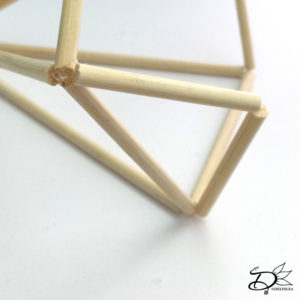
When that’s done, glue the remaining sticks in place as well, and you have completed the whole structure. It’s optional, but you can fill up any gaps where the sticks meet, with some more hot glue. This will make the end result much better.


Painting

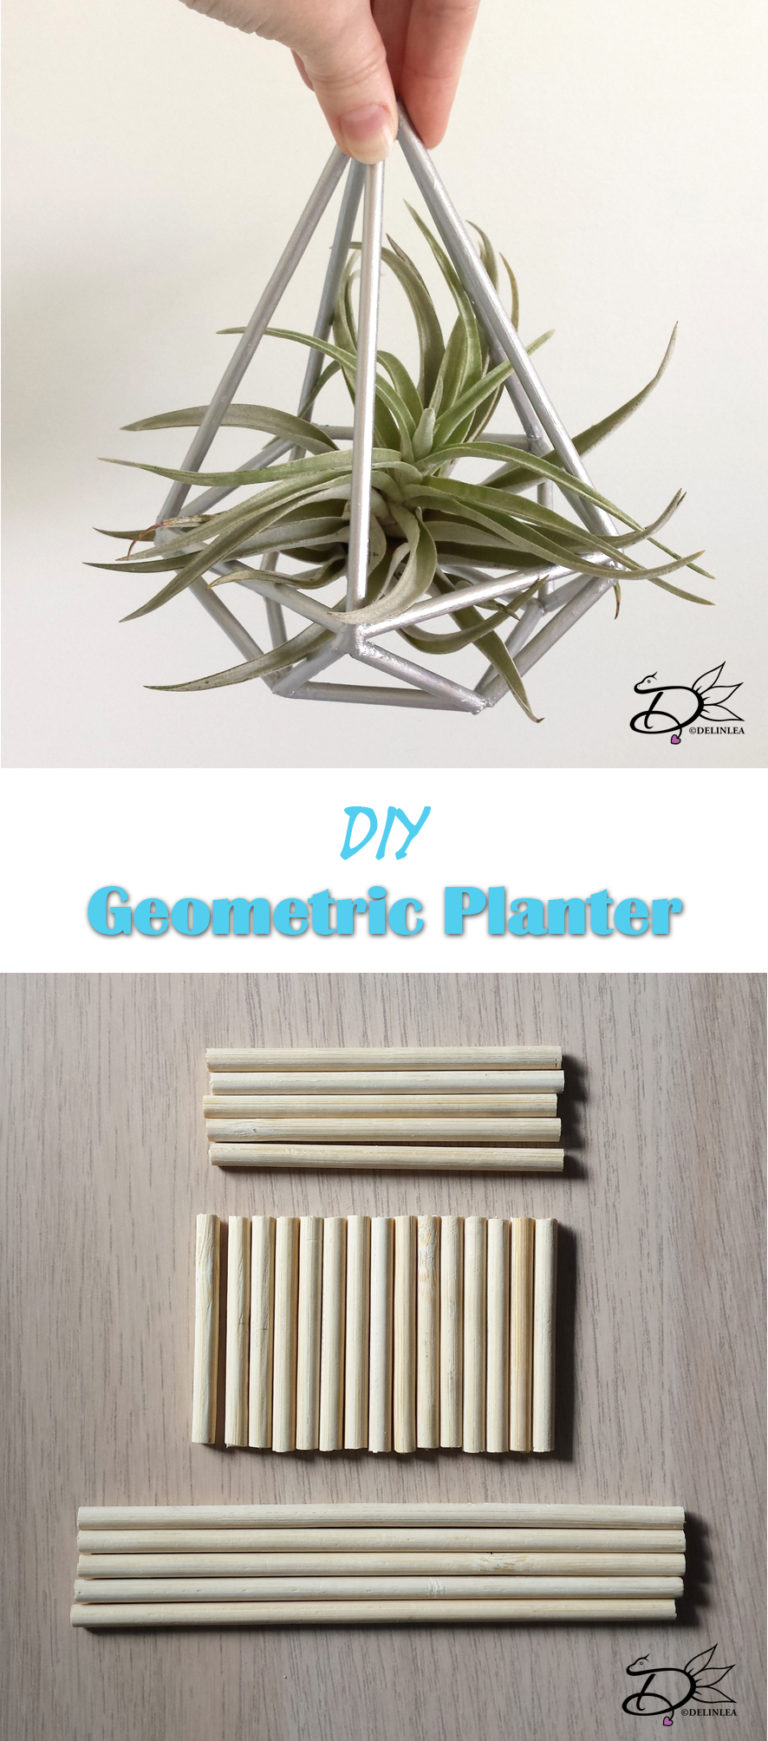
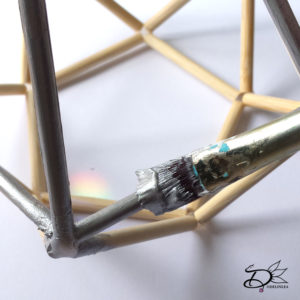
An important step that you don’t wanna skip. Paint the whole thing! I used silver paint but of course you can use any color you like! I had to do 2 coats so it looks neat but it really depends on the quality of the paint you are using.

I hope you liked making these planters and put them in your house everywhere, I am hanging them infront of my window. But you can just put them on a cabinet with a plant in it and decorate a bit more like you see in these facy styling magazines haha.

Have a lovely day everyone!

Love
Danielle

Posted in: Crafting Tagged: DIY, geometric, home decoration, planter

♥ Geometric Planter 2

24 mei 2018 by Delinlea Leave a Comment

Hey Lovelies!

Just like last week we are gonna make a geometric planter! Don’t worry, I won’t bother you with a million planters, just one more next week. I hope you like them tho!

For this DIY you’ll need:
♥  4 Wooden Sticks of about 40cm. (Can be longer or shorter, you only need more or less)
♥  Saw or anything to cut the sticks with.
♥  Pencil.
♥  Ruler.
♥  Masking Tape.
♥  Hot Glue Gun and Glue.
♥  (Metallic) Acryllic Paint.
♥  Brush.

Measuring

Take your sticks and devide them, just like last week, with a ruler and pencil, in the desired lenght. You’ll need 5 of 13cm and 20 of 4cm

Now chop these sticks up using a hand saw or anything else where you’ll be able to cut them with.

Glueing

When you are done chopping the sticks to the desired length, we can start glueing everything together. So get that glue gun ready.

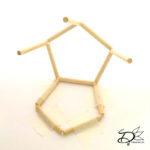
Start with 5 sticks of 4cm, and form a pentagon shape with them, use masking tape to keep all the pieces in the right positition. With some hot glue you glue all the parts together.

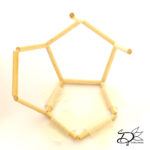
Take 5 more stick of 4cm and glue these, on an angle to the outside, to all 5 corners of the pentagon.

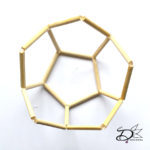
Now you need the rest of the 4cm sticks. Flip your base over so it lays on 2 of the stick you just glued on, and 1 stick from the pentagon. with 2 new 4cm sticks you are gonna complete another pentagon shape. (see the picture if you don’t understand completely.) This you will do 4 more times, until there are no 4cm sticks left.


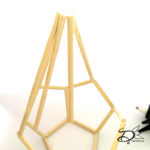
On to the final part of glueing. Get your 5 sticks of 13cm ready. I tried a different technic as for the last one. This might be easier.
Take all 5 in your hand, like, they kinda form a flower, and put some hot glue on top so they stay together. Since the hot glue stays flexible after setting again you can still move these around. The other side of the 13 sticks (the non glued side) you glue to each corner of the base.


you completed the planter! Yay! you can choose to fill up the gaps, where the sticks are glued together, with a bit more hot glue. This way, the end result will look better.

Painting!

All that’s left to do now, is paint it in a nice color! I used some silver paint, but I’ll leave it to you what color you want! Anything is possible! Now I think about it, how about a dip dye look?!

Haha just have fun making it your own! and don’t forget to show yours with #DelinleaDIY

Love
Danielle

Posted in: Crafting Tagged: DIY, geometric, home decoration, planter

♥ Geometric Planter

17 mei 2018 by Delinlea Leave a Comment

Hey lovelies!

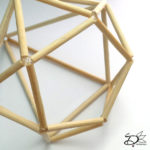
I was thinking for quit some time now what to hang in front of my window. I always decorate it with things for christmas or easter/spring etc. But now I just had no clue what to do. I actually wanted to hang some real plants there, but there’s my problem.. my window is faced South, so I have the sun burning on my window all day long! *sigh. Barely anything will survive there in summer.
Some days ago I was scrolling through my pinterest and saw these awesome geometric planters again. I always loved these, but way to expensive for me to get. My creative juices stated flowing, my mind started to get an idea! Let’s make these of some wooden sticks! Now, I only needed to find some sticks, and figure out how big I want it. Not too big and not to small, let’s see how it goes~~.

For this DIY you’ll need:
♥  5 Wooden Sticks of about 40cm. (Can be longer or shorter, you only need more or less)
♥  Saw or anything to cut the sticks with.
♥  Pencil.
♥  Ruler.
♥  Masking Tape.
♥  Hot Glue Gun and Glue.
♥  (Metallic) Acryllic Paint.
♥  Brush.

Measuring

Take your sticks and devide them, with a ruler and pencil, in the desired lenght. You’ll need 5 of 13cm, 5 of 7,5cm and 15 of 5cm.

Chop these parts up using a saw or anything else where you will be able with to do that. I found, the easiest way is to use a small hand saw. I tried cutting it with some heavy scissors I had around, but that didn’t really work xD.

Glueing Together

When you have all your pieces, it’s time to get your glue gun out. I started with the 5 sticks of 7,5cm. Place those until you get the shape of a pentagon (hello there, kpop stan, I see you thinking of that boygroup xD). Hold these into place with a piece of masking tape. Now put a little bit of glue on all 5 spots where the sticks meet.


You can remove the tape now, but you can also leave it a bit longer while you get your 13cm sticks out. On the pentagon you just created, you are gonna glue the 13cm stick on every corner, do this on an angle, to the inside. It’s okay if the sticks don’t have the right angle yet, the best thing about hot glue is that it stays flexible. This way you are able to move them still a bit after the glue has set. When you have all 5 sticks glues to each corner of the pentagon, glue all 5 together at the top. Now, the upper part of the planter is done, set this aside.

Take 5 of the 5cm sticks, place these in the shape of a pentagon as wel and glue every corner. Just like the first one, only it’s smaller. Put this one aside.

Now take the rest (10) sticks of 5cm. You are gonna pair these up, and glue them in a wide V shape. You can use the big pentagon (the upper part we made first) as a guide. I love to use tape to keep them in place while the glue sets. You’ll end up with 5 wide V shapes of 2 sticks of 5cm.

Get out your upper part with the big pentagon. We are gonna glue the wide V shapes to it. Do this to the opposite side of the 13cm sticks and glue them on an angle, to the inside. This can be a bit tricky, but like I said before, the glue stays flexible after setting, you are able to move them.
Also the whole thing feels a bit flimsy, but when everything is glued into place, it will be pretty sturdy.

When you have glued all 5 wide V shapes into place, it’s time to glue the small pentagon to the bottom. Place the points of the pentagon to every point of the wide V shape and glue them together. Now you are pretty much done, only some cleaning up.
I filled up every gap there is, where the sticks meet, with some hot glue, so you’ll get a nice shape. It doens’t have to be that neat, you’re allowed to see it’s a handmade item, right?!


Painting

Now, most of the planter is finished, all we have left to do is give it a nice color that we want. I used Silver paint, this fits my room most, but ofcourse you’re free to use whatever color you like! I gave it 2 coats of paint but that depends on the quality of your paint and what look you are going for!

I hope yours turned out as good as mine! I totally love it! Definitly gonna make some more and try out some different shapes, which I will share with you ofcourse!
Have a beautiful day!

Love
Danielle
PS. I won’t put a real plant in there, when I hang it infront of my window. I will either make a plant out of paper or crochet one.


Posted in: Crafting Tagged: DIY, geometric, home decoration, planter

What are you looking for?!

My Socials

Ko-Fi

I love making all these free things for you, tho it would be very helpfull if you can support me on Ko-Fi! (You don’t have to tho, totally up to you!)

Ko-Fi Shop!!

In my Ko-Fi shop you can find PDF Amigurumi Patterns!! You can pay easily with PayPal.
Go to the shop here!!

Recent Blog Posts

  • ♥ Happy 2022!
  • ♥ Day 12; Lights
  • ♥ Day 11; Flower Deco
  • ♥ Day 10; Snowman
  • ♥ Day 9; Gingerbread Houses

Recent Comments

  • Liane Van der Donck op ♥ Amigurumi Ghost
  • Kimberly Spear op ♥ Free Pattern; Amigurumi Shiber
  • Delinlea op ♥ Pua Tsum Tsum Amigurumi
  • Marfermar op ♥ Free Pattern; Easter Bunny
  • mary op ♥ Pua Tsum Tsum Amigurumi

Categories

  • animation
  • Beadwork
  • Blogmas 2018
  • Blogmas 2020
  • Blogmas 2021
  • Books
  • Bujo
  • Christmas
  • Christmas CAL 2019
  • Christmas Countdown 2017
  • Contest
  • Crafting
  • Crochet
  • Drawing
  • Drawing Lesson
  • Easter
  • Geen categorie
  • Life
  • Miniature
  • Nail Art
  • New Year
  • Paper
  • plush
  • Pokemon
  • Poseable Art Doll
  • Recipe
  • Sewing
  • Shop Pattern
  • Sinterklaas
  • Social Media
  • Tsum Tsum
  • Ufufy

Copyright © 2023 Delinlea - My little fantasy world.

Family WordPress Theme by themehall.com