Delinlea - My little fantasy world
  • ♥ Home
  • ♥ About Me
  • ♥ Blogmas 2021
  • ♥ Free Patterns
    • ♥ Amigurumi; Spring/Easter
    • ♥ Amigurumi; Fall/Halloween
    • ♥ Amigurumi; Winter
    • ♥ Amigurumi Tsum Tsum
    • ♥ Amigurumi Ufufy
    • ♥ Amigurumi Others
    • ♥ Christmas Countdown 2017
    • ♥ Blogmas 2018
    • ♥ Blogmas 2020
  • ♥ Tutorials
    • ♥ Easter
    • ♥ Home Deco
    • ♥ Others
  • ♥ Drawing Lessons
  • ♥ FanFic
    • ♥ Chapter 1
    • ♥ Chapter 2
    • ♥ Chapter 3
    • ♥ Chapter 4
    • ♥ Chapter 5
    • ♥ Chapter 6
    • ♥ Chapter 7
  • ♥ Gallery
    • ♥ Crafts
    • ♥ Drawings
    • ♥ Poseable Art Dolls
  • ♥ Links
  • ♥ Contact
    • Privacy Policy

tiny

♥ Quilled Easter Baby Chick

2 april 2020 by Delinlea Leave a Comment

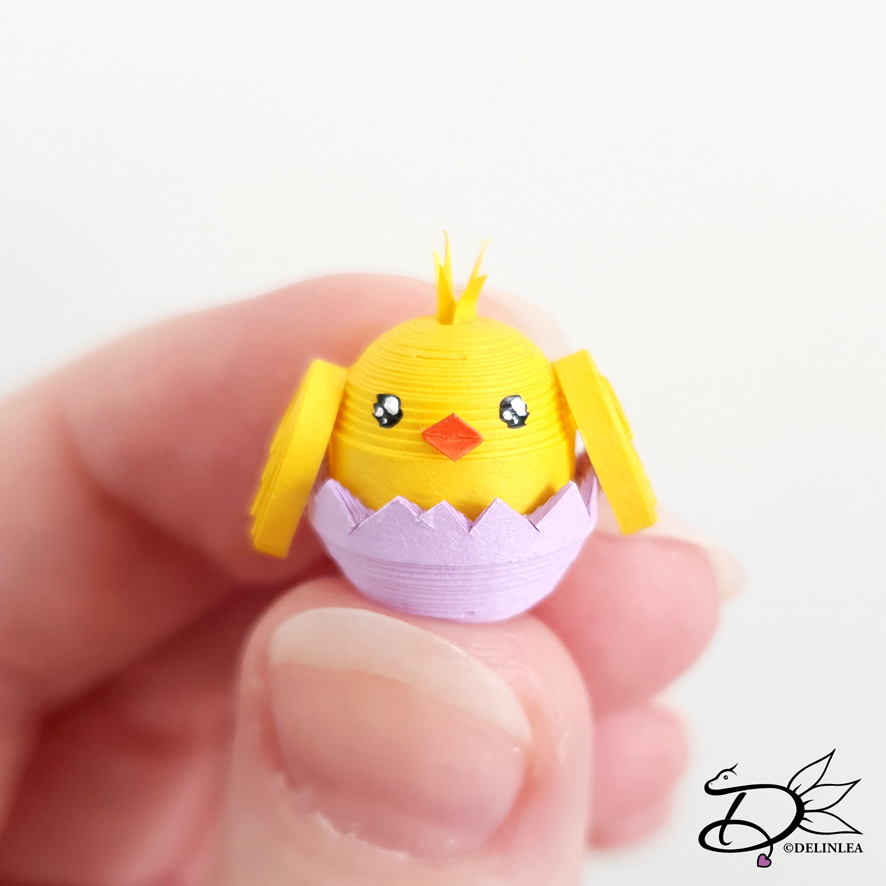
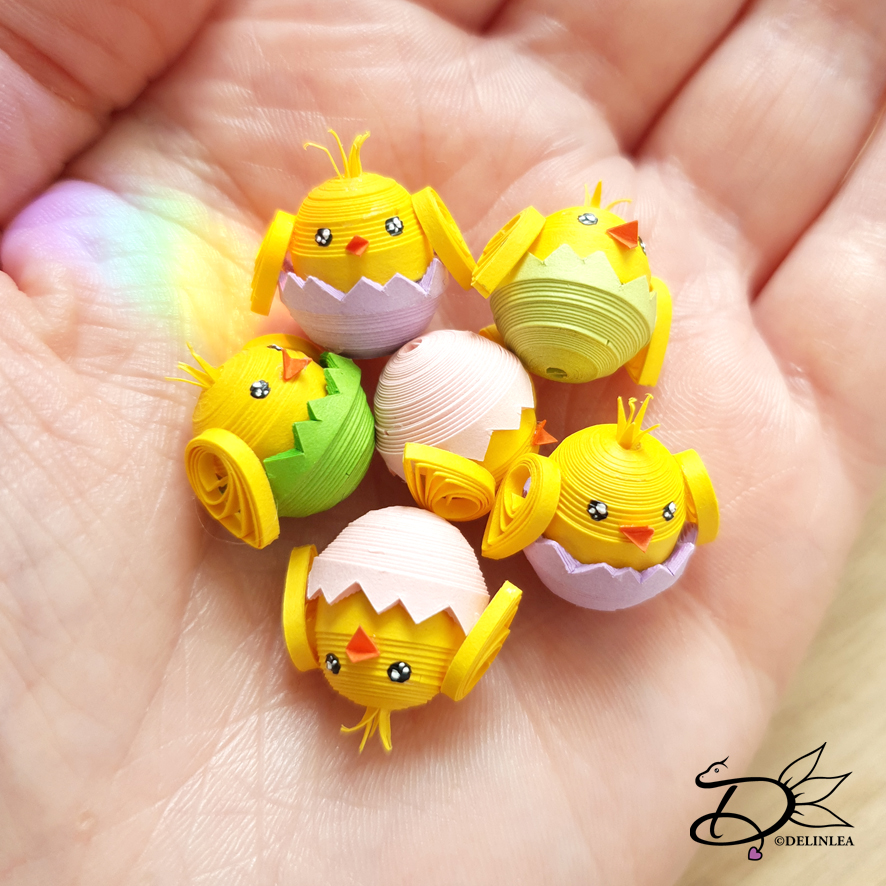
Hey Lovelies! Are you ready for Easter? I know these are weird times, but if you don’t make it fun for yourself, no one else would do it for you. And a way to make you feel better if to decorate your place with fun stuff and lovely (homemade) food! So I have a fun project for you to do! Most of us have paper around, just find the right colors and cut it to size. Then you are ready to make those adorable Easter baby chick!

Easter Baby Chicks

For this DIY you’ll need:
♥ 3 Strokes of Yellow, 3mm by 21cm each.
♥ 4 Strokes of Purple, 3mm by 21cm each. (Of course you can use another color!)
♥ 2 Strokes of Yellow, 1,5mm by 10,5cm each.
♥ Bit of extra Orange and Yellow Paper.
♥ X-Acto Knife.
♥ Glue.
♥ Acrylic Paint, Black and White.
♥ Brush.

Tutorial

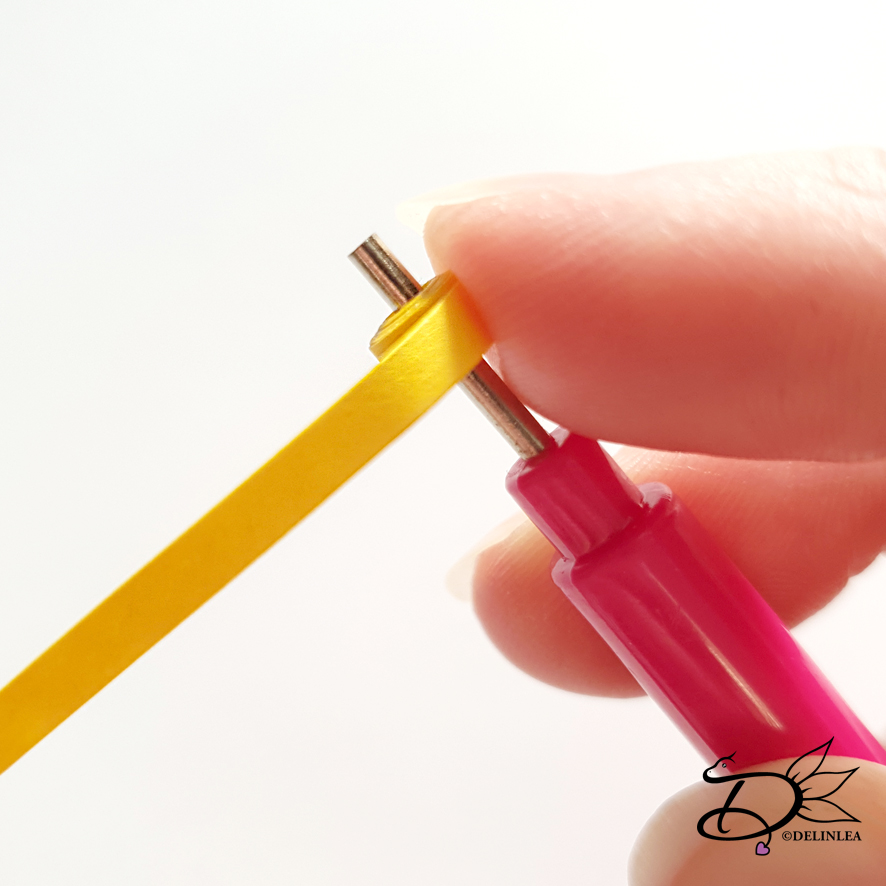
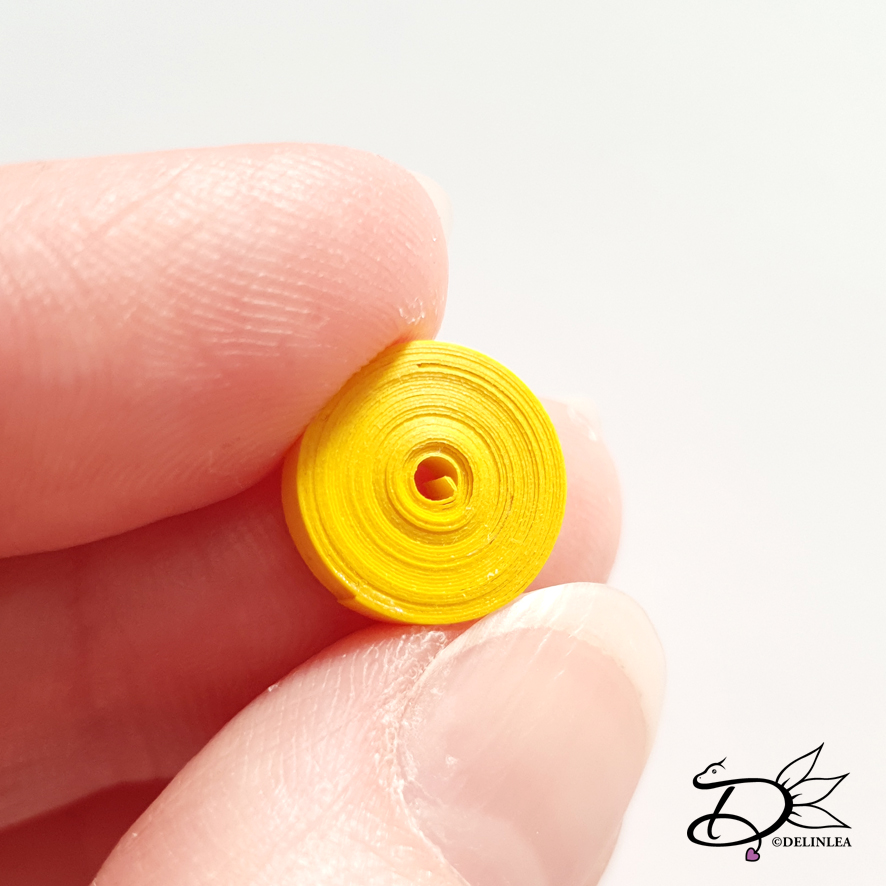
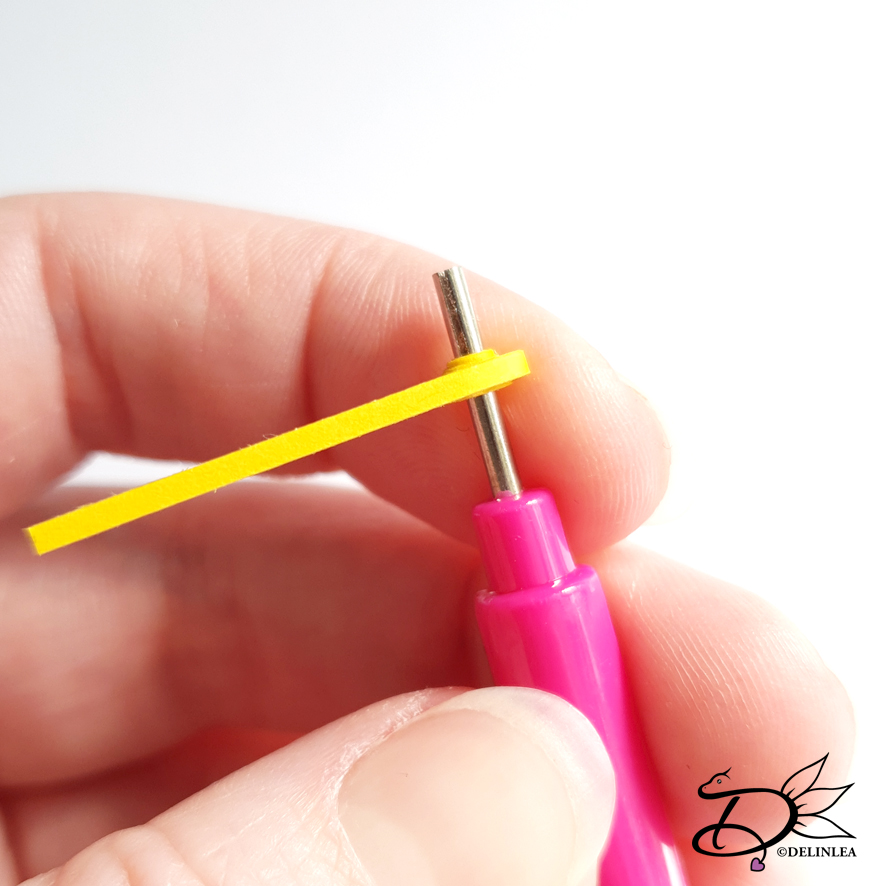
Roll up the 3 yellow strokes (3mm by 21cm), use glue if you need to add a new stroke to make it easier (you don’t have to). Glue the end of the last stroke so it keeps the tight, round shape.

Making shapes

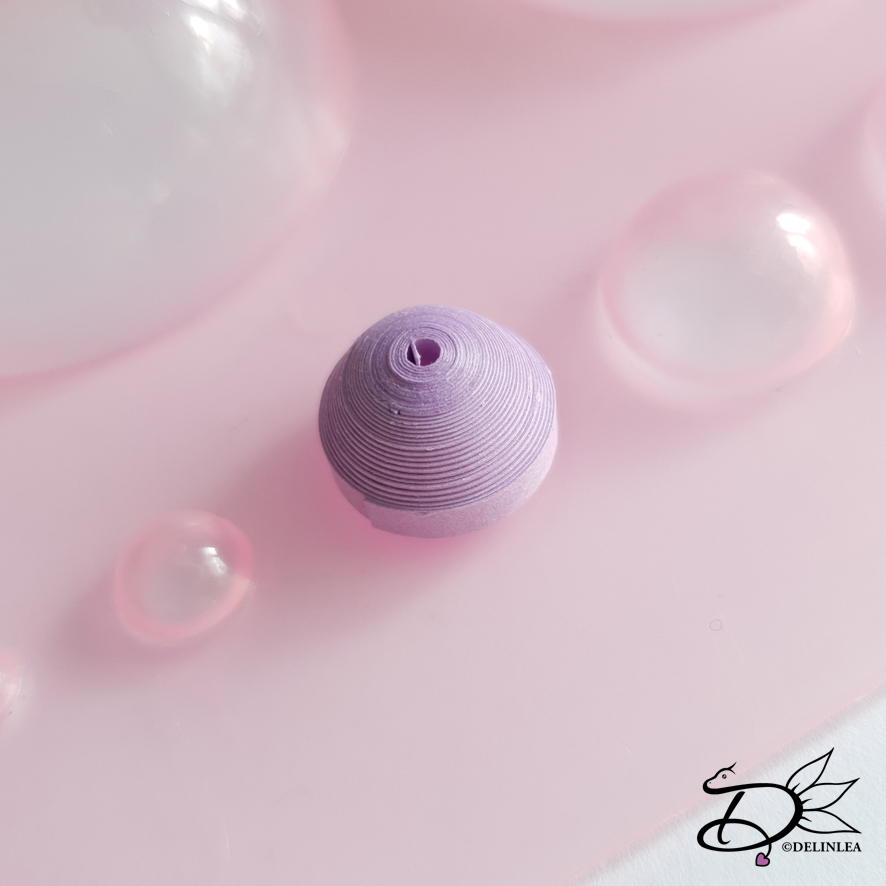
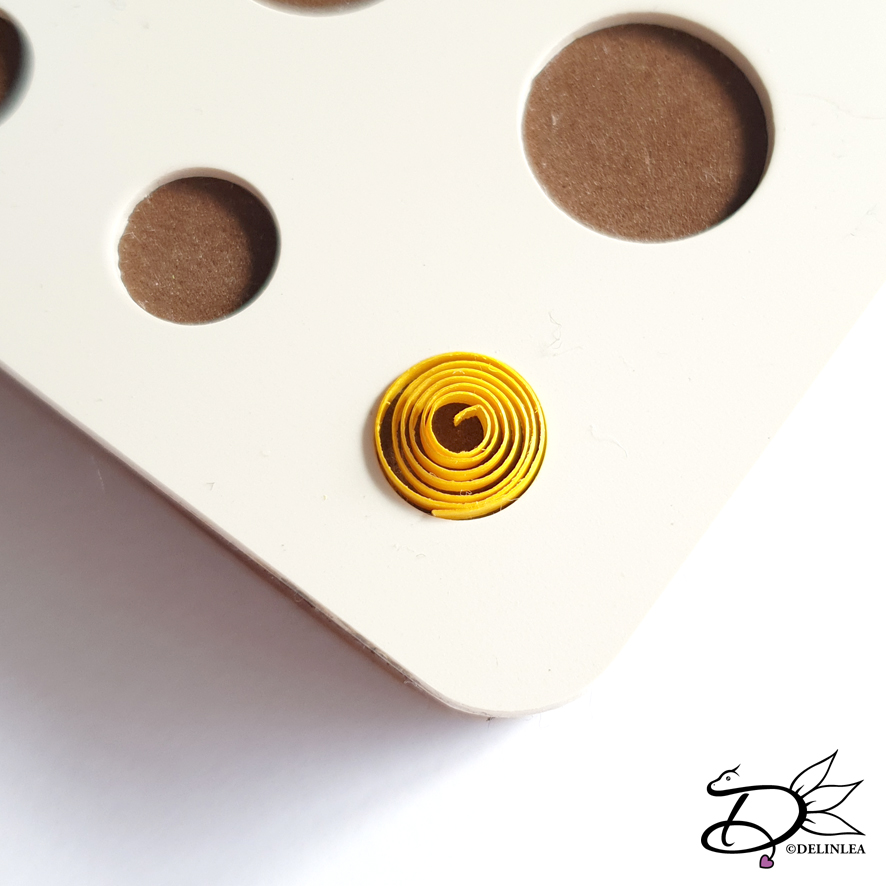
If you have this quilling board to make 3d shapes, please us it, it makes life a lot easier. If you don’t try to shape it without or try to find similar shapes to what I show in the pictures.
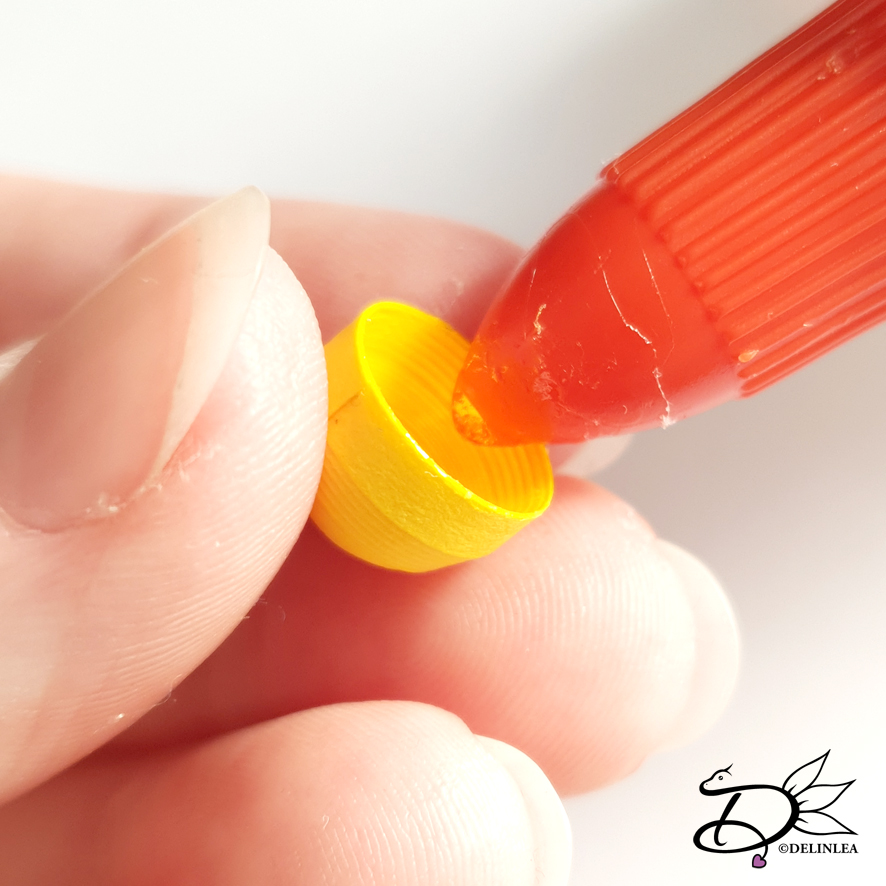
The board is easy to use, just push the circle, with your fingers, over the shape, carefully. Do it for both colors, for yellow I used a slightly cone shape one, for purple a half ball shape.

When you have your shapes ready, make sure to put a layer of glue on the inside. This will prevent it to lose its shape. Let this dry before you continue.

Egg Shell

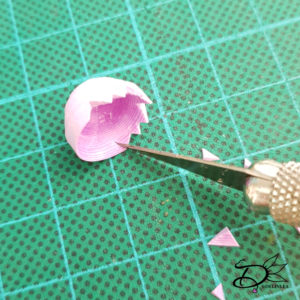
The purple one, on the edge, you wanna cut out little triangles. You don’t want them to exactly the same, if you break an egg, they aren’t either. Be careful that you don’t cut them to deep. This will be the egg shell.

Now, glue the yellow part inside the purple part. So the little chick inside the egg shell.

Wings

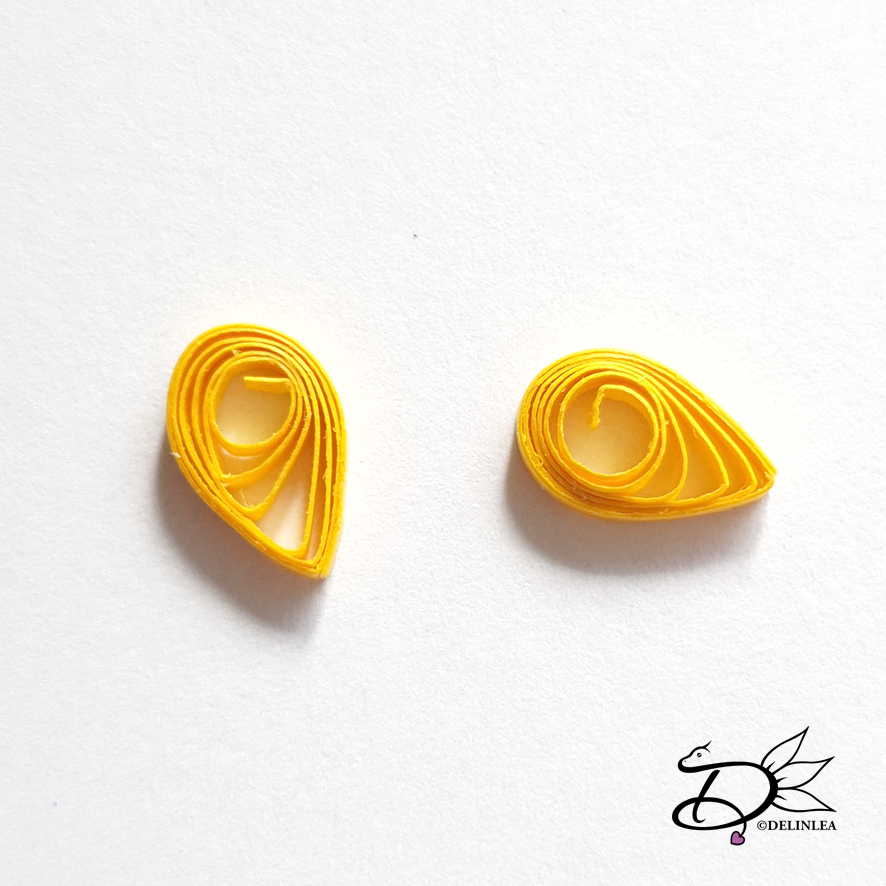
Roll up the other yellow strokes, those will be for the wings. Let them expand to around 8mm and secure with a bit of glue. Pinch one side so you will get the shape as shown in the picture.
Glue the wings to body sides of the body of the baby chick.

Finishing Off

Last but not least, create a beak, hairs and eyes. I used paper for the beak and hairs and paint for the eyes. Since it’s so tiny, it’s hard to make everything from paper. Just do what works for you!

Easter Baby Chicks

You could also decorate the eggs if you like to! And maybe add some thread to be able to hang them up. ^-^

I hope you had fun with this tutorial. I love exploring things with paper, you can do so much with it. I did quilling in the past, but never anything 3D. Although I obviously know how to make it. It was fun!

Have a wonderful day!

Love
Danielle

Posted in: Crafting, Easter, Paper Tagged: baby, chick, Easter, kawaii, Miniature, paper, quilled, Quilling, tiny

♥ DIY Envelope Booklet

13 februari 2020 by Delinlea Leave a Comment

Hey Lovelies! Did you also survive the storm Ciara, if you lived in Europe? It really went nuts here, but nothing got damaged and I could walk most of the days without been blown away haha. I kinda like to walk outside when it storms, not completely sure why, just love it. For today I wanted to make a small booklet that looks like an envelope. I first wanted to create something else, but what I imaged, didn’t worked out in reality. So sad, but sometimes it’s like that. I hope you’ll like this tutorial. The booklet would also be very cute to use as a valentines gift with little notes or drawings, how cute would that be?!

Envelope Booklet

For this DIY you’ll need:
♥ 1mm Board.
♥ Pretty Cardstock or Paper.
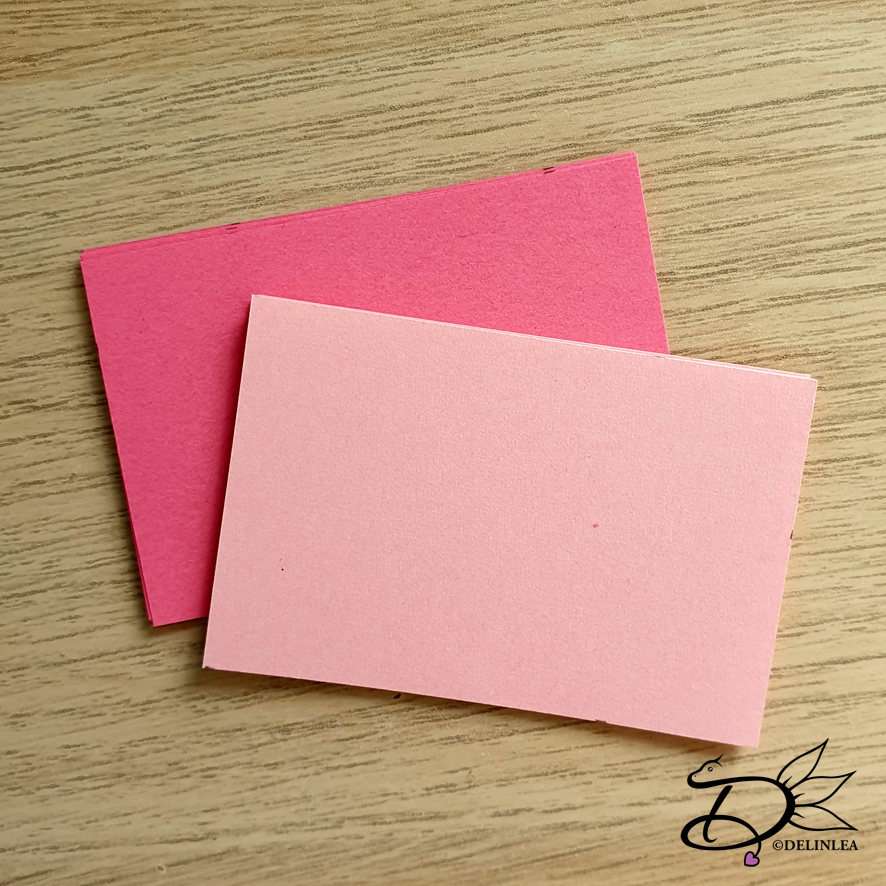
♥ Paper for the sheets inside, I used dark and light pink.
♥ Scissors.
♥ Ruler.
♥ X-acto Knive.
♥ Glue.
♥ Needle that’s strong enough to poke through board.
♥ Piece of Yarn, about 30cm.
♥ Beads. (optional)

DIY

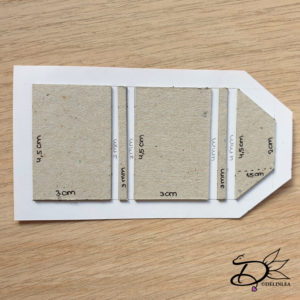
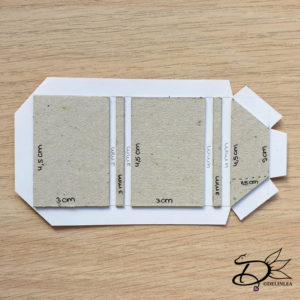
Cut the board to size, according to the picture below. All heights are the same, 4,5cm.

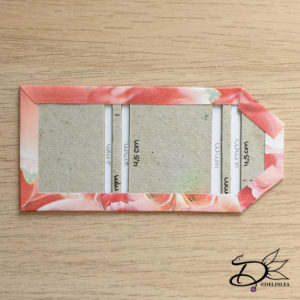
Then also cut the cardstock that you wanna use for the cover. The best way to do this is to start measuring out 0,75cm, then line up all the pieces including the space in between the spine pieces of the book, and add another 0,75cm. Add 0,75 on the top and bottom as well. Try to make it look like the picture below. (The good side of the paper is facing down).

Glue all pieces of board to the cardstock.

Now cut all the corners of the cardstock, like I did in the picture. Make sure to leave a little space close to the board (about 1mm) so the corners will get covered nicely.

Now glue all edges around the board.

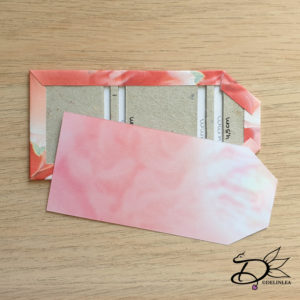
For the inside of the cover, choose some paper/cardstock you like and cut it to size. It’s the same size but 1,5mm less from all edges.
Glue this to the inside.

Pages for the Booklet

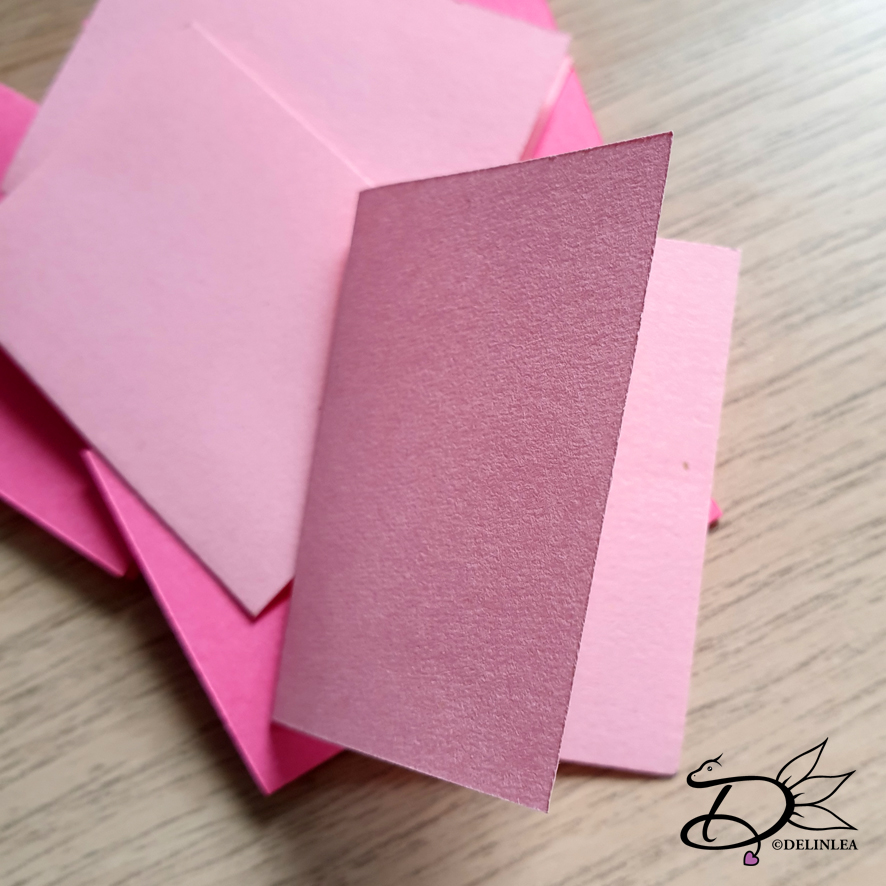
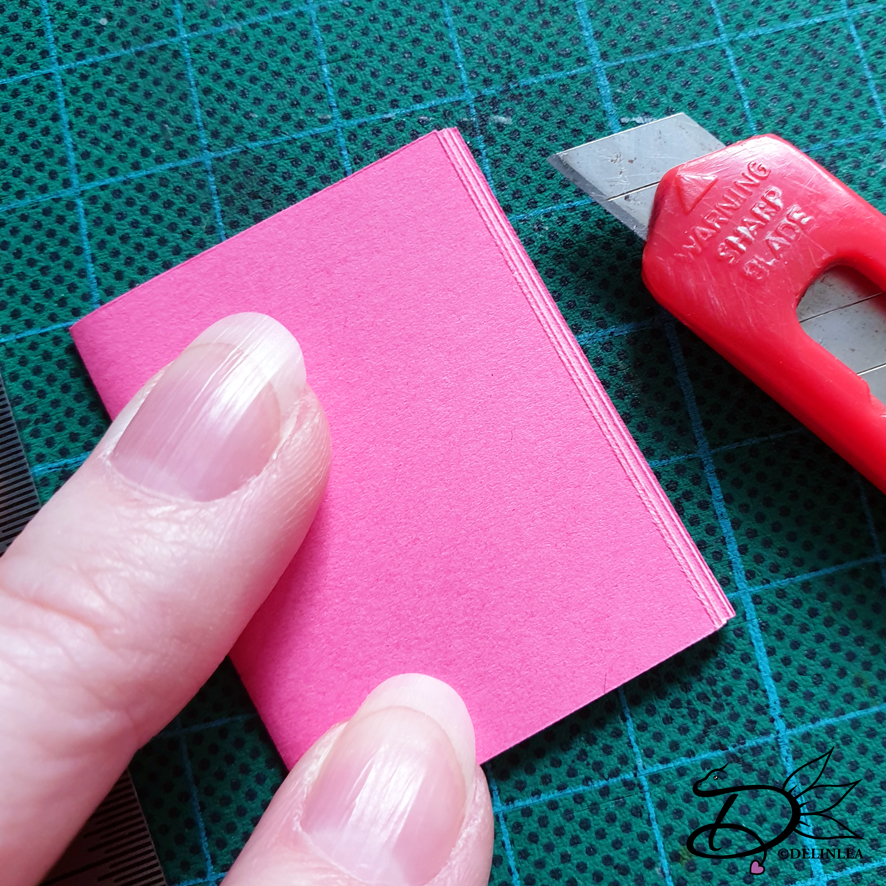
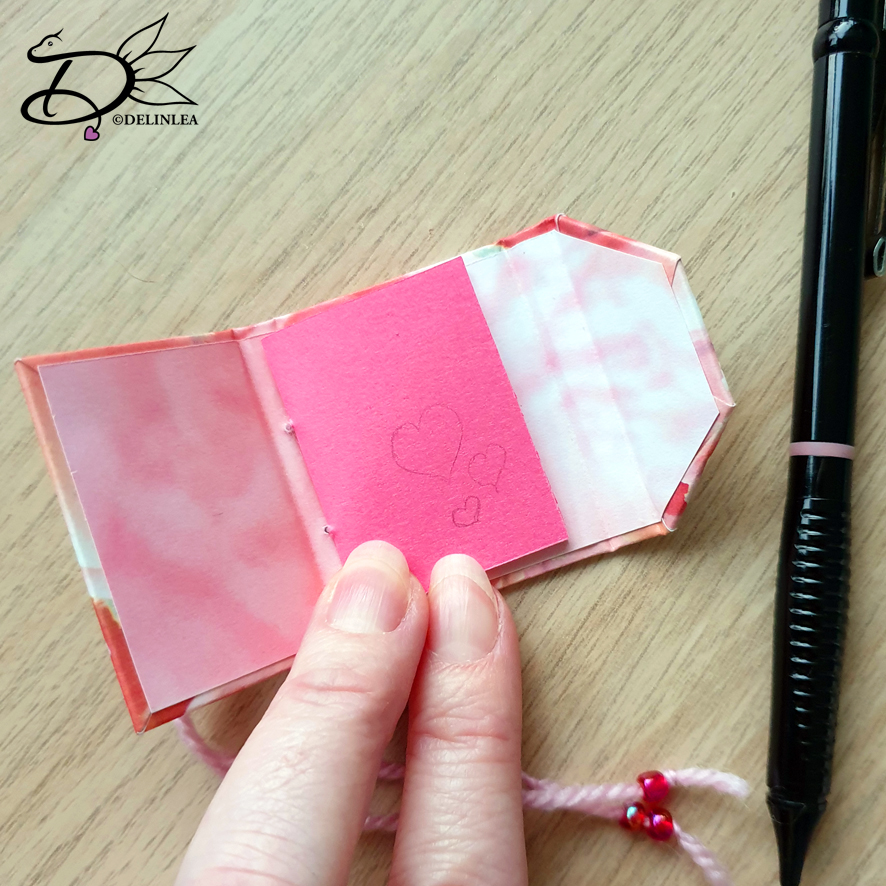
Cut 7 sheets of paper for the pages of the booklet, 6 by 4cm. Fold them in half on the short side, so you get folded sheets of 3 by 4cm.

Stack all sheets together. As you will notice, when you stack them together, you can an outward facing V-shape on the side where you would open the book. You can leave them as it is. Or trim it down smooth. Just what you prefer.

It’s time to make the binding holes. Measure 1,25cm inwards on the spine at the left side. Both from top and bottom so you’ll end up with 2 holes. Poke those through with a needle, make sure to be careful. Copy those holes to the pages and poke those through as well.

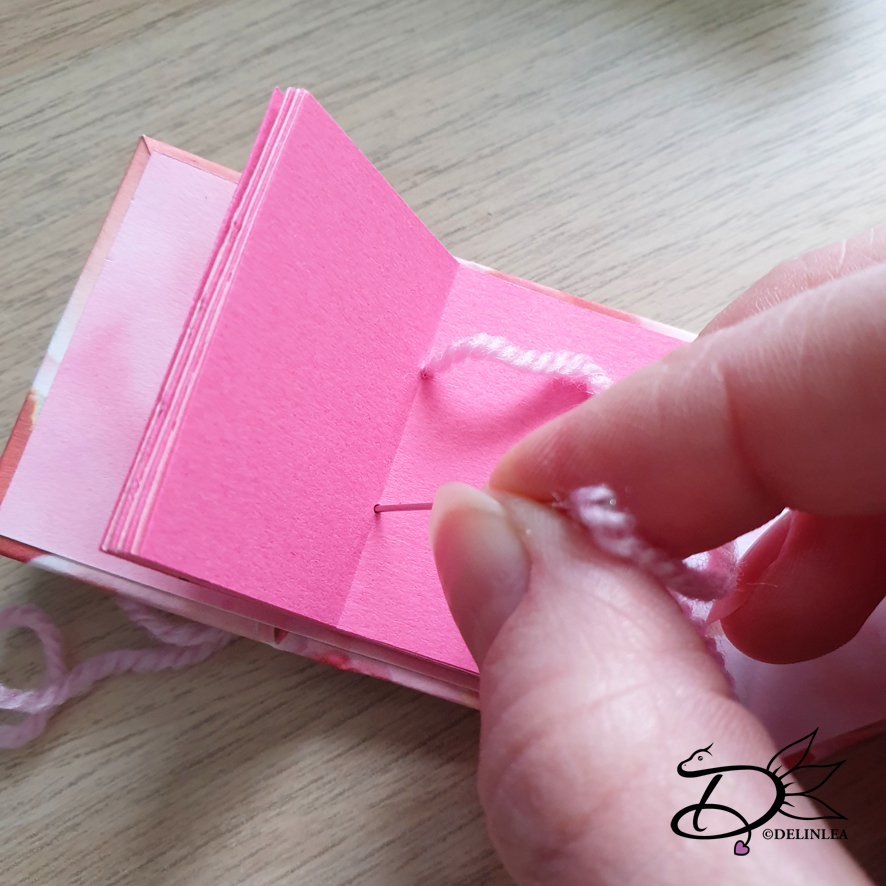
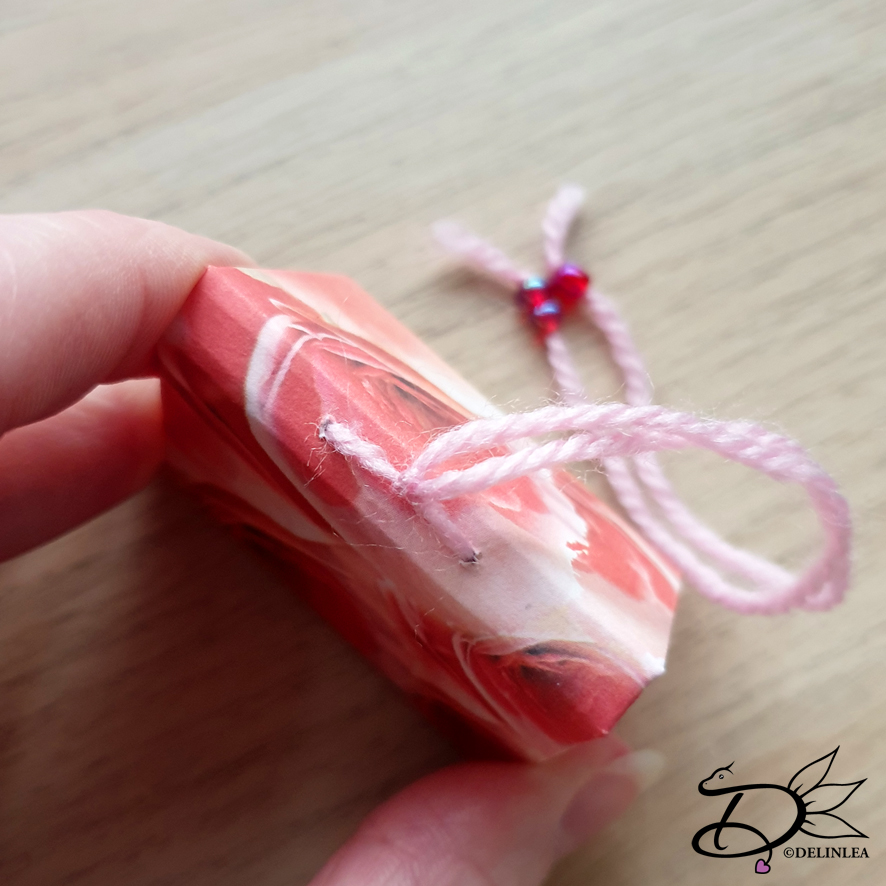
Using the yarn, put it on your needle and go from the outside of the book to the inside, through the stack of pages. Then go through the other hole to the outside again. Tie a knot on the outside, on the spine. Try to have even ends of the yarn.

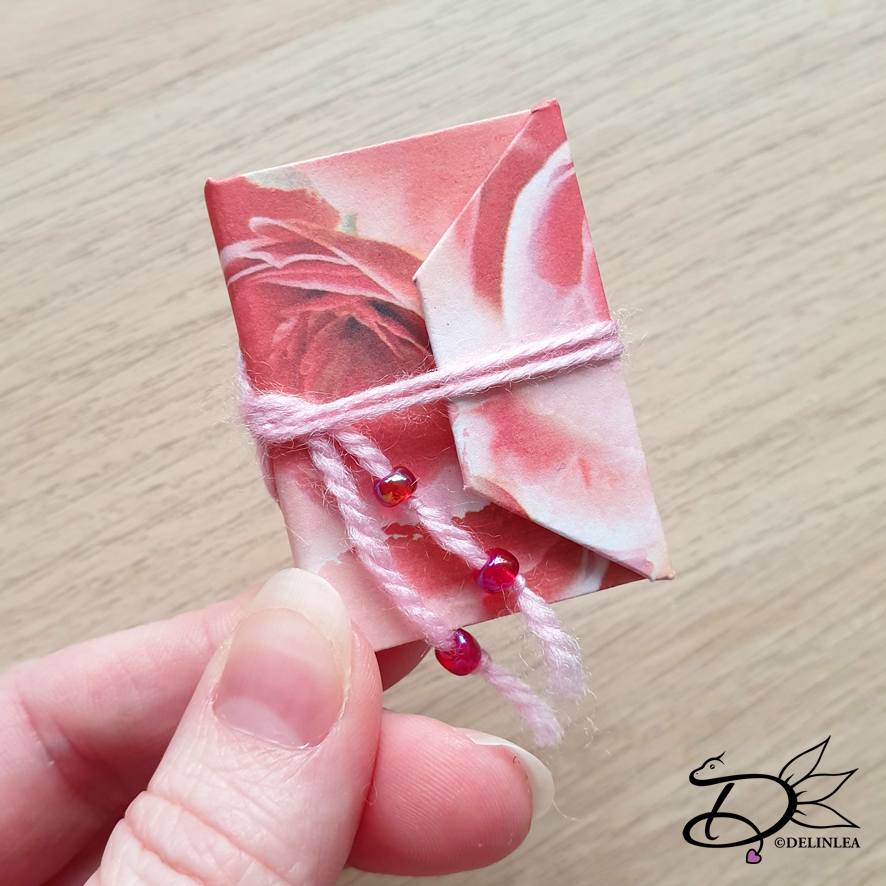
The ends of the yarn you can decorate if you prefer, for example with beads and use those ends to be able to close the book. You can also use a sticker for example to close it or anything else you can think of.

Envelope Booklet

And you just reached the end of the DIY. I hope you enjoyed making this little booklet! It would be a fun gift for your valentine with a cute little message or drawings.

I hope you had fun, and I’ll see you next week!

Love
Danielle

Posted in: Crafting, Paper Tagged: Bookbinding, booklet, cute, DIY, envelope, kawaii, mini, tiny, Tutorial, Valentine

What are you looking for?!

My Socials

Ko-Fi

I love making all these free things for you, tho it would be very helpfull if you can support me on Ko-Fi! (You don’t have to tho, totally up to you!)

Ko-Fi Shop!!

In my Ko-Fi shop you can find PDF Amigurumi Patterns!! You can pay easily with PayPal.
Go to the shop here!!

Recent Blog Posts

  • ♥ Happy 2022!
  • ♥ Day 12; Lights
  • ♥ Day 11; Flower Deco
  • ♥ Day 10; Snowman
  • ♥ Day 9; Gingerbread Houses

Recent Comments

  • Delinlea op ♥ Pietje Gnome Amigurumi
  • Delinlea op ♥ Toy Story Alien TsumTsum Amigurumi
  • Delinlea op ♥ Pua Tsum Tsum Amigurumi
  • Charli op ♥ Free Pattern; CNY Mouse Amigurumi
  • Peter Pesch op ♥ Pietje Gnome Amigurumi

Categories

  • animation
  • Beadwork
  • Blogmas 2018
  • Blogmas 2020
  • Blogmas 2021
  • Books
  • Bujo
  • Christmas
  • Christmas CAL 2019
  • Christmas Countdown 2017
  • Contest
  • Crafting
  • Crochet
  • Drawing
  • Drawing Lesson
  • Easter
  • Geen categorie
  • Life
  • Miniature
  • Nail Art
  • New Year
  • Paper
  • plush
  • Pokemon
  • Poseable Art Doll
  • Recipe
  • Sewing
  • Shop Pattern
  • Sinterklaas
  • Social Media
  • Tsum Tsum
  • Ufufy

Copyright © 2025 Delinlea - My little fantasy world.

Family WordPress Theme by themehall.com