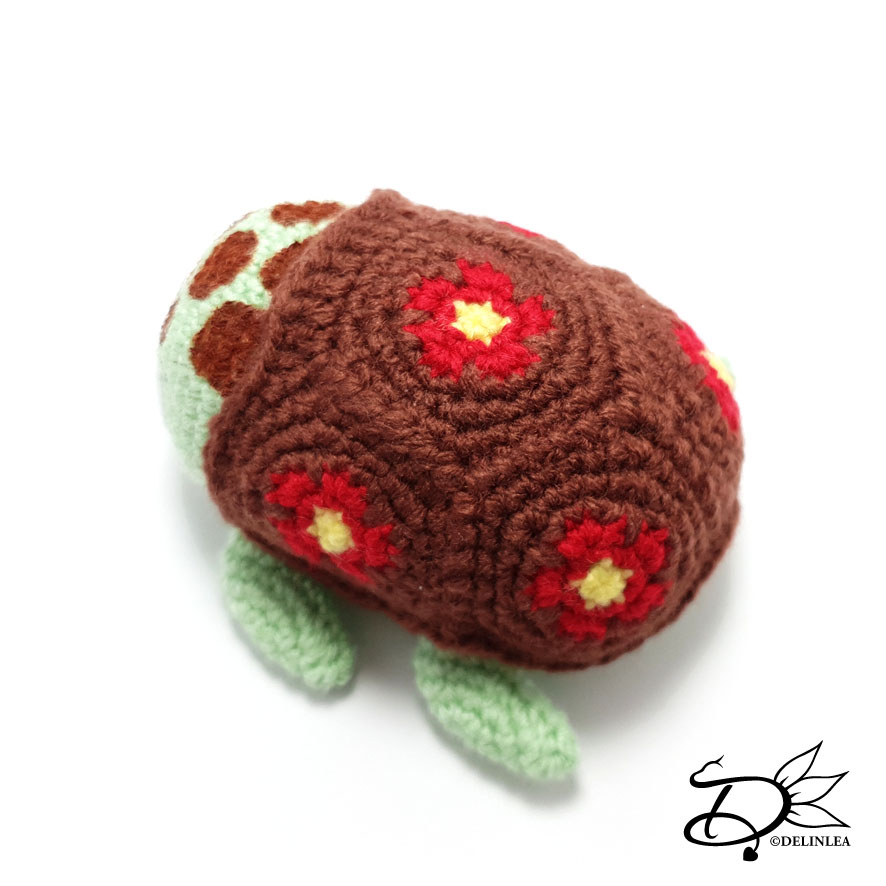
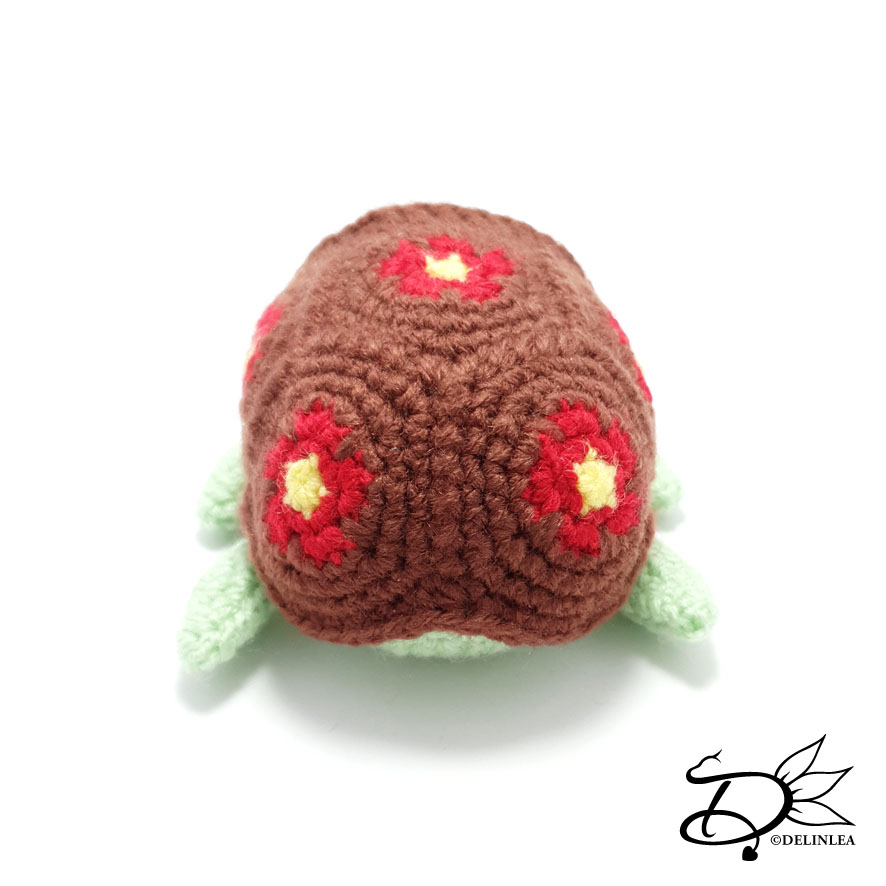
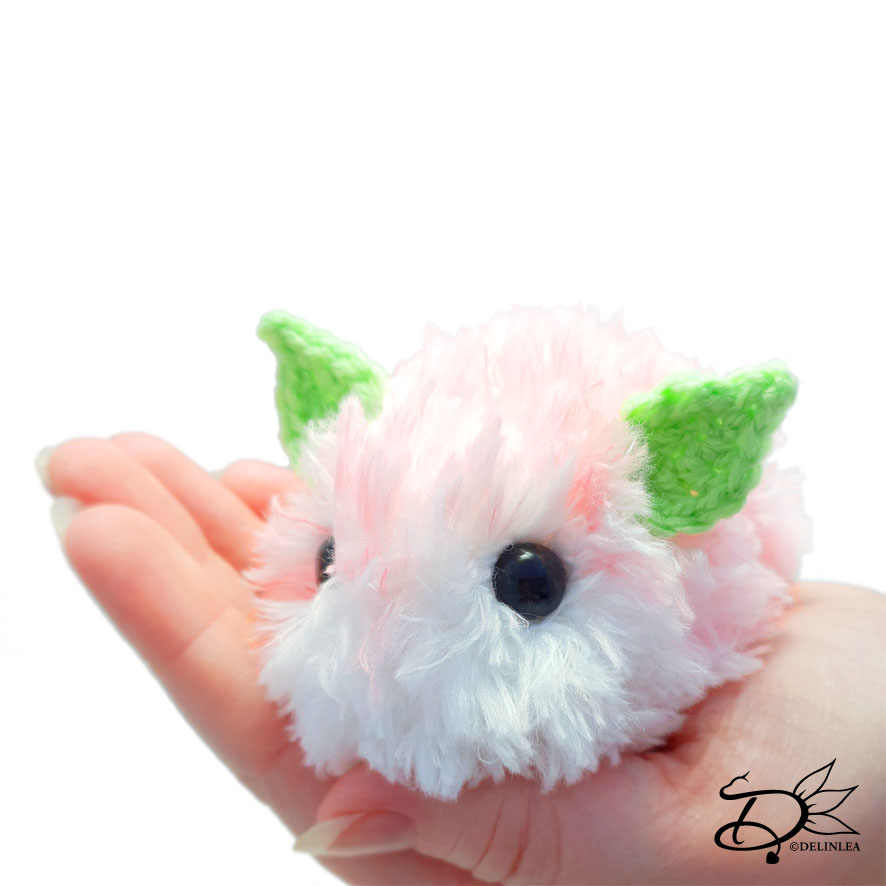
♥ Strawberry Sea Bunny Amigurumi
Hey Lovelies! Today I have a VERY cute pattern for you. I love sea slugs, that sounds maybe weird, but have you ever googled them?! So pretty and some are adorable, like the sea bunny. On that one is my pattern based today. I made this Strawberry Sea Bunny amigurumi! It’s so quick to make and way too cute to resist! I’ve made a Sea Bunny from fabric before, and I am clueless why I never made one from yarn. XD Oh well, it’s here now. Let’s see what you need for him.
For this Pattern you’ll need:
♥ Fluffy Yarn in White.
♥ Yarn in Light Green, Light Yellow and White. (I used Budgetyarn.com, a DK yarn)
♥ Safety Eyes, 1cm.
♥ Crochet Hook. (I used a 2,5mm hook for the DK yarn and a 4,5mm for the fluffy yarn)
♥ Stuffing.
♥ Stitch Markers.
♥ Yarn Needle.
♥ Sewing Pins.
♥ Pink Marker. (Optional)
Stitches used (US Terms):
Magic Ring.
CH = Chain.
SLST = Slip Stitch.
SC = Single Crochet.
HDC = Half Double Crochet.
DC = Double Crochet.
Picot = 3Ch, Slst in the first st.
ST = Stitch.
Inc = Increase.
Dec = Decrease.
(…) = Repeat the space in brackets the given number of times.
[…] = Total number of stitches.
♥ Pattern Strawberry Sea Bunny
The body is made with continues rounds. Use a stitch marker to mark your first/last stitch of your row.
Body
Use the White Fluffy yarn.
The body is made with continues rounds. Use a stitch marker to mark your first/last stitch of your row.
1: 6SC in a Magic Ring. [6]
2: 2SC in each st around. [12]
3: (1SC, inc) 6 times. [18]
4: 18SC. [18]
|
11: 18SC. [18] Place the eyes and stuff the body.
12: (1SC, dec) 6 times. [12]
13: Dec around. [6]
Fasten off and weave in tail.
Ears/Leaves (Make 2)
Use the color Light Green.
Chain7, insert in second chain from hook, 1SC, 1HDC, 2DC, 1HDC, 1SC, Picot, 1SC, 1HDC, 2DC, 1HDC, 1SC.
Fasten off and leave a long tail for sewing.
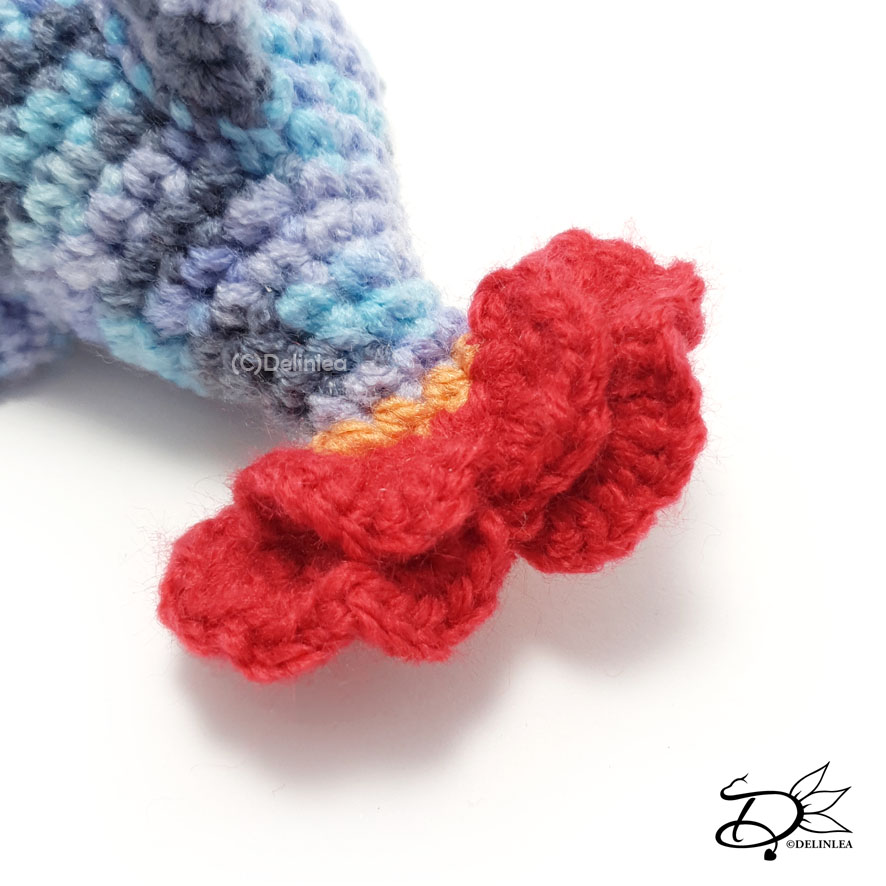
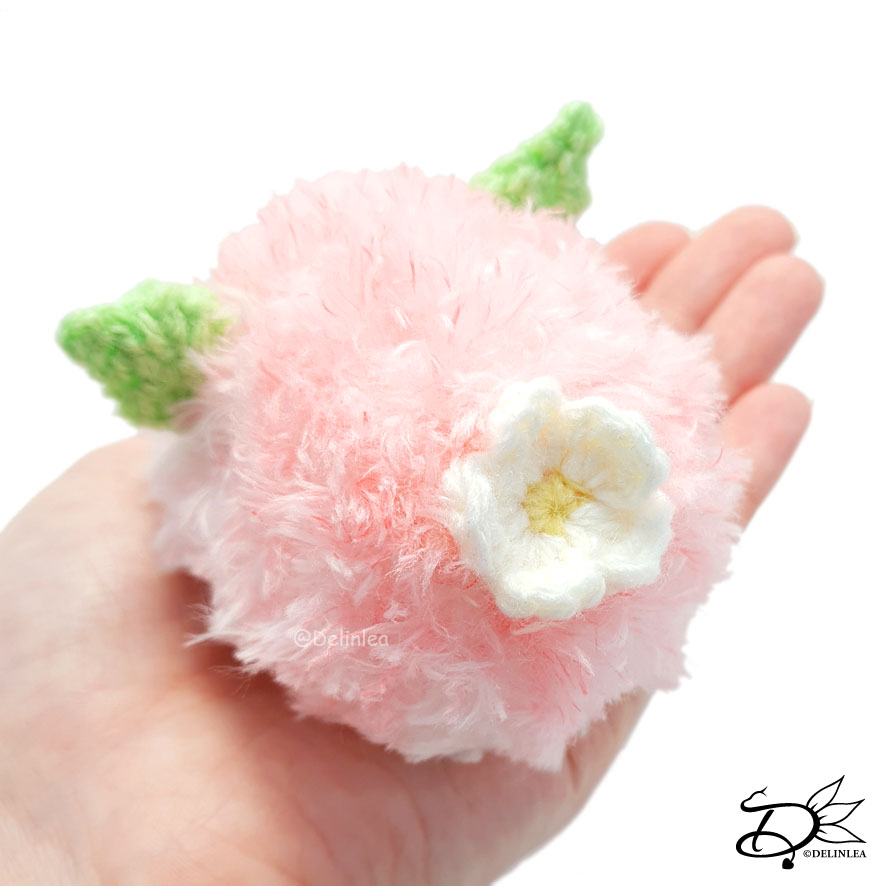
Tail/Flower
Start with the color Light Yellow.
1: 5SC in a Magic Ring. [5]
Change to white.
2: (SlSt, Ch1, 3DC, Ch1) 5 times. [30]
Fasten off and leave a long tail for sewing.
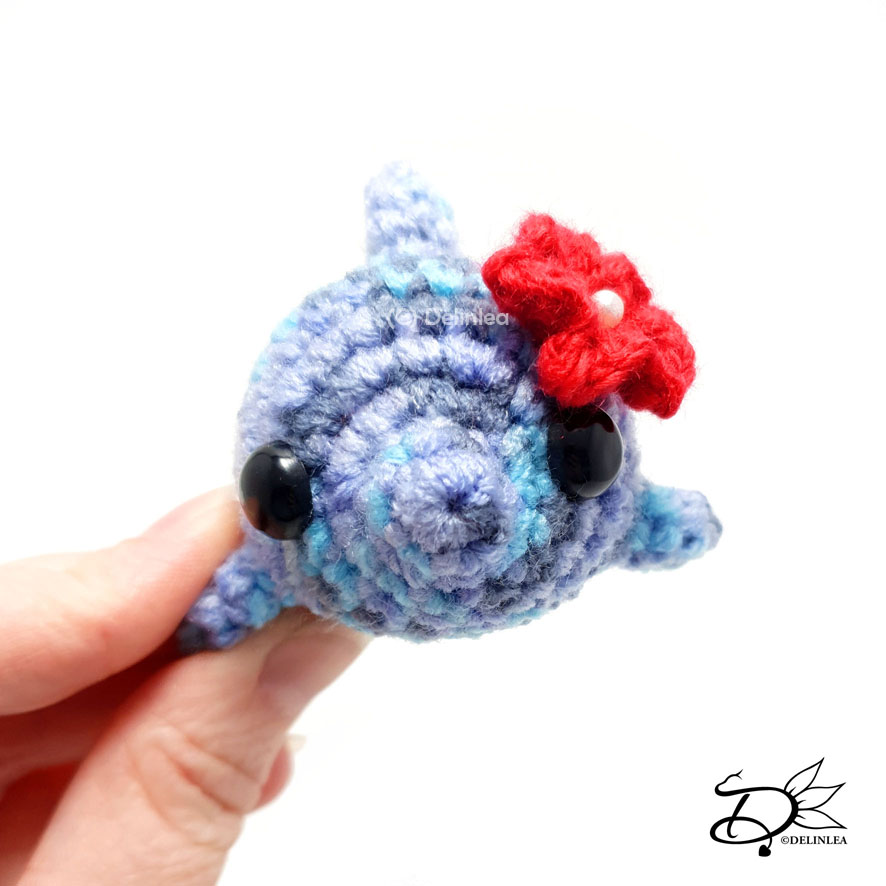
♥ Assembling
I always use sewing pins first to assemble my amigurumi’s, this way I can position all parts until I like how it looks. When I am happy, I’ll sew them on.
For the body I used a pink marker and colored the upper part lightly. You might wanna brush it out when it’s dry, to get back the soft fluffiness. To color it is of course optional, you can leave him white as well!
Then add the ears to your strawberry sea bunny, almost behind the eyes, but see what works for you. And Last sew on his tail as well.
That was it already for today’s pattern! I know fluffy yarn is quit tricky to use, but just practice a bit with it, you will get the hang of it. I hope you enjoyed making this Strawberry Sea Bunny, and if you did, make sure to show me on Twitter or Instagram, I’d love to see!
Have a wonderful day and I’ll see you next week!
Love
Danielle