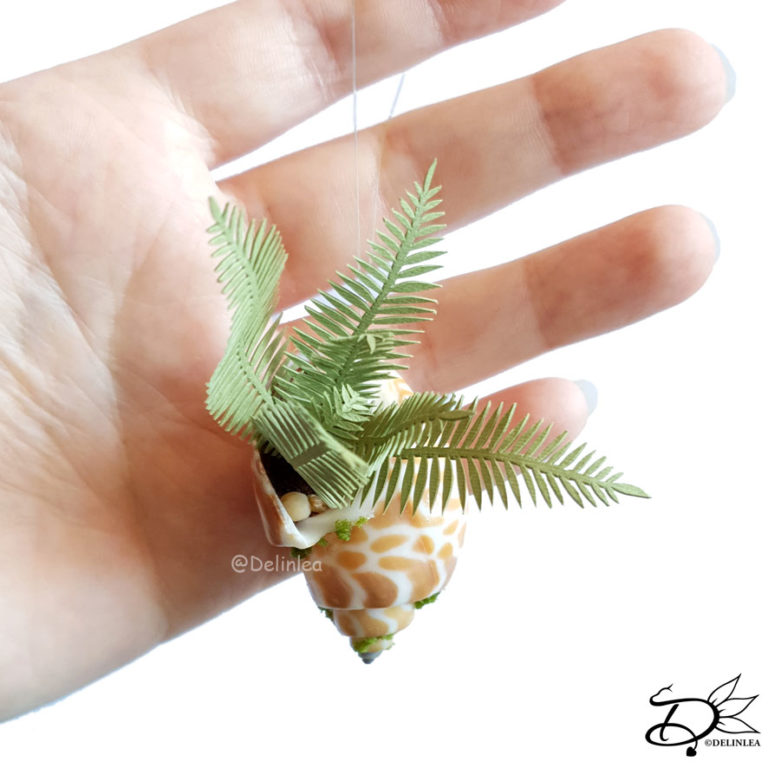
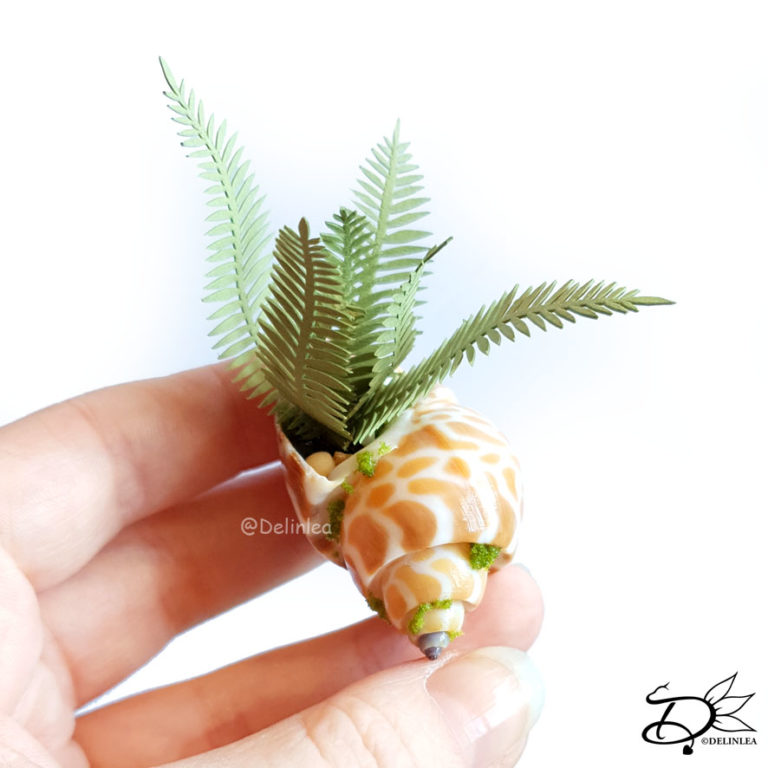
Hey Lovelies! I was thinking hard what to make for this week’s blog. I had a bunch of ideas, but those were more like long term projects. That wouldn’t happen in just a week. You will find out what it will be in the future. For today I kept it a bit more simplistic, but still fun. A little Paper Plant in a Shell! Look how cute that is. I’m absolutely obsessed with this, perfect to decorate with. And the best thing is, you can make it as big as you want.
For this DIY you’ll need:
♥ Shells of choice.
♥ Green paper. (Make sure it’s not too thin so it can hold its shape).
♥ Air Dry Clay.
♥ Acrylic Paint.
♥ (Nylon) Thread.
♥ Glue.
♥ Scissors.
♥ X-Acto Knife.
♥ Tiny Rocks. (Optional)
♥ (Fake) Moss. (Optional)
Tutorial Paper Plant in Shell
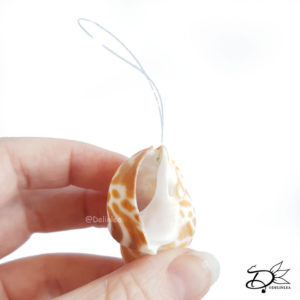
First prep your shell if you wanna be able to hang. Cut about 15cm of the nylon thread, make a loop and make a knot. Glue the knot inside the shell, it’s up to you where, just how you wanna hang it. Let the glue dry well.
Clay
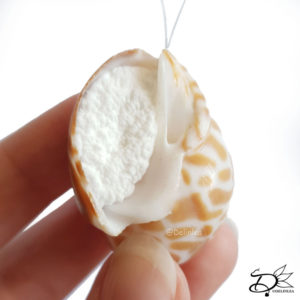
The clay will function as the soil in the shell. Push a bit of clay inside the hole and give it a bit of a rough texture, sand like. And let this dry.
Creating the Plant
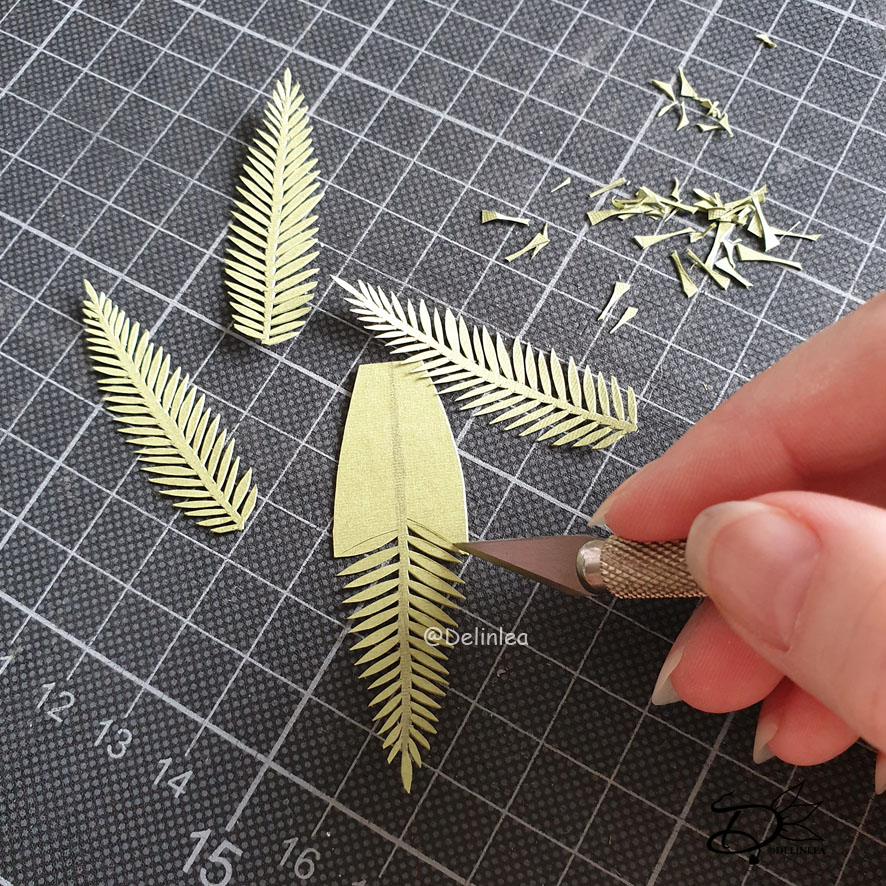
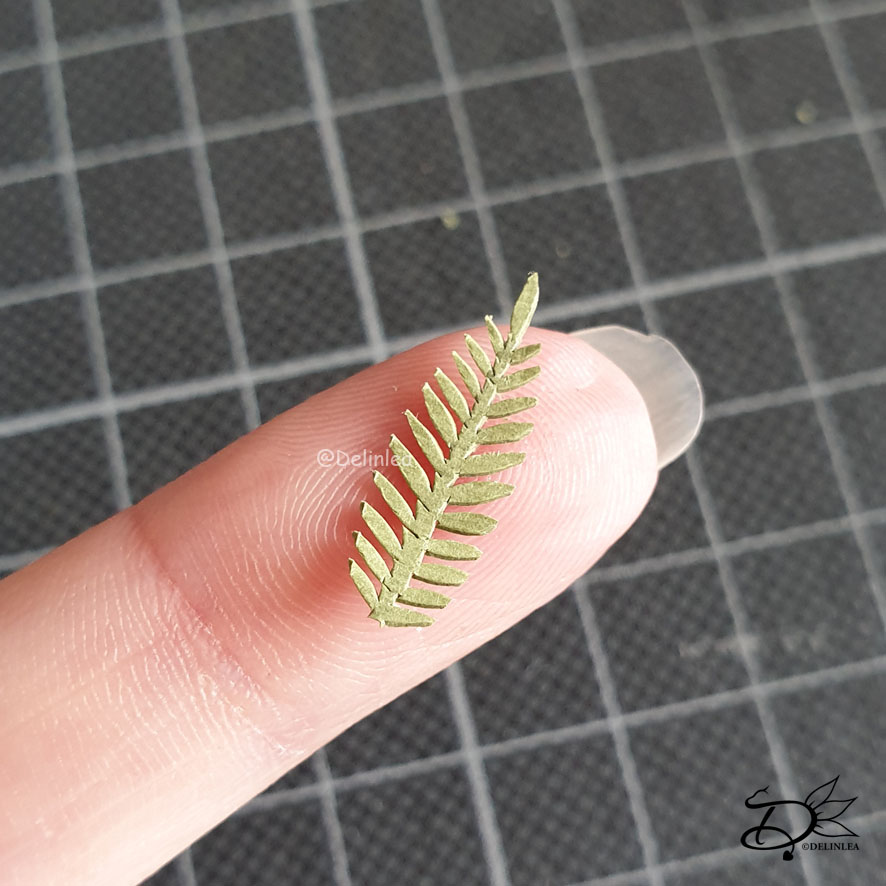
You can make any plant you want. I chose to do a fern, so cute! It’s only a bit fiddly to cut out. So, I can imagine if you chose something else. Look at how to plant is formed and go from there. Copy the leaf shape to the paper with a pencil. Cut those out with an x-acto knife or use scissors if the shape is easy to cut. Maybe add a bit of paint/pastel if you feel like it need more depth or when there are patterns on the leaf, like with a Calathea for example.
Next, it’s time to glue the leaves together. Since I chose a fern, those all come together at the bottom. So, that’s where I used glue to connect all the leave. But again, use reference pictures if you chose another plant. It could be that you need some kind of stem. Maybe you need some wire to make it a bit more sturdy. Shape the plant a bit if needed.
Finishing off
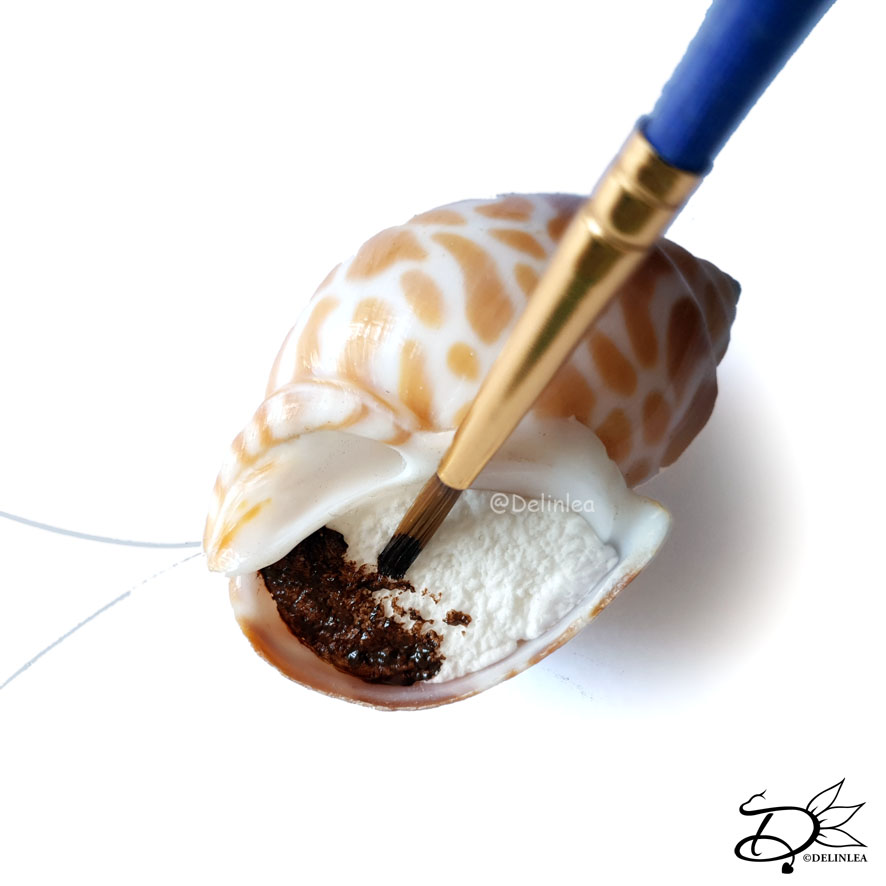
Paint the soil in a brown color or another color of choise if you prefer. Glue tiny rock here and there as well if you want. I found that the rocks will give it more of a realistic look. Also you could add some (fake) moss if you like, also glue this on the shell, be a bit messy. Nature doesn’t colors inside the lines perfectly either. When all those little bits are added to the shell and the glue is dry. Then it’s time to glue the plant to the soil.
Done!
And your paper plant is all done, look how adorable this shell turned out! I love it. When this blog is done, I will make a few more, I might try to attempt to make a Monstera one. Let’s see if that will work out. When it does, I’ll update this blog with some pictures. And of course on social media. If you made one or more as well, don’t forget to show me on Twitter or Instagram! I’d love to see what you create!
Happy crafting and I’ll see you next week!
Love
Danielle
PS. if you love those kinds of blogs, maybe you’d like to support me on Ko-Fi?! So I can keep making content like this!
// ©2021 Delinlea / Danielle Kaal // You may not reproduce, translate, share, freely distribute or sell this blog/craft as your own.

