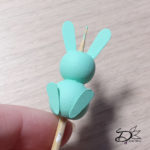
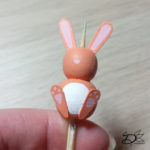
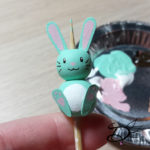
♥ Free Pattern; Easter Bunny
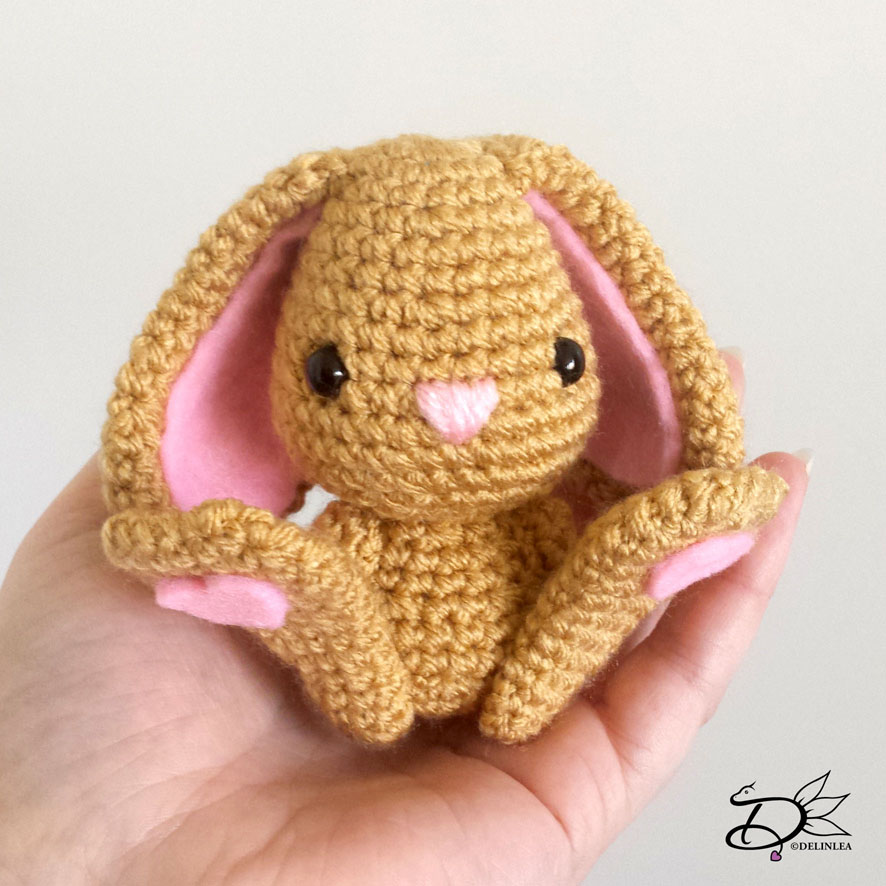
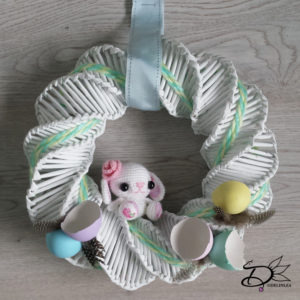
Hey Lovelies! Are you ready for easter yet?! Well, I think I am, but at the same time I am not, I have so many ideas I wanna make and create, but there is not enough time haha. I think I can make easter stuff all year round. Better not do that xD. I’ll just gonna write them down, and if I have time I’ll make them for next year. For today I planned a easter variation on my Boho Duckling. A Easter Bunny! I also wanted to do a little chick, but I couldn’t figure out on time how I wanted the feet to look like, and since my arm hurts a lot, I thought it was better to only upload the easter bunny for you. And hopefully next week upload the little chick.
For this DIY you’ll need:
♥ Yarn in the colors; Light Brown and Cream. (I used Stylecraft Special DK)
♥ Crochet Hook (I used a 2,5mm hook).
♥ Stuffing.
♥ Scissors.
♥ Sewing Pins.
♥ Yarn Needle.
♥ Safety eyes, 6mm.
♥ Pink Felt.
♥ Fabric Glue.
Stitches used (US Terms):
Magic Ring.
Ch = Chain.
SC = Single Crochet.
ST = Stitch.
Inc = Increase.
Dec = Decrease.
(…) = Repeat the space in brackets the given number of times.
[…] = Total number of stitches.
Pattern
The Body and Head will be the same as the Boho Duckling. Use the Light Brown color for this.
For the nose you can use either pink felt or embroider it on. Just what you think is best.
Ears (Make 2)
Use the color Light brown.
1: 6SC in Magic Ring. [6]
2: 2SC in each st around. [12]
3: (1SC, inc) 6 times. [18]
4: (2SC, inc) 6 times. [24]
5: 24SC. [24]
6: 24SC. [24]
7: 24SC. [24]
8: (6SC, dec) 3 times. [21]
9: 21SC. [21]
10: (5SC, dec) 3 times. [18]
11: 18SC. [18]
12: (4SC, dec) 3 times. [15]
13: 15SC. [15]
14: 15SC. [15]
15: 15SC. [15]
16: (3SC, dec) 3 times. [12]
17: 12SC. [12]
18: 12SC. [12]
19: 12SC. [12]
Fasten off and leave a long tail for sewing. Out of Pink felt, cut the inner
ear. This you will glue on with fabric glue.
Feet (make 2)
Use the color Light Brown.
1: 6SC in Magic Ring. [6]
2: (1SC, inc) 3 times. [9]
3: 9SC. [9]
4: 9SC. [9]
5: 9SC. [9]
6: (2SC, inc) 3 times. [12]
7: 12SC. [12]
8: 12SC. [12]
9: (3SC, inc) 3 times. [15]
10: 15SC. [15]
11: (4SC, inc) 3 times. [18]
12: 18SC. [18]
13: 3SC, dec, 7SC, dec, 4SC. [16]
14: 3SC, dec, 6SC, dec, 3SC. [14]
15: 2SC, dec, 5SC, dec, 3SC. [12]
Fasten off and leave a long tail for sewing.
Sew the top part, the opening, close.
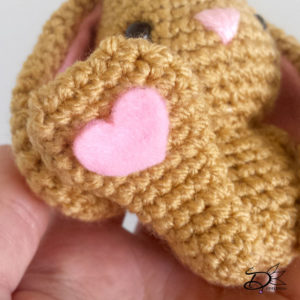
Cut a heart out pink felt and glue this to the feet.
Arms and Tail (Make 3)
Use the color Light Brown for the arms (2). Use the color Cream for the tail.
1: 6SC in Magic Ring. [6]
2: (1SC, inc) 3 times. [9]
Fasten off and leave a long tail for sewing.
Assembling.
I always use sewing pins to place all parts first, before sewing. This way you can easily move all parts around until you are happy with the outcome.
Sew the body to the head. After that sew on the arms. Now
you can reach them well.
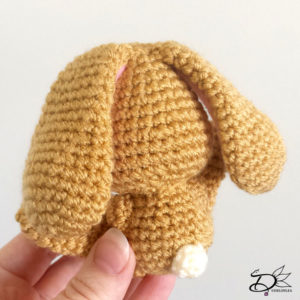
The order doesn’t really matter, but sew on the ears, feet and tail on as well.
And you are already done!
I hope you will love this cute little easter bunny! I definitely love him! Will you show me yours when you made him too? I’d love to see!
Have a wonderful day!
Love
Danielle

