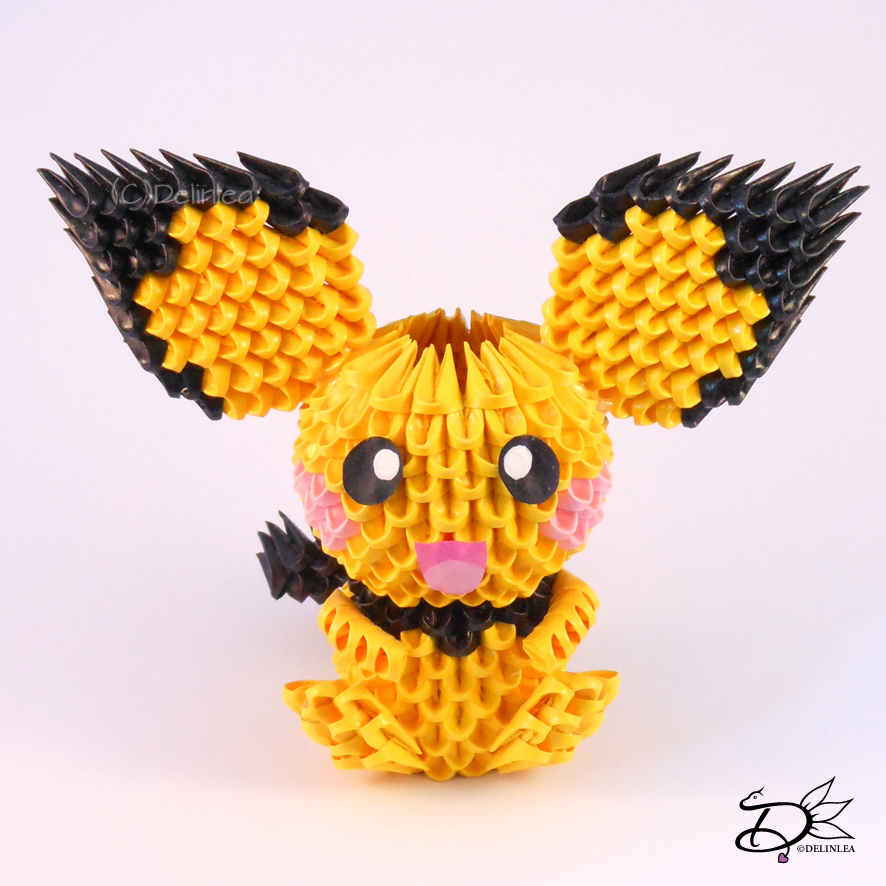
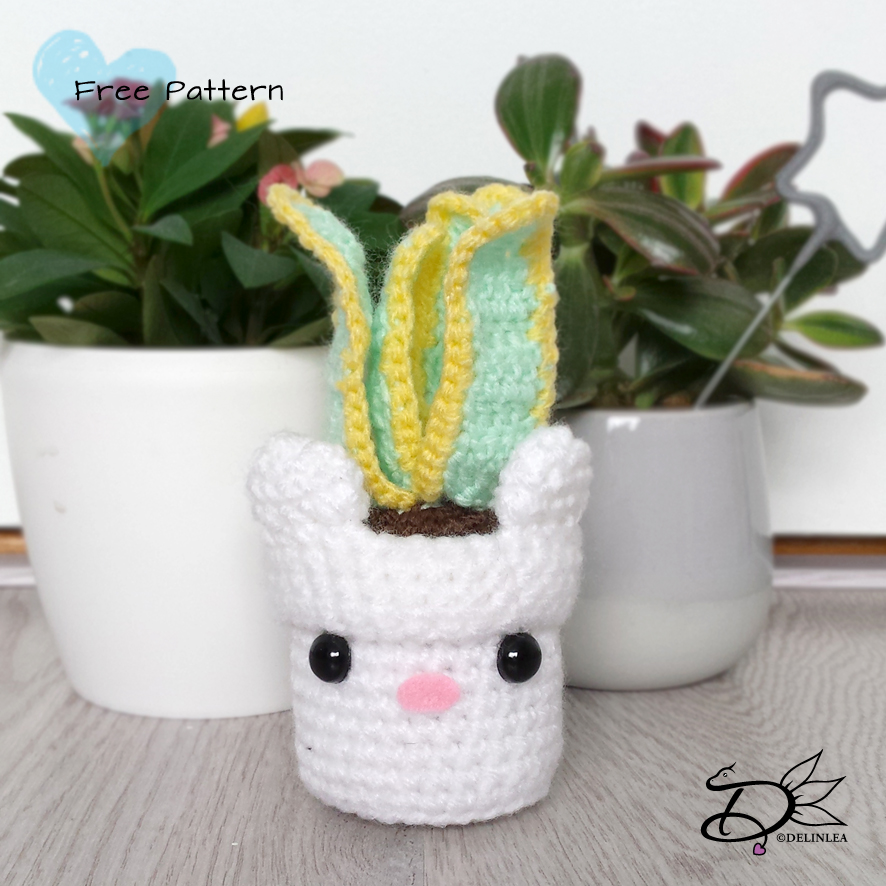
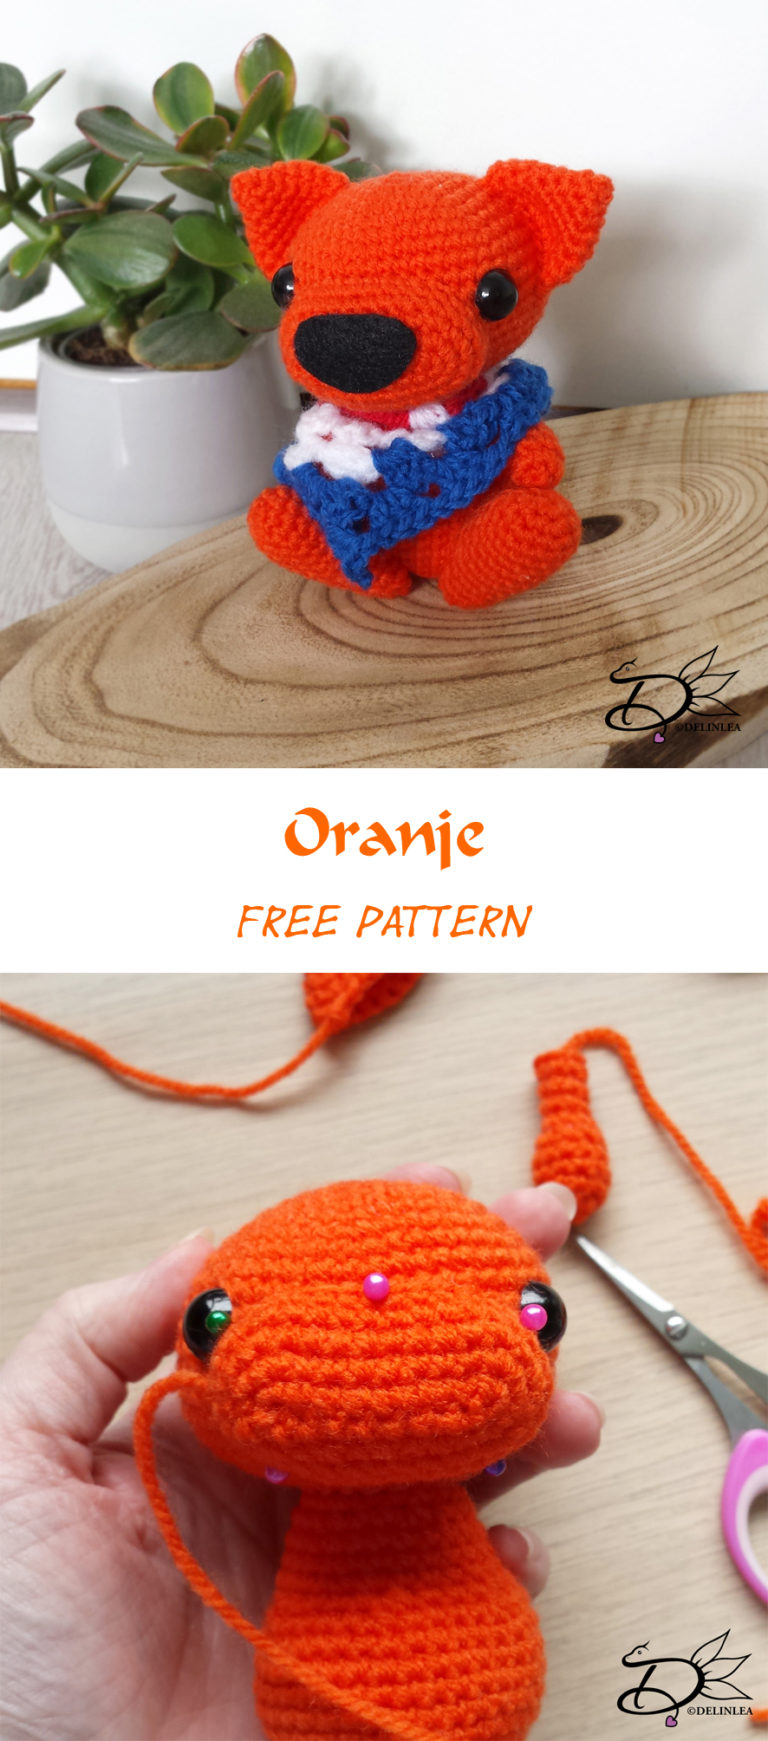
Hey Lovelies!
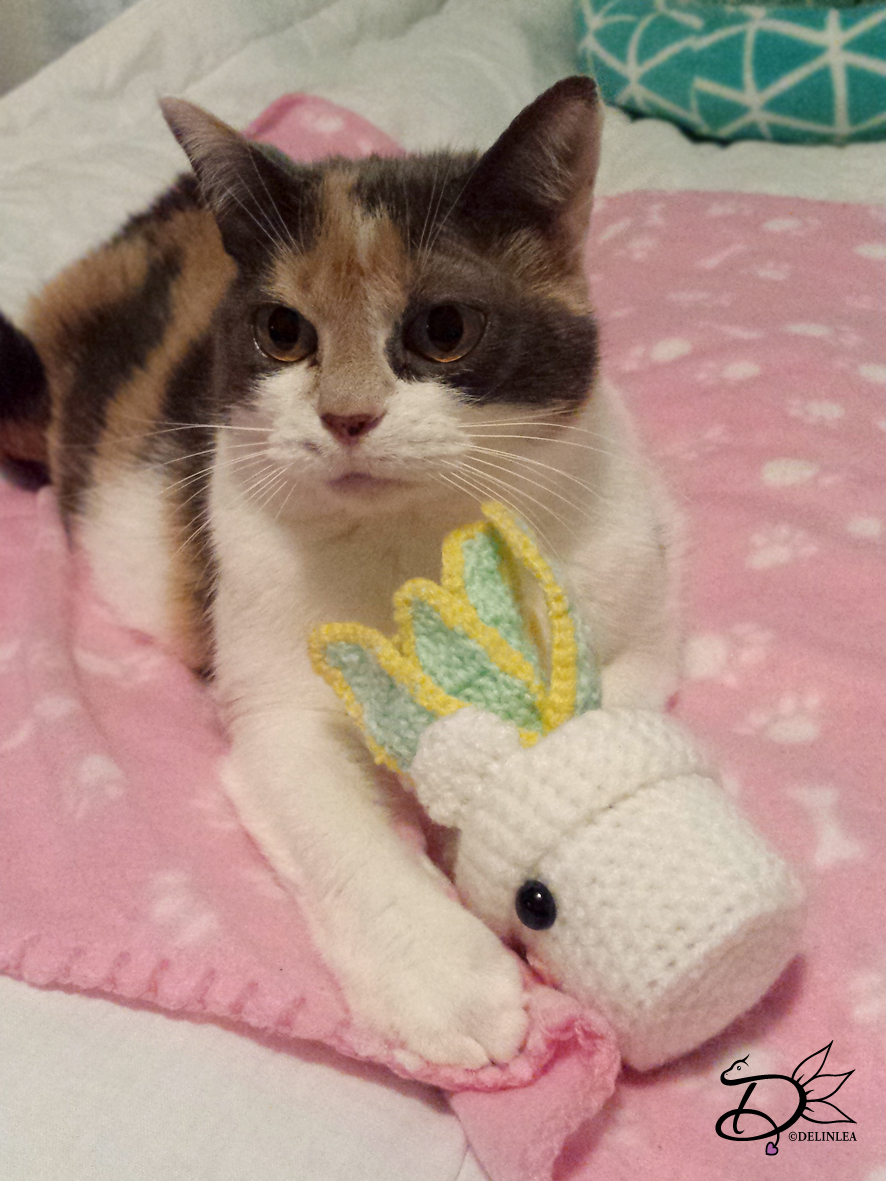
Tomorrow it’s Kingsday here, in the Netherlands! And yes literally everything will turn orange.. these pics you always see floating around the internet, these are true haha. So, I thought, why not join the orange crazyness ones more. Wanted to create something cute, so are you ready to find out how it will turn out?!
For this DIY you’ll need:
♥ Yarn, in Orange, Red, White and Blue
♥ Crochet hook.
♥ Stitch marker.
♥ Yarn needle.
♥ Sewing pins. (optional)
♥ Scissors.
♥ Fiber Fill.
♥ Safety Eyes.
♥ Black Felt.
♥ Glue.
Stitches used:
CH = Chain.
SC = Single Crochet.
DC = Double Crochet.
ST = Stitch.
Inc = Increase.
Dec = Decrease.
Slst = Slip Stitch.
(…) = Repeat the space in brackets the given number of times.
[…] = Total number of stitches.
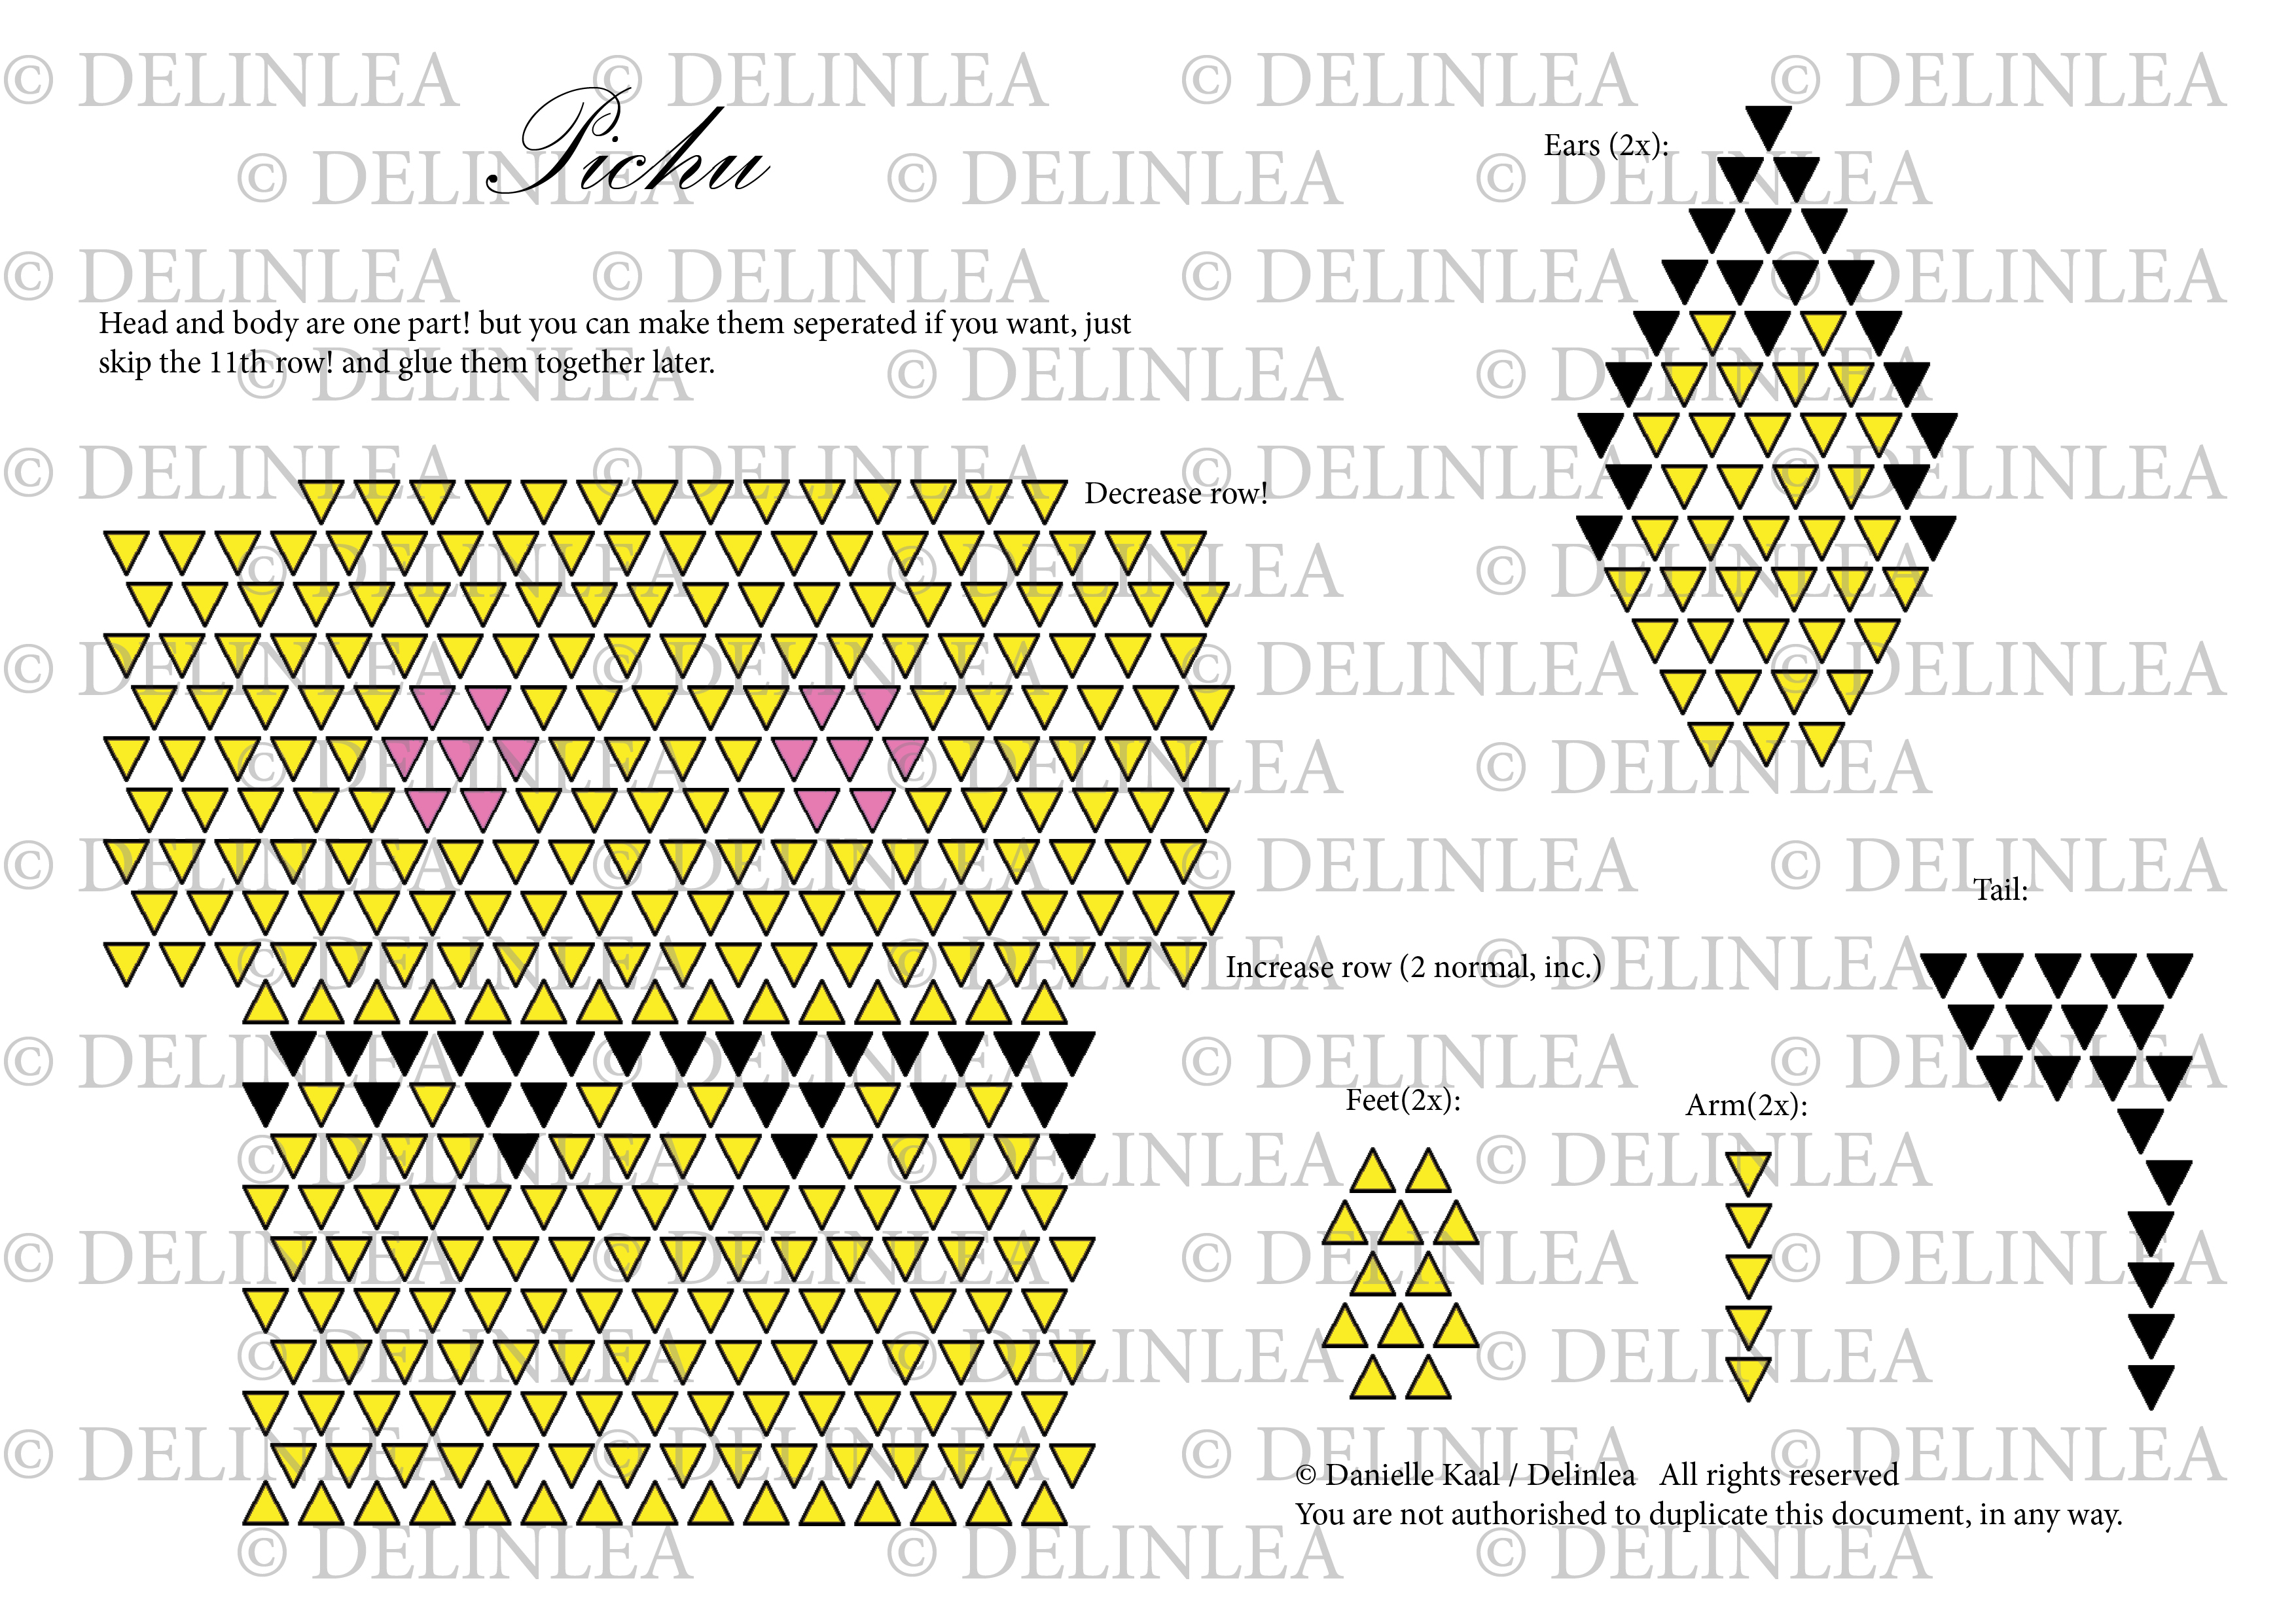
Pattern
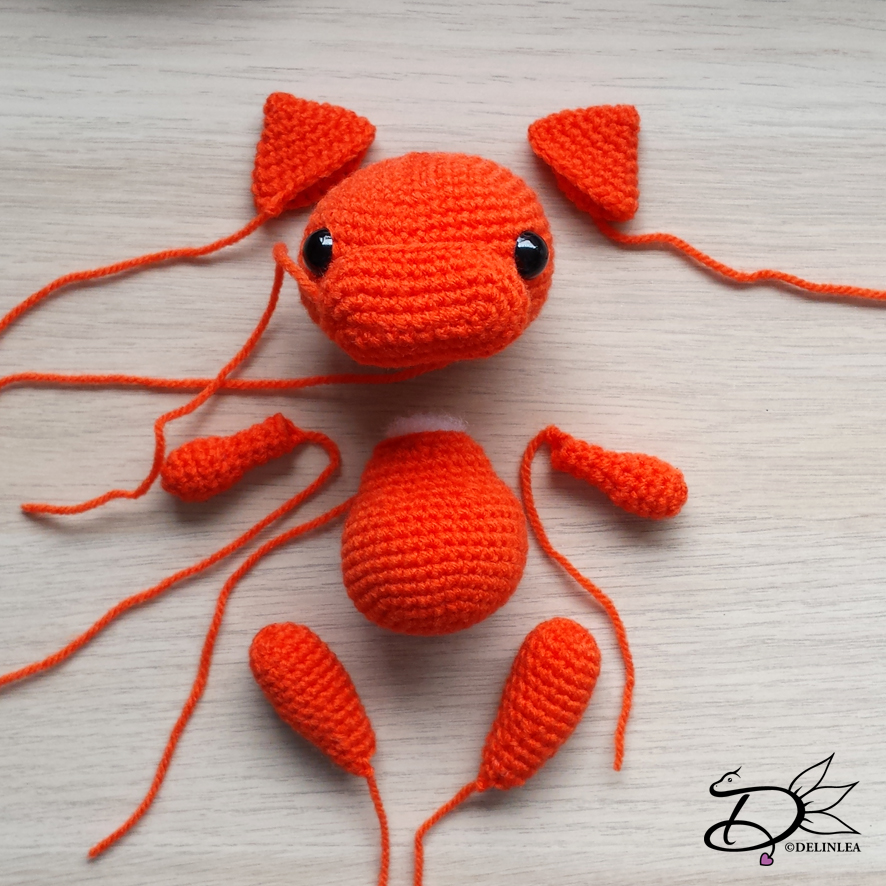
Head
In Orange
1: 6SC in magic ring. [6]
2: 2SC in each st around. [12]
3: (1SC, inc), 6 times. [18]
4: (2SC, inc), 6 times. [24]
5: (3SC, inc), 6 times. [30]
6: (4SC, inc), 6 times. [36]
7: (5SC, inc), 6 times. [42]
8: (6SC, inc), 6 times. [48]
9: SC in each st around. [48]
| Note: insert the safety eyes in between row 11 and 12.
15: SC in each st around. [48]
16: (6SC, dec), 6 times. [42]
17: (5SC, dec), 6 times. [36]
18: (4SC, dec), 6 times. [30]
19: (3SC, dec), 6 times. [24]
20: (2SC, dec), 6 times. [18] Stuff firmly here.
21: (1SC, dec), 6 times. [12]
22: Dec all around. [6]
Fasten off and weave in tail.
Snout
In Orange, you don’t work in continues rounds for the snout, close of every row (SLST).
1: CH10, insert in 2nd chain from hook, 8SC, crochet 3SC in the last chain. Continue crocheting along the other side of the chain. 7SC, inc, SLST.
2: CH1, 1SC, inc, 7SC, (1SC, inc) 3 times, 7SC, (1SC, inc) 2 times, SLST. [32]
3: CH1, 32SC, SLST. [32]
4: CH1, 32SC, SLST. [32]
Fasten off and leave long tail for sewing.
Body:
in Orange
1: 6SC in magic ring. [6]
2: 2SC in each st around. [12]
3: (1SC, inc), 6 times. [18]
4: (2SC, inc), 6 times. [24]
5: (3SC, inc), 6 times. [30]
6: (4SC, inc), 6 times. [36]
7: SC in each st around. [36]
|
12: SC in each st around. [36]
13: (4SC, dec), 6 times. [30]
14: (3SC, dec), 6 times. [24]
15: SC in each st around. [24]
|
17: SC in each st around. [24]
18: (2SC, dec), 6 times. [18]
16: SC in each st around. [18]
Fasten off and leave long tail for sewing. Stuff firmly.
Arms (2)
In Orange
1: 5SC in magic ring. [5]
2: 2SC in each st around. [10]
3: SC in each st around. [10]
|
5: SC in each st around. [10]
6: (1SC, dec), 3 times, 1SC. [7] Stuff after this row.
7: SC in each st around. [7]
|
10: SC in each st around. [7]
Fasten off and leave long tail for sewing.

Feet (2)
In Orange
1: 6SC in magic ring. [6]
2: 2SC in each st around. [12]
3: (3SC, inc) 3 times. [15]
4: SC in each st around. [15]
|
8: SC in each st around. [15]
9: (3SC, dec) 3 times. [12]
10: SC in each st around. [12]
11: (2SC, dec) 3 times. [9] Stuff lightly here.
|
13: SC in each st around. [9]
14: (1SC, dec) 3 times. [6]
Fasten off and leave long tail for sewing.
Ears (2)
in Orange
1: 4SC in magic ring. [4]
2: (1SC, inc) 2 times. [6]
3: (1SC, inc) 3 times. [9]
4: (2SC, inc) 3 times. [12]
5: (3SC, inc) 3 times. [15]
6: (4SC, inc) 3 times. [18]
7: (5SC, inc, 3 times. [21]
8 SC in each st around. [21]
Fasten off and leave long tail for sewing.
Tail
In Orange
1: 6SC in magic ring. [6]
2: 2SC in each st around. [12]
3: SC in each st around. [12]
4: SC in each st around. [12]
Fasten off and leave long tail for sewing.
Shawl
Start with red.
Chain 3 and slst in the first chain.
1: CH4 (this counts as the first DC and a CH), 3DC, CH3, 3DC, CH1, 1DC.
2: CH4 (this counts as the first DC and a CH), 3DC in the chain space of the previous row, CH1, 3DC in the chain3 space of the previous row, CH3, 3DC in the chain3 space as well, CH1, 3DC in the next chain space of the previous row, CH1, 1DC.
Change to white.
3-6: Repeat row 2, and increase with 3DC, CH1 in the Chain space at the beginning and end of every row.
After row 4 with white you change to blue.

Assembling
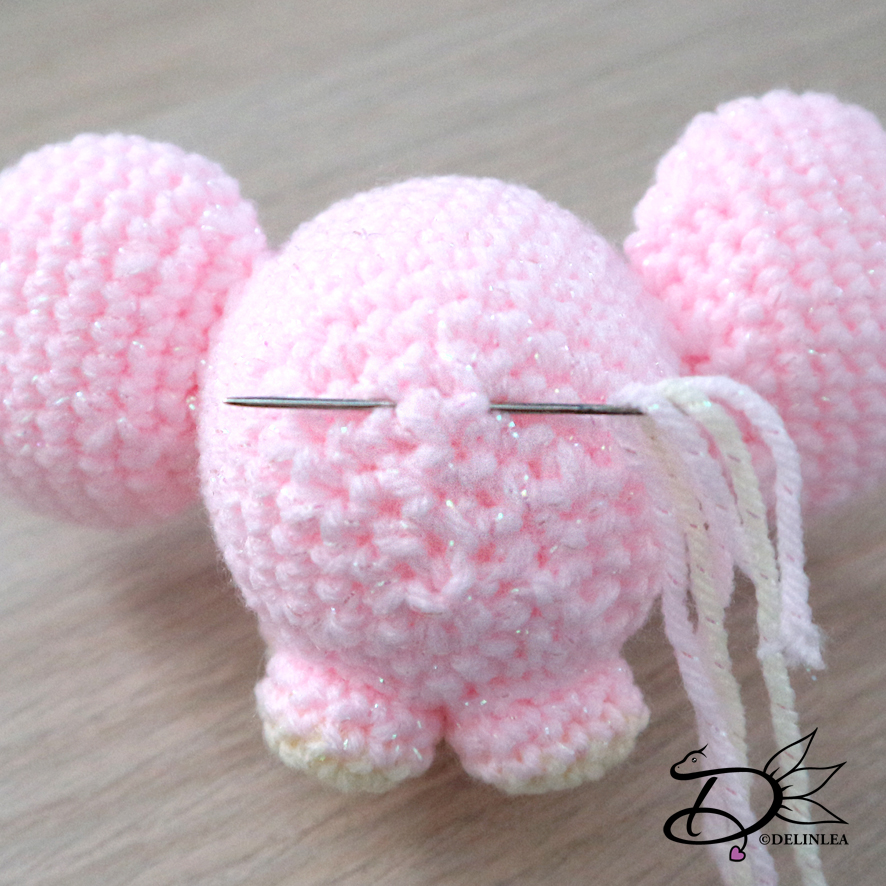
Attach the head with the body. If you struggle to get in on neatly, use some sewing pins to keep it in place while sewing. I always use this as well for placing and limbs or other features, this way you can easily replace them if you don’t like the position.
Sew on the snout, just in between the eyes, leave a small gap to stuff the snout and finish sewing it on. Attach the ears as well.
It’s the easiest if you sew on the arms first, and then sew on the feet (flatten the feet a bit).
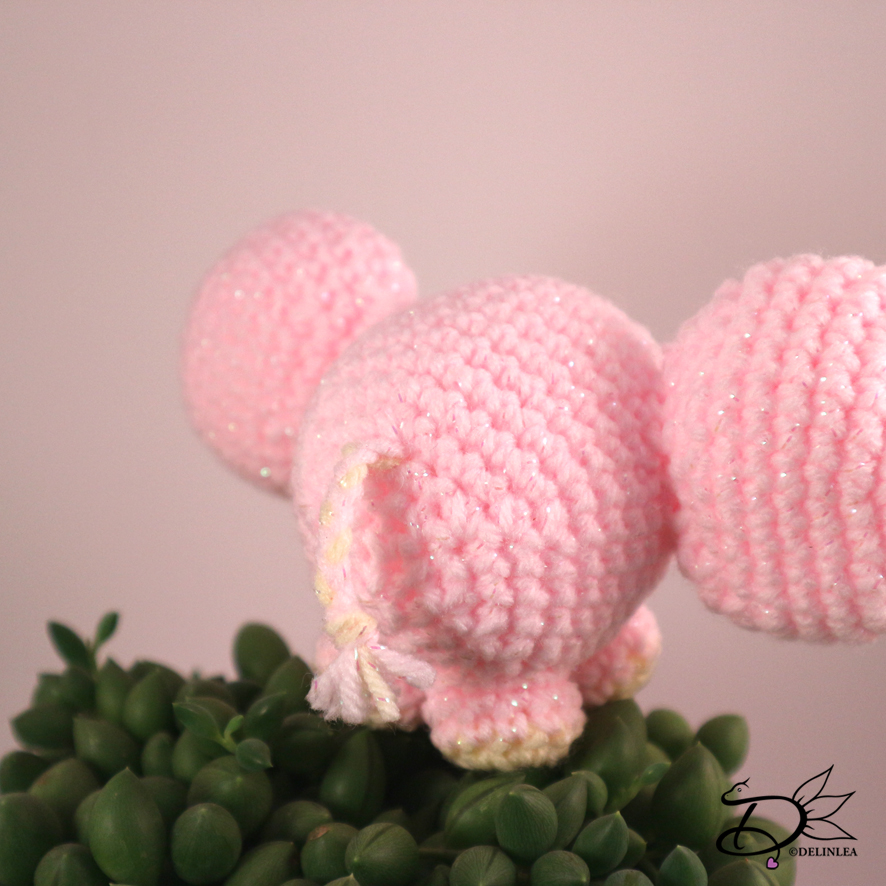
Sew on his tail on his butt.
Cut a big nowe from black felt and glue it on, now tie his shawl around his neck and you are finished!
I hope you enjoyed this pattern, I’m not completly sure what it is.. a cat?.. a dog? a Lion without manes?! xD Gah, I don’t care xD he’s cute~!
And for those who are gonna celebrate kingsday tomorrow, have fun!
Love Danielle