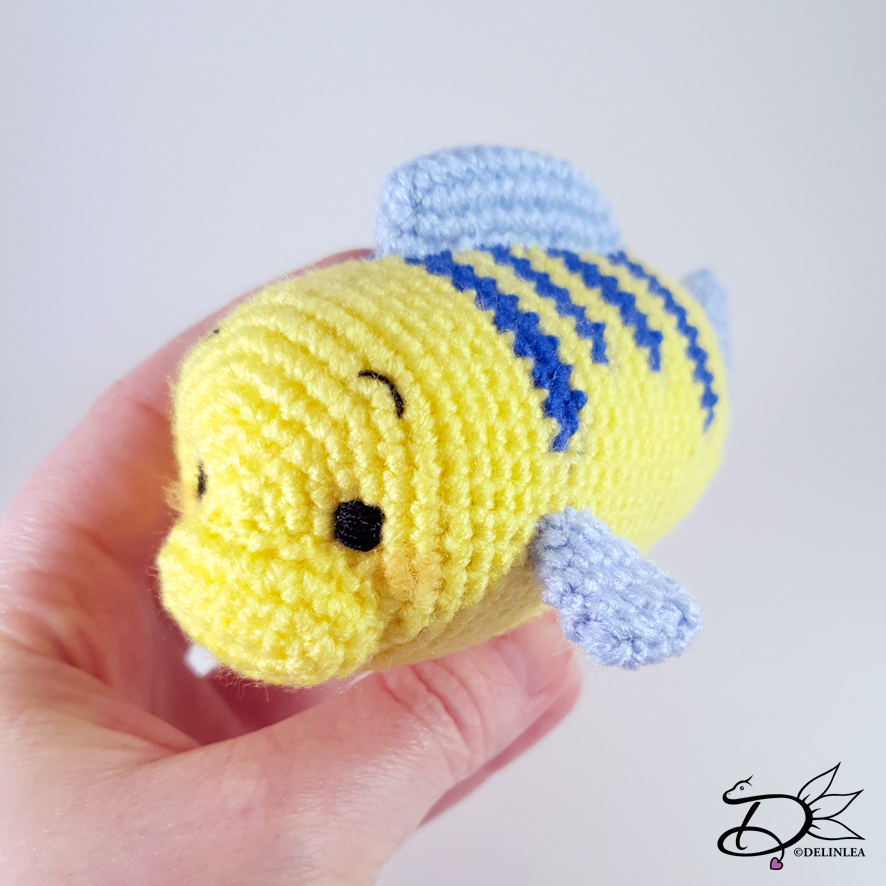
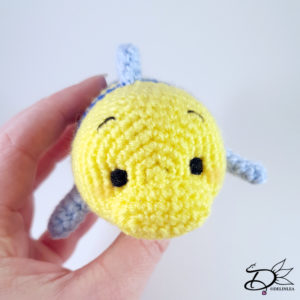
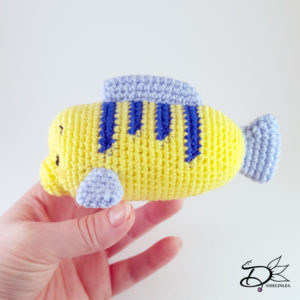
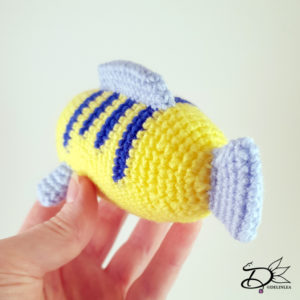
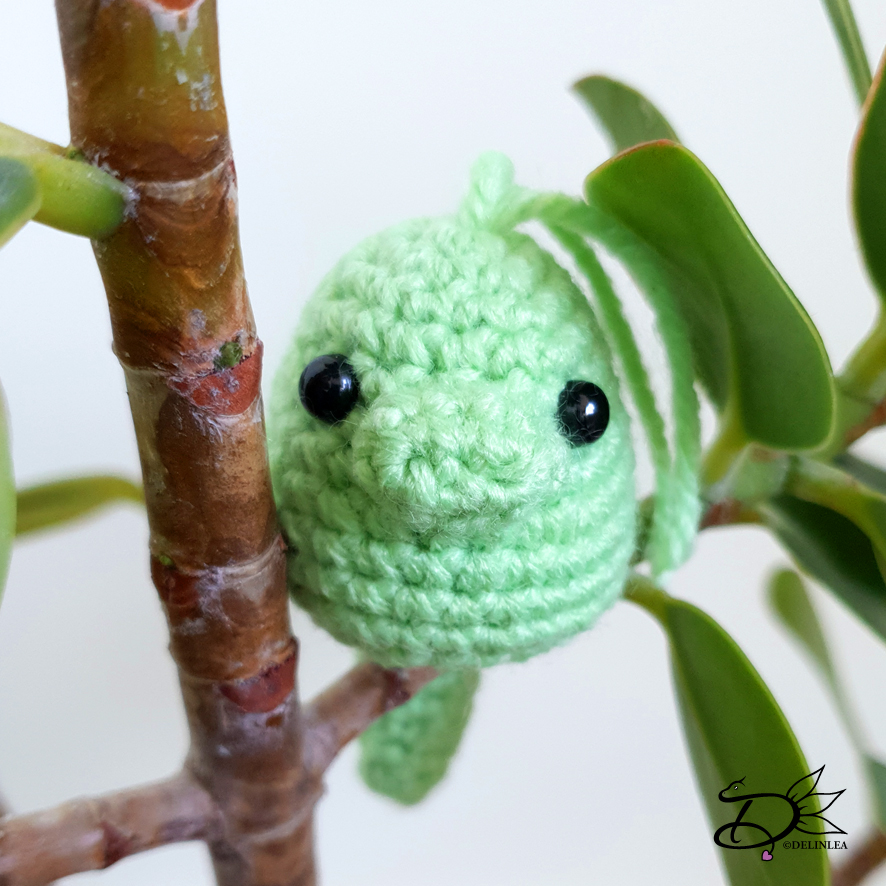
♥ Flounder Tsum Tsum
Hey Lovelies! I was wondering, what’s your favorite Disney movie?! Mine, not sure, but as a kid, the little mermaid xD. So, today’s Tsum Tsum brought back some memories, I probably should watch the movie again! I always love flounder the most, he’s so cute! And that’s the main character of today’s blog! Flounder! Let’s make him together now.
For this Pattern you’ll need:
♥ Yarn in Yellow, Light Blue and Dark Blue. (I used Zeeman SuperSoft)
♥ Crochet Hook, 2mm.
♥ Stuffing.
♥ Embroidery Thread and Needle.
♥ Stitch Markers.
♥ Yarn Needle.
♥ Sewing Pins.
Stitches used (US Terms):
Magic Ring.
CH = Chain.
SLST = Slip Stitch.
SC = Single Crochet.
ST = Stitch.
Inc = Increase.
Dec = Decrease.
(…) = Repeat the space in brackets the given number of times.
[…] = Total number of stitches.
Pattern Flounder Tsum Tsum
Work in continues rounds, use a stitch marker to mark your first stitch of every row. This is for every part, unless stated otherwise.
Body
Start with Yellow colored yarn.
1: 6SC in a
Magic Ring. [6]
2: 2SC in each st around. [12]
3: (1SC, inc) 6 times. [18]
4: (2SC, inc) 6 times. [24]
5: (3SC, inc) 6 times. [30]
6: (4SC, inc) 6 times. [36]
7: (5SC, inc) 6 times. [42]
8: 42SC. [42]
|
13: 42SC. [42]
From now on you will change yarn color constantly to make the stripes, so, I
will state the amount of stitches for that particular color.
14: Yellow; 11SC, Dark Blue: 20SC, Yellow; 11SC. [42]
15: Yellow; 12SC, Dark Blue: 1SlSt, 16SC, 1SlSt, Yellow; 12SC. [42]
16: Yellow, 42SC. [42]
17: Yellow, 42SC. [42]
18: Yellow; 14SC, Dark Blue: 15SC, Yellow; 13SC. [42]
19: Yellow; 15SC, Dark Blue: 1SlSt, 11SC, 1SlSt, Yellow; 14SC. [42]
20: Yellow, 42SC. [42]
21: Yellow, 42SC. [42]
22: Same as row 18.
23: Same as row 19.
24: Yellow, 42SC. [42]
25: Yellow, 42SC. [42]
26: Yellow; 12SC, Dark Blue: 20SC, Yellow; 10SC. [42]
27: Yellow; 13SC, Dark Blue: 1SlSt, 16SC, 1SlSt, Yellow; 11SC. [42]
From here on you’ll work with the Yellow colored yarn only again.
28: (5SC, dec) 6 times. [36]
29: 36SC. [36]
30: 36SC. [36]
31: (4SC, dec) 6 times. [30]
32: 30SC. [30]
33: (3SC, dec) 6 times. [24]
34: 24SC. [24]
35: (2SC, dec) 6 times. [18] Stuff the body.
36: (1SC, dec) 6 times. [12]
37: (dec) 6 times. [6]
Fasten off and weave in tail.
Beak
Use the Yellow colored yarn.
1: Ch7,
insert in 2nd chain from hook, 5SC, 3SC in the next st, continue working along
the other side of the chain, 4SC, inc, slst in the first st. [14]
2: Ch1, inc, 4SC, inc 3 times, 4SC, inc 2 times, slst in the first st. [20]
3: Ch1, 20SC [20]
Fasten off and leave a long tail for sewing.
Side Fins (Make 2)
Use the Light Blue colored yarn.
1: Ch5,
insert in second ch from hook, 3SC, 3SC in the next st, continue working along
the other side of the chain, 2SC, inc. [10]
2: 10SC. [10]
3: 10SC. [10]
4: (dec, 3SC) 2 times. [8]
5: 8SC. [8]
Fasten off and leave a long tail for sewing.
Tail Fin.
Use the Light Blue colored yarn.
1: Ch10,
insert in second ch from hook, 8SC, 3SC in the next st, continue working along
the other side of the chain, 7SC, inc. [20]
2: 20SC. [20]
3: (Dec, 8SC) 2 times. [18]
4: (Dec, 7SC) 2 times. [16]
5: (Dec, 6SC) 2 times. [14]
Fasten off and leave a long tail for sewing.
Back Fin
Use the Light Blue colored yarn.
1: Ch12,
insert in second ch from hook, 10SC, 3SC in the next st, continue working along
the other side of the chain, 9SC, inc. [24]
2: 10SC, (inc) 3 times, 11SC. [27]
3: 12SC, (inc) 2 times, 13SC. [29]
Fasten off and leave a long tail for sewing.
Assembling
Whenever I start assembling amigurumi’s, I prefer to use sewing pins first. This way I can position and reposition all parts until I am happy with how it looks. I recommend you do so as well.
First
position Flounders snout, just under the middle of the face and sew it on.
Along sewing the snout on, make sure to stuff it slightly.
His side fins go just under the first stripe on his back. His back fin start
from the first stripe as well. His tail, obviously goes on his behind, or however
you wanna call it. Sew all those parts on.
I used embroidery to make his face, but of course you can use felt or anything
else instead, just what you prefer. With a bit of pink pastel dust you can make
his blushy cheeks.
Optional, to make Flounder’s eyes a bit deeper into the amigurumi, use some yarn on a needle. Make sure to tie a good knot at the end. Now go from a random spot, where you can get the knot through the body, to his eyes, without going through the eye, but just behind the yarn used there. The do the same with the other eye and pull the yarn tightly. You can see you pull the eyes slightly inward. Secure the yarn somewhere tightly where it’s not visible and finish off.
I hope you had fun making Flounder! I think it’s such a fun TsumTsum to make!
Have a wonderful day!
Love
Danielle

