Delinlea - My little fantasy world
  • ♥ Home
  • ♥ About Me
  • ♥ Blogmas 2021
  • ♥ Free Patterns
    • ♥ Amigurumi; Spring/Easter
    • ♥ Amigurumi; Fall/Halloween
    • ♥ Amigurumi; Winter
    • ♥ Amigurumi Tsum Tsum
    • ♥ Amigurumi Ufufy
    • ♥ Amigurumi Others
    • ♥ Christmas Countdown 2017
    • ♥ Blogmas 2018
    • ♥ Blogmas 2020
  • ♥ Tutorials
    • ♥ Easter
    • ♥ Home Deco
    • ♥ Others
  • ♥ Drawing Lessons
  • ♥ FanFic
    • ♥ Chapter 1
    • ♥ Chapter 2
    • ♥ Chapter 3
    • ♥ Chapter 4
    • ♥ Chapter 5
    • ♥ Chapter 6
    • ♥ Chapter 7
  • ♥ Gallery
    • ♥ Crafts
    • ♥ Drawings
    • ♥ Poseable Art Dolls
  • ♥ Links
  • ♥ Contact

Mickey

♥ Sakura Ufufy

19 maart 2020 by Delinlea Leave a Comment

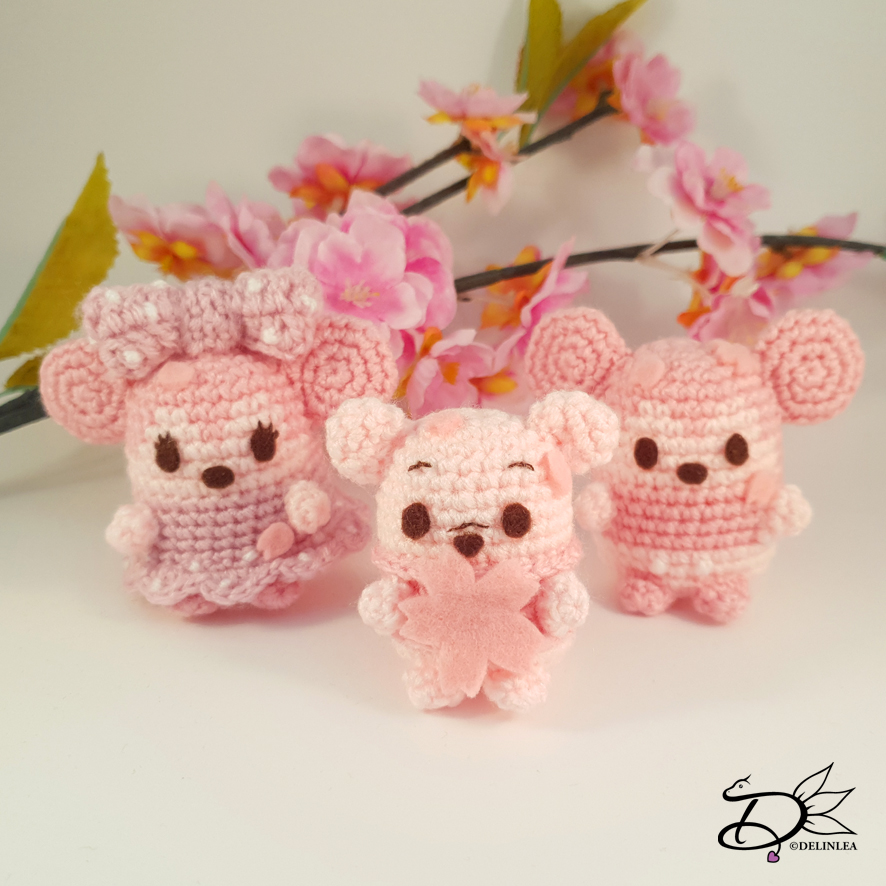
Hey Lovelies! As you probably know I love Ufufy’s and TsumTsum’s a lot! I keep making them. Just can’t stop! haha. So, some time ago I saw these adorable Sakura Ufufy’s online and I instantly loved them. I needed them in my life! Now I already have quit a few patterns for Ufufy, so why not use those patterns and make them in another way?

Sakura Ufufy

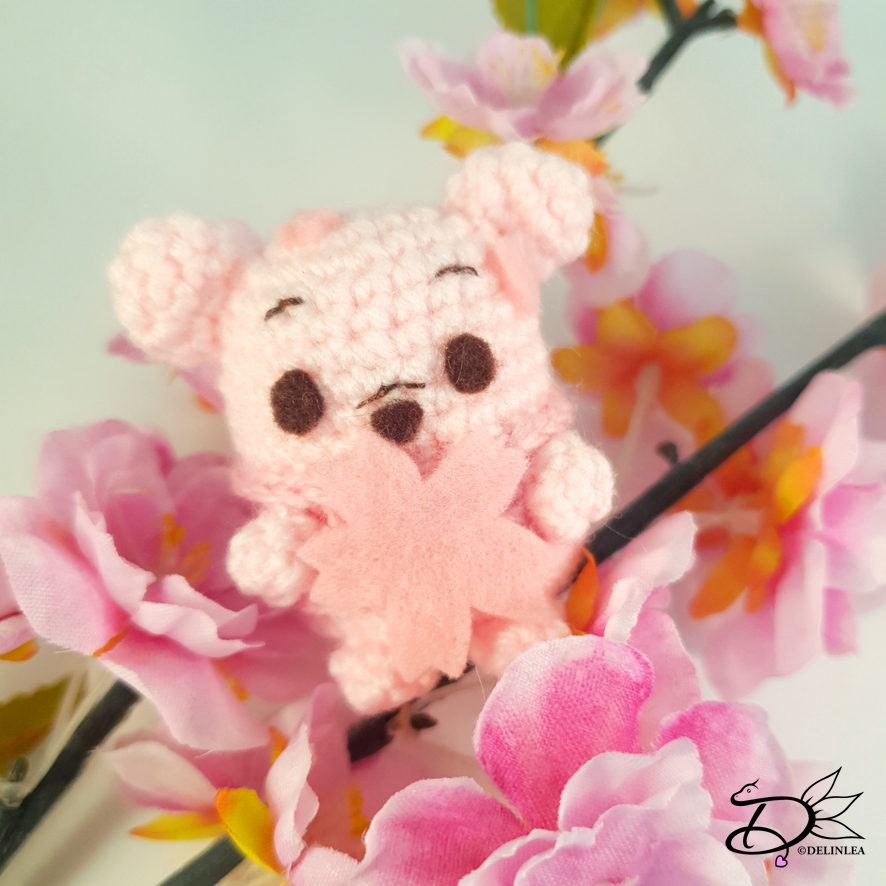
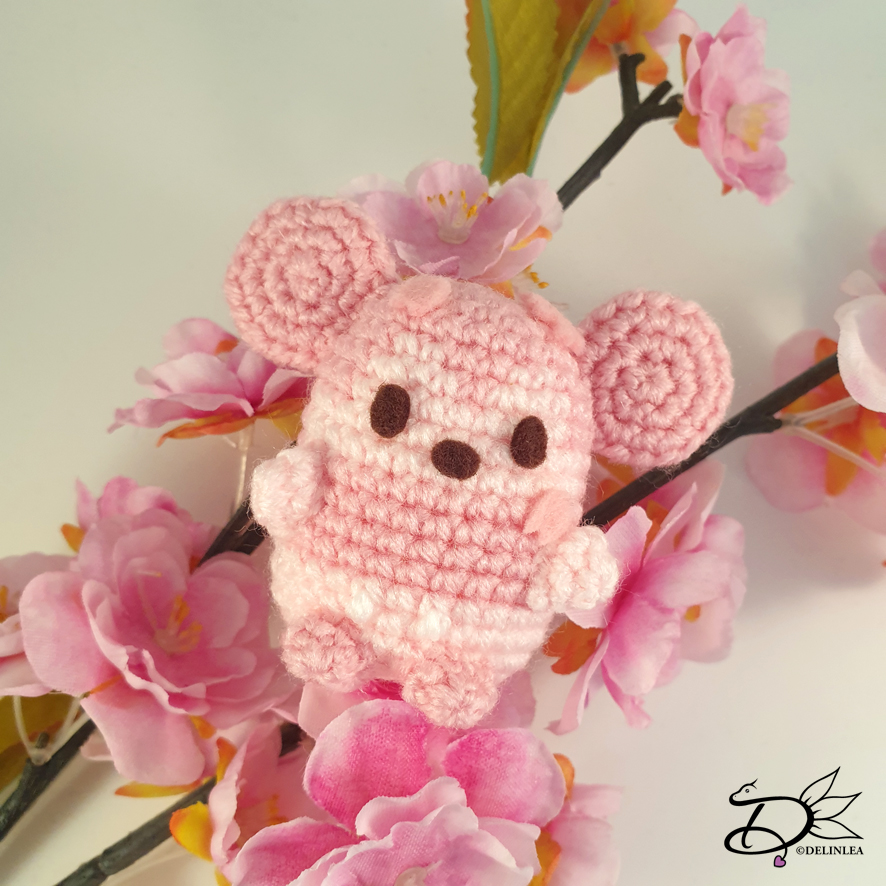
Today’s blog will be more like an inspiration blog as it’s really pattern. I still wanted to share these with you, since, yeah, you’ll probably love them as well. I made Pooh, Mickey and Minnie as Sakura Ufufy. But you can use any pattern and change those to Sakura style.

To make them Sakura style you need different shades of Pink! I used a max of 3 different pinks for Minnie. For Pooh and Mickey I used just 2 shades. The only thing you make extra for these Ufufy’s, are the Sakura Flowers and petals, which you will make out of pink felt and glue onto the Ufufy. 

Those are really easy to make and so much fun. Even it’s the same pattern as the regular versions, those give a whole different vibe.  They just scream Spring!

Here you can find the patterns I used:
Mickey
Minnie
Pooh

I hope you will like this idea and will make them as well! Share them with me if you made them!

Love
Danielle

Posted in: Crafting, Crochet, Ufufy Tagged: Disney, Free Pattern, haken, Mickey, minnie, pooh, Sakura, Ufufy

♥ Day 22: Lightbox

22 december 2017 by Delinlea Leave a Comment

Hey Lovelies!

Just 2 days to Christmas eve and and 3 more DIYs ^^ The last one you will get on Christmas day ^_^. I hope you likes all my DIYs so far.
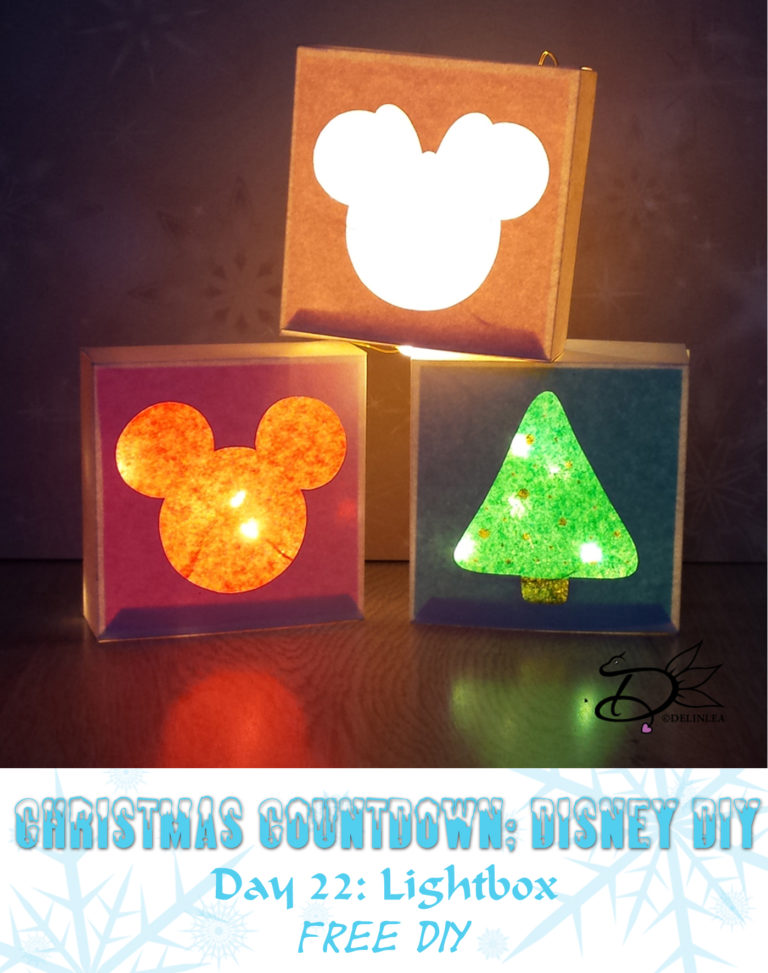
Today we will make some cute lightboxes. I made the template with a mickey silhouette, but you can change it up to whatever you like!

For this DIY you will need:
♥ Cardboard in the color you like.
♥ Tissue Paper.
♥ This Template.
♥ Glue.
♥ Christmas Lights.
♥ Scissors and/or X-acto Knive.
♥ Bone Folder. (optional)

Download the template and print it out, or trace it. When you have done that, cut along all the lines and fold all the dotted lines. If you have a bone folder, you can use this to make sharp folded lines. (the handle of scissors work too haha).
My lightbox measures 9cm×9cm×3cm. So out of tissue paper I cutted a square of 8,5cm × 8,5cm. And glue this on the inside of the lightbox.
Now glue the lightbox together and put the lights in. You are done!

Make as many as you want! Just have fun! And don’t forget to show yours with #DelinleaDIY

Love
Danielle

Posted in: Christmas, Christmas Countdown 2017, Crafting Tagged: Christmas, Christmas Countdown, Disney, DIY, Free, Mickey

♥ Day 20: Mickey Bells Ornament

20 december 2017 by Delinlea Leave a Comment

Hey Lovelies!

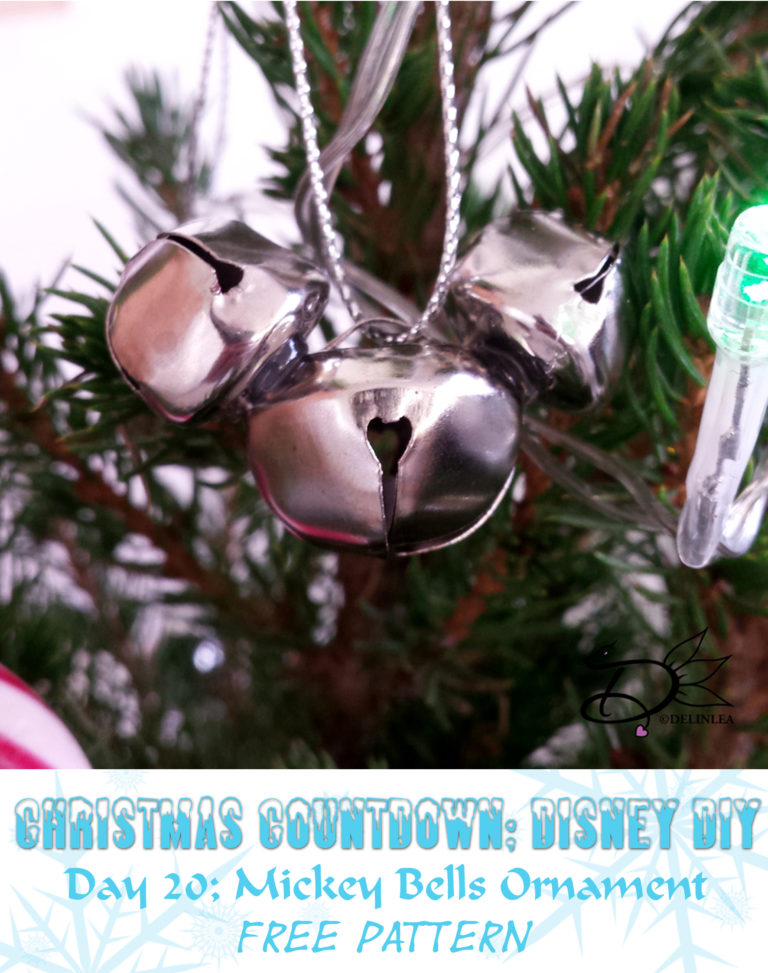
There are only a few days left to Christmas and I decided to make a small, cute tutorial for today. Let’s not stress too much, right?! It’s gonna be a short and easy one today, but I hope you will like it anyway. Let’s make some Mickey Bells Ornaments.

For this DIY you’ll need:
♥  Bells in 2 sizes.
♥  A Hot Glue Gun.
♥  Thread.

Now take 1 big bell and 2 smaller ones. Make sure your glue gun is very hot and glue the smaller bells slightly off the middle of the big bell. This way you create ears on the big bell. And Tadah! you have your mickey bell ornament! haha.

Isn’t it cute?! Very easy, but I love how they look in my tree! Show me yours in your tree with the #DelinleaDIY!

Don’t stress to much right before Christmas, enjoy those days of prepping. You will regret it if you don’t!

Love
Danielle

Posted in: Christmas, Christmas Countdown 2017, Crafting Tagged: bells, Christmas, Christmas Countdown, Disney, DIY, Free, Mickey, ornament

♥ Day 18: Snowflake Clay Ornament

18 december 2017 by Delinlea Leave a Comment

Hey Lovelies!

It’s time for a new DIY, let’s make some clay snowflakes with a little Tsum Tsum in the middle. I originally planned to make those with a dragon, but there’s no way I have time for that right now! haha But I will make them after Christmas. I just can’t abandon my dragons.

For this DIY you’ll need:
♥ Air Dry Clay. (Colored is optional)
♥ Acrylic Paint.
♥ Sculpting Tools.
♥ Glitter. (Optional)
♥ Glue. (Optional)

♥ How to make the Ornament

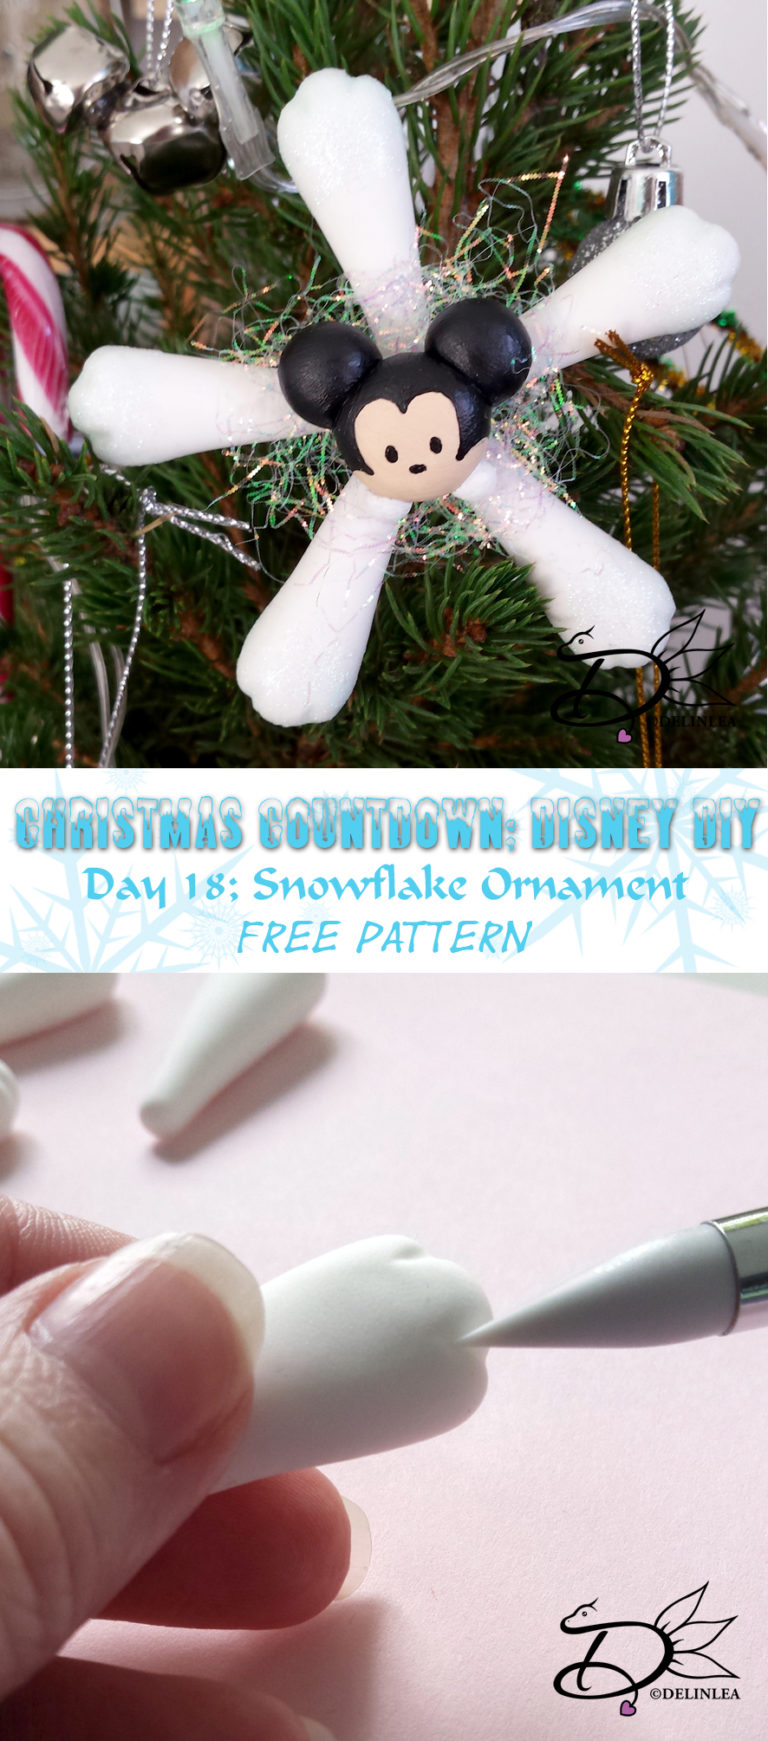
Start with 5 even balls of clay and roll those out into a long, tear drop shape. Flatten widest part a bit and make 2 notches, I used a silicone brush for it. This way you make you snowflake a little bit more interesting! Ofcourse you can make your snowflake however you want.
Now attach the small ends of the tear drop shapes together, evenly spread.


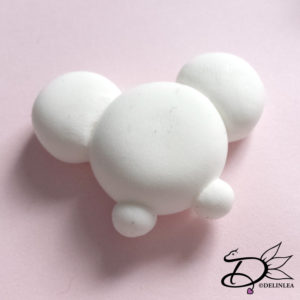
Then make the Tsum Tsum out of clay. I’m not gonna explane how to do that exactly. Tho you make a round shape and add legs. You can add other features too. depends on what Tsum Tsum you wanna make, that’s totally up to you. I chose to make Mickey so I added ears as well.

I made it in white clay, so I will paint it with Acrylics. So I let the clay dry first, painted it and glued it to the middle of the snowflake. But if you don’t have to paint anything or just the eyes, you can stick your Tsum straight to the middle and let it dry that way.

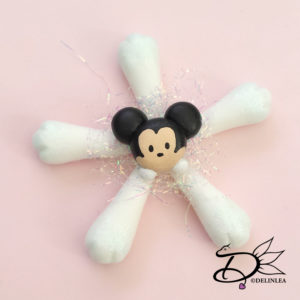
Now it’s time for a bit of decorating. This is totally optional, but fun to do. I added some glitter to the ends of the Snowflake. And added some angel hair behind my Tsum Tsum. it’s give just that little extra sparkle that makes it look finished!

I hope you enjoyed this little DIY and that you will have fun creating you own. Oh! And don’t forget to show yours with the #DelinleaDIY

Love
Danielle


Posted in: Christmas, Christmas Countdown 2017, Crafting, Tsum Tsum Tagged: Christmas, Christmas Countdown, clay, Disney, DIY, Free, Mickey, Tsum Tsum

♥ Day 6: Mickey Wreath

6 december 2017 by Delinlea Leave a Comment

Hey Lovelies!

It’s Mickey Wreath time!! This easy, yet cute wreath is so much fun to make, and quit fast. You can use any color of garlands you want. The good thing with this DIY is that you probably have most materials at home already. So you can start right away! ^-^
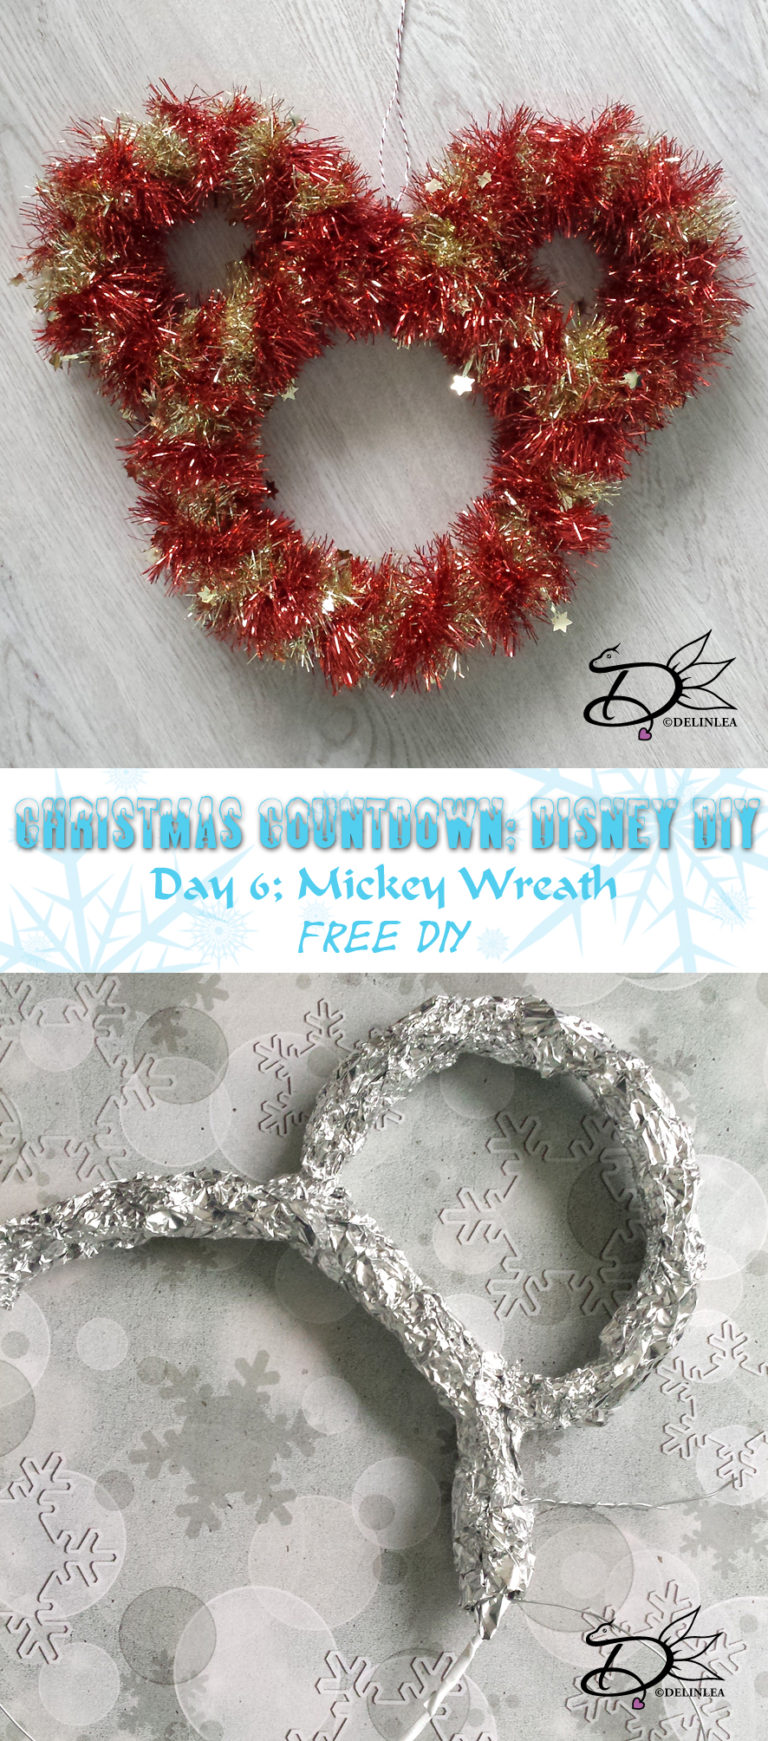
Mickey Wreath

For this DIY you’ll need:
♥ A Red and a Gold Garland (about 270cm in length).
♥ Wire.
♥ Aluminum foil.
♥ Paper. (optional)
♥ Pencil. (optional)
♥ Hot glue gun and glue.
♥ Something to cut the wire with.

♥ How to make the Wreath

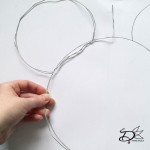
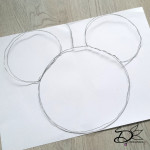
Start with drawing the shape you want, on to a piece of paper (I used 2 sheets of A4 and sticked them together). This template you will use to see if you bend the wire the right way. If you feel comfortable to bend the wire without template, go ahead!
The big circle of my Mickey head is about 20cm in section, to give you an idea how big mine is. Ofcourse you can make yours bigger or smaller.
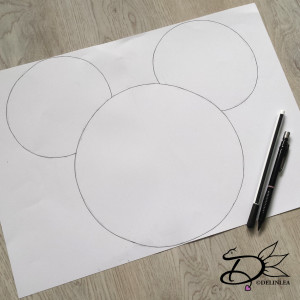
Mickey Wreath Base

Next you will start bending the wire, if you use a template place these underneath. Just follow the lines and twist the wire where needed (the 1st picture underneath is a small schedule where to start and where to end). To secure the wire where I twisted it, I added some tape, but you can totally skip that.


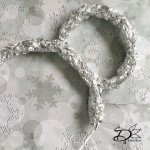
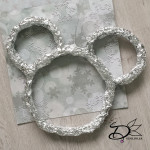
When you have the shape in wire you will start adding the aluminum foil around it, just add small strokes until you are happy with the thickness. I didn’t add to much, cause you need to keep in mind, that the garland will add to the thickness as well!


Now it’s time for the fun part! Wrapping the garlands around the base of wire and aluminum foil. Glue both of the garlands to the back of the base (at our starting point) and start wrapping it around. I did first a part of the big circle and then I did an ear and cutted it off and glued it to the base. Glued the Garlands to the base again and wrapped the rest of the big circle and did the other ear. When everything is covered with Garland you are pretty much done.
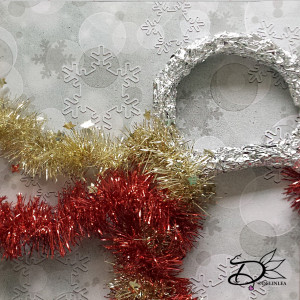
Mickey Wreath

The only thing left to do is, make a hook of the left over of the wire at the top of the head. Just bend it down in the middel so you have your hook, add yarn to it and hang it wherever you like in your home! And now, while writing this, I’m like how cute would it look with some light around the wreath as well..hmm..

And a little bonus, I made some small wreath to hang in the tree! Just take 2 pipe cleaners of 30 and twist them together and just like with the wire, bend them in the shape you want and you are ready ^-^
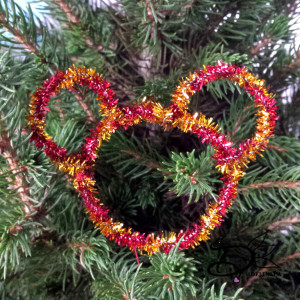
Mickey wreath small

Have a beautiful day everyone!
And don’t forget to show me your work with the #delinleaDIY

Love
Danielle


Posted in: Christmas, Christmas Countdown 2017, Crafting Tagged: Christmas, Christmas Countdown, Disney, DIY, Free, Mickey, Wreath
1 2 Volgende »

What are you looking for?!

My Socials

Ko-Fi

I love making all these free things for you, tho it would be very helpfull if you can support me on Ko-Fi! (You don’t have to tho, totally up to you!)

Ko-Fi Shop!!

In my Ko-Fi shop you can find PDF Amigurumi Patterns!! You can pay easily with PayPal.
Go to the shop here!!

Recent Blog Posts

  • ♥ Happy 2022!
  • ♥ Day 12; Lights
  • ♥ Day 11; Flower Deco
  • ♥ Day 10; Snowman
  • ♥ Day 9; Gingerbread Houses

Recent Comments

  • Liane Van der Donck op ♥ Amigurumi Ghost
  • Kimberly Spear op ♥ Free Pattern; Amigurumi Shiber
  • Delinlea op ♥ Pua Tsum Tsum Amigurumi
  • Marfermar op ♥ Free Pattern; Easter Bunny
  • mary op ♥ Pua Tsum Tsum Amigurumi

Categories

  • animation
  • Beadwork
  • Blogmas 2018
  • Blogmas 2020
  • Blogmas 2021
  • Books
  • Bujo
  • Christmas
  • Christmas CAL 2019
  • Christmas Countdown 2017
  • Contest
  • Crafting
  • Crochet
  • Drawing
  • Drawing Lesson
  • Easter
  • Geen categorie
  • Life
  • Miniature
  • Nail Art
  • New Year
  • Paper
  • plush
  • Pokemon
  • Poseable Art Doll
  • Recipe
  • Sewing
  • Shop Pattern
  • Sinterklaas
  • Social Media
  • Tsum Tsum
  • Ufufy

Copyright © 2023 Delinlea - My little fantasy world.

Family WordPress Theme by themehall.com