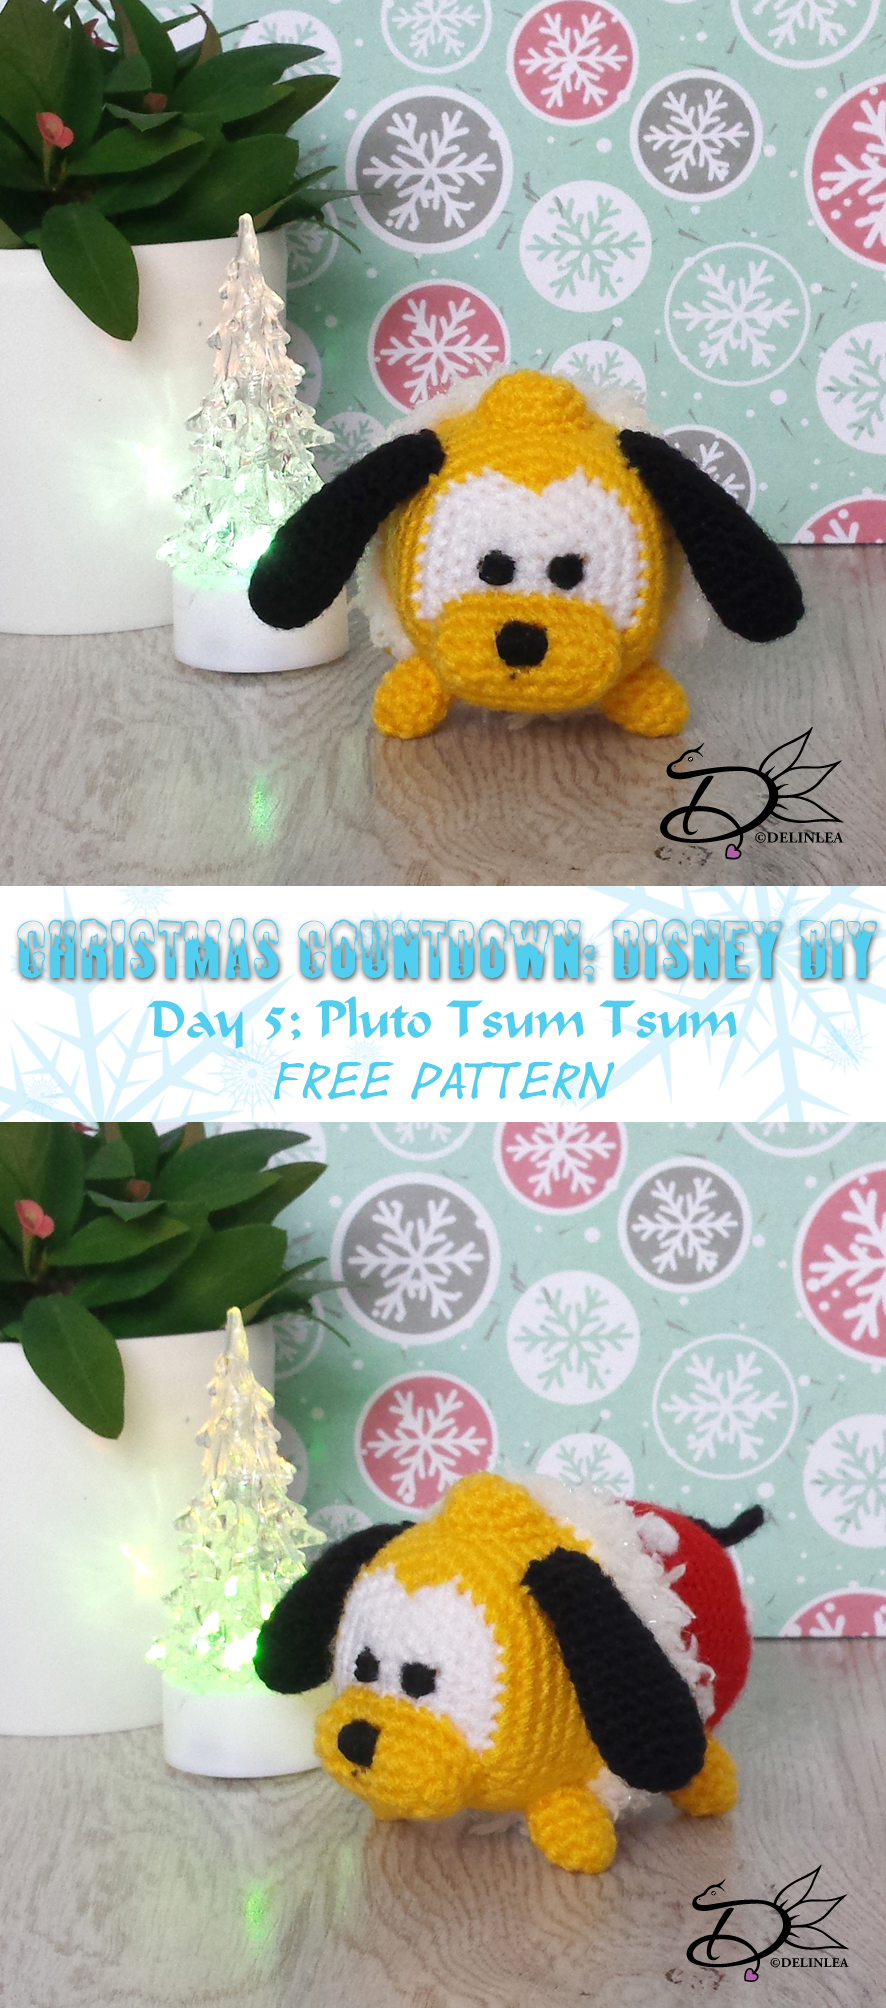
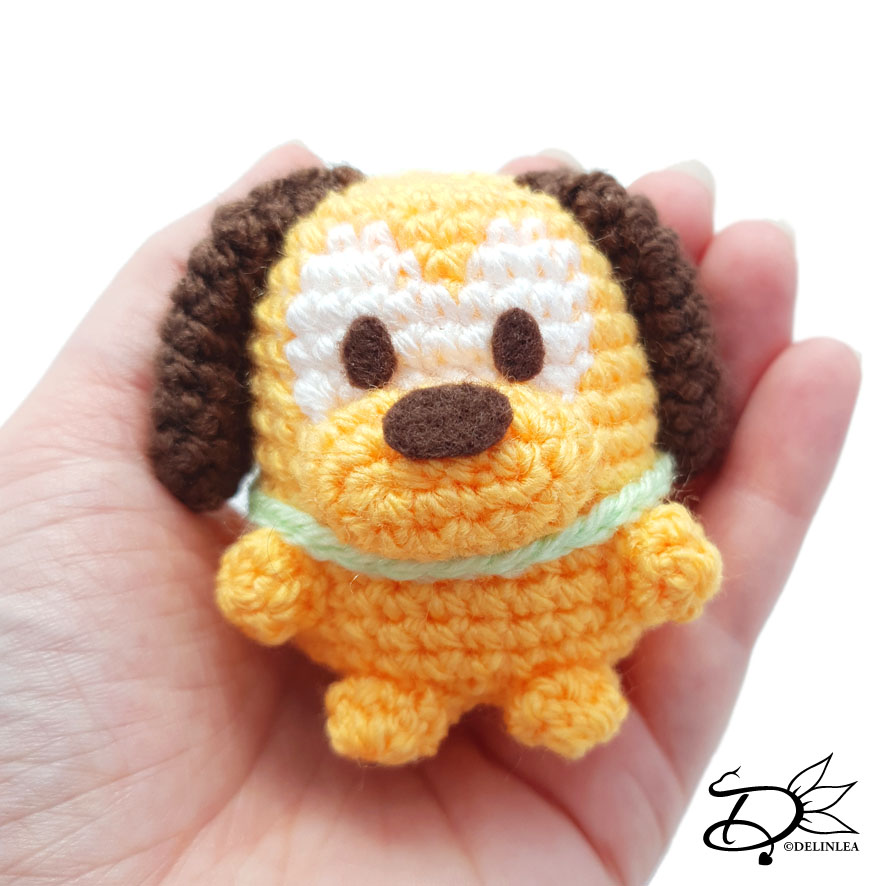
♥ Pluto V2.0 Ufufy Amigurumi
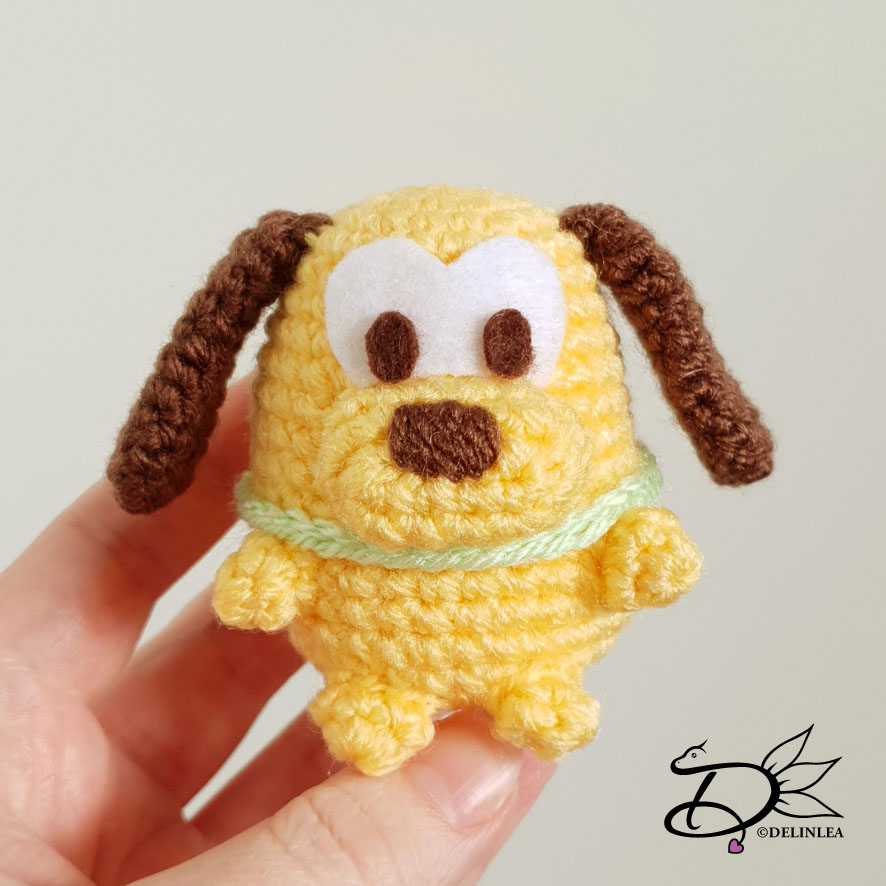
Hey Lovelies! Remember that I made this Pluto Ufufy pattern before? Well, forever since, it bothered me that I didn’t make the white of the eyes, part of the body, in the pattern. I simply just used felt. It’s okay if you like that style, but I really had to make this version too. I love this one a lot more, it somehow looks more neat to me. Maybe, because this is usually the style I go for in my Amigurumi’s. I hope you’ll like this upgraded version of Pluto!
For this Pattern you’ll need:
♥ Yarn in Yellow, White, Brown and Light Green. (I used Stylecraft Special DK)
♥ Brown Felt or Yarn for the nose and eyes.
♥ Crochet Hook, 2,5mm.
♥ Stuffing.
♥ Stitch Markers.
♥ Yarn Needle.
♥ Sewing Pins.
♥ (Fabric)Glue. (In case you decided to go with felt).
Stitches used (US Terms):
Magic Ring.
CH = Chain.
SLST = Slip Stitch.
SC = Single Crochet.
ST = Stitch.
Inc = Increase.
Dec = Decrease.
(…) = Repeat the space in brackets the given number of times.
[…] = Total number of stitches.
♥ Pattern Pluto V2.0
This pattern is made using continuous rounds, unless stated otherwise.
Body
Start with the color Yellow.
1: 6SC in Magic Ring. [6]
2: 2SC in each st around. [12]
3: (1SC, inc) 6 times. [18]
4: (2SC, inc) 6 times. [24]
From here you will make color changes to create the eyes.
5: Yellow; 11SC, White; 2SC, Yellow; 2SC, White; 2SC, Yellow; 7SC. [24]
6: Yellow; (3SC, inc) 2 times, 3SC, (White; inc, 2SC, Yellow; 1SC) 2 times, Yellow; inc, 3SC, inc. [30]
7: Yellow; 13SC, White; 9SC, Yellow; 8SC. [30]
8: Yellow; 13SC, White; 9SC, Yellow; 8SC. [30]
9: Yellow; 12SC, inc, White; dec, 5SC, dec, Yellow; inc, 7SC. [30]
Continue with Yellow only.
10: 30SC.[40]
|
17: 30SC. [30]
18: (3SC, dec) 6 times. [24]
19: (2SC, dec) 6 times. [18] Stuff the body
20: (1SC, dec) 6 times. [12]
21: (Dec) 6 times. [6]
Fasten off and weave in tail.
Snout
Use the color Yellow.
Make 5 CH.
1: Insert in second chain from hook, 3SC, 3SC in the last st, 2SC, inc. [10]
2: inc, 2SC, (inc) 3 times, 2SC, (inc) 2 times. [16]
3: 16SC. [16]
Fasten off and leave a long tail for sewing. You will have to stuff the snout, but that’s easier when it’s about half way sewn to the body.
Ears (make 2)
Use the color brown.
1: 6SC in magic ring. [6]
2: (1SC, inc) 3 times. [9]
3: 9SC. [9]
|
9: 9SC. [9]
10: (1SC, dec) 3 times. [6]
11: 6SC. [6]
Fasten off and leave a long tail for sewing. Stuffing is not needed.
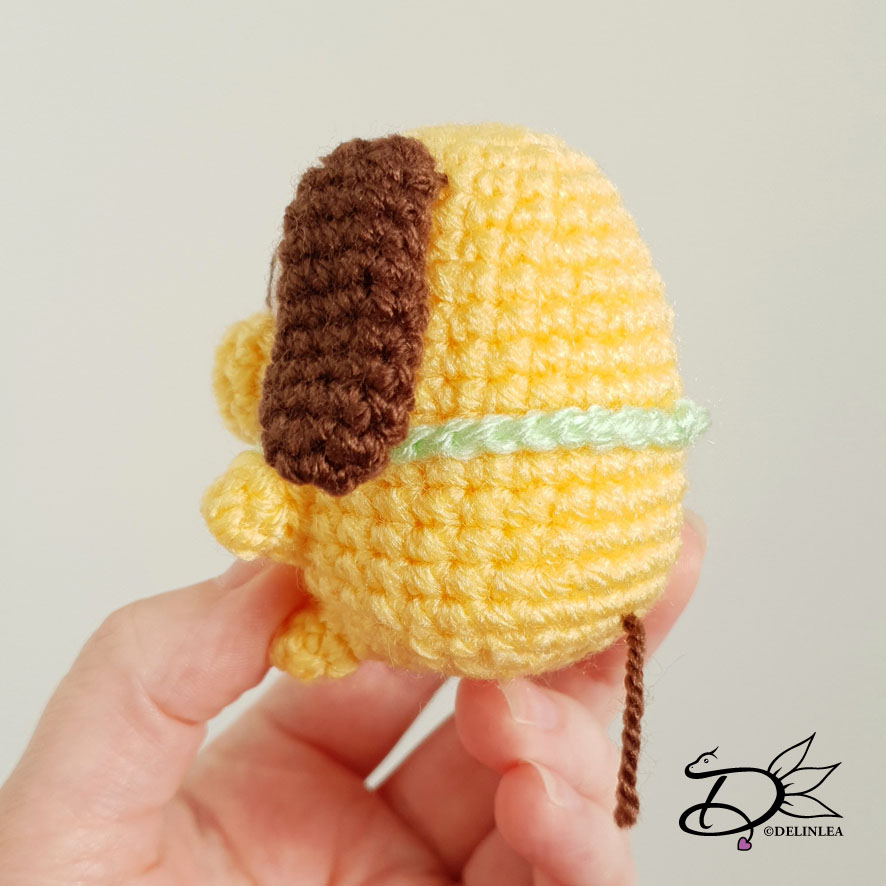
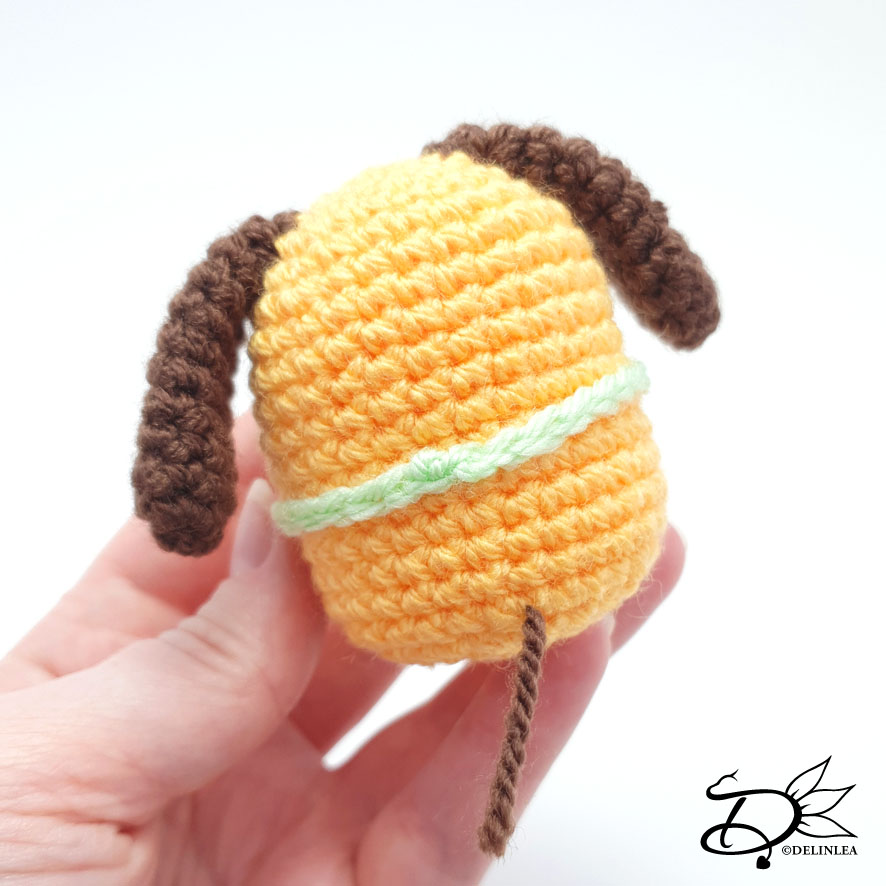
Collar
Use the color Light Green.
Chain about 30. Just measure if you need more or less.
Make round, fasten off and weave in tails.
Legs (Make 4)
Use the color Yellow.
1: 6SC in a magic Ring. [6]
2: 6SC. [6]
Fasten off and leave a long tail for sewing.
♥ Assembling
I always use sewing pins to place all parts first, before sewing. This way you can easily move all parts around until you are happy with the outcome.
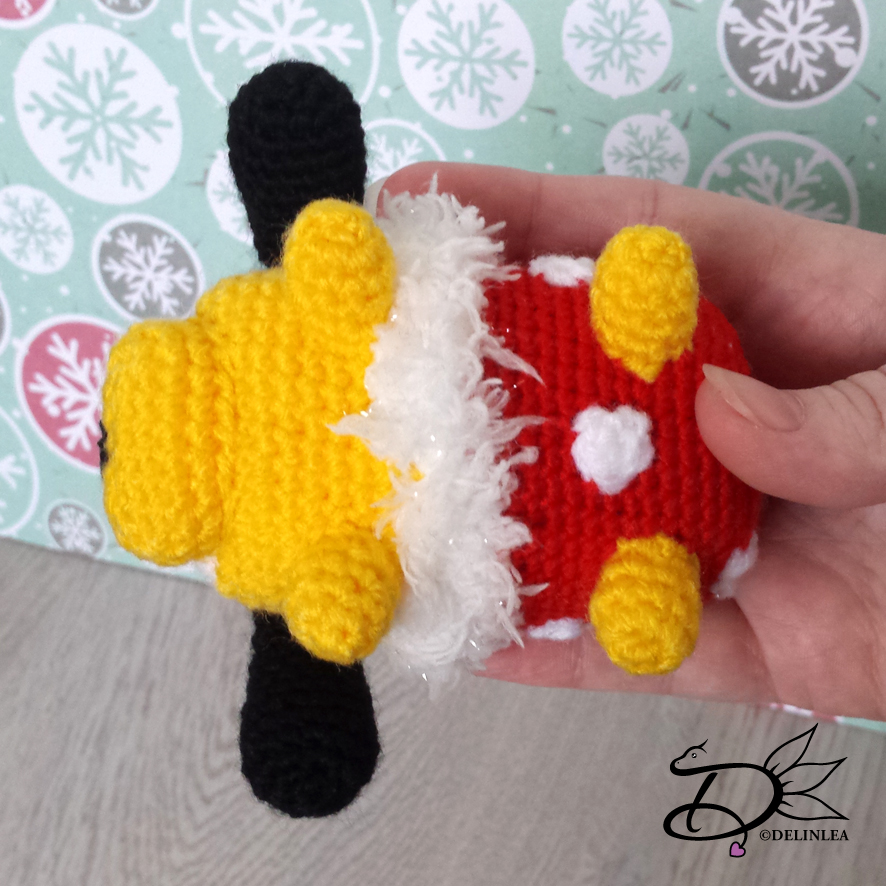
First position his snout under the white eye shape you already made in the body. Now you know where all the other parts go as well. Like his legs and ears. Position those nicely and sew them on as well. Then put his collar on, you don’t have to sew this one on, but if you prefer you can!
Oh and don’t forget to give him a tail! I just took some brown yarn and attached it to his body. Last create his facial features, like his nose and eyes. You can either make those out of felt, like I did, and glue them on, or use embroidery if you like.
And Pluto V2.0 is done! Not to hard right? I hope you enjoyed this pattern, and if you did, make sure to show me on Instagram or Twitter with the #DelinleaDIY!
Have a Wonderful day and I’ll see you next week!
Love
Danielle