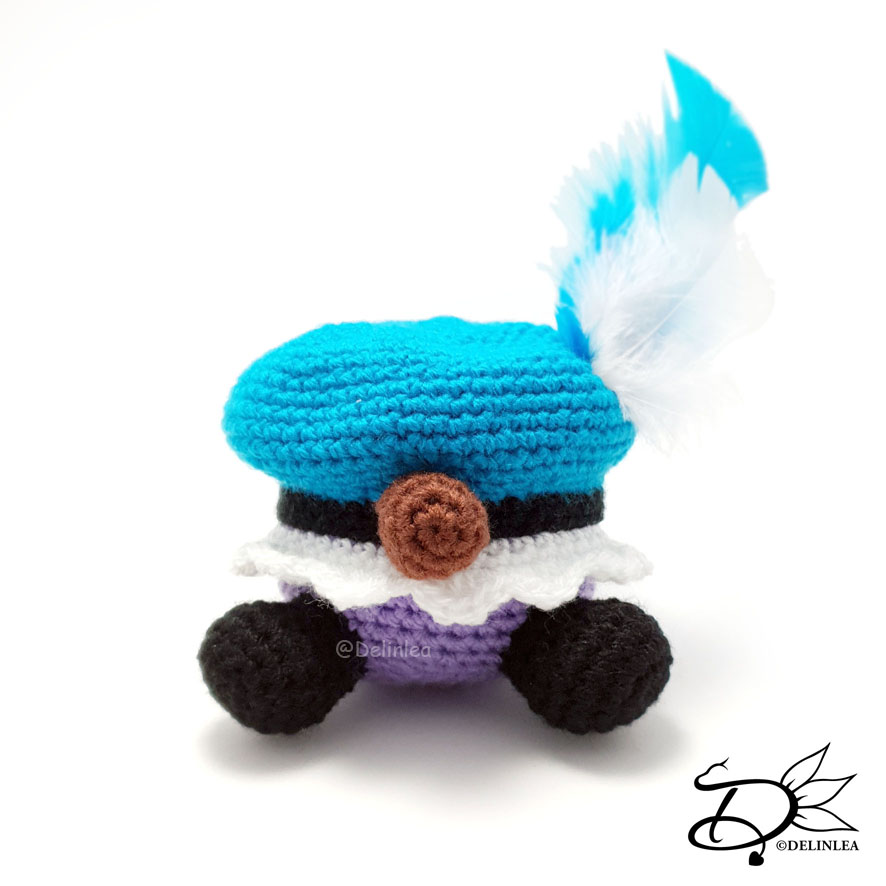
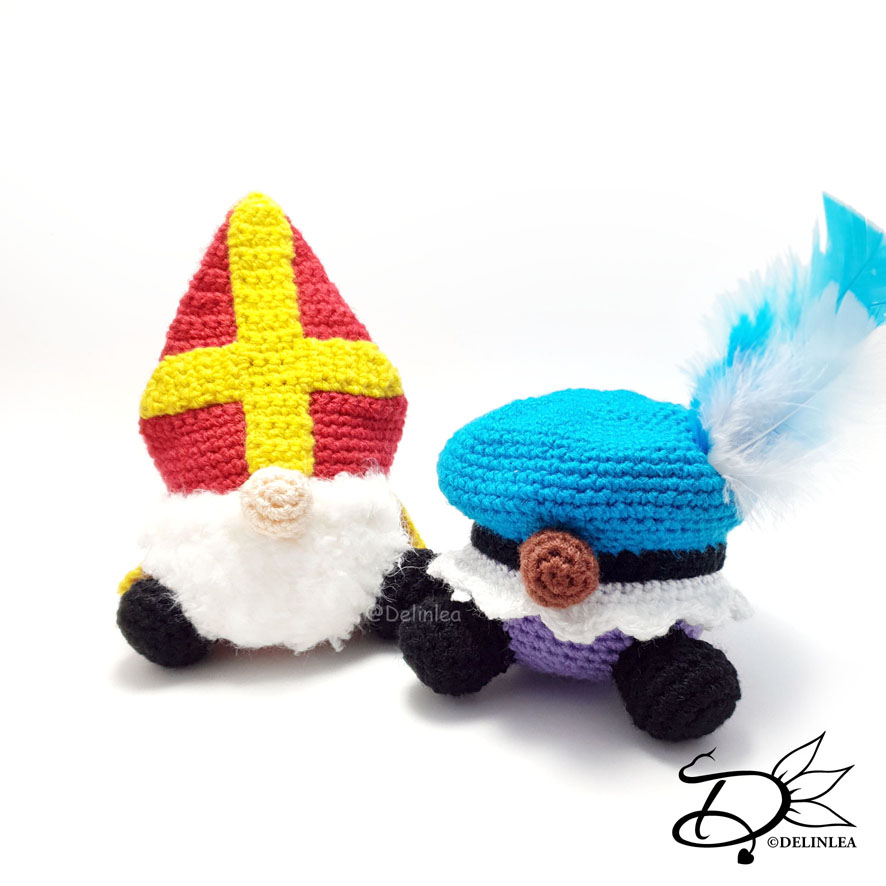
♥ Pietje Gnome Amigurumi
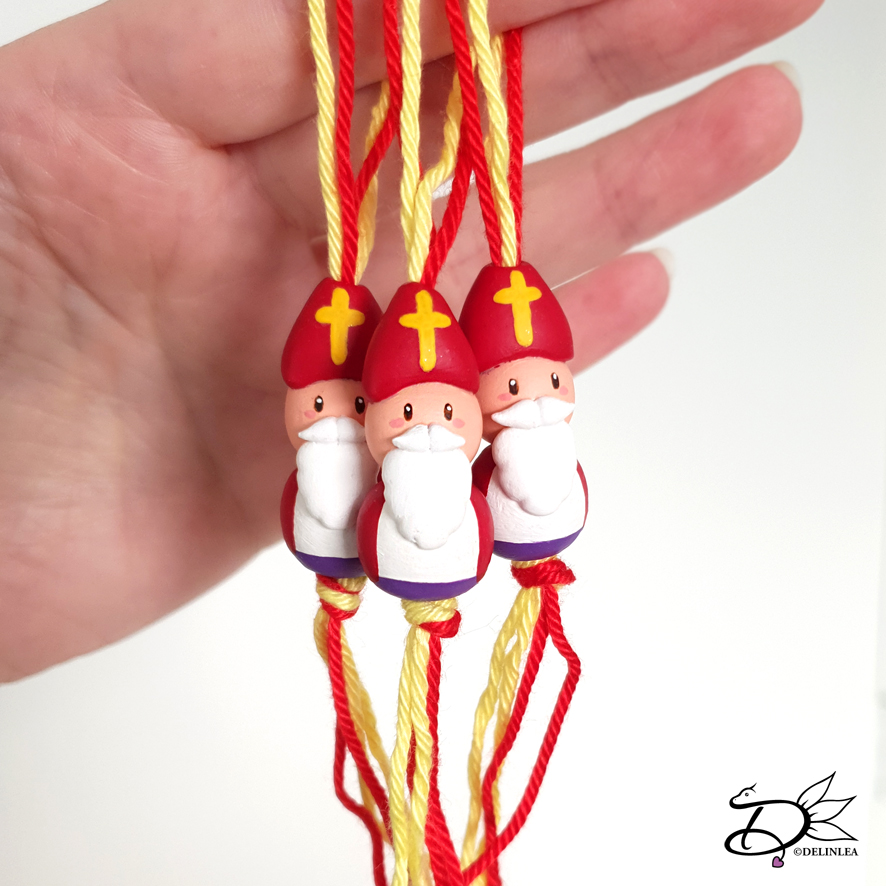
Hey Lovelies! Here is another Sinterklaas related Amigurumi, it’s a little Pietje! I hope you like him. It was very different to make compared to the Sint version (which you can find here!). I kept changing my mind on how I wanted it to look, in the end I just went with this. Tried really hard to not keep fiddling around. Let’s go to the pattern.
For this pattern you’ll need:
♥ Yarn in the colors Purple, Blue, White, Black and Brown/Beige. (I used Budgetyarn.com and Stylecraft Special DK)
♥ Crochet hook. ( I used a 3mm)
♥ A few feathers.
♥ Stuffing.
♥ Yarn Needle.
♥ Sewing Pins.
♥ Stitch Marker.
Stitches used (US Terms):
Magic Ring.
CH = Chain.
SLST = Slip Stitch.
SC = Single Crochet.
HDC = Half Double Crochet.
DC = Double Crochet.
ST = Stitch.
BL = Back Loops.
FL = Front Loops.
Inc = Increase.
Dec = Decrease.
(…) = Repeat the space in brackets the given number of times.
[…] = Total number of stitches.
This pattern is made with continues rounds, unless stated otherwise. Use a stitch marker to mark your first/last stitch of your row.
♥ Pattern Pietje Gnome
Body
Use the color Purple.
1: 6SC in a Magic Ring. [6]
2: 2SC in each st around. [12]
3: (1SC, inc) 6 times. [18]
4: (2SC, inc) 6 times. [24]
5: (3SC, inc) 6 times. [30]
6: (4SC, inc) 6 times. [36]
7: (5SC, inc) 6 times. [42]
8: 42SC. [42]
|
13: BL, 42SC. [42]
14: 42SC. [42]
|
18: 42SC. [42]
19: (5SC, dec) 6 times. [36]
20: (4SC, dec) 6 times. [30]
21: (3SC, dec) 6 times. [24]
22: (2SC, dec) 6 times. [18]
23: (1SC, dec) 6 times. [12] Stuff
24: Dec around. [6]
Fasten off and weave in tail.
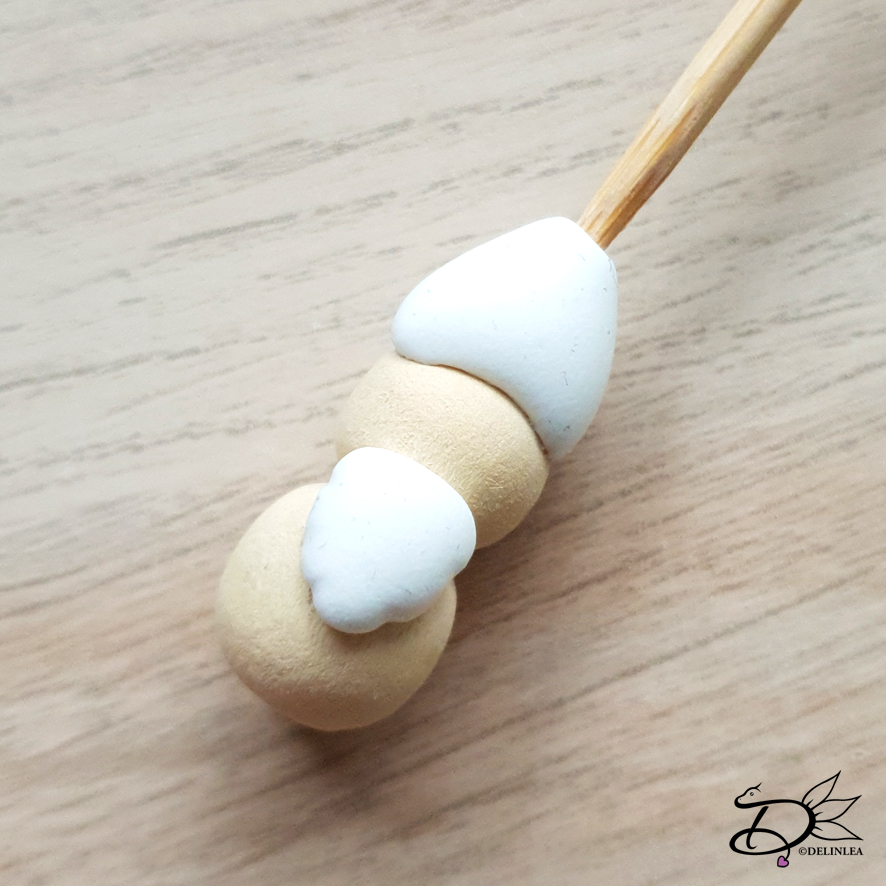
Collar
Use the color White.
At row13 of the body you worked in BL, now, work in the FL.
1: 42SC. [42]
2: 42SC. [42]
3: (1SC+1HDC in de next st, 2DC in the next st, 1HDC+1SC in the next st) 14times. [84]
Fasten off and weave in tail.
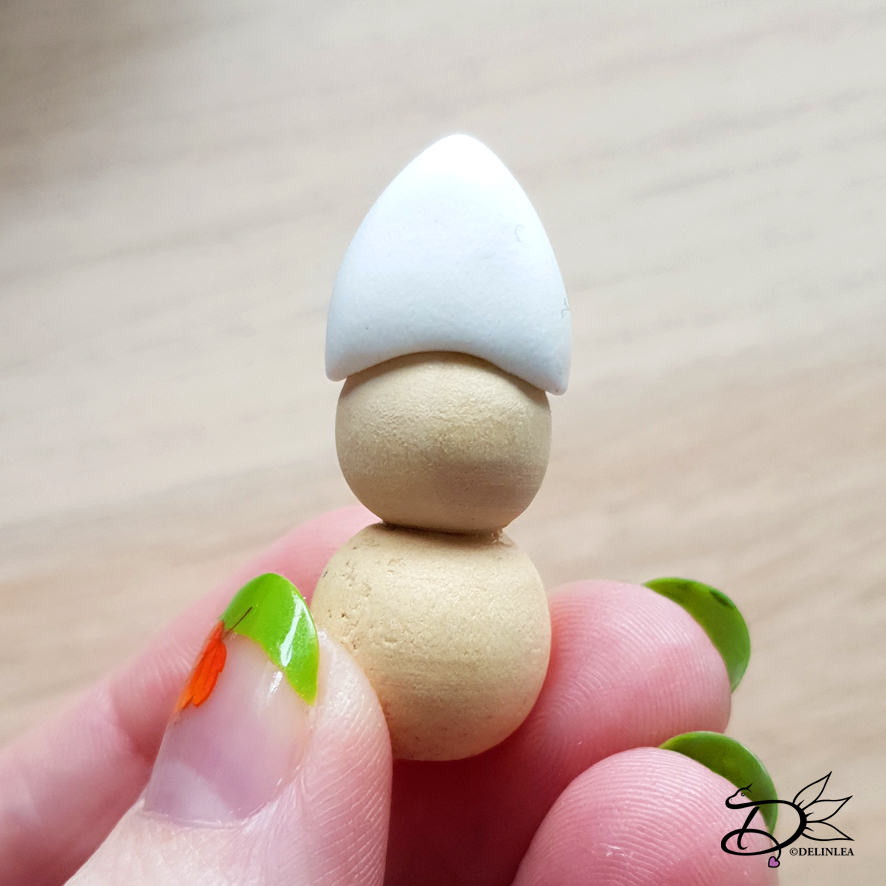
Hat
Start with the color Blue.
1: 8SC in a Magic Ring. [8]
2: 2SC in each st around. [16]
3: (1SC, inc) 8 times. [24]
4: (2SC, inc) 8 times. [32]
5: (3SC, inc) 8 times. [40]
6: (4SC, inc) 8 times. [48]
7: 48SC. [48]
8: 48SC. [48]
9: (5SC, inc) 8 times. [56]
10: 56SC. [56]
11: 56SC. [56]
12: (6SC, inc) 8 times. [64]
13: 64SC. [64]
14: 64SC. [64]
15: 64SC. [64]
16: (6SC, dec) 8 times. [56]
17: 56SC. [56]
18: (5SC, dec) 8 times. [48]
19: (4SC, dec) 8 times. [40]
Change to the color Black.
20: FL, 40SC. [40]
21: 40SC. [40]
Fasten off and leave a long tail for sewing.
You can put a bit of stuffing inside so it won’t be too sloppy.
Nose
Use the color Beige/Brown.
1: 6SC in a Magic Ring. [6]
2: 2SC in each st around. [12]
3: 12SC. [12]
4: 12SC. [12]
5: (2SC, dec) 3 times. [9]
Fasten off and leave a long tail for sewing.
Feet (Make 2)
Use the color Black
1: 6SC in a Magic Ring. [6]
2: 2SC in each st around. [12]
3: 3SC, (inc) 6 times, 3SC. [18]
4: 18SC. [18]
5: 18SC. [18]
6: 3SC, (dec) 6 times, 3SC. [12]
7: 12SC. [12]
8: 12SC. [12]
Fasten off and leave a long tail for sewing.
Stuff the feet as well.
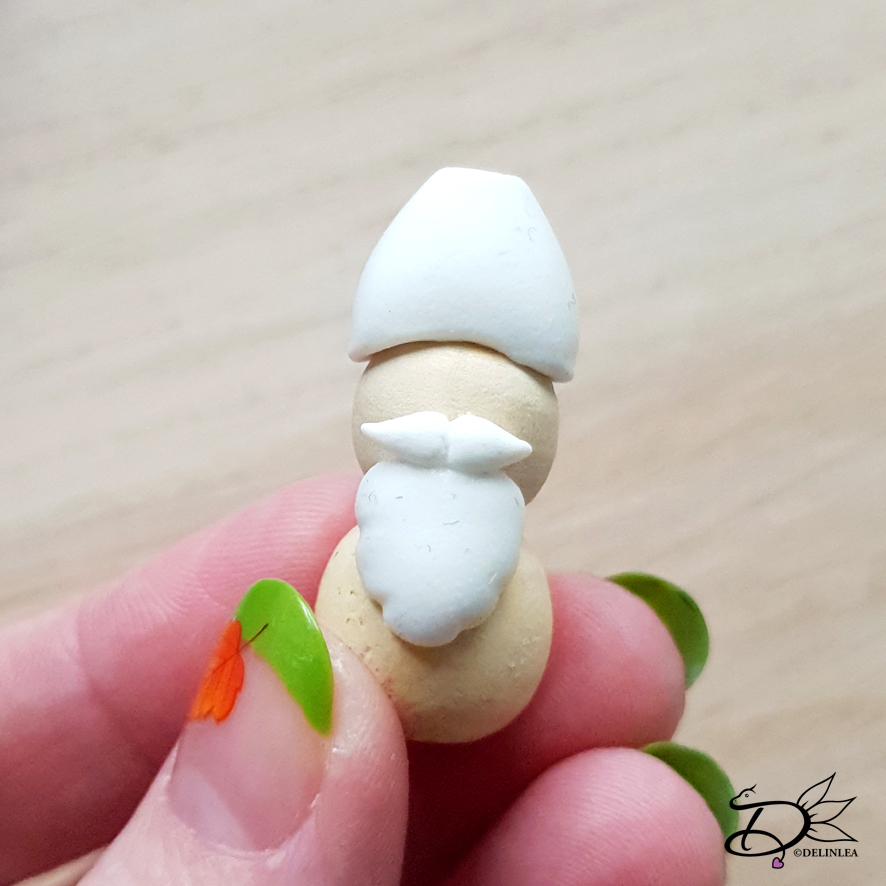
♥ Assembling
Whenever I start to assemble Amigurumi’s I use sewing pins first. This way I can move all parts around until I am happy. I recommend you do so as well.
Sew the hat on the body, it will go up till the collar. On top the the black part of the hat the nose will go. Last sew on his feet. And don’t forget to add some feather to his hat, to finish it off!
That was it already for this Pietje Gnome! It’s not too hard to make, but oh so cute! I hope you will enjoy this pattern. Let’s make it fun inside out home’s even when the world is cruel outside. It’s better to try to do those things we can control and make us feel a little better instead of being anxious all the time.
If you decided to make this Pietje Gnome, please, show me on Twitter or Instagram with the #DelinleaDIY. I would love to see what you made with my patterns!
Have a wonderful day and I’ll see you next week!
Love
Danielle