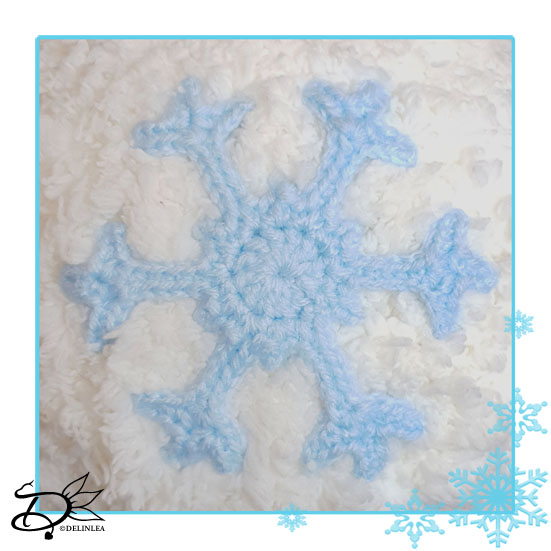
♥ Day 4; Big Snowflake
Hey Lovelies! I really hope we get a lot of big snowflakes this year. But in this country we always have to see if we even get snow. At least we got some hail already and that made me excited haha. It looked a tiny bit white outside. So pretty! Let’s at least crochet some big snowflakes, that will definitely get us in the mood!
For this Pattern you’ll need:
♥ Thin Yarn in the color Light Blue.
♥ Crochet Hook, 2MM*.
♥ Scissors.
♥ Stitch Markers. (Optional)
♥ Yarn Needle.
*Check your yarn that you wanna use, to which hook size you need. For those Crochet Snowflakes it isn’t necessary to use the exact same yarn, they will only turn out bigger or smaller.
Stitches used (US Terms):
Magic Ring.
CH = Chain.
SlSt = Slip Stitch.
SC = Single Crochet.
DC = Double Crochet.
ST = Stitch.
Inc = Increase.
Dec = Decrease.
(…) = Repeat the space in brackets the given number of times.
[…] = Total number of stitches.
Pattern Big Snowflake
1: 12DC in Magic Ring, SlSt in the first st. This will be the base. [12]
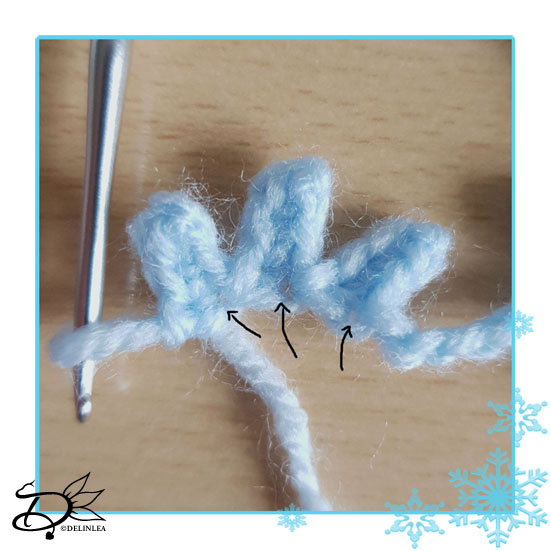
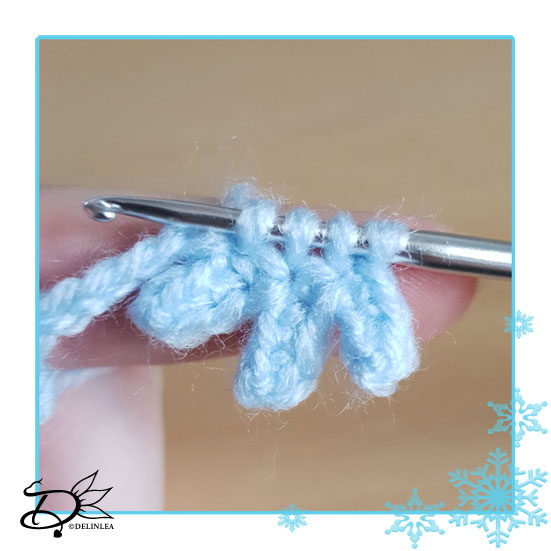
2: Ch1, (1SC+Picot+1SC in the next st on base, 1SC in base, Ch9, insert in second ch from hook, 3SC, Ch4, insert in second ch from hook, 3SC, Ch4, insert in second ch from hook, 3SC, now pull up a loop from all 3 bases of the points you just made and pull yarn through all 4 loops on the hook, 5SC in the remaining or the chain you made first, 1SC in the same st as the last sc in base) 6 times. SlSt in the first st. [6 Crystals]
Fasten off and weave in tails.
* When you made a chain, you’ll use SC to go back to your base. You’ll see 2 loops on the ‘right’ side of your chain, if you turn it around you’ll see 1 loop, these are the ones I used to make my Slip Stitches in.

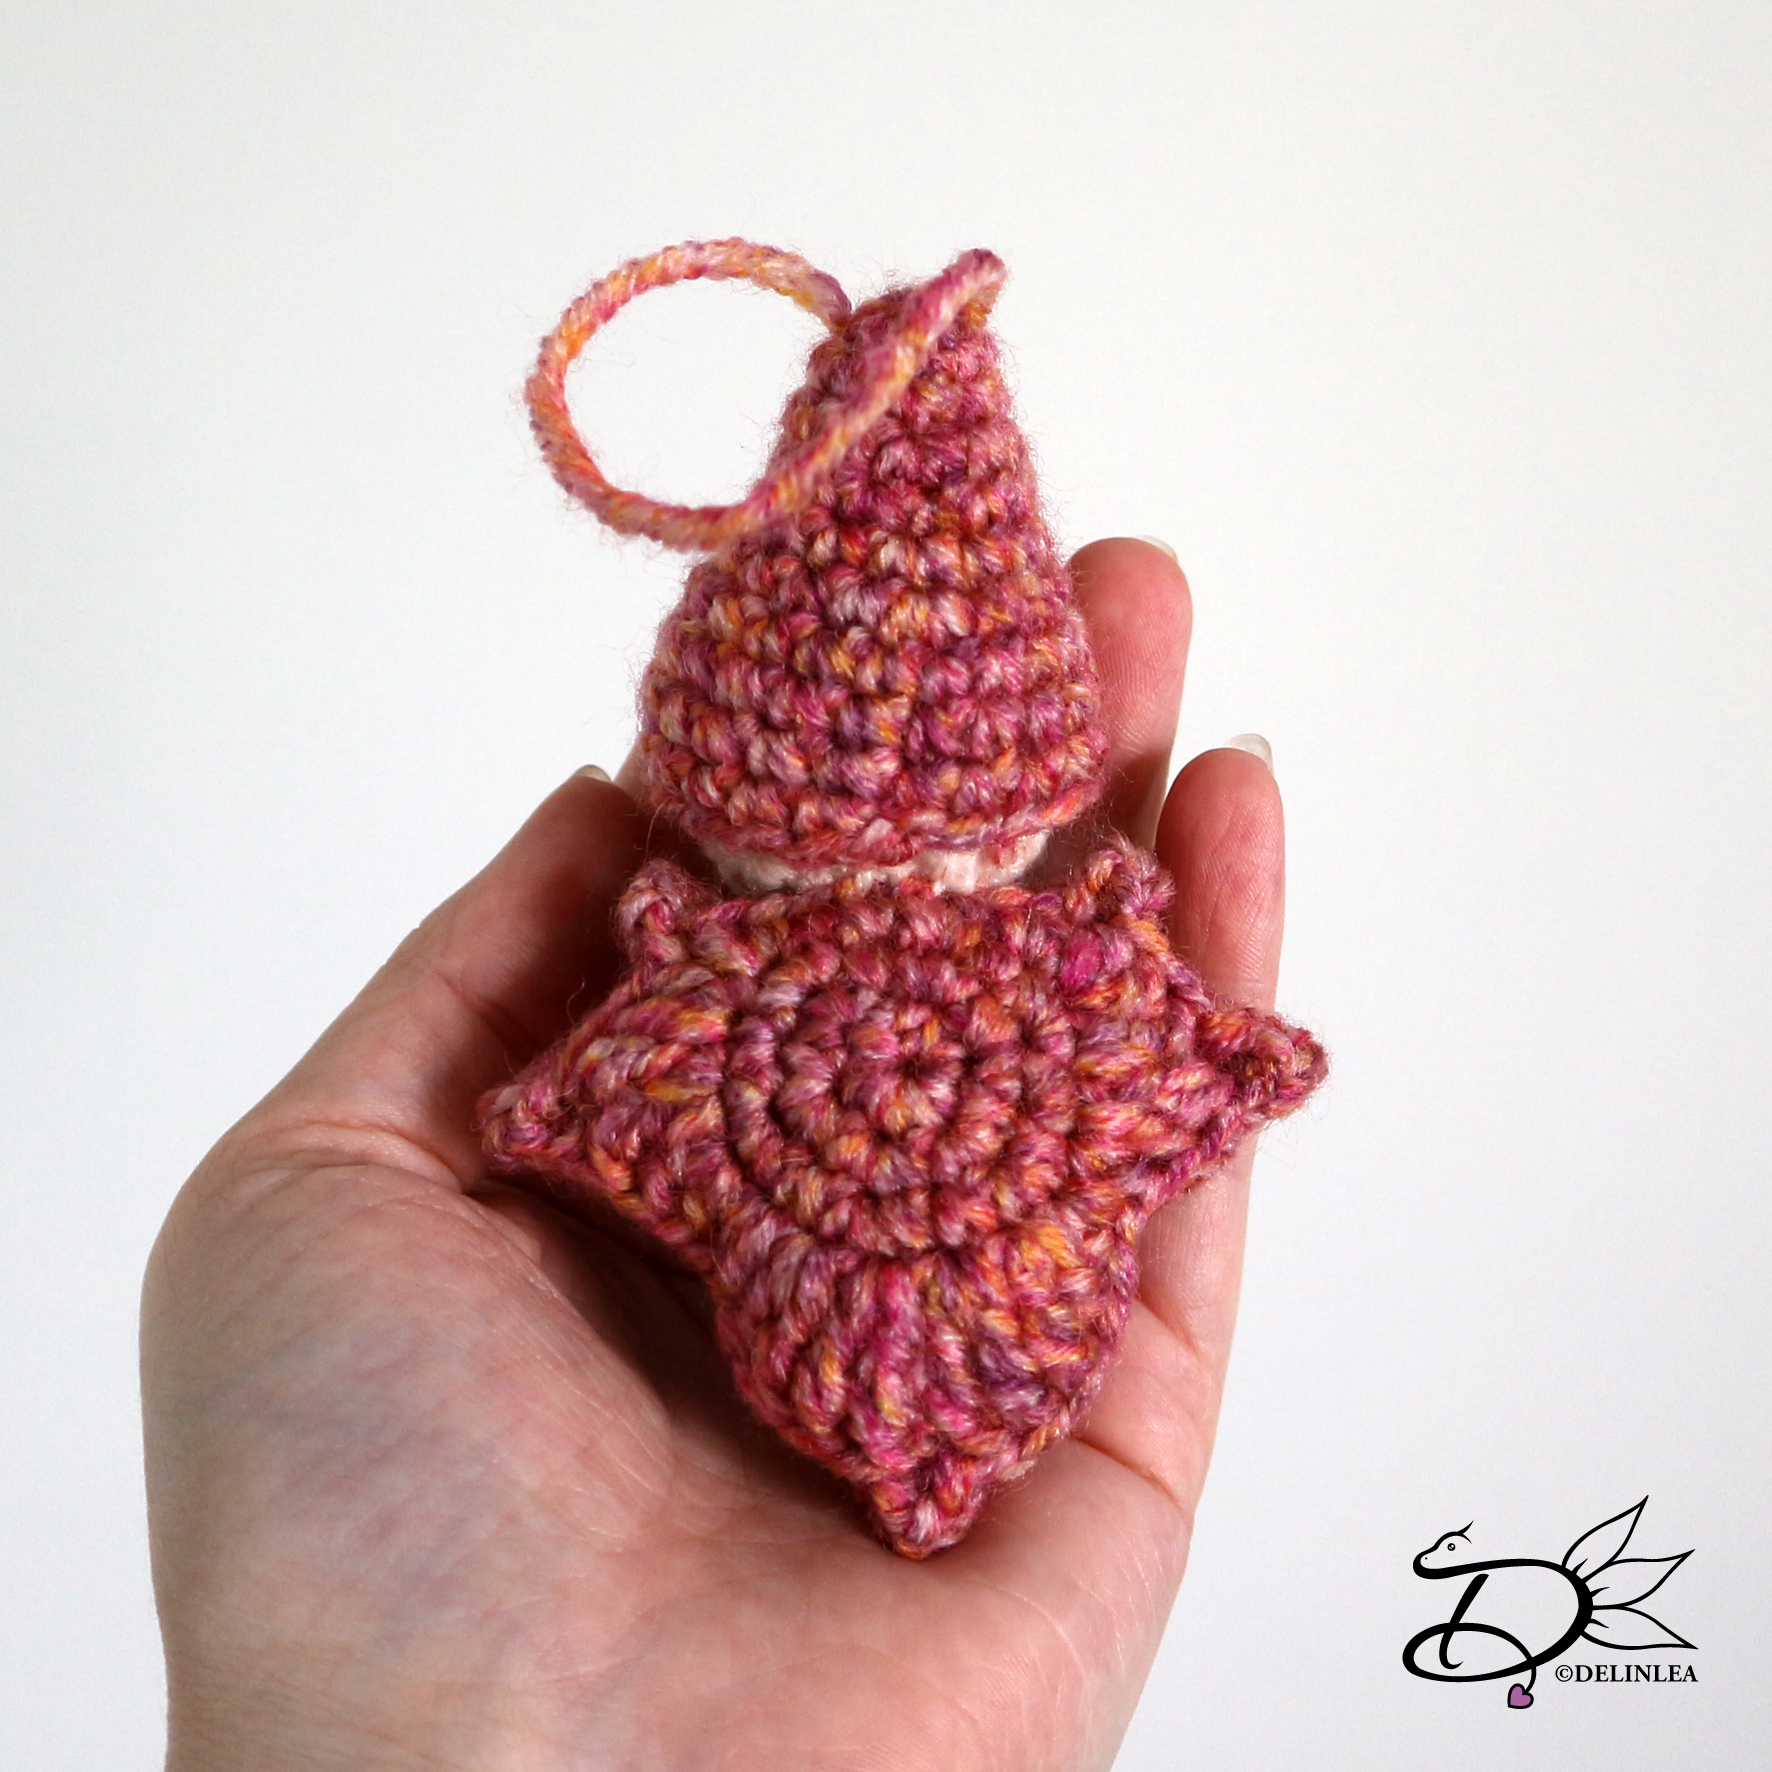
This big snowflake you’ll sew on the snowball, put it where you’ll love it most.
If you decided to join this lovely project, or just some parts of it, show me on Twitter or Instagram what you are working on! I’d love to see!
If you like to buy the PDF pattern for this whole project, go to my ko-fi shop. This will have an extra story attached and no ads.
Have a wonderful day!
Love
Danielle
PS. if you love those patterns, maybe you’d like to support me on Ko-Fi?! So I can keep making content like this!
// ©2021 Delinlea / Danielle Kaal // Items made with this pattern/DIY may be sold in a limited number. Credit to ‘Delinlea’ is appreciated. Not allowed for mass production or commercial purposes. You may not reproduce, translate, share, freely distribute or sell this pattern/DIY as your own in digital or printed from.