Delinlea - My little fantasy world
  • ♥ Home
  • ♥ About Me
  • ♥ Blogmas 2021
  • ♥ Free Patterns
    • ♥ Amigurumi; Spring/Easter
    • ♥ Amigurumi; Fall/Halloween
    • ♥ Amigurumi; Winter
    • ♥ Amigurumi Tsum Tsum
    • ♥ Amigurumi Ufufy
    • ♥ Amigurumi Others
    • ♥ Christmas Countdown 2017
    • ♥ Blogmas 2018
    • ♥ Blogmas 2020
  • ♥ Tutorials
    • ♥ Easter
    • ♥ Home Deco
    • ♥ Others
  • ♥ Drawing Lessons
  • ♥ FanFic
    • ♥ Chapter 1
    • ♥ Chapter 2
    • ♥ Chapter 3
    • ♥ Chapter 4
    • ♥ Chapter 5
    • ♥ Chapter 6
    • ♥ Chapter 7
  • ♥ Gallery
    • ♥ Crafts
    • ♥ Drawings
    • ♥ Poseable Art Dolls
  • ♥ Links
  • ♥ Contact
    • Privacy Policy

cute

♥ Christmas CAL 2019; Part 3

19 december 2019 by Delinlea Leave a Comment

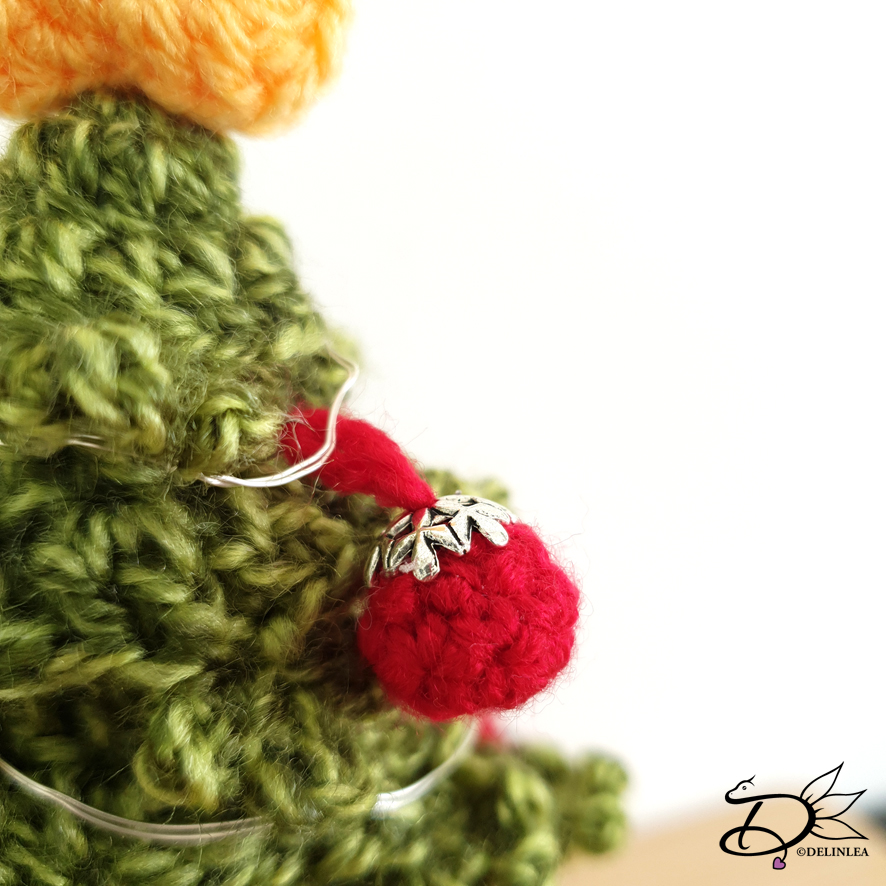
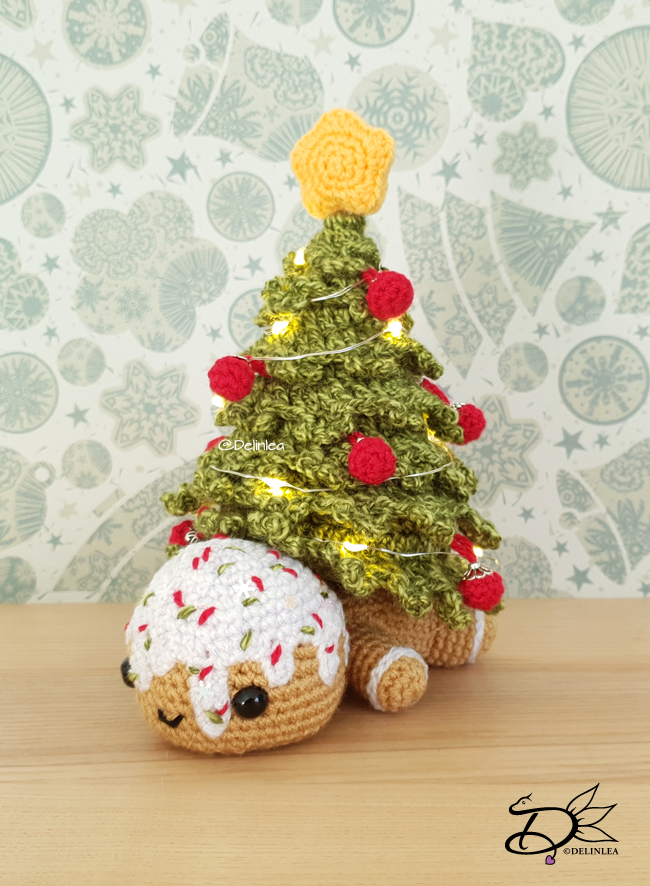
Hey Lovelies! The third part is here! But that also means this CAL is coming to an end *sad face*. Today we will cover the last bits of our Christmas CAL, the decoration. It’s not that much for today, but December is already hectic enough, let’s not make it more difficult!

For this pattern you’ll need:
♥ Yarn in the colors, Red and Yellow, but you can use other colors you like for the decoration! (I used Stylecraft Special in the colors Lipstick and Saffran).
♥ Crochet hook 2,5 or 3 mm.
♥ Stuffing.
♥ Stitch Marker.
♥ Yarn Needle.
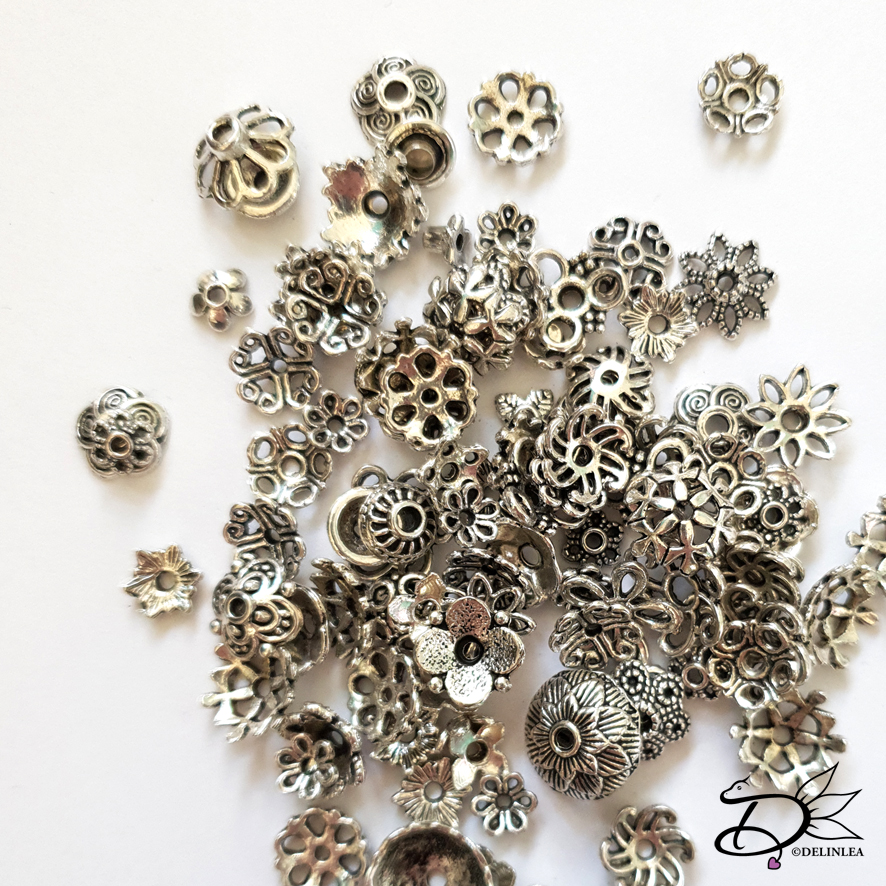
♥ Little caps, that are usually used for jewelry.

Stitches used (US Terms):
Magic Ring.
CH = Chain.
SLST = Slip Stitch.
SC = Single Crochet.
ST = Stitch.
Inc = Increase.
Dec = Decrease.
(…) = Repeat the space in brackets the given number of times.
[…] = Total number of stitches.

Pattern

Edit: This pattern is now deleted, I will let you know when it is up in etsy!

Last, add some Christmas Lights in your tree, it’s just that little extra to make it complete! I hope you enjoyed this CAL!? Now I am actually wondering, do you like Blogmas or a CAL like this year? I would love to know what you prefer, and find out what I will do next year~.

Gingerbread Man Christmas

And now, let’s enjoy (the days before) Christmas! I hope you will have a nice one!

Love
Danielle

Posted in: Christmas, Christmas CAL 2019, Crafting, Crochet Tagged: Amigurumi, CAL, Christmas, Christmas CAL 2019, Crochet, cute, decoration, haken, kawaii

♥ Christmas CAL 2019; Part 2

12 december 2019 by Delinlea Leave a Comment

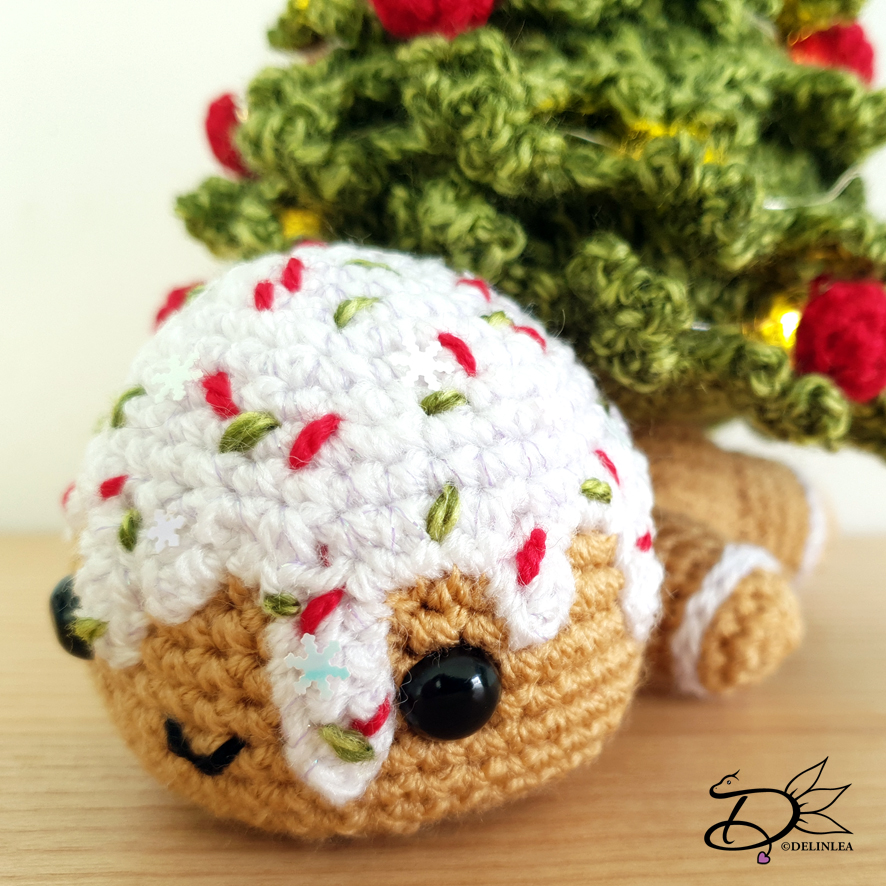
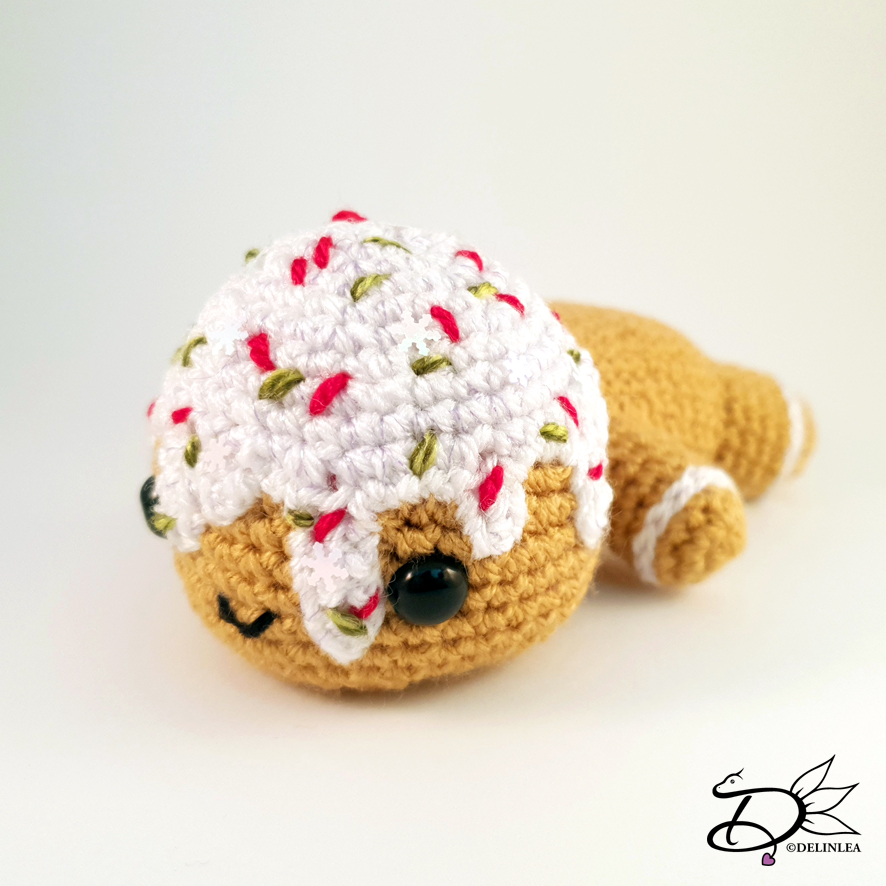
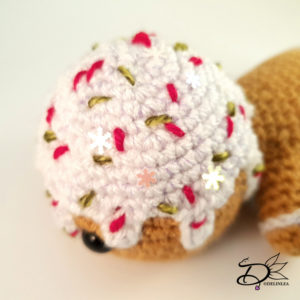
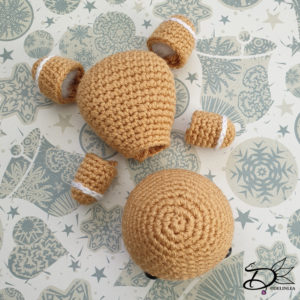
Hey Lovelies! It’s time for part two! Let’s make that adorable Gingerbread Man that is chilling under the Christmas Tree, well, I am not too sure how comfortable that is, actually xD.

Gingerbread Man

For this pattern you’ll need:
♥ Yarn in the colors, White and Light Brown. (I used StyleCraft Special in the colors Camel and White)
♥ Crochet hook 2,5 or 3 mm.
♥ Stuffing.
♥ Pair of Safety Eyes. (1cm)
♥ Stitch Marker.
♥ Sewing Pins.
♥ Yarn Needle.
♥ Metallic Thread. (Optional)
♥ Things to decorate the ‘icing’ with, like green and read thread, nail art deco, etc.

Stitches used (US Terms):
Magic Ring.
CH = Chain.
SLST = Slip Stitch.
SC = Single Crochet.
Surface Crochet.
ST = Stitch.
Inc = Increase.
Dec = Decrease.
(…) = Repeat the space in brackets the given number of times.
[…] = Total number of stitches.

Pattern

Edit: This pattern is now deleted, I will let you know when it is up in etsy!

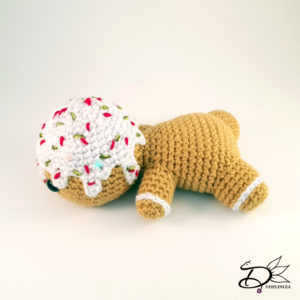
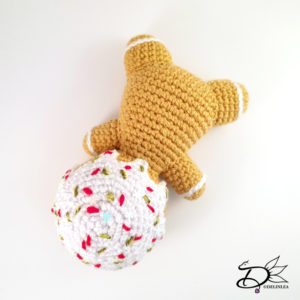
The second part, Gingerbread Man, is now done as well, I hope you like how your Gingerbread Man has turned out!? I think it’s cute. Next week we already go to the last part of this CAL =( the decoration! See you then.

Love
Danielle

Posted in: Christmas, Christmas CAL 2019, Crafting, Crochet Tagged: Amigurumi, CAL, Christmas, Christmas CAL 2019, Crochet, cute, gingerbread man, haken, kawaii

♥ Sinterklaas Lucky Charms

21 november 2019 by Delinlea Leave a Comment

Hey Lovelies! Sinterklaas is back in town xD! You excited?! Haha me not so much, but I like to get crafty around this time of year. *Sigh I wish my family would do something called ‘surprises’, but we don’t. Oh well, I’ll buy something nice for myself then! If you do live in a country where they have Sinterklaas, how do you celebrate it?
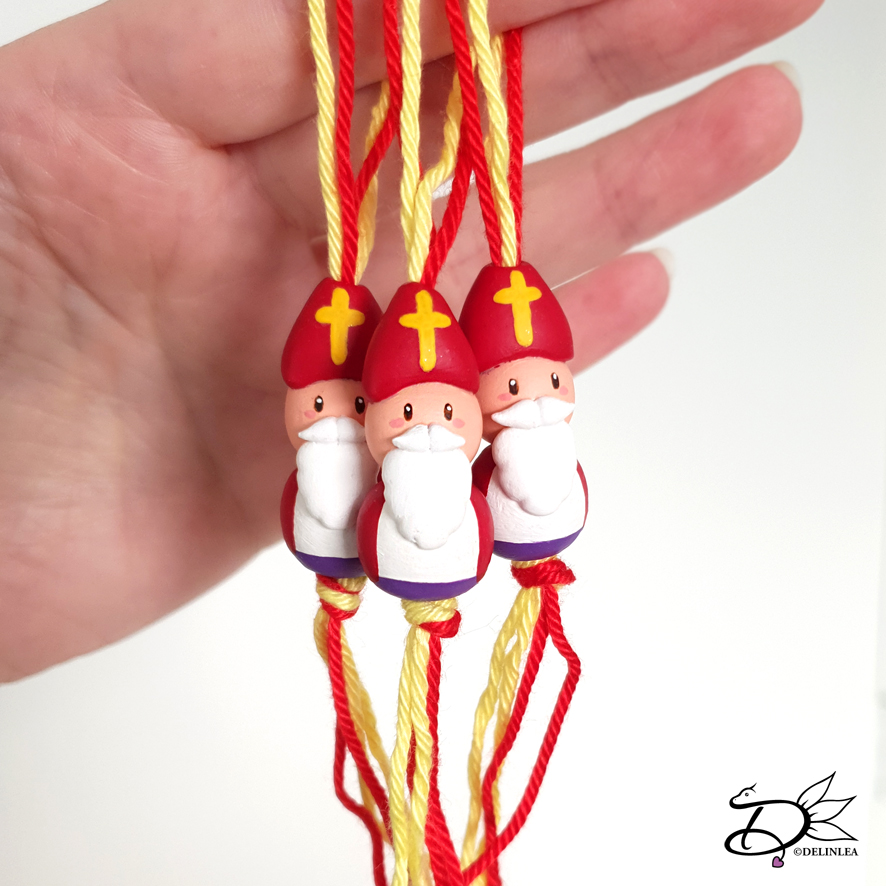
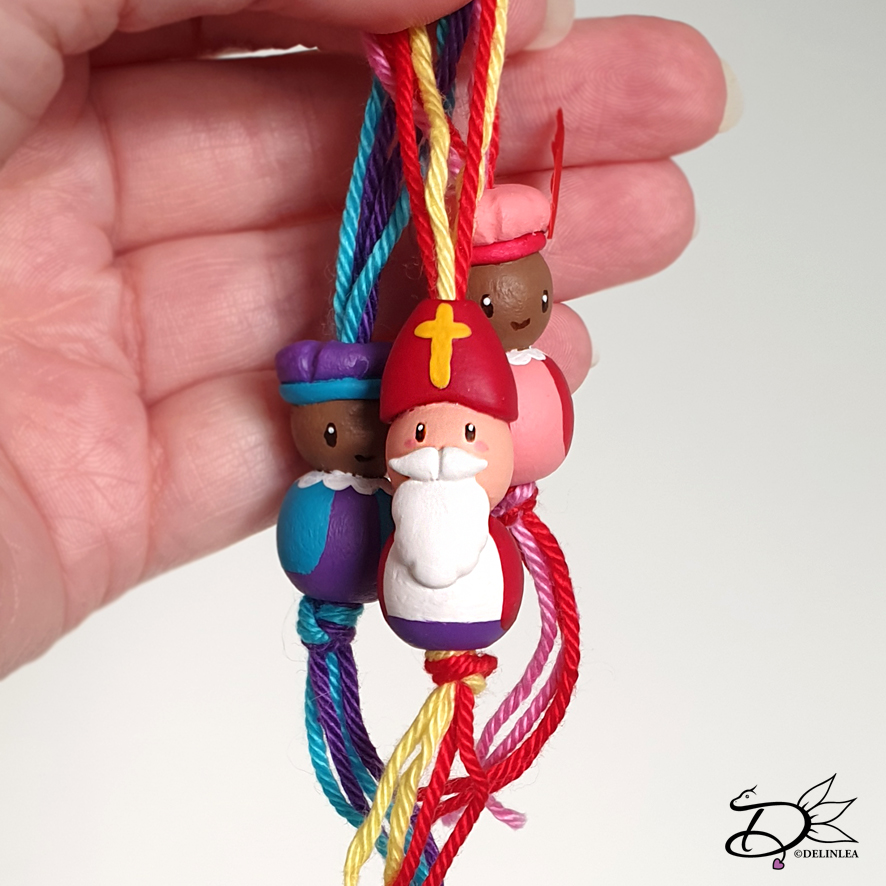
Okay, back to the crafty part of this blog. Last year I made those Pietjes lucky charms! Do you remember? This year I had to add Sinterklaas lucky charms, as promised. I just like making those charms I believe~ hehe.

Sinterklaas Luck Charms

For this DIY you’ll need:
♥ Wooden beads in 2 sizes. (you can make them as big as you want)
♥ Air Dry Clay.
♥ PVA Glue.
♥ Skewer or Toothpick.
♥ Acrylic paints in colors of choice.
♥ Paintbrush.
♥ Matching pieces of thread, to the paint.
♥ Varnish (optional).
♥ Scissors.

Tutorial

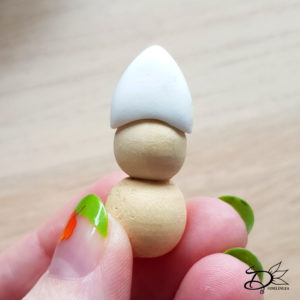
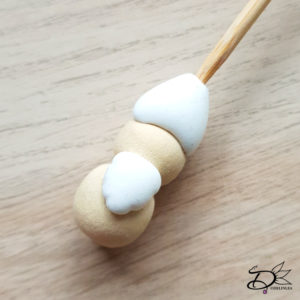
Glue the 2 wooden beads together, make sure to line up the holes. Let those dry before you continue.

From a bit of clay, make a triangle for his ‘mijter’ and place this, with some glue, on top of the small bead.

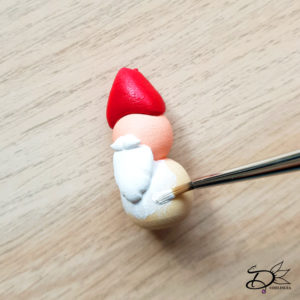
Make another triangle of clay, a bit smaller for his beard. Place those, with some glue as well, on his head/body, were the beard is suppose to be xD. With the skewer of toothpick, make a few indences to give it a bit more shape.

With the skewer or toothpick, poke a hole though the ‘mijter’. This is so you can add the threads through later.

Make a moustache out of clay, it’s a bit fiddly, but I am sure you can do it! Glue it on and shape it until you like it. Make sure to let everything dry first.

Painting

Now for the fun part, painting!! Let’s give those buddies some color! You can paint them however you want, of course. But I kept them sorta traditional. It is possible that you need several layers of paint for good coverage. When you are finished, you can varnish it, if you want.

Lastly, add 2 pieces of thread (about 30cm) through the body. Make sure to have a loop at the top and tie a knot at the bottom.

And it’s completely done! I hope you enjoyed this little tutorial for Sinterklaas Lucky Charms!
Have a wonderful day, stay warm, stay healthy!

Love
Danielle

Posted in: Crafting, Sinterklaas Tagged: clay, cute, DIY, gelukspoppetjes, Lucky Charm, sinterklaas, Tutorial

♥ Free Pattern; Little Foxy Amigurumi

14 november 2019 by Delinlea Leave a Comment

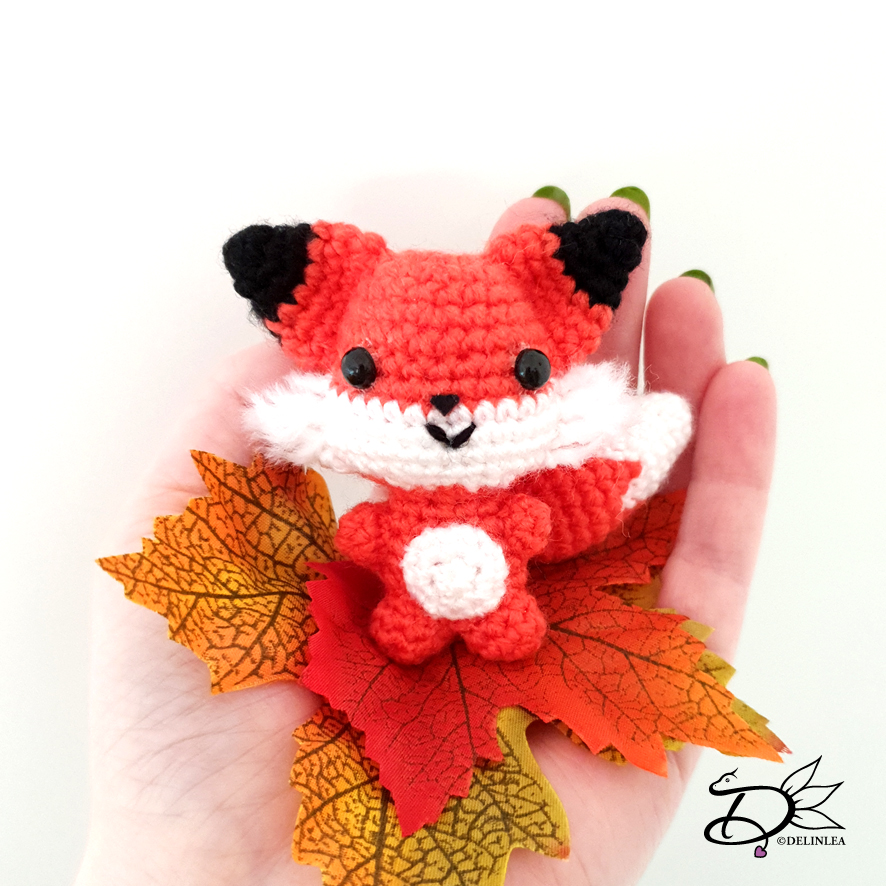
Hey Lovelies! It’s getting cold outside now, I love when it starts to get freezy. Such healthy weather, you just have to put on enough clothes when going out. What about you, do you like cold weather? For today I wanted to make a cute Little Foxy with you. I realized you can make those in so many ways. But I made him this way and I hope you will enjoy!

For this DIY you’ll need:
♥ Yarn in the colors; Orange, White and Black. (I used Zeeman Supersoft)
♥ Crochet Hook (I used a 2mm hook).
♥ Stuffing.
♥ Scissors.
♥ Sewing Pins.
♥ Yarn Needle.
♥ Safety Eyes, 4mm.
♥ Tiny bit of black felt for his nose/mouth.
♥ (Fabric)Glue.

Stitches used (US Terms):
Magic Ring.
CH = Chain.
SLST = Slip Stitch.
SC = Single Crochet.
ST = Stitch.
Inc = Increase.
Dec = Decrease.
(…) = Repeat the space in brackets the given number of times.
[…] = Total number of stitches.

Pattern

Work in continues rounds, use a stitch marker to mark your first stitch of every row. This is for every part, unless stated otherwise.

Head and Body
Start with the color Orange.

1: 6SC in Magic Ring. [6]
2: 2SC in each st around. [12]
3: (1SC, inc) 6 times. [18]
4: 18SC. [18]
5: (2SC, inc) 6 times. [24]
6: 24SC. [24]
7: 24SC. [24]
8: (3SC, inc) 6 times. [30]
9: 8SC, change to white, 15SC, change to orange, 7SC. [30]
|
11: 8SC, change to white, 15SC, change to orange, 7SC. [30]
Place the eyes between row 7 and 8, about 6/7 stitches apart.
12: (3SC, dec) 2 times, change to white, (3SC, dec) 2 times, 2SC, change to orange, 1SC, dec, 3SC, dec. [24]
13: (2SC, dec) 2 times, 2SC, change to white, dec, 2SC, dec, 1SC, change to orange, 1SC, dec, 2SC, dec. [24]
14: (1SC, dec) 6 times. [12] Stuff.
15: 12SC. [12]
16: (1SC, inc) 6 times. [18]
17: 18SC. [18]
|
21: 18SC. [18]
22: (1SC, dec) 6 times. [12] Stuff
23: dec all around. [6]
Fasten off and weave in tail.

Arms (Make 2)
Use the color orange.

1: 6SC in Magic Ring.
2: 6SC. [6]
Fasten off and leave a long tail for sewing.

Legs (Make 2)
Use the color orange.

1: 6SC in Magic Ring. [6]
2: (1SC, inc) 3 times. [9]
3: 9SC. [9]
Fasten off and leave a long tail for sewing.

Belly
Use the color white.

1: 6SC in Magic Ring. [6]
2: 2SC in each st around. [12]
Fasten off and leave a long tail for sewing.

Tail
Start with the color white.

1: 6SC in Magic Ring. [6]
2: (1SC, inc) 3 times. [9]
3: 9SC. [9]
4: (2SC, inc) 3 times. [12]
5: (3SC, inc) 3 times. [15]
6: (4SC, inc) 3 times. [18]
7: (change to orange, 1SC, change to white, 2SC) 6 times. [18]
8: (change to orange, 2SC, change to white, 1SC) 6 times. [18]
Change to orange.
9: 18SC. [18]
|
12: 18SC. [18]
13: (1SC, dec) 6 times. [12]
14: 12SC. [12] Stuff.
15: (2SC, dec) 3 times. [9]
16: (1SC, dec) 3 times. [6]
Fasten off and leave a long tail for sewing.

Ears (Make 2)
Start with the color Black.

1: 6SC in Magic Ring. [6]
2: 6SC. [6]
3: (1SC, inc) 3 times. [9]
4: (2SC, inc) 3 times. [12]
Change to orange.
5: (3SC, inc) 3 times. [15]
6: 15SC. [15]
7: 15SC. [15]
Fasten off and leave a long tail for sewing.

Assembling

By the use of sewing pins, you can position all of your parts first to see if you like it. When you are happy,  you can sew it on. I recomment you doing so.

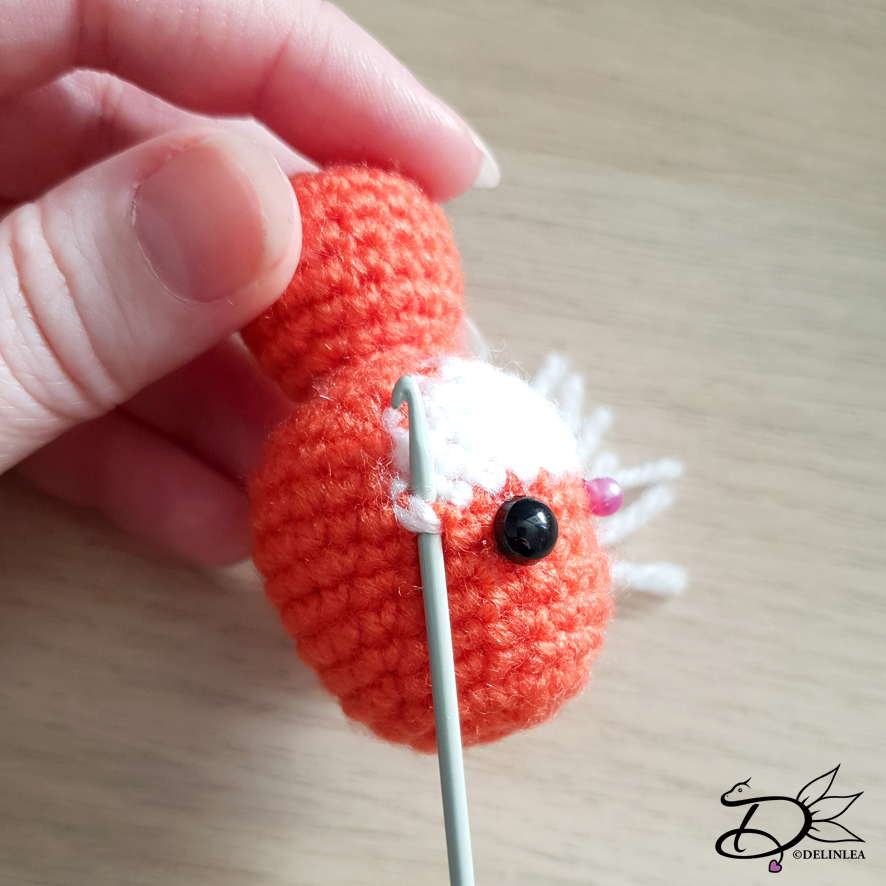
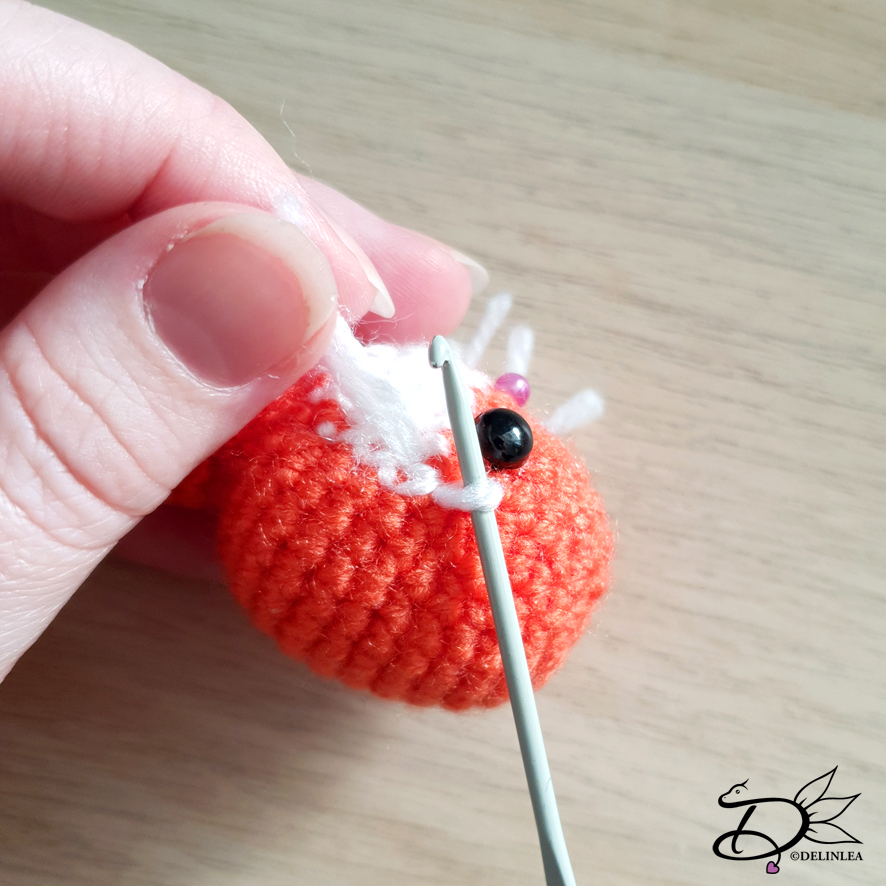
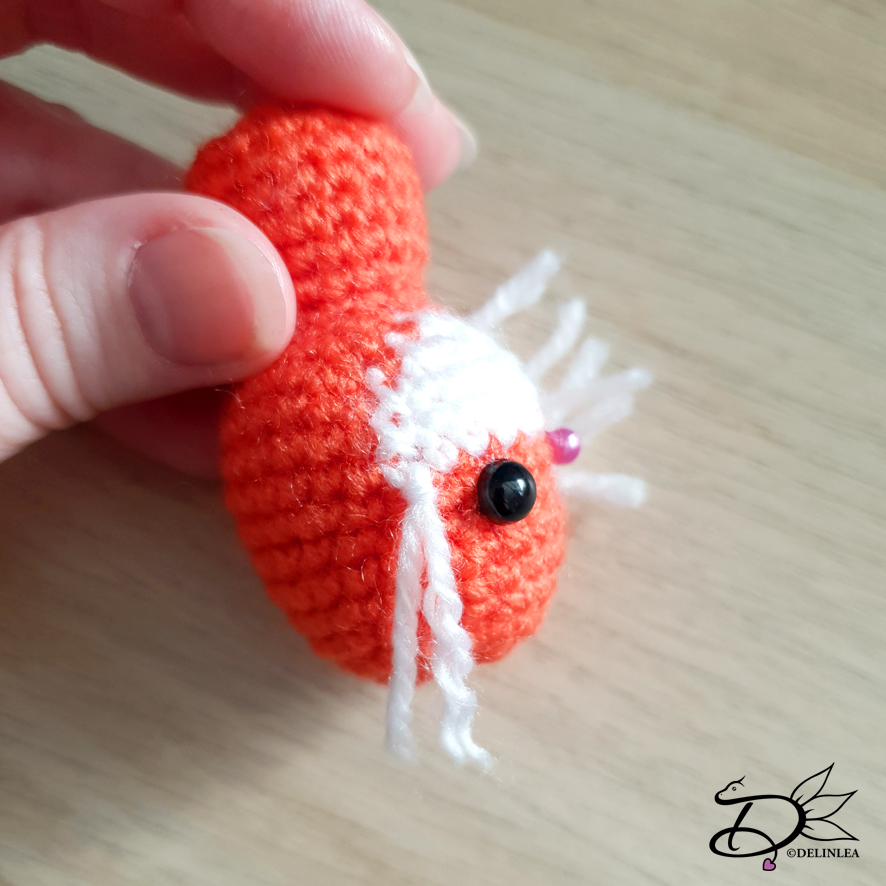
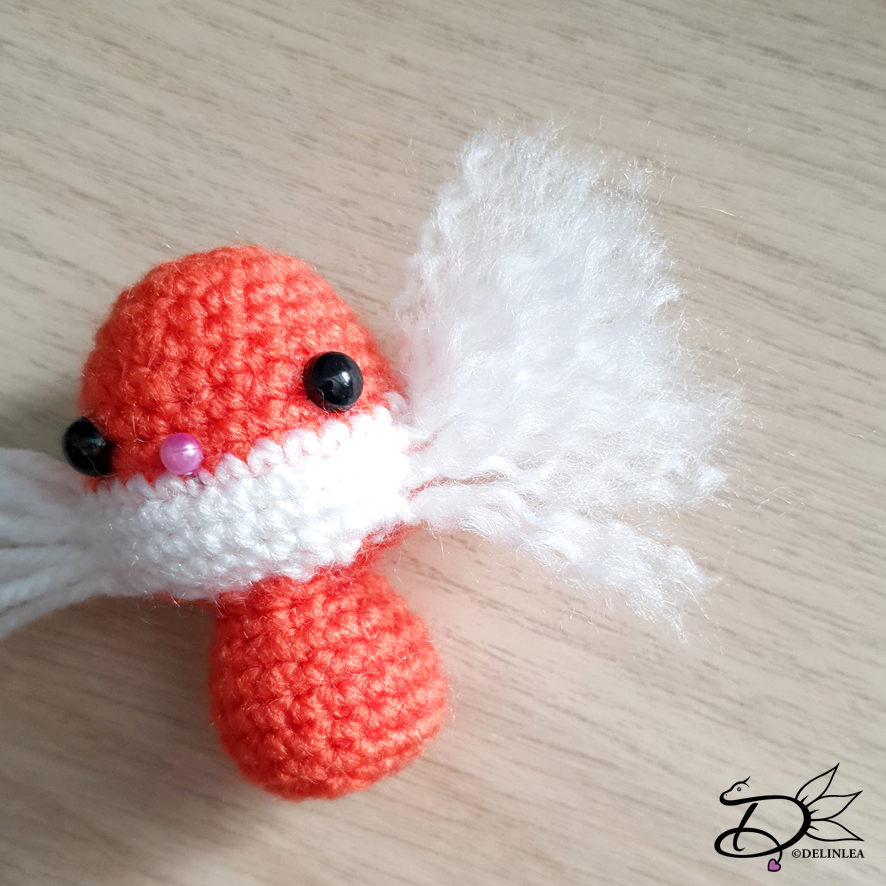
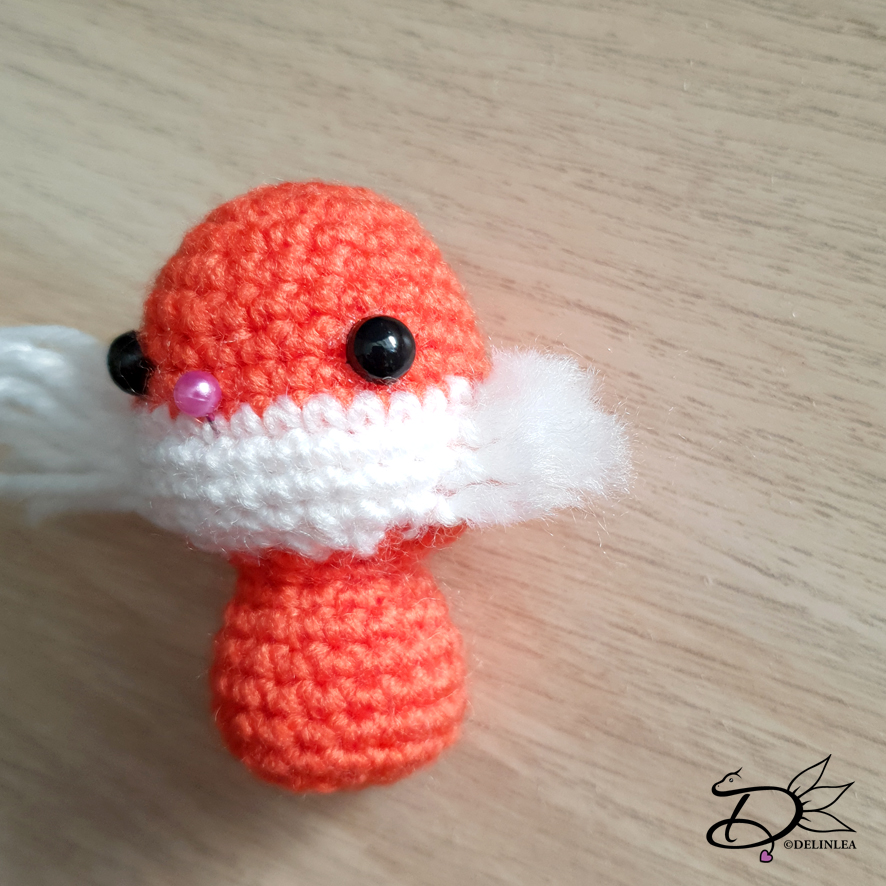
First, cut of 14 pieces of white yarn, about 7 cm. (You’ll gonna cut them shorter later, so it doesn’t come very close). Those pieces of yarn we are gonna add to the sides of little foxy’s face, around the edge of the white. This with be fluffy. Add 7 on each side, 3 front, 4 behind those, if you don’t know how to do this, look at the pictures, you basicly tie a knot.
unraffle the pieces of yarn with a needle, and if you want you can brush it a little more to get even more fluff.
Now it needs to be trimmed, cut it a little longer as you want them, you’ll probably loose lengthe if you shape them. And cut those in the shape you like.

Time to add his arms and legs, sew those on, but make sure there’s enough space to sew his belly on as well.
On his backside, his tail will be added. Just play around until you like how he looks.
Last add his ears, slightly curved, just above his fluffy white cheeks.
From the black felt, cut his little nose and mouth, and glue those on.

And he is already finished! What do you think?! Liked this cute little foxy pattern? I just love designing small things, I’d probably can go smaller, hmm, but that’s for another time!

Have a wonderful day!

Love
Danielle

Posted in: Crafting, Crochet, plush Tagged: Amigurumi, animal, Autumn, Crochet, cute, fall, fox, foxy, Free Pattern, haken, kawaii

♥ Cosy Bookmark

7 november 2019 by Delinlea Leave a Comment

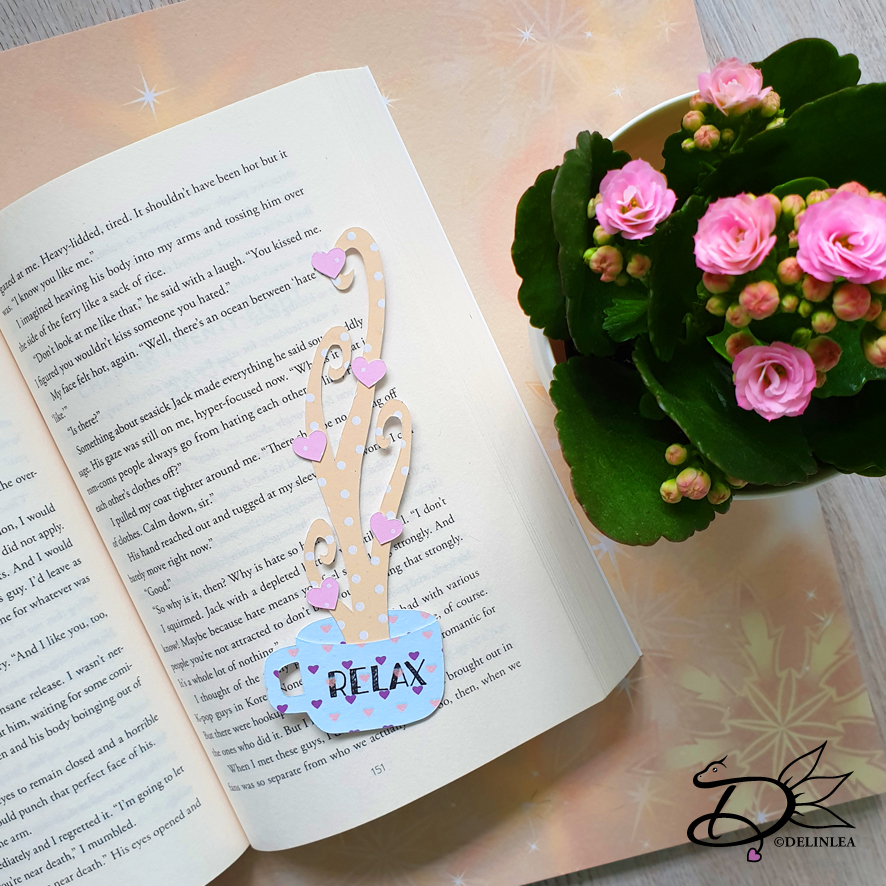
Hey Lovelies! Since these days are getting colder, I love to burry myself into a pile of blankets, put on some candles and just read a good book. Most people probably wanna do so, just relaxing. So that’s why I came up with this cute bookmark, we can never have enough, right?!

For this DIY you’ll need:
♥ This Template.
♥ Scrapbooking paper in color/patterns of choise.
♥ Pencil.
♥ Eraser.
♥ Scissors or X-Acto Knive & Cutting Board.
♥ Glue.
♥ Fineliner.
♥ Printer (optional, you can trace the pattern from your screen as well).

DIY

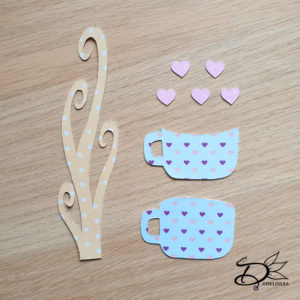
Print out (or trace) the template from here and cut all parts those out.

Trace all these parts to the paper of choise. All parts are suppose to be cut out only once, except for the heart, you can make as many as you desire. I’ve done 5 hearts. When you are done tracing, cut them all out.

When you’ve done all that, you can glue everything together, I always make an arrangement first to see what I like, and then glue it together.

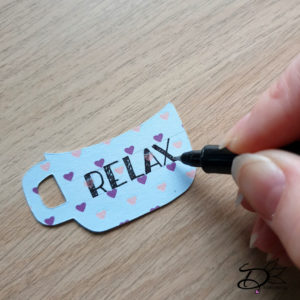
This step is optional, but a cute addition, write a word of choise on the cup. I chose for ‘Relax’, but it can be anyhting or nothing at all.

And it’s finished already, although you could laminate it for extra protection. I didn’t since, if this one is ugly, I can make a new one xD.

Have a wonderful day~.

Love
Danielle
Posted in: Crafting, Paper Tagged: Bookmark, cosy, cute, kawaii, paper, papercraft
« Vorige 1 2 3 4 5 … 13 14 15 16 17 18 19 20 21 22 23 24 Volgende »

What are you looking for?!

My Socials

Ko-Fi

I love making all these free things for you, tho it would be very helpfull if you can support me on Ko-Fi! (You don’t have to tho, totally up to you!)

Ko-Fi Shop!!

In my Ko-Fi shop you can find PDF Amigurumi Patterns!! You can pay easily with PayPal.
Go to the shop here!!

Recent Blog Posts

  • ♥ Happy 2022!
  • ♥ Day 12; Lights
  • ♥ Day 11; Flower Deco
  • ♥ Day 10; Snowman
  • ♥ Day 9; Gingerbread Houses

Recent Comments

  • Liane Van der Donck op ♥ Amigurumi Ghost
  • Kimberly Spear op ♥ Free Pattern; Amigurumi Shiber
  • Delinlea op ♥ Pua Tsum Tsum Amigurumi
  • Marfermar op ♥ Free Pattern; Easter Bunny
  • mary op ♥ Pua Tsum Tsum Amigurumi

Categories

  • animation
  • Beadwork
  • Blogmas 2018
  • Blogmas 2020
  • Blogmas 2021
  • Books
  • Bujo
  • Christmas
  • Christmas CAL 2019
  • Christmas Countdown 2017
  • Contest
  • Crafting
  • Crochet
  • Drawing
  • Drawing Lesson
  • Easter
  • Geen categorie
  • Life
  • Miniature
  • Nail Art
  • New Year
  • Paper
  • plush
  • Pokemon
  • Poseable Art Doll
  • Recipe
  • Sewing
  • Shop Pattern
  • Sinterklaas
  • Social Media
  • Tsum Tsum
  • Ufufy

Copyright © 2023 Delinlea - My little fantasy world.

Family WordPress Theme by themehall.com