♥ Free Pattern; Elsa TsumTsum Amigurumi
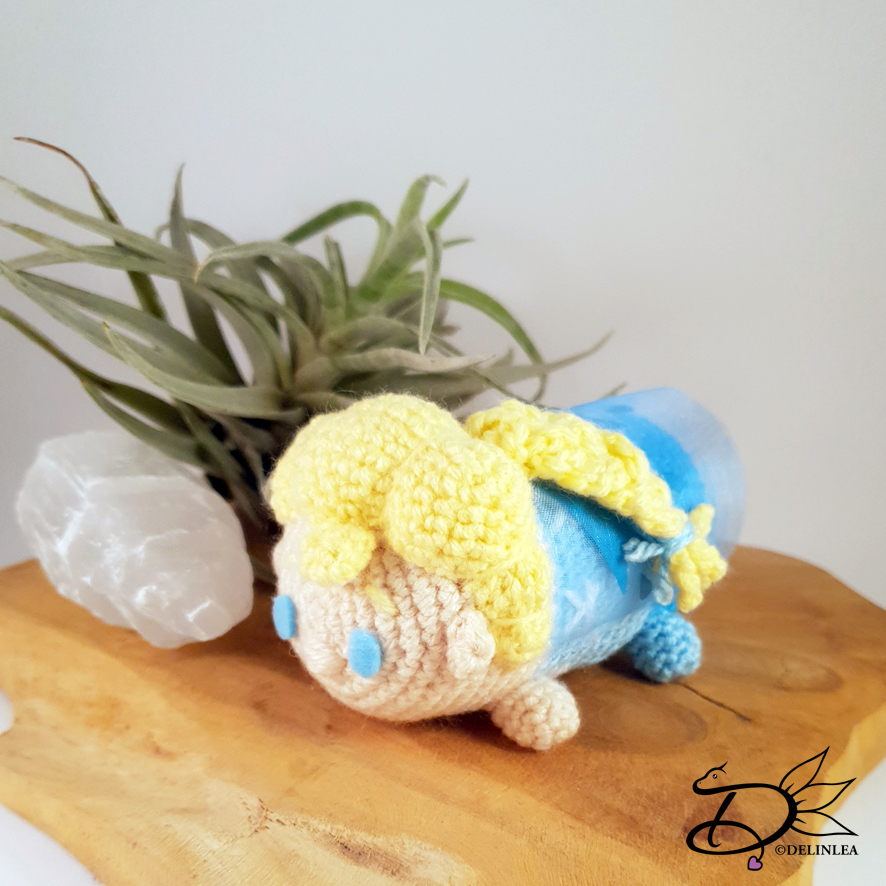
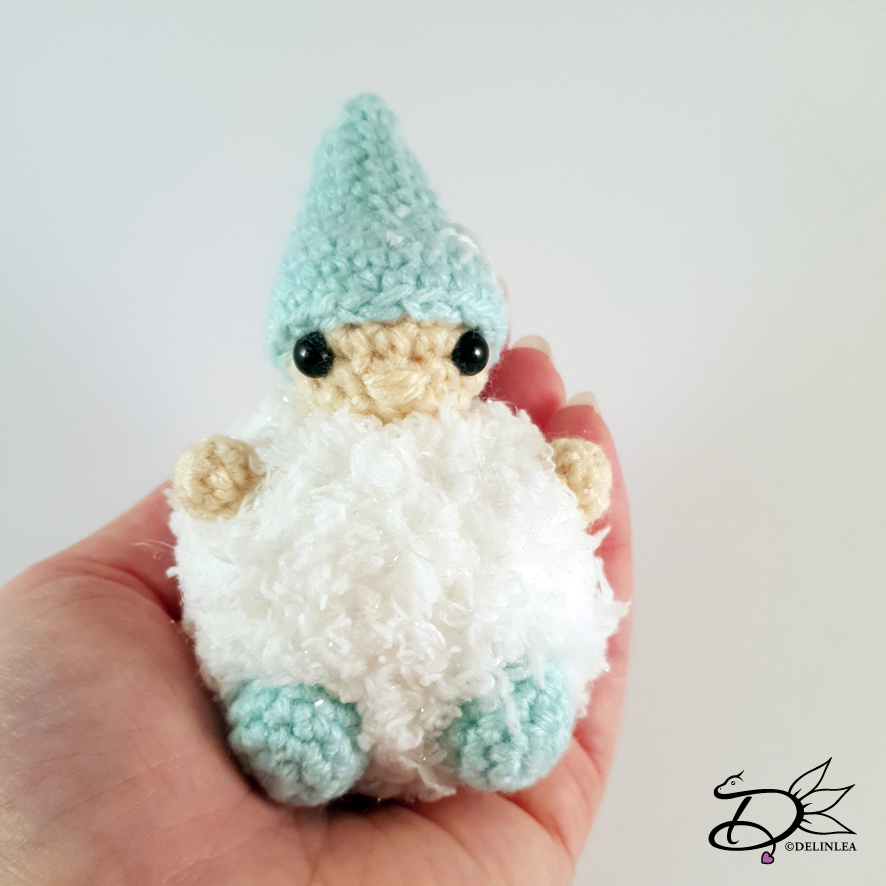
Hey Lovelies! I am so sorry I am posting this blog late this week! Some personal things were going on and I still haven’t managed to work ahead this year! I will try to do so, from now on, so I don’t stress myself out too much. Anyway, I am planning to make at least one Tsum a month. I’m quite excited about that, I hope you are too! For this week I planned to make a Elsa, from Frozen, as a TsumTsum! I had to figure out how to make her hair, but I guess I figured it out, I hope you will like her!? Let’s dive into this week’s pattern.
For this Pattern you’ll need:
♥ DK Yarn in the colors; Beige, Light Blue, Darker Blue, Light Yellow. (I used BudgetYarn.com and Stylecraft Special)
♥ Some extra White yarn for the details on her body.
♥ Crochet Hook (I used a 2,5mm hook).
♥ Stuffing.
♥ Scissors.
♥ Sewing Pins.
♥ Yarn Needle.
♥ Light blue felt.
♥ Glue.
For the Cape:
♥ White or Light Blue Mesh, 10 by 7cm.
♥ Dark Blue Acrylic Paint. (Optional)
♥ Brush. (Optional)
♥ Tape. (Optional)
♥ Piece of Glass. (Optional)
Stitches used (US Terms):
Magic Ring.
CH = Chain.
SLST = Slip Stitch.
SC = Single Crochet.
ST = Stitch.
Inc = Increase.
Dec = Decrease.
(…) = Repeat the space in brackets the given number of times.
[…] = Total number of stitches.
Pattern
For this pattern you will work in continues rounds, unless stated otherwise.
Body
Start with the Beige color.
1: 6SC in
Magic Ring. [6]
2: 2SC in each st around. [12]
3: (1SC, inc) 6 times. [18]
4: (2SC, inc) 6 times. [24]
5: (3SC, inc) 6 times. [30]
6: (4SC, inc) 6 times. [36]
7: (5SC, inc) 6 times. [42]
8: 42SC. [42]
|
14: 42SC. [42]
Change to the Light Blue color.
15: 42SC. [42]
|
24: 42SC. [42]
Change to the Dark Blue color.
25: 42SC. [42]
|
29: 42SC. [42]
30: (5SC, dec) 6 times. [36]
31: (4SC, dec) 6 times. [30]
32: (3SC, dec) 6 times. [24]
33: (2SC, dec) 6 times. [18] Stuff.
34: (1SC, dec) 6 times. [12]
35: dec all around. [6]
Fasten off and weave in tail.
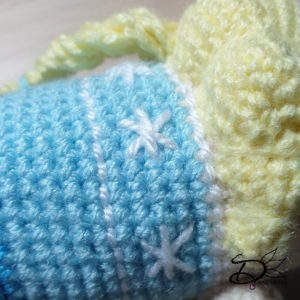
With white yarn, stitch on a stripe between row 14-15 and between row 19-20. In
between those two stripes, make a snowflake pattern.
Legs (Make 4)
2 in Beige Yarn and 2 in Light Blue yarn.
1: 4SC in
Magic Ring. [4]
2: 2SC in each st around. [8]
3: 8SC. [8]
|
5: 8SC. [8]
Fasten off and leave a long tail for sewing.
Ears (Make2)
Use the Beige color.
6SC in
Magic Ring.
Fasten off and leave a long tail for sewing.
Hair
Use the Light Yellow color.
1: Ch11,
insert in second Ch from hook, 9SC, 3SC in the next st, work along the other
side of the Chain, 8SC, inc. [22]
2: Inc, 8SC, (inc) 3 times, 8SC, (inc) 2 times. [28]
3: 2SC, inc, (6SC, inc) 3 times, 4SC. [32]
4: (16SC, Ch5, insert in second Ch from hook, 4SC, continue working on the base
shape) 2 times. [50]
5: 20SC, inc, 24SC, inc, 4SC. [52]
6: 52SC. [52]
Fasten off and leave a long tail for sewing.
Lock of hair
Use the Light Yellow color.
1: 4SC in
Magic Ring. [4]
2: (1SC, inc) 2 times. [6]
3: 6SC. [6]
Fasten off and leave a long tail for sewing.
Strands of hair for the braid. (Make 6)
Use the Light Yellow color.
Chain 20.
Fasten off and leave along tail for sewing.
Cape from Elsa
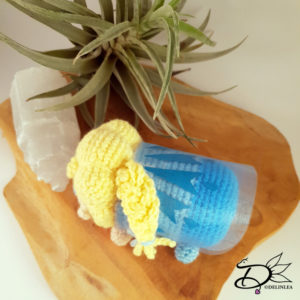
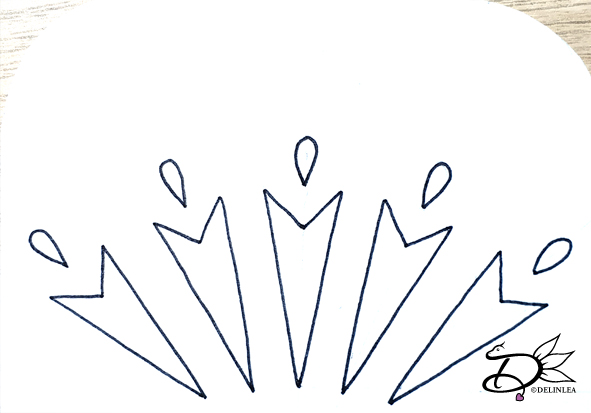
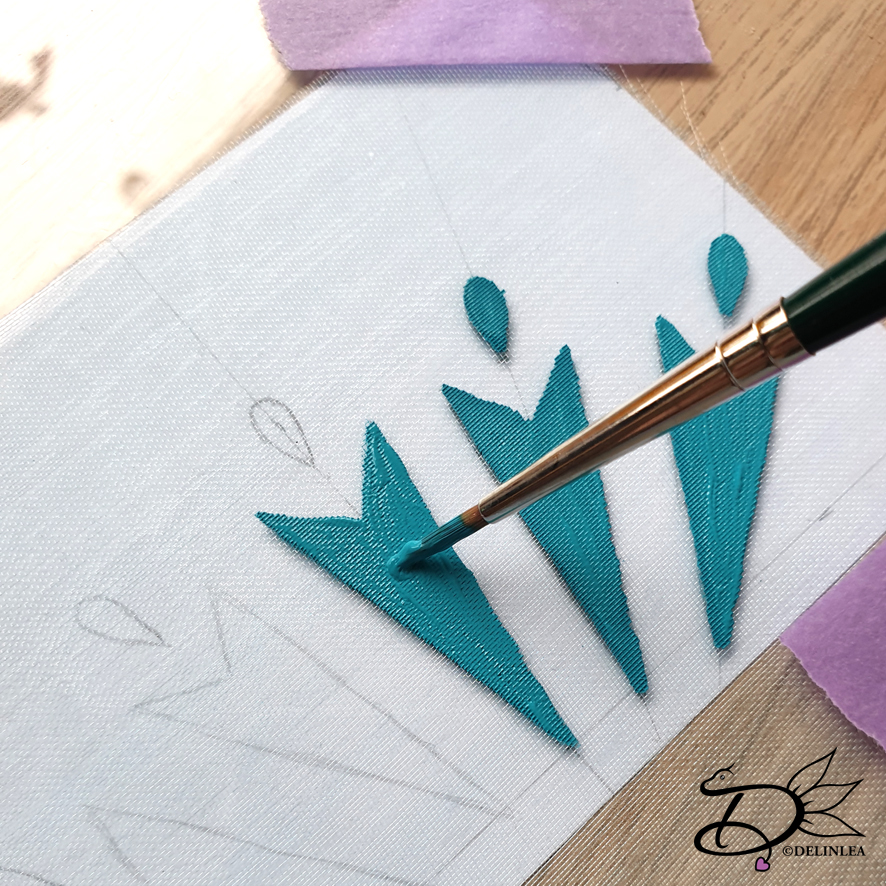
The cape will be made from the mesh, you can leave it as it is of paint on detail with some acrylic paint. Tape the mesh to a very smooth surface, like glass (from a frame for example). Put the pattern I drew under the glass and trace this with the acrylic paint on the mesh. do about 2 layers of paint and let is dry very well. The you will carefully take it off the glass.
Assembling
I always use sewing pins to position all the parts, this way I can still move all the parts around until I am happy. Then I will sew it on.
First sew
on the legs, the beige ones go on the beige part of the body, the light blue
ones go on the dark blue part of the body.
Then sew on the hair. Start on the back side, so you can sew this along the
edge of the light blue part of the body, this way you know where the front part
of the hair goes. Stuff the hair while you sew along. You will make sections of the hair. You do
this with a long piece of matching yarn and go around the part you want the
notch, pull tight until you are happy with the look. Make about 7 sections.
Now sew on the lock of hair in front and on the back sew on the strands of hair
for the braid, about 3 side by side and the other 3 on top of those. Braid
those together and tie them with a piece of light blue yarn.
Last make eyes out of felt and glue those on. Also attach the cape on her back,
you can use glue of stitch it on. Finalize some details on her face.
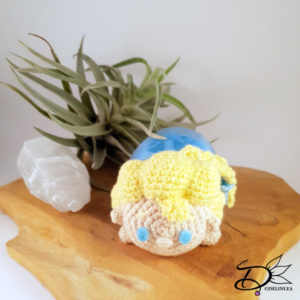
And you are done! Isn’t Elsa adorable?! The only thing I would change are the eyes, I really wanna embroider them on. But that’s for later! I hope you enjoyed this pattern.
Have a wonderful day!
Love
Danielle

