Delinlea - My little fantasy world
  • ♥ Home
  • ♥ About Me
  • ♥ Blogmas 2021
  • ♥ Free Patterns
    • ♥ Amigurumi; Spring/Easter
    • ♥ Amigurumi; Fall/Halloween
    • ♥ Amigurumi; Winter
    • ♥ Amigurumi Tsum Tsum
    • ♥ Amigurumi Ufufy
    • ♥ Amigurumi Others
    • ♥ Christmas Countdown 2017
    • ♥ Blogmas 2018
    • ♥ Blogmas 2020
  • ♥ Tutorials
    • ♥ Easter
    • ♥ Home Deco
    • ♥ Others
  • ♥ Drawing Lessons
  • ♥ FanFic
    • ♥ Chapter 1
    • ♥ Chapter 2
    • ♥ Chapter 3
    • ♥ Chapter 4
    • ♥ Chapter 5
    • ♥ Chapter 6
    • ♥ Chapter 7
  • ♥ Gallery
    • ♥ Crafts
    • ♥ Drawings
    • ♥ Poseable Art Dolls
  • ♥ Links
  • ♥ Contact
    • Privacy Policy

Crafting

♥ Elephant Amigurumi

26 juli 2018 by Delinlea Leave a Comment

Hey Lovelies!

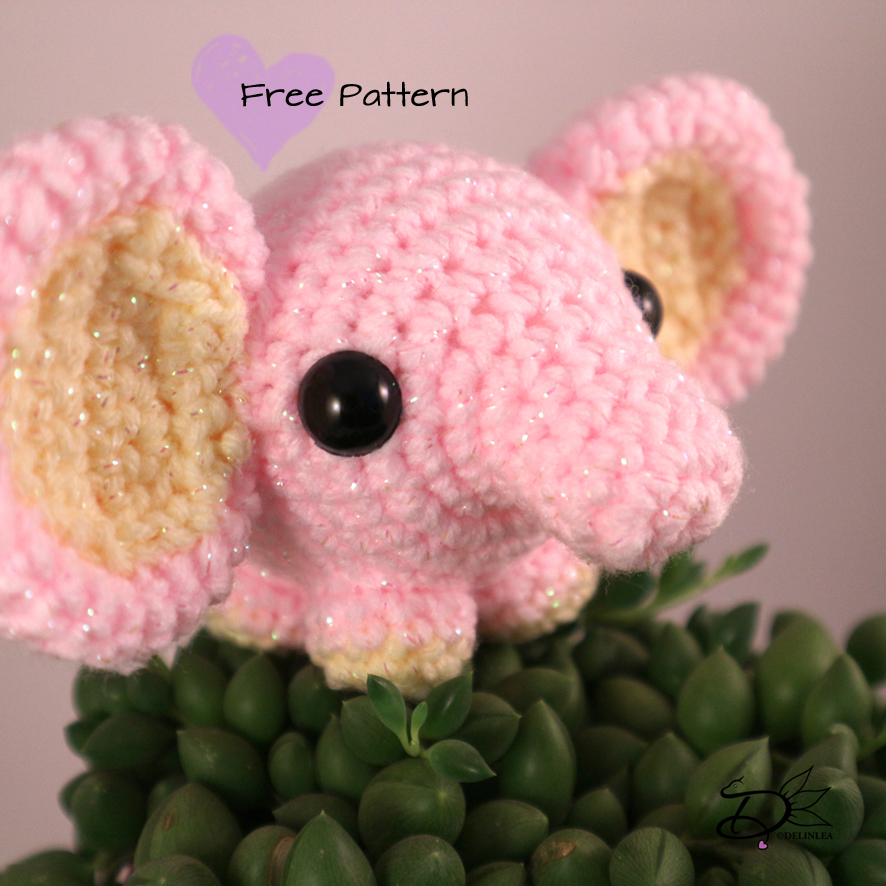
I don’t know why, but I suddenly felt like making an elephant amigurumi haha. Even tho I struggled a lot to get the shape I wanted, I love how she turned out! I hope you will enjoy this pattern as much as I do! I definitely gonna make some more, and probably gonna make a teeny tiny one! Let’s make it hard for myself, since why not! I can imagine them in so many colors possible. So, yeah, let’s make a whole bunch of them.
For this DIY you will need:
♥  Yarn, in Pink and Yellow, but ofcourse you can use any color you like.
♥  Crochet hook.
♥  Stitch marker.
♥  Yarn Needle.
♥  Sewing Pins. (optional)
♥  Fiber fill.
♥  Safety Eyes.
♥  Scissors.

Stitches used:
CH = Chain.
SC = Single Crochet.
ST = Stitch.
Inc = Increase.
Dec = Decrease.
Slst = Slip Stitch.
(…) = Repeat the space in brackets the given number of times.
[…] = Total number of stitches.
* = Read note below

Pattern

Body
In Pink.

1: 6SC in magic ring. [6]
2: 2SC in each st around. [12]
3: SC in each st around. [12]
|
5: SC in each st around. [12]
6: (3SC, inc) 3 times. [15]
7: (4SC, inc) 3 times. [18]
8: 5SC, (1SC, inc) 4 times, 5SC. [22]*
9: (1SC, inc) 10 times. [33]
10: SC in each st around. [33]*
|
18: SC in each st around. [33]
19: (9SC, dec) 3 times. [30]
20: (3SC, dec) 6 times. [24]
21: (2SC, dec) 6 times. [18] Stuff the body here.
22: (1SC, dec) 6 times. [12]
23: Dec all around. [6]
Fasten off and weave in tail.
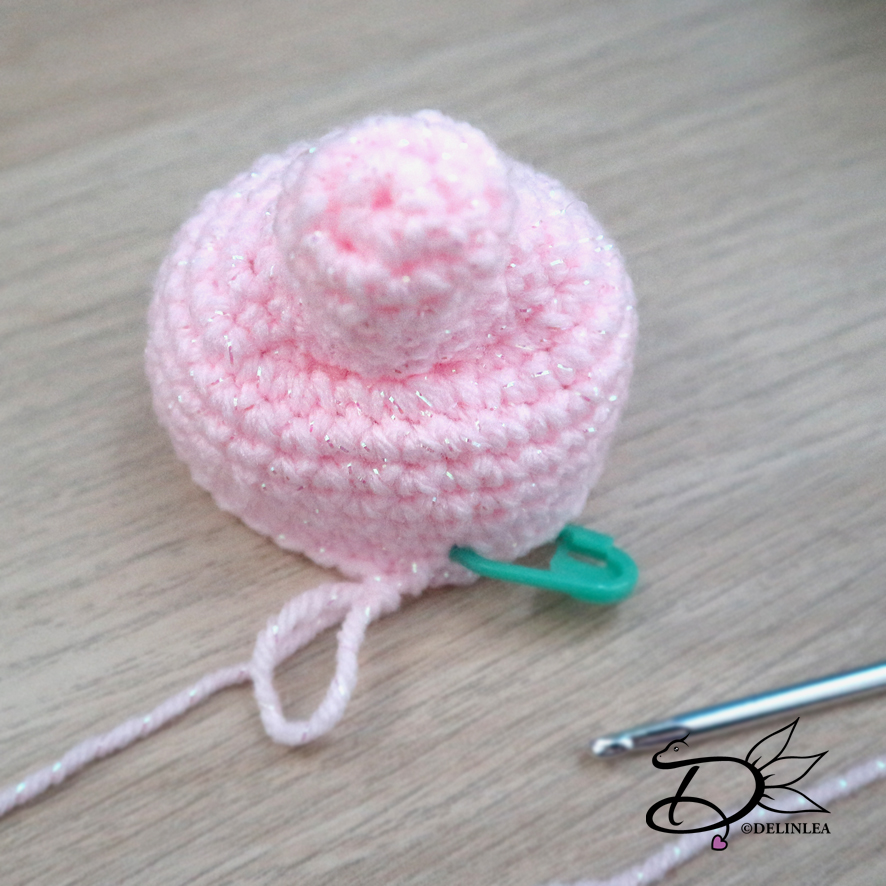
*When you have finished about row 12, you wanna sew around a cm together. Squeez row 8 and 10 together and sew it. this will be the mouth part, make sure it is around the place your rows start.
Add the safety eyes at this point as well, if you are using them.
Legs (4)
Start with Yellow.

1: 6SC in magic ring. [6]
2: 2SC in each st around. [12]
Change to Pink.
3: SC in each st around. [12]
4: SC in each st around.
Fasten off and leave a long tail for sewing. Stuff them lightly.

Ears (2)
In Pink.

1: 6SC in magic ring. [6]
2: 2SC in each st around. [12]
3: (1SC, inc) 6 times. [18]
4: (2SC, inc) 6 times. [24]
5: (3SC, inc) 6 times. [30]
6: SC in each st around. [30]
|
9: SC in each st around. [30]
10: (3SC, dec) 6 times. [24]
11: (2SC, dec) 6 times. [18]
12: (1SC, dec) 6 times. [12]
Fasten off and leave a long tail for sewing. Don’t stuff the ears, just flatten them.

Inside of the Ears (2)
In Yellow.

1: CH5, insert in second CH from hook, 4SC, turn. [4]
2: CH1, inc, 2SC, inc, turn. [6]
3: CH1, inc, 4SC, inc, turn. [8]
4: CH1, SC in each st, turn. [8]
5: CH1, dec, 4SC, dec, turn. [6]
6: CH1, dec, 2SC, dec. [4]
Fasten off and leave a long tail for sewing.
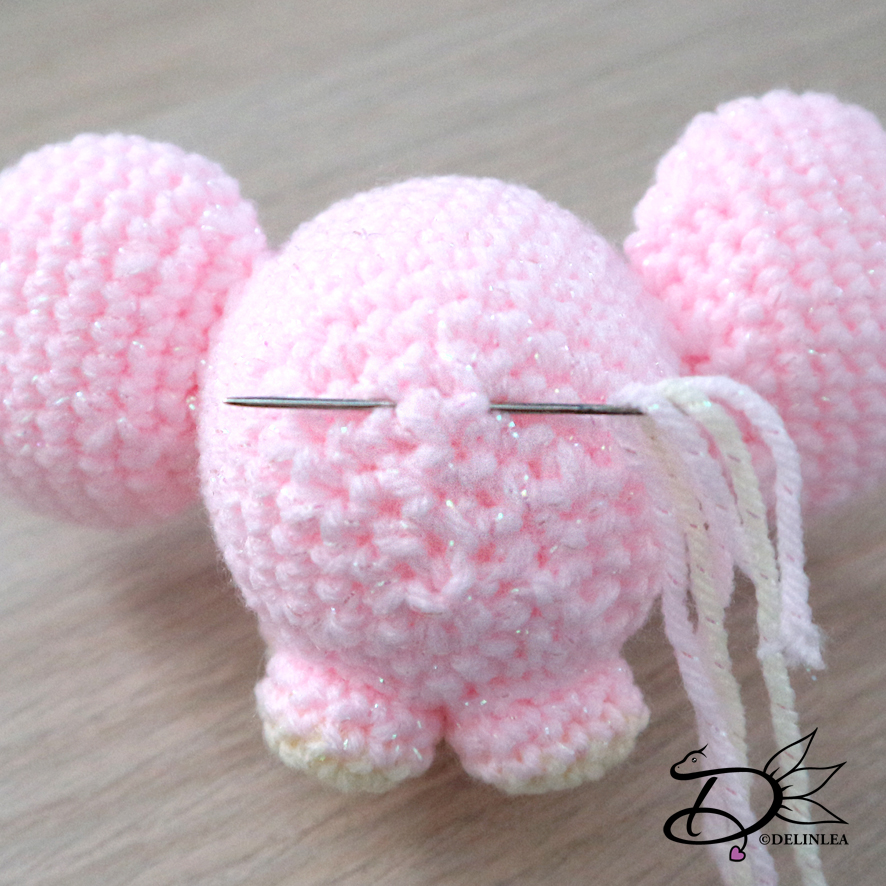
Assembling

First sew the inside of the ears to the outside of the ears.
Then place both ears to the sides of her head, using sewing pins. This way you can easily move them around until you are happy. When you are sew them on.
Position the legs as well, using the same method as the ears. I put them all together on her belly. And then, just sew them on one by one, it can be a bit fiddly, but I am sure you can do it!
Last but not least, add 3 pieces of yarn on a yarn needle, and get those about half way through at his butt (see picture). Make a braid with them and finish off with a knot, cut the remaining bits off and you have finished your elephant!
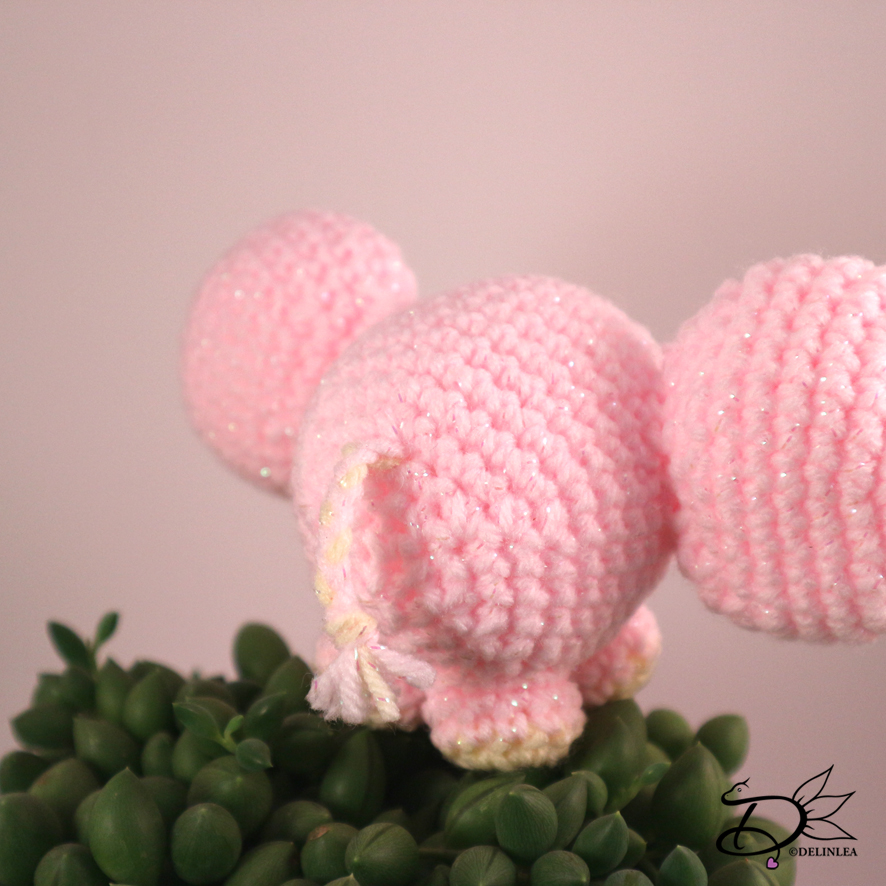
Isn’t she adorable!? I love to see yours, share it with #DelinleaDIY on twitter/instagram!

Love
Danielle
Posted in: Crafting, Crochet Tagged: Amigurumi, animal, Crochet, cute, Elephant, Free Pattern, haken, kawaii

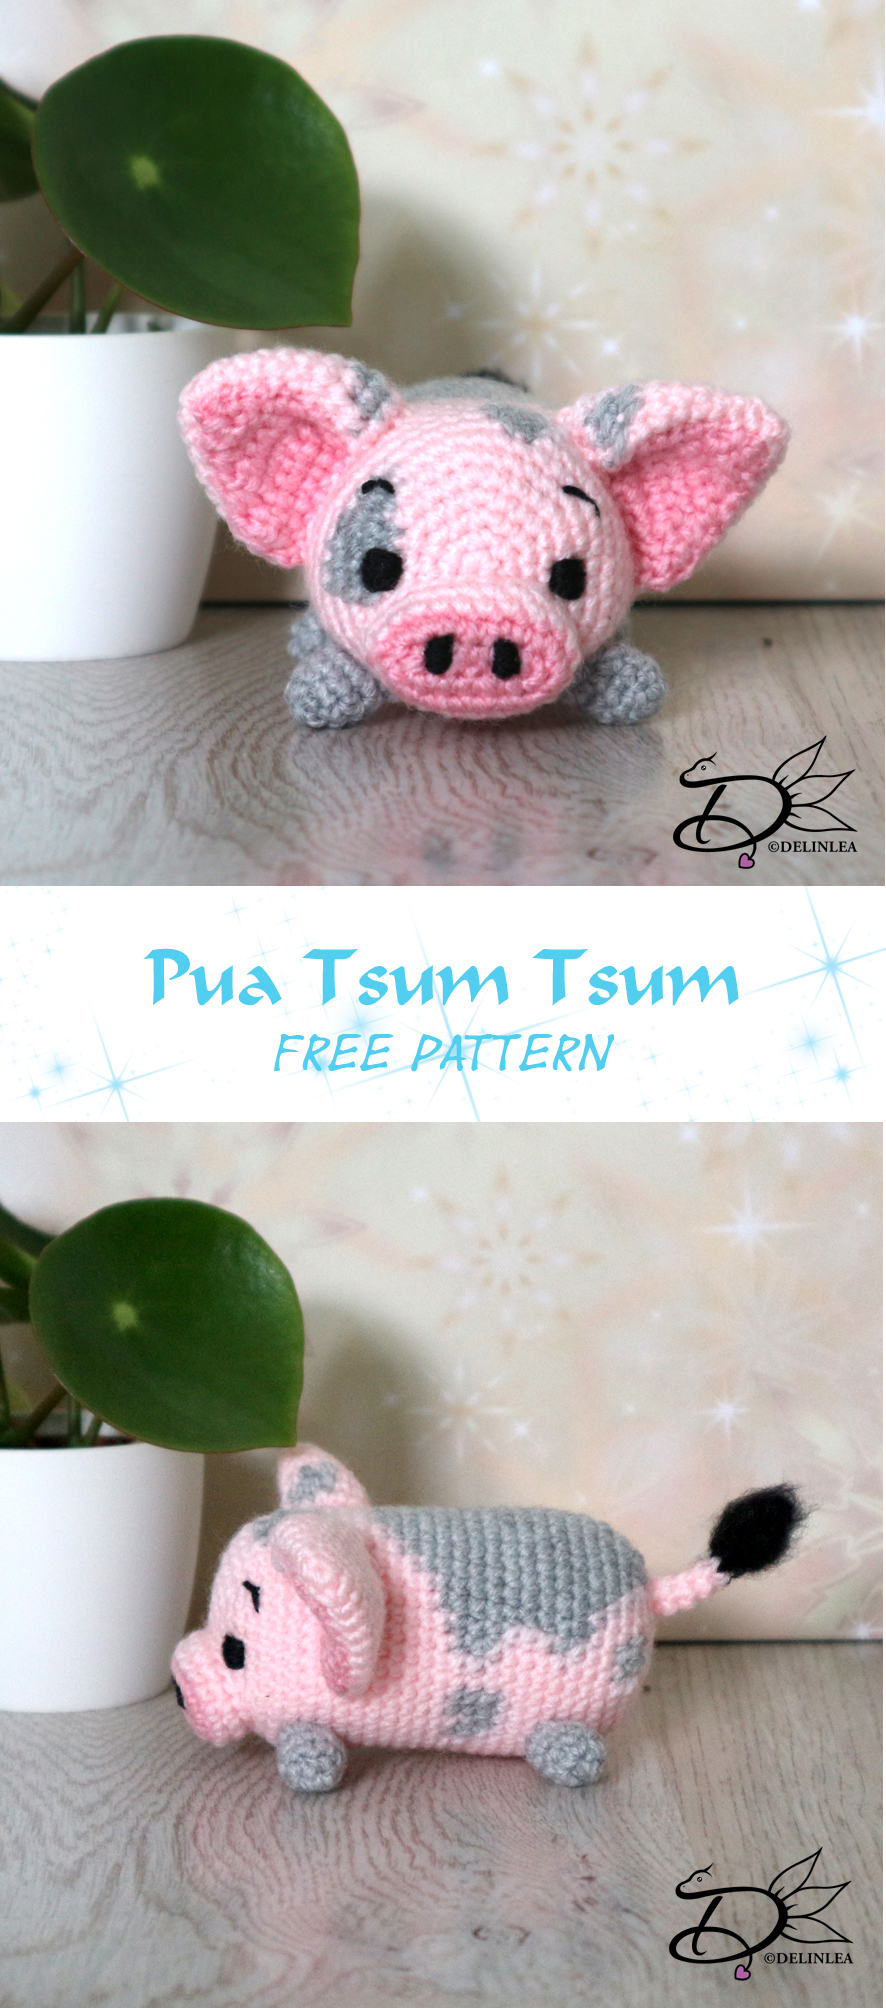
♥ Pua Tsum Tsum Amigurumi

19 juli 2018 by Delinlea 24 Comments

Hey Lovelies!

I’m sorry that I am a little late with this weeks post, but hé! it’s up now haha! I had some pretty scary stuff going on earlier this week, not as in bad, but as in something good, don’t worry! It involved camera’s and I had to be in front of them. And if there’s one thing I hate is to be in front of a camera haha. Much more I can’t tell you right now. But I will tell what’s going on, when I am allowed to =).

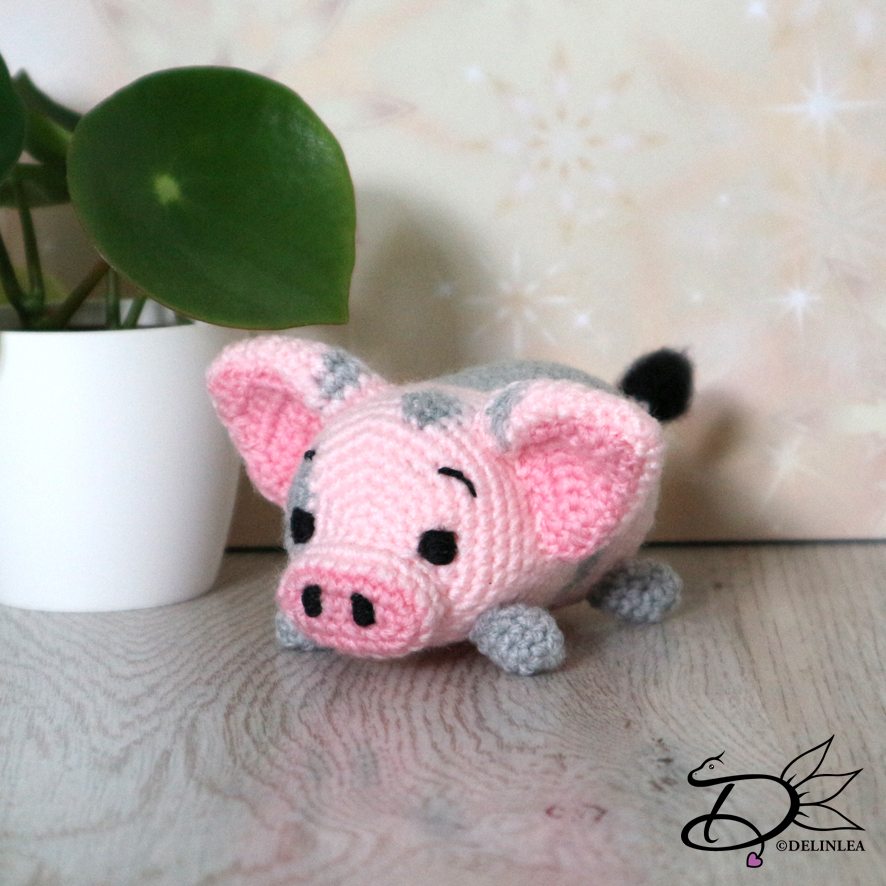
Anyway, I didn’t make a tsum tsum pattern for a while and Pua of Moana was on my list for quit a while, so I made him now for you today~~! Have fun~!

For this DIY you will need:
♥  Yarn: in the colors Pink, Hot Pink, Grey and Black
♥  Crochet hook.
♥  Stitch marker.
♥  Yarn Needle.
♥  Sewing Pins. (optional)
♥  Fiber fill.
♥  Embroidery needle with black thread or black felt.
♥  Scissors.

Stitches used:
CH = Chain.
SC = Single Crochet.
ST = Stitch.
Inc = Increase.
Dec = Decrease.
Slst = Slip Stitch.
(…) = Repeat the space in brackets the given number of times.
[…] = Total number of stitches.

Pattern

Body
Start with Pink.

1: 6SC in magic ring. [6]
2: Inc in each st around. [12]
3: (1SC, inc) 6 times. [18]
4: (2SC, inc) 6 times. [24]
5: (3SC, inc) 3 times, 4SC, change to Grey, 1SC in the same ST as the last SC, 2SC, change to Pink, 1SC, inc, 3SC, inc. [30]
6: (4SC, inc) 3 times, 3SC, change to Grey, 1SC, inc, 3SC, change to Pink, 1SC, inc, 4SC, inc. [36]
7: (5SC, inc) 3 times, 3SC, change to Grey, 2SC, inc, 3SC, change to Pink, 2SC, inc, 5SC, inc. [42]
8: 16SC, change to Grey, 2SC, change to Pink, 9SC, change to Grey, 4SC, change to Pink, 11SC. [42]
9: 16SC, change to Grey, 3SC, change to Pink, 23 SC. [42]
10: 16SC, change to Grey, 3SC, change to Pink, 23SC. [42]
11: 17SC, change to Grey, 2SC, change to Pink, 23SC. [42]
12: SC in each ST around. [42]
|
14: SC in each ST around. [42]
15: 18SC, change to Grey, 3SC, change to Pink, 21SC. [42]
16: 17SC, change to Grey, 5SC, change to Pink, 20SC. [42]
17: 16SC, change to Grey, 7SC, change to Pink, 19SC. [42]
18: 15SC, change to Grey, 9SC, change to Pink, 18SC. [42]
19: 13SC, change to Grey, 13SC, change to Pink, 16SC. [42]
20: 5SC, change to Grey, 1SC, change to Pink, 1SC, change to Grey, 2SC, change to Pink, 2SC, change to Grey, 17SC, change to Pink, 2SC, change to Grey, 2SC, change to Pink, 10SC. [42]
21: 5SC, change to Grey, 4SC, change to Pink, 2SC, change to Grey, 17SC, change to Pink, 2SC, change to Grey, 3SC, change to Pink, 9SC. [42]
22: 6SC, change to Grey, 3SC, change to Pink,3SC, change to Grey, 15SC, change to Pink, 4SC, change to Grey, 2SC, change to Pink, 9SC. [42]
23: 13SC, change to Grey, 13SC, change to Pink, 16SC. [42]
24: 13SC, change to Grey, 13SC, change to Pink, 16SC. [42]
25: 13SC, change to Grey, 13SC, change to Pink, 16SC. [42]
26: 12SC, change to Grey, 15SC, change to Pink, 5SC, change to Grey, 4SC, change to pink, 6SC. [42]
27: 13SC, change to Grey, 13SC, change to Pink, 7SC, change to Grey, 3SC, change to pink, 6SC. [42]
28: 15SC, change to Grey, 9SC, change to Pink, 10SC, change to Grey, 2SC, change to pink, 6SC. [42]
29: 16SC, change to Grey, 7SC, change to Pink, 19SC. [42]
30: 5SC, dec, 4SC, change to Grey, 1SC, dec, change to Pink, 3SC, change to Grey, 2SC, dec, 1SC, change to Pink, 4SC, dec, (5SC, dec) 2 times. [36]
31: 4SC, dec, 4SC, change to Grey, dec, 1SC, change to Pink, 3SC, change to Grey, dec, 1SC, change to Pink, 3SC, dec, (4SC, dec) 2 times. [30]
32: (3SC, dec), 6 times. [24]
33: (2SC, dec), 6 times. [18] Stuff the body here.
34: (1SC, dec), 6 times. [12]
35: Dec around. [6]
Fasten off and weave in tail.

Legs (4)
In Grey.

1: 4SC in magic ring. [4]
2: Inc in each st around. [8]
3: SC in each st around. [8]
|
5: SC in each st around. [8]
Fasten off and leave a long tail for sewing.

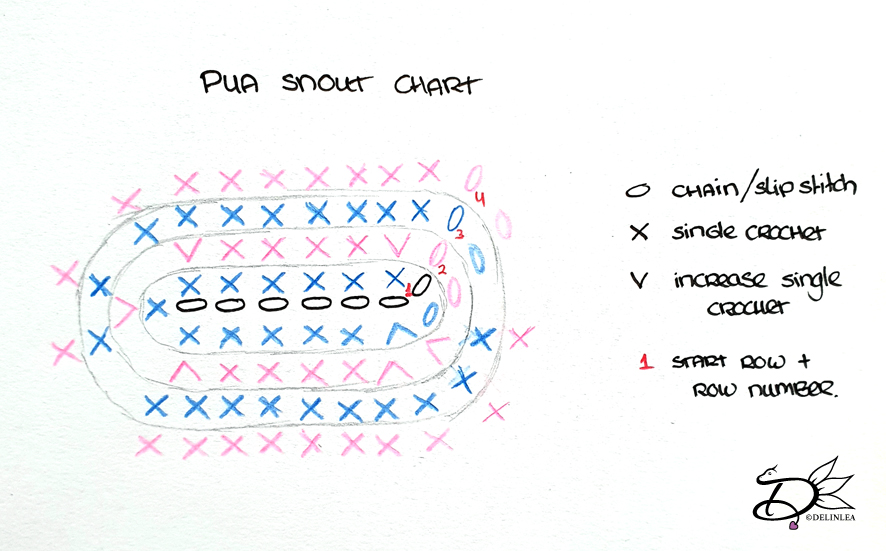
Snout
Start with Hot Pink, you won’t work in continues rounds.
Since some people experienced trouble with the written pattern, I made a crochet chart for the snout down below.

Chain7 (The black row in the chart)
1: Insert in 2nd chain from hook, 5SC, 3SC in the next st, 4SC, inc, slst in the first st. [14]
2: Ch1, inc, 4SC, inc 3 times, 4SC, inc 2 times, slst in the first st. [20]
Change to Pink.
3: Ch1, 20SC [20]
4: Ch1, 20SC [20]
Fasten off, leave long tail for sewing. Stuff the snout lightly.

Tail
Start with Black.

1: 4SC in Magic Ring. [4]
2: (1SC, inc) 2 times. [6]
3: 2SC in each st around. [12]
4: (1SC, dec) 4 times. [8]
5: (1SC, dec) 2 times, dec. [5]
Change to Pink.
6: SC in each ST around. [5]
|
11: SC in each ST around. [5]
Fasten off and leave a long tail for sewing.
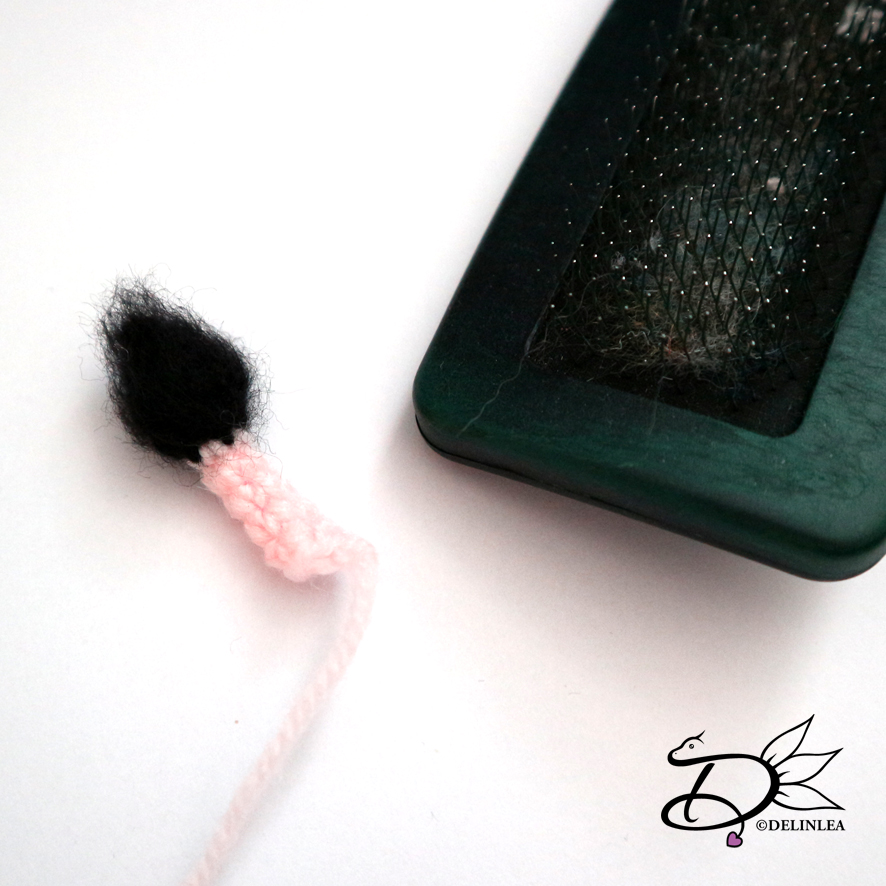
You can brush out the black part of the tail for a fluffy look. The best wat is to use some kind of animal brush, like I showed in the picture.

Ears (2)
In Pink.

1: 6SC in Magic Ring. [6]
2: (1SC, inc) 3 times. [9]
3: (2SC, inc) 3 times. [12]
4: (3SC, inc) 3 times. [15]
5: (4SC, inc) 3 times. [18]
6: (5SC, inc) 3 times. [21]
7: (6SC, inc) 3 times. [24]
8: (7SC, inc) 3 times. [27]*
9: (8SC, inc) 3 times. [30]*
10: SC in each ST around. [30]
Fasten off and leave a long tail for sewing.

Optional:
8* in this round you have the option to add 2 grey SC. For the spot on his ears.
9* in this round you have the option to add 3 grey SC, do this in the same place where you added the grey SC in the previous round.

Inside of the Ears (2)
In Hot Pink.

1: CH12, insert in 2nd CH from hook, 11SC, turn. [11]
2: CH1, dec, 7SC, dec, turn. [9]
3: CH1, dec, 5SC, dec, turn. [7]
4: CH1, dec, 3SC, dec, turn. [5]
5: CH1, dec, 1SC, dec, turn. [3]
6: CH1, 1SC, dec, turn. [2]
7: CH1, dec. [1]
Fasten off and leave a long tail for sewing.

Assembling

With some Sewing Pins you place the snout just under the grey spot around his eye. Use my pictures as a guideline. When you are happy with the position, you can sew it on.
Flatten the ears first, and sew the inside of the ears to it. When you have done that, fold a small part of the side of the ear over to get these cute Pua ears.
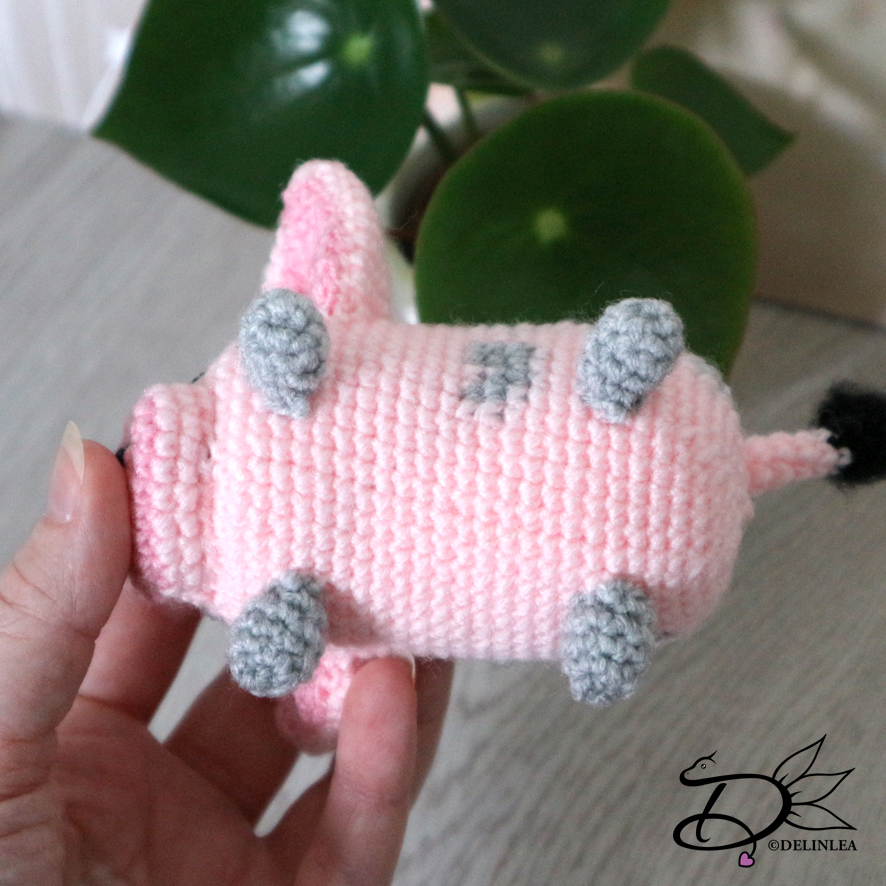
Now you are able to position the legs, ears and tail in the right place. Just like the snout, use sewing pins first, so you can easily move them around until you are happy. Then you can sew them on.
It’s time to give him eyes and other features, I chose to embroider them on, but you can also use felt. Simply cut it out and glue it on. Just what works best for you.

I hope you enjoyed this Tsum Tsum pattern of Pua from Moana. I loved making him. Hmm let’s see who to make next. You can always comment down below (or message me on Instagram/Twitter) if there’s a character you want a pattern of. And don’t forget to show yours with the #DelinleaDIY

Have a lovely day everyone~

Love
Danielle

Posted in: Crafting, Crochet, Tsum Tsum Tagged: Amigurumi, Crochet, Disney, haken, moana, pua, Tsum Tsum

♥ Amigurumi Dilly Duck

12 juli 2018 by Delinlea Leave a Comment

Hey Lovelies!

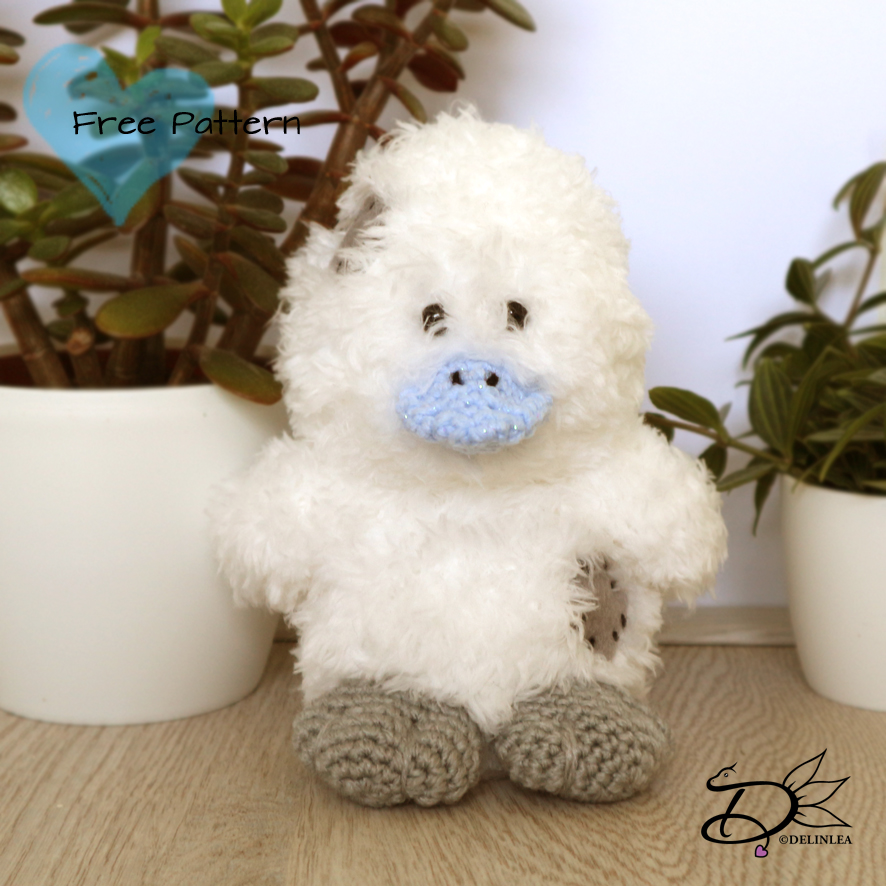
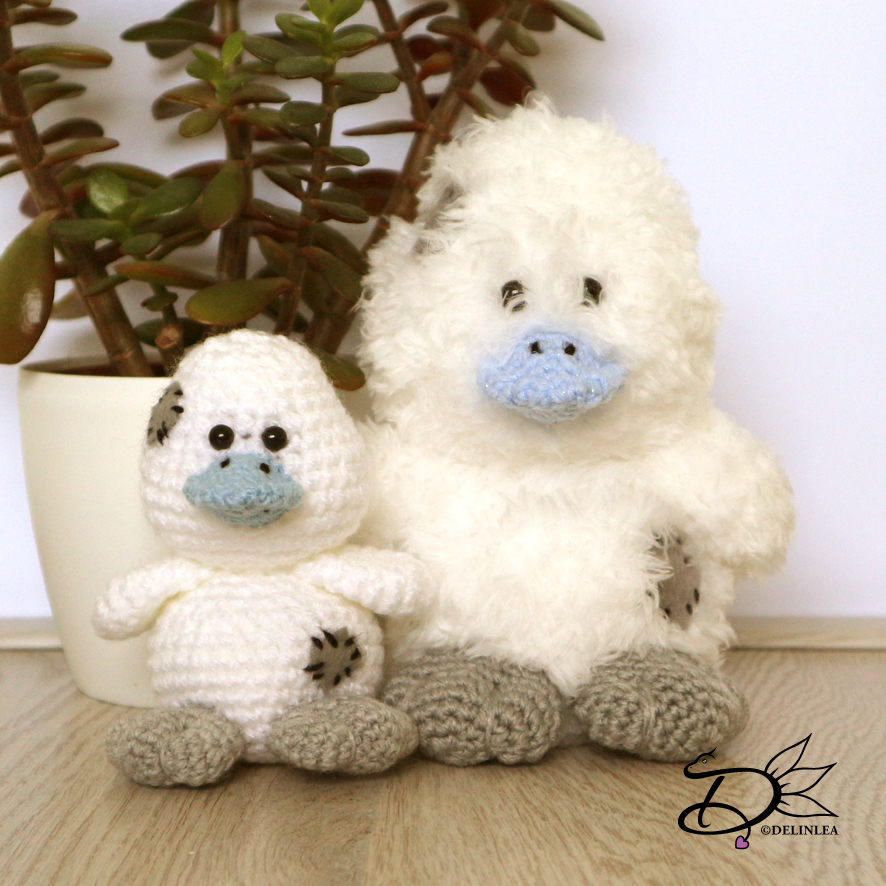
It’s about time to make something cute again, right?! Well I was brainstorming a bit of what to make for upcoming blogs, and I saw one of my Blue Nose Friends plushies. I got it long ago and I remembered there are more around. When I looked them up on the internet, I found out that there are so many now! I only don’t know where to get them. The store I got this one, long ago, is now closed. So, what I can’t buy, I’ll make myself haha. Also a good reason to use my plush yarn!

Let’s make Dilly Duck of My Blue Nose Friends. I believe it’s No 4 of these series.

For this DIY you’ll need:
♥  Acryllic Yarn, in Light Blue and Grey.
♥  Plush Yarn in White.*
♥  Crochet hook, 2 sizes.
♥  Stitch marker.
♥  Yarn needle.
♥  Sewing pins. (optional)
♥  Scissors.
♥  Fiber Fill.
♥  Grey Felt.
♥  Safety Eyes.
♥  Glue (optional).

*Note: You can use regular yarn as well, but just make sure you have 2 sizes of yarn, White must be thick and the light blue and grey thin. This was you’ll be able to make him too without the plush yarn. (Scroll down for a picture)

Stitches used:
CH = Chain.
SC = Single Crochet.
ST = Stitch.
Inc = Increase.
Dec = Decrease.
Slst = Slip Stitch.
(…) = Repeat the space in brackets the given number of times.
[…] = Total number of stitches.

Pattern:

Body
In White Plush Yarn.

1: 6SC in Magic Ring [6]
2: 2SC in each st around. [12]
3: (1SC, inc) 6 times. [18]
4: (2SC, inc) 6 times. [24]
5: (3SC, inc) 6 times. [30]
6: SC in each ST around. [30]
|
10: SC in each ST around. [30]
11: (3SC, dec) 6 times. [24]
12: SC in each ST around. [24]
13: (2SC, dec) 6 times. [18]
14: (1SC, dec) 6 times. [12]
Fasten off and leave long tail for sewing. Don’t forget to stuff the body!

Head
In White Plush Yarn.

1: 1: 6SC in Magic Ring [6]
2: 2SC in each st around. [12]
3: (1SC, inc) 6 times. [18]
4: (2SC, inc) 6 times. [24]
5: (3SC, inc) 6 times. [30]
6: (9SC, inc) 3 times. [33]
7: SC in each ST around. [33]
8: SC in east ST around. [33]
9: (9SC, dec) 3 times. [30]
10: SC in each ST around. [30]
11: (3SC, dec) 6 times. [24]
12: SC in each ST around. [24]
13: (2SC, dec) 6 times. [18]
14: SC in each ST around. [18]
15: SC in each ST around. [18]
16: (1SC, dec) 6 times. [12] Stuff the head here, and if you use Safety Eyes, place them inbetween row 10 and 11.
17: Dec all around. [6]
Fasten off and weave in tail.

Wings (2)
In White Plush Yarn.

1: 6SC in Magic Ring. [6]
2: 2SC in each ST around. [12]
3: SC in each ST around. [12]
|
7: SC in each ST around. [12]
Fasten off and leave a long tail for sewing. You don’t have to stuff the wings.

Beak
In Light Blue.

1: 4SC in Magic Ring. [4]
2: 2SC in each ST around. [8]
3: (1SC, inc) 2 times. [12]
4: SC in each ST around. [12]
5: (5SC, inc) 2 times. [14]
6: (6SC, inc) 2 times. [16]
7: SC in each ST around. [16]
8: SC in each ST around. [16]
Fasten off, leave an extra long tail for sewing. Now flatten the beak and sew around the edge, about 0,5CM of the edge, this way you make a rim in the beak. When you have done that, stuff the remaining middle part.

Feet (2)
In Grey.

1: 6SC in Magic Ring. [6]
2: 2SC in each ST around. [12]
3: (inc) 2 times, 4SC, (inc) 2 times, 4SC. [16]
4: (inc) 4 times, 4SC, (inc) 4 times, 4SC. [24]
5: SC in each ST around. [24]
6: (3SC, dec, 7SC) 2 times. [22]
7: (2SC, dec, 7SC) 2 times. [20]
8: (2SC, dec, 6SC) 2 times. [18]
9: SC in each ST around. [18]
Fasten off and leave long tail for sewing. Stuff lightly.
Cut of some extra grey yarn and tie a knot on one side. With a yarn needle your gonna devide the foot in 3 toes. Skip the last 3 rows, and insert the needle from the inside, wrap the yarn around the foot (make sure it’s 1/3 and 2/3), and go in the foot and out at the place you started, pull tight and fasten it off. Do this on the other side, of the foot, again. Repeat for the other foot.

Assembling.

Sew the head to the body. With some sewing pins you can place the wings in the right place, just were you’ve sewn the head to the body. When you are happy, sew those one as well.
Do the same for the feet, and sew them on tightly.
Sew the beak on as well, just under the eyes. Make some markings with black yarn on top of his beak.
Now cut 3 Squares from grey felt. You can make them as big as you want, but don’t over do. Now, with some black yarn, sew one on his head, one on the side of his belly and one on his back.
And you are done! Yay!

I hope you enjoyed this pattern! I certainly did, I love how he looks! If you made one or more too, show me with #DelinleaDIY I love to see how yours turned out! Now, enjoy the rest of your day!

Love
Danielle
Posted in: Crafting, Crochet, plush Tagged: Amigurumi, Crochet, Dilly Duck, DIY, Free Pattern, haken, My Blue Nose Friends

♥ Memoboard DIY

28 juni 2018 by Delinlea Leave a Comment

Hey Lovelies!

I’ve been drawing polaroids weekly, well I try to. And I’m putting them like everywhere in my room and quit a few are put away already. Now I’m kinda afraid some get damaged so I though of having a place where I could put them. That’s why I’m making a memoboard today, where I can collect them without having to worry!

I know this tutorial isn’t gonna be very original, but I still wanna share with you all, how I made mine!

For this DIY you’ll need:
♥  Cardboard (25 by 45cm).
♥  Sheet stuffing (not sure how it’s called, I used a snow blanket xD)
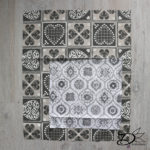
♥  Fabric (55 by 45cm) make sure it’s not a stretchy fabric but choose something like cotton.
♥  Fabric (30 by 30cm) Same for this one, don’t pick a stretchy fabric but choose something like cotton.
♥  Yarn or Ribbon.
♥  Glue Gun.
♥  (Fabric) Scissors.
♥  Sewing Pins.

Let’s start

Plug your glue gun in first so it has time to warm up.
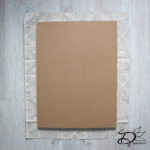
Make sure your cardboard has the right size. Now take the sheet stuffing and cut that down to the same size of the cardboard, and glue these two together.


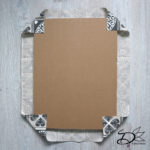
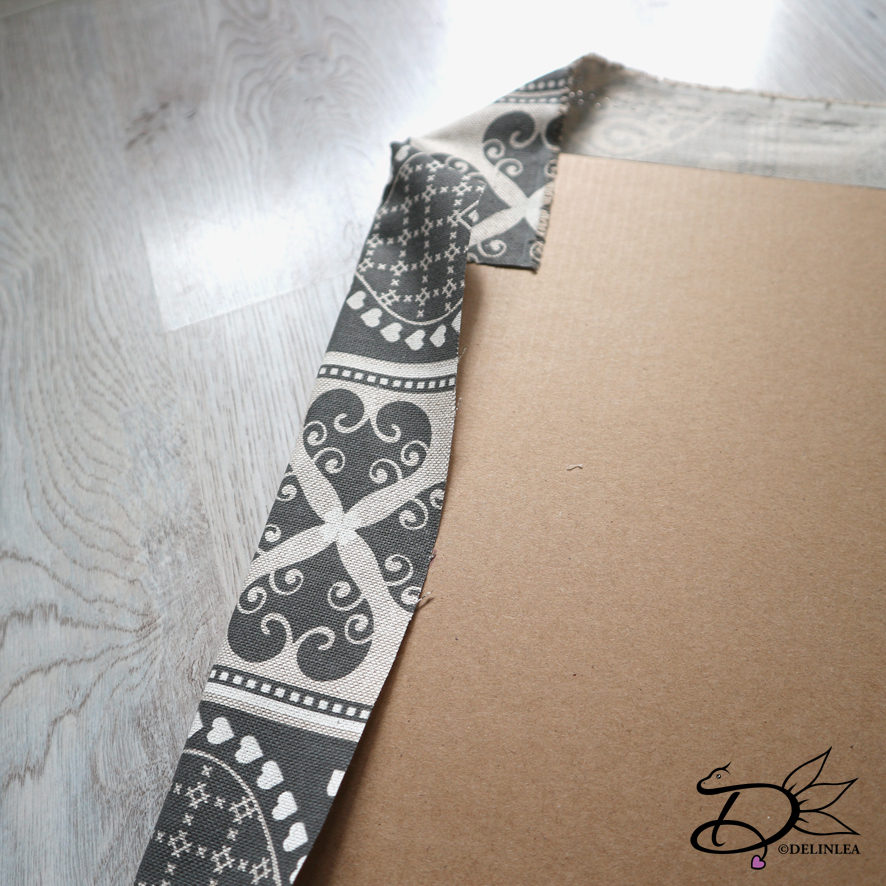
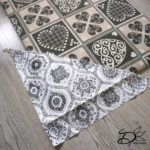
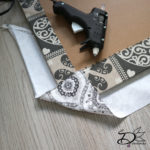
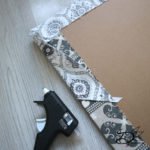
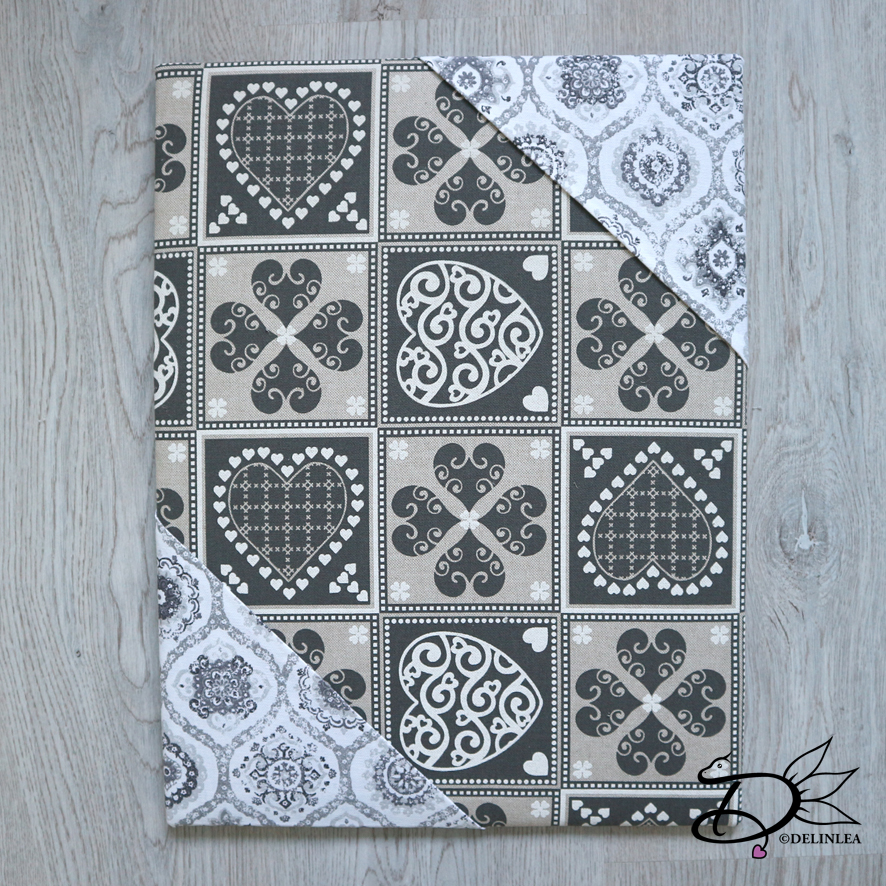
Take your main fabric of 55 by 45cm and place this on a flat surface with the good side facing down. Place the cardboard with the stuffing on top, with the stuffing facing down as well. Now take your glue gun and glue all the corners of the fabric to the cardboard, just as shown in the pictures.


When that’s done, it’s time to glue all sides to the cardboard as well. I started in the middle of each side and working my way down to the corners. While glueing down the sides make sure to stretch the fabric so any oneven things in the fabric will be gone. I learned in school to start in the middle by making things like these with fabric, so the surface will be nice and sturdy. If you start at a corner and work to the other corner there’s a higher chance that there will form any wrinkles, and that’s not what you want.

Decorating

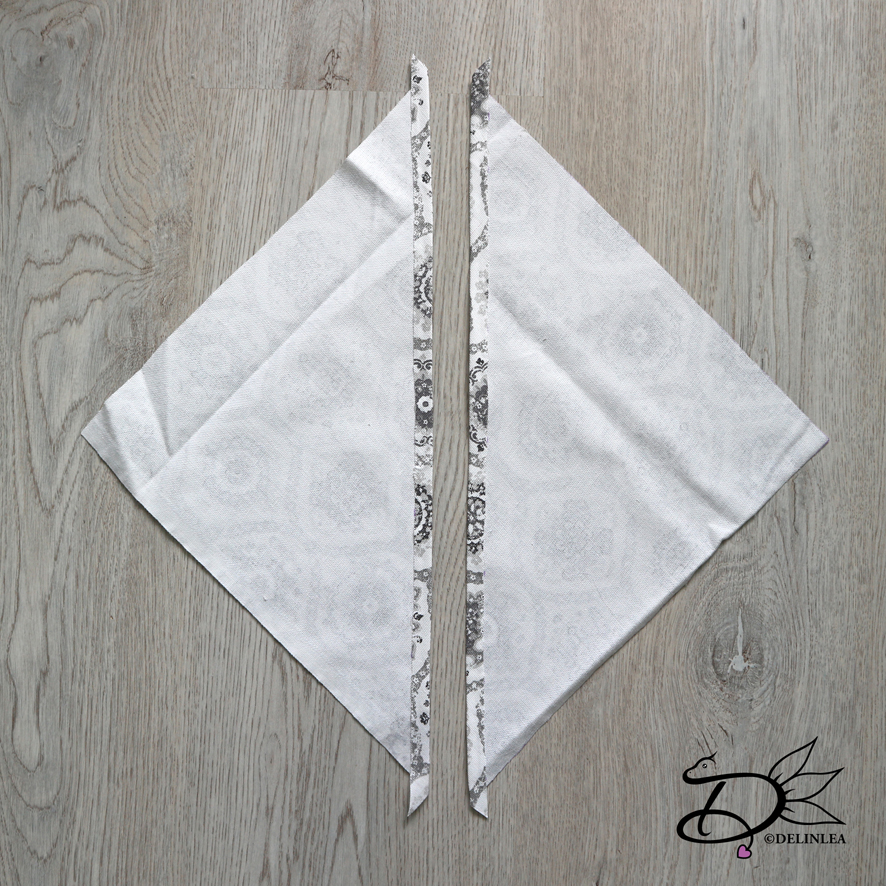
This step you can skip if you want, but we are gonna work with the second fabric (30 by 30cm). Cut this diagonal, so, from one corner to the other. Fold about 1cm over of the longest side of both triangles. You can choose to sew this down but I chose to glue it down with my glue gun, quick and easy. Just don’t burn yourself like I did xD.

Take one triangle and place it of the right side of your memoboard, with the good side of the fabric facing up. Position it the way you like, but make sure you have enough fabric going over the cardboard to glue down. When you are happy with the way it looks, use a sewing pin to keep it in place. And flip the whole thing over.

Do the same for glueing down as the main fabric, start with the corner. And glue down the side.


Repeat for the other triangle.

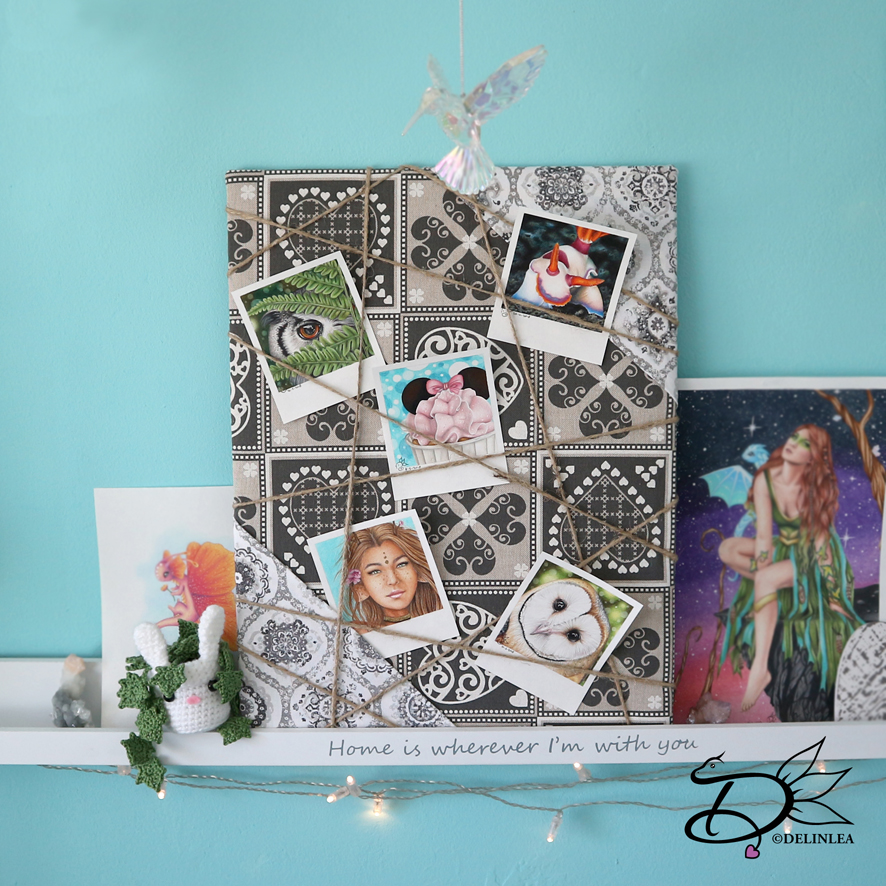
Get out your yarn or ribbon that you chose. and start wrapping it around the memoboard. I used Pins to hold the place I wanted them to stay in. I loved wrapping it criss cross around the board but you can do it however you want, like straight lines. When you are happy with how it looks, glue everything down on the sides of the cardboard, make sure you glue them on tight, so it stays in place forever xD. To secure it more, I glued the yarn/ribbon once more on the back as well.


Finished!

And you are done! Yay! ^-^ Now you can stick all those memories on there, or like I did, my drawings. You can use pins on there, or use those tiny clothespins on the threads.

I hope you enjoyed this tutorial and if you made it, show it to me on instagram or twitter with the hastag #DelinleaDIY. Have a lovely day everyone!

Love
Danielle
Posted in: Crafting Tagged: DIY, Memoboard, Tutorial

♥ Theatre Boxes

21 juni 2018 by Delinlea Leave a Comment

Hey Lovelies!

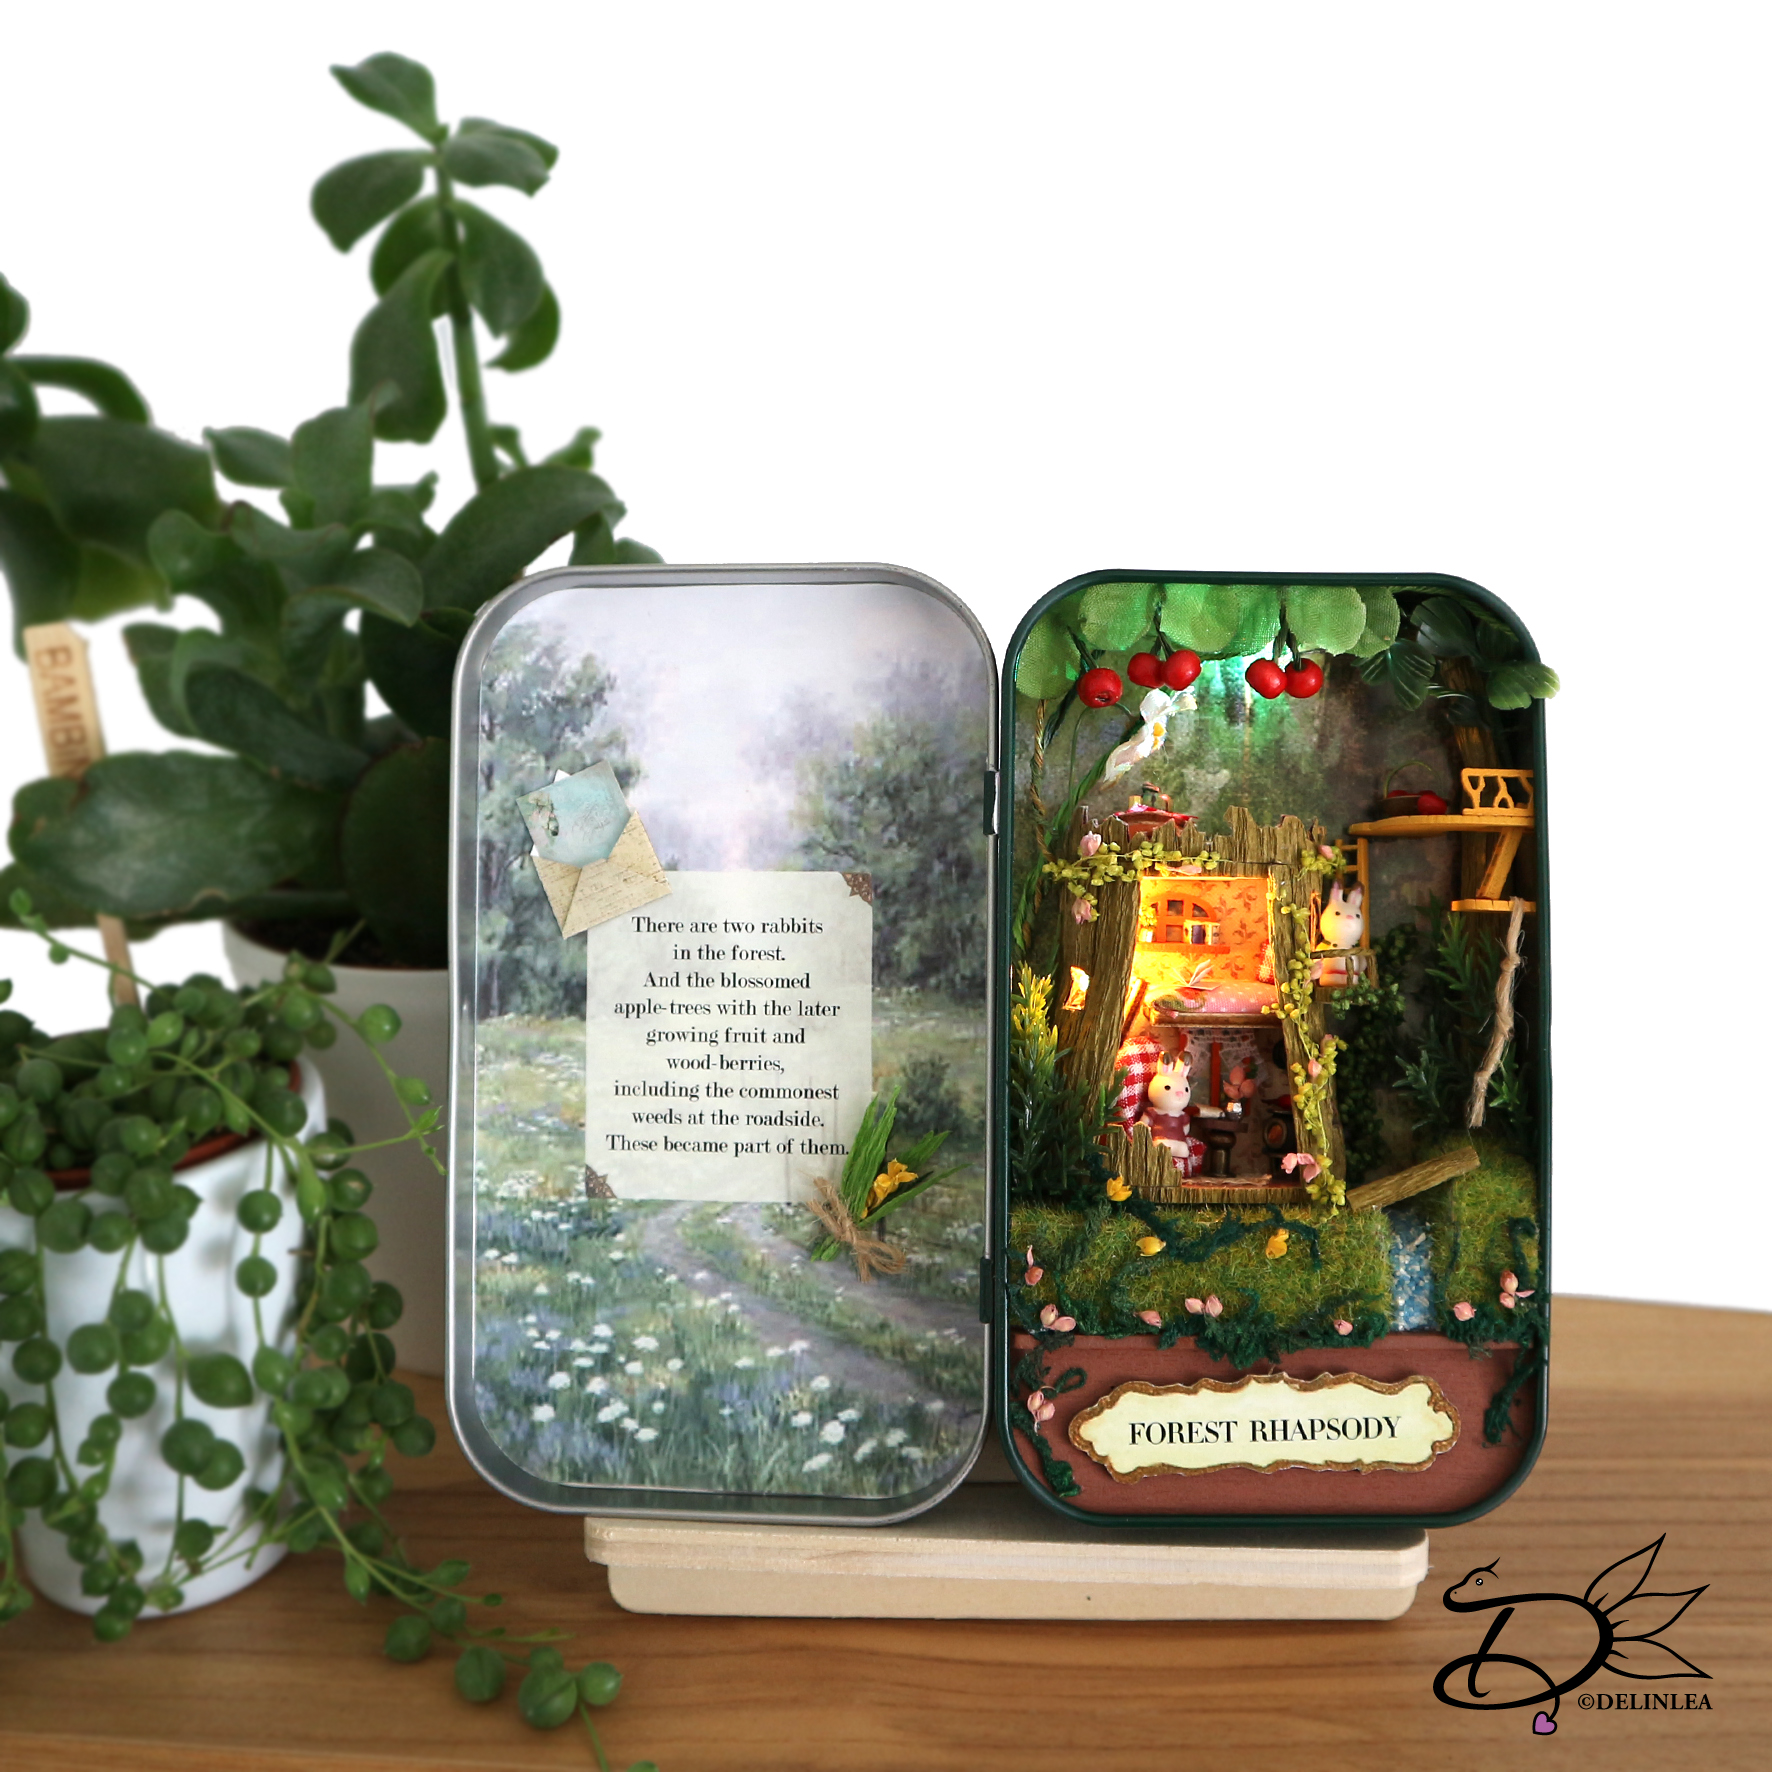
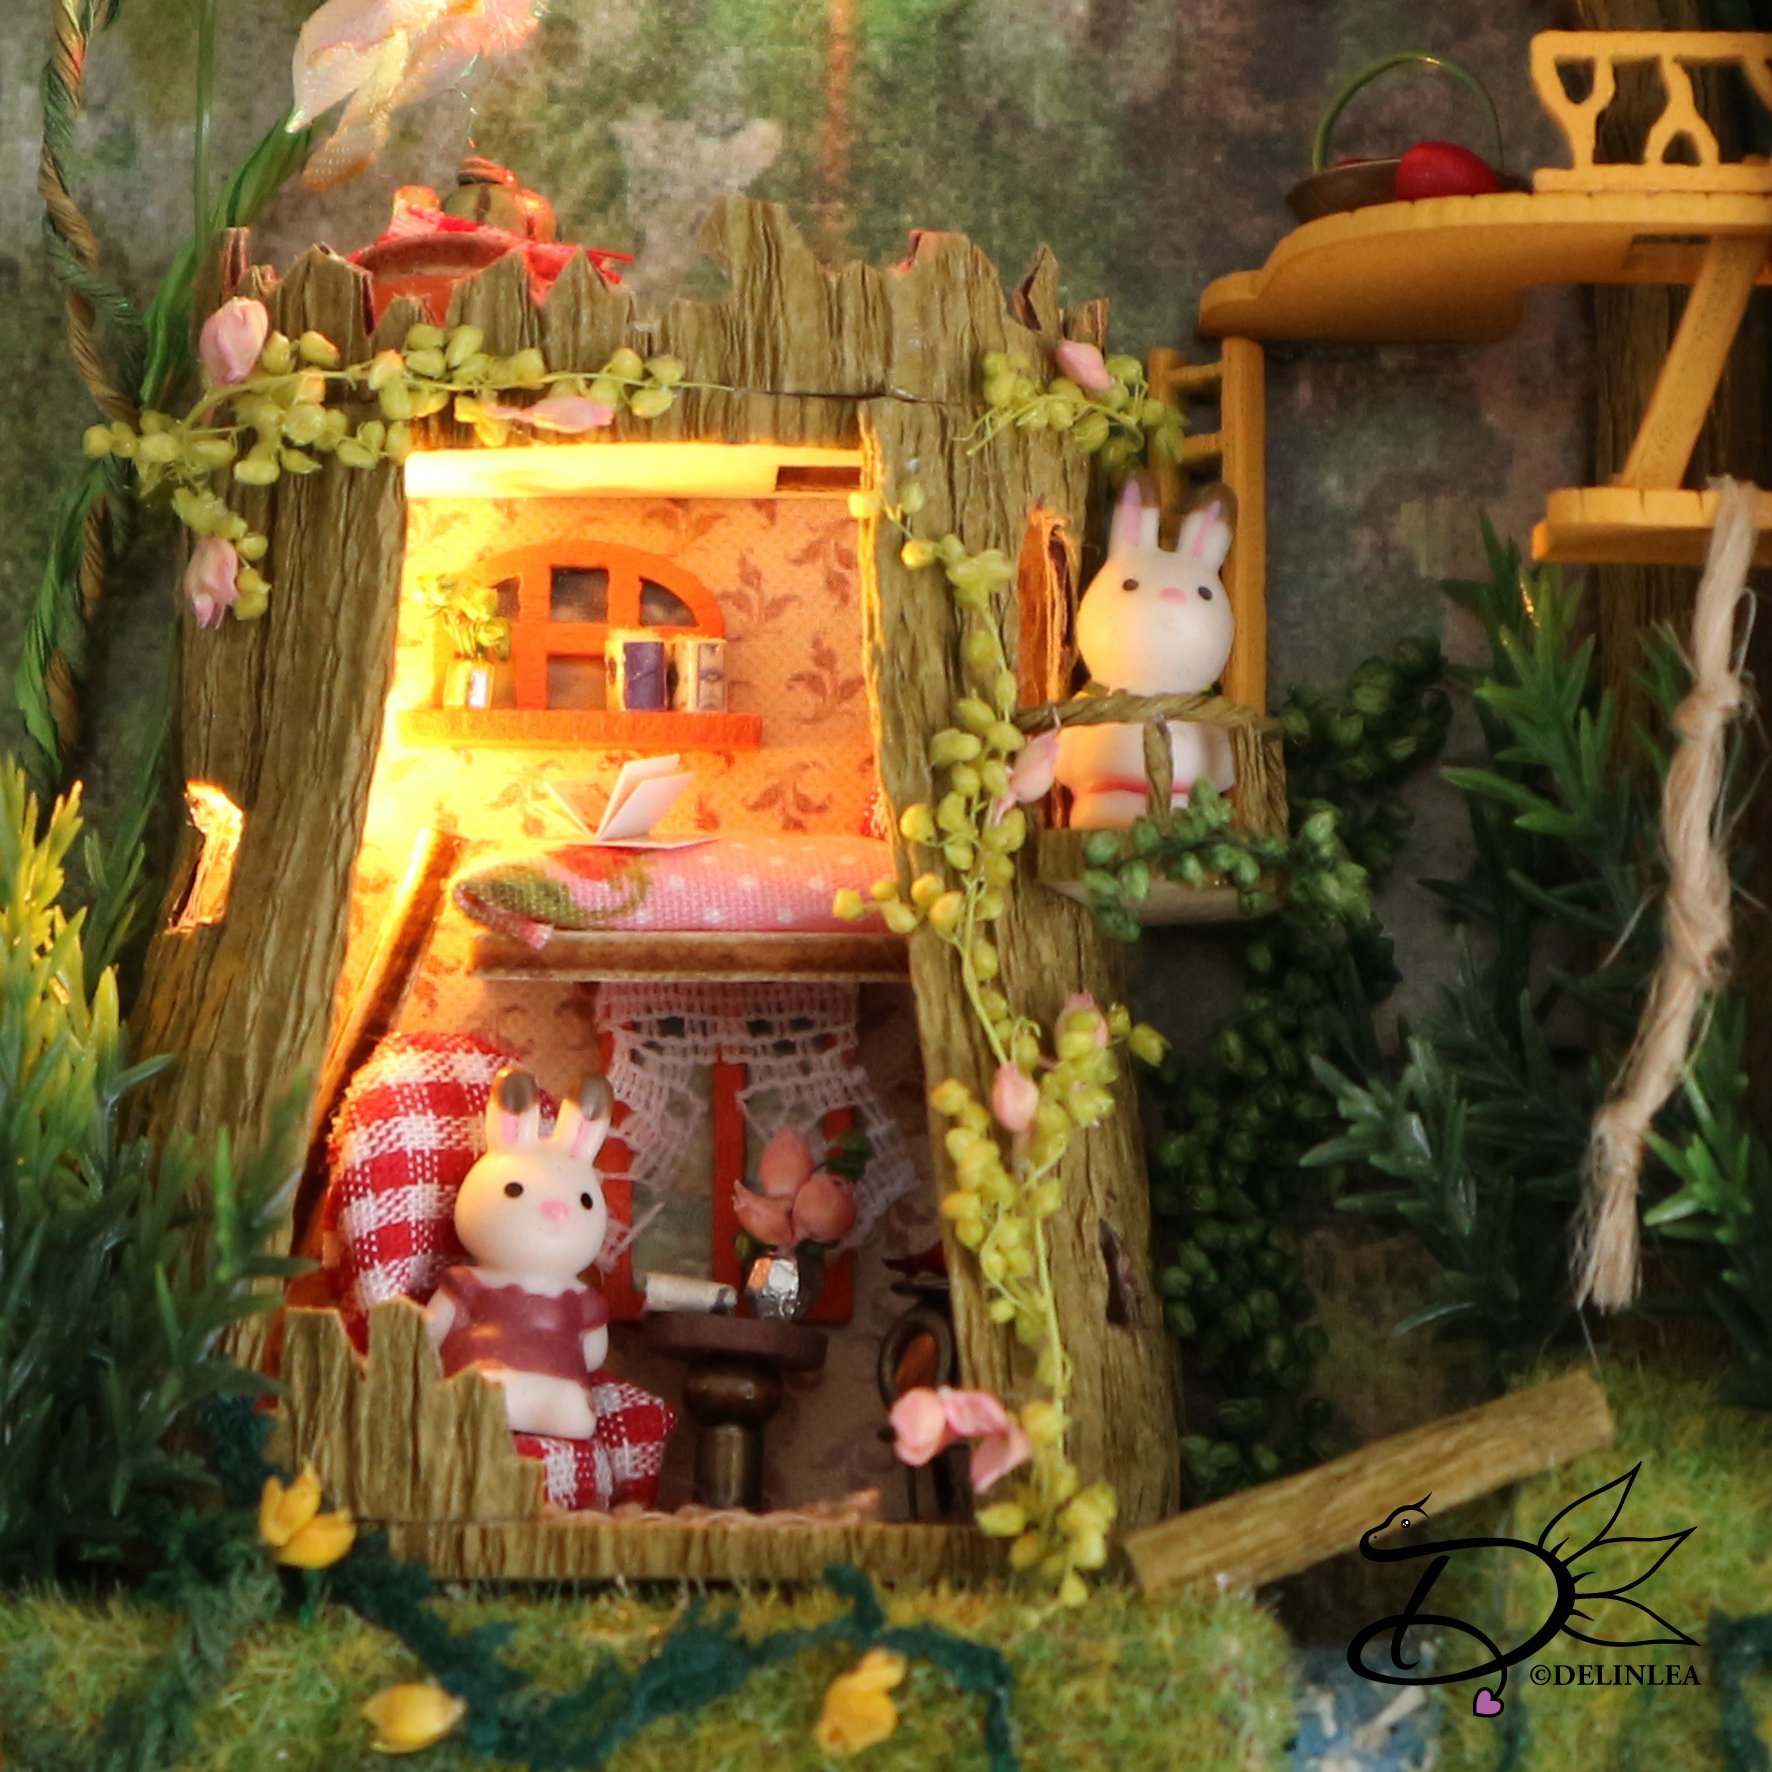
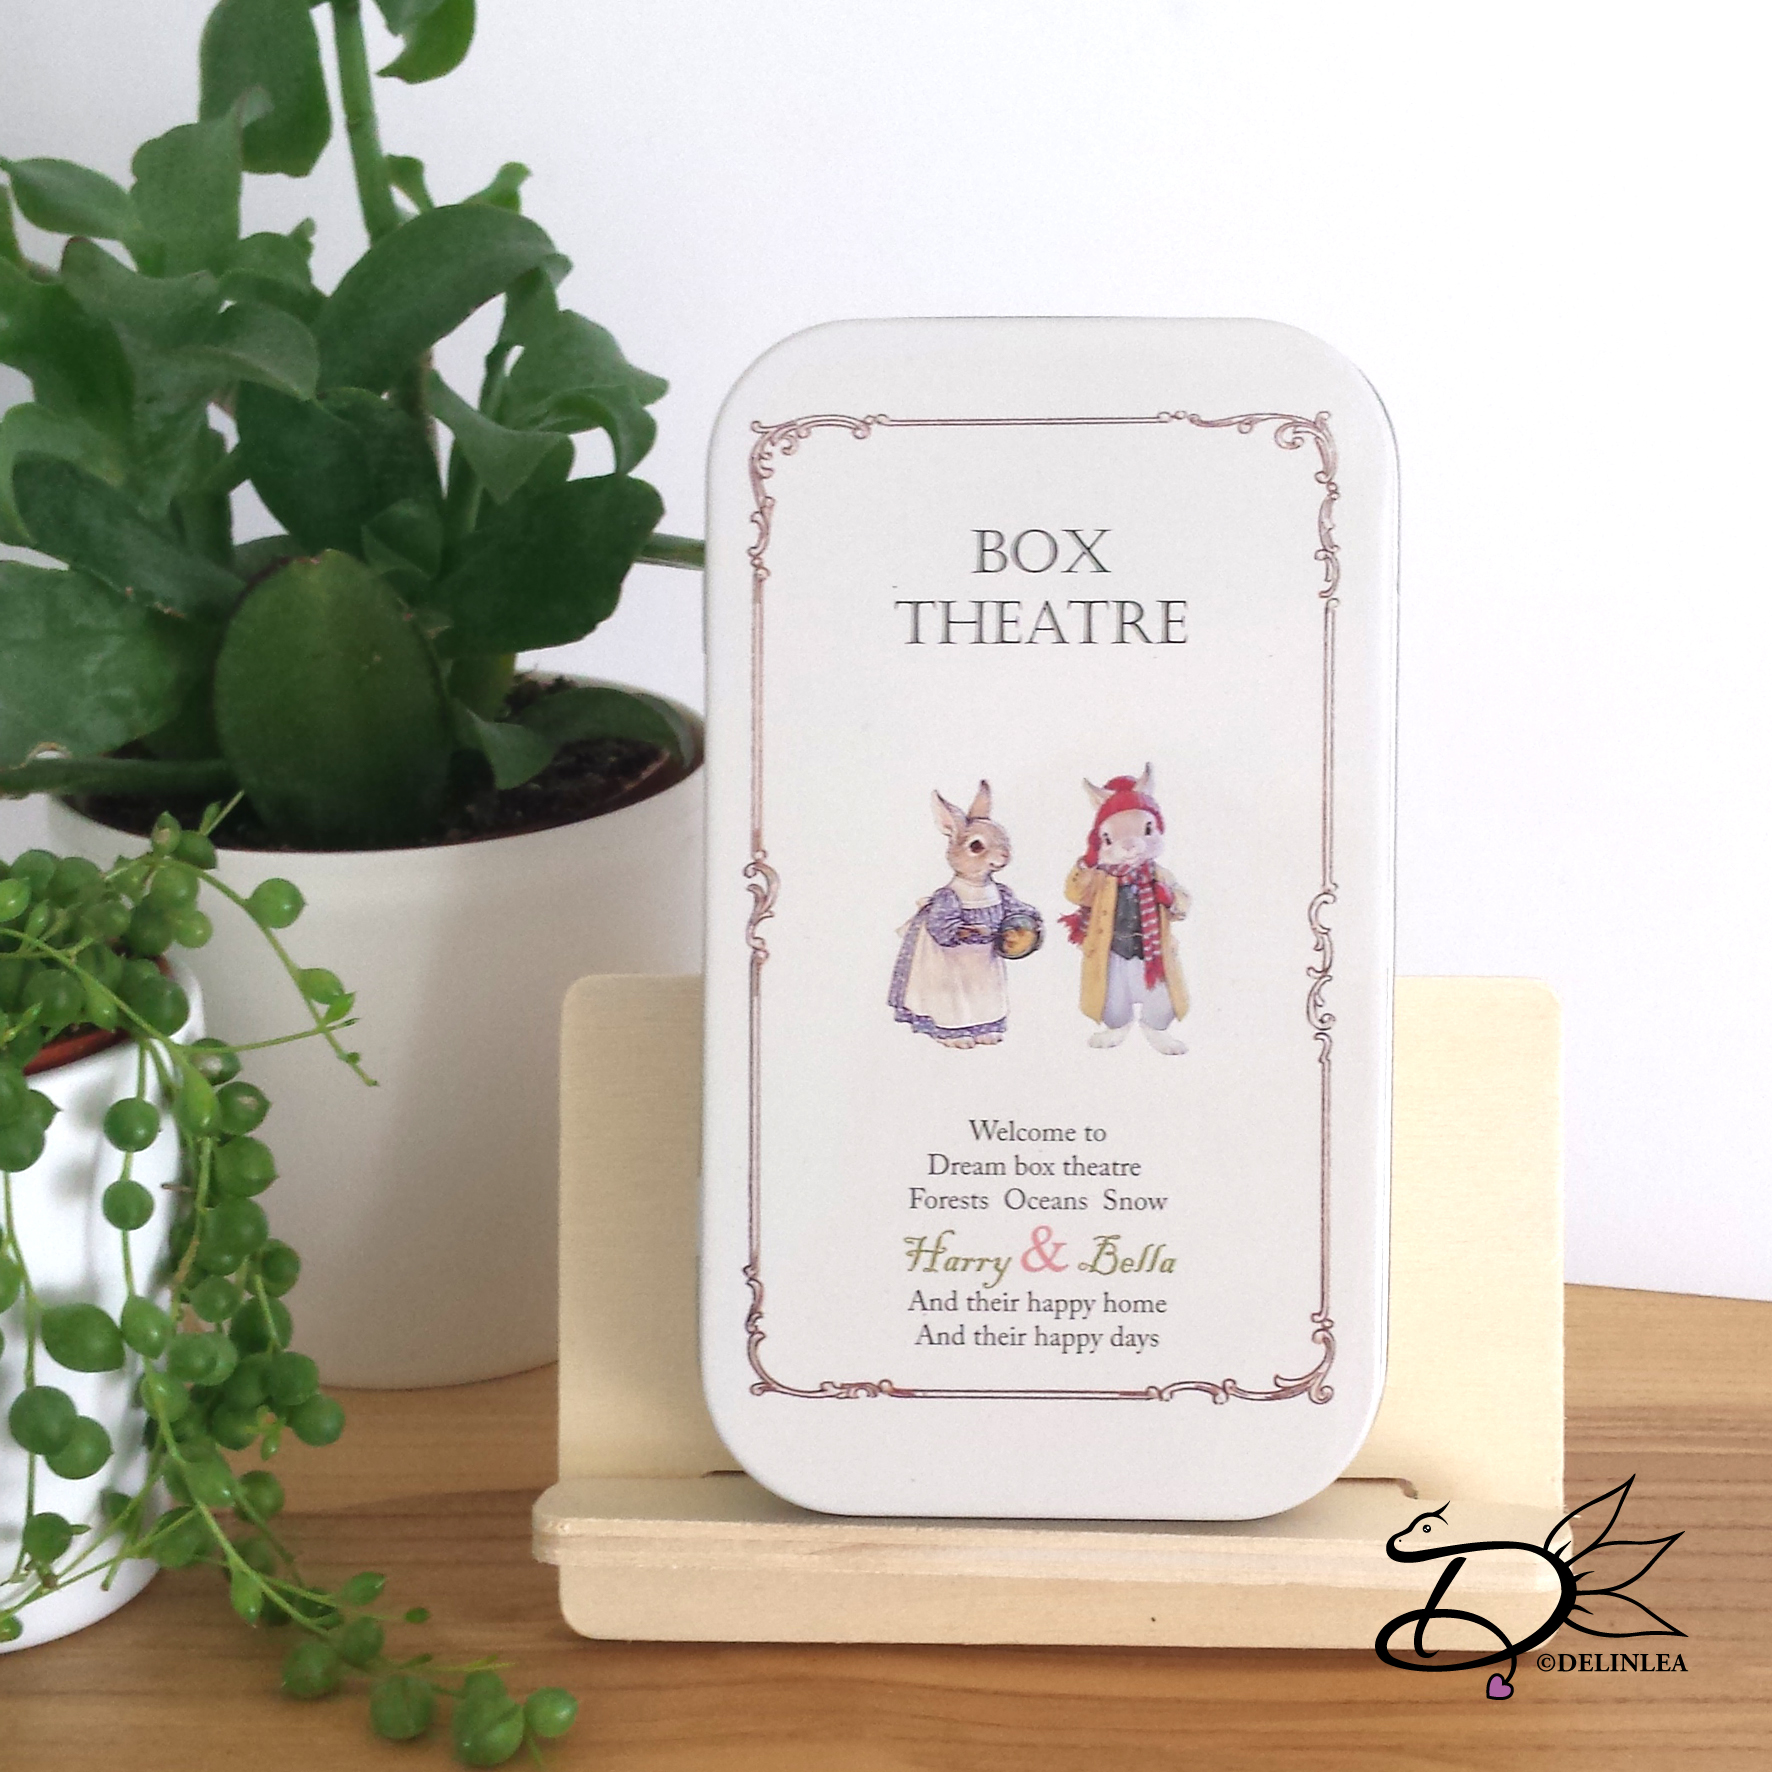
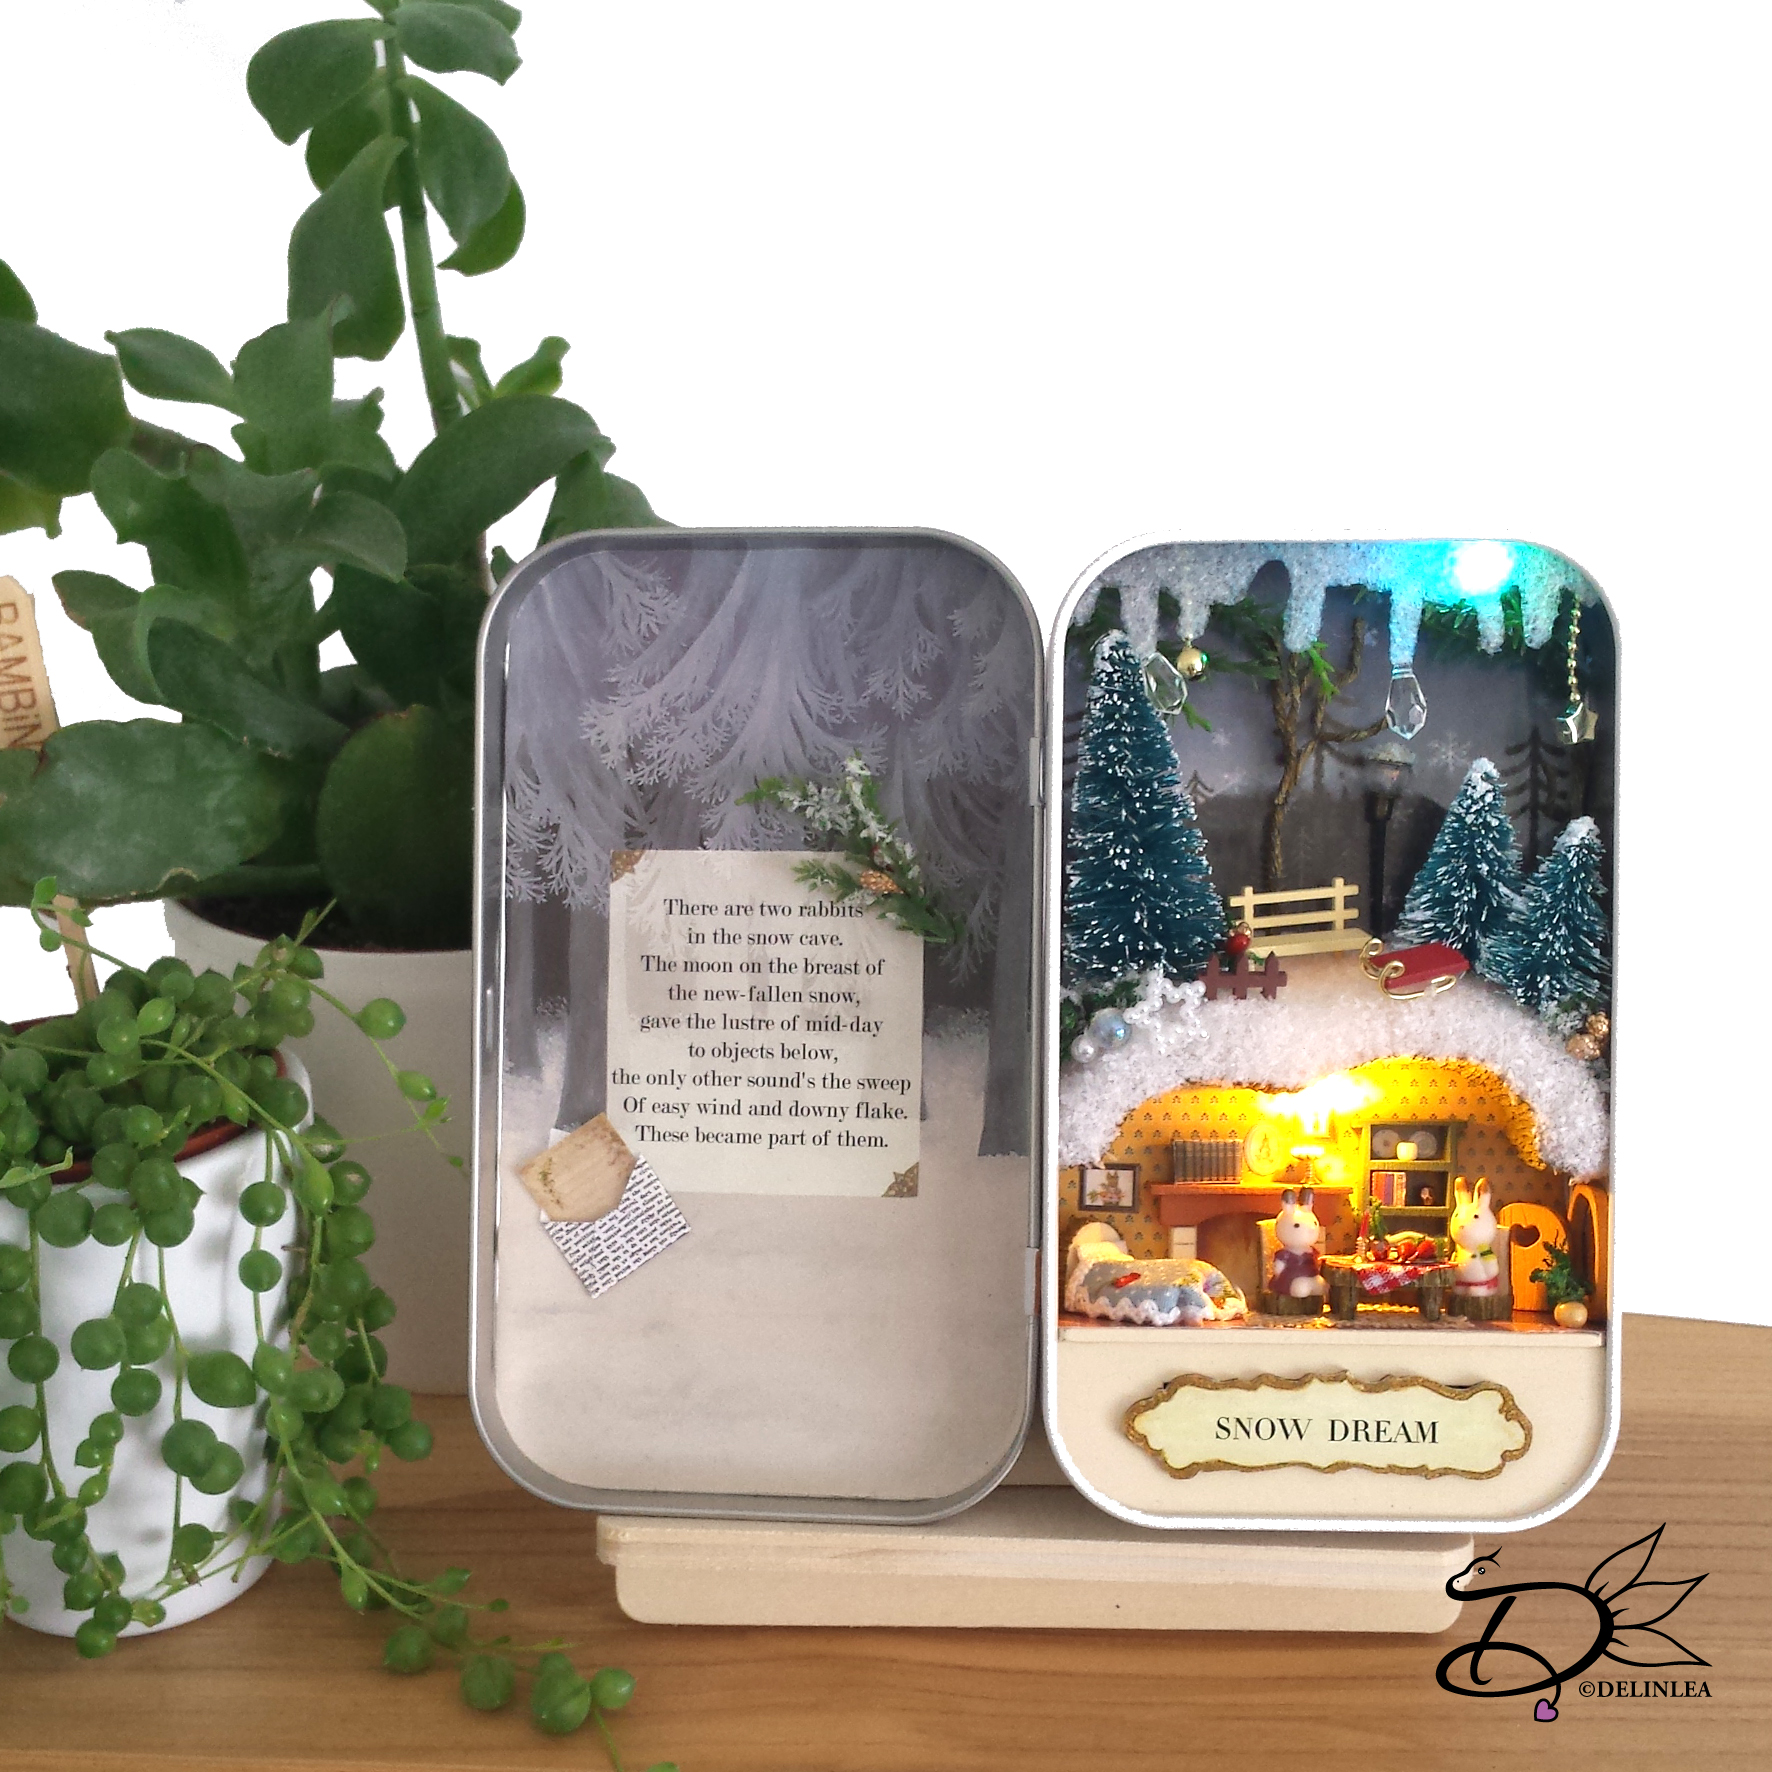
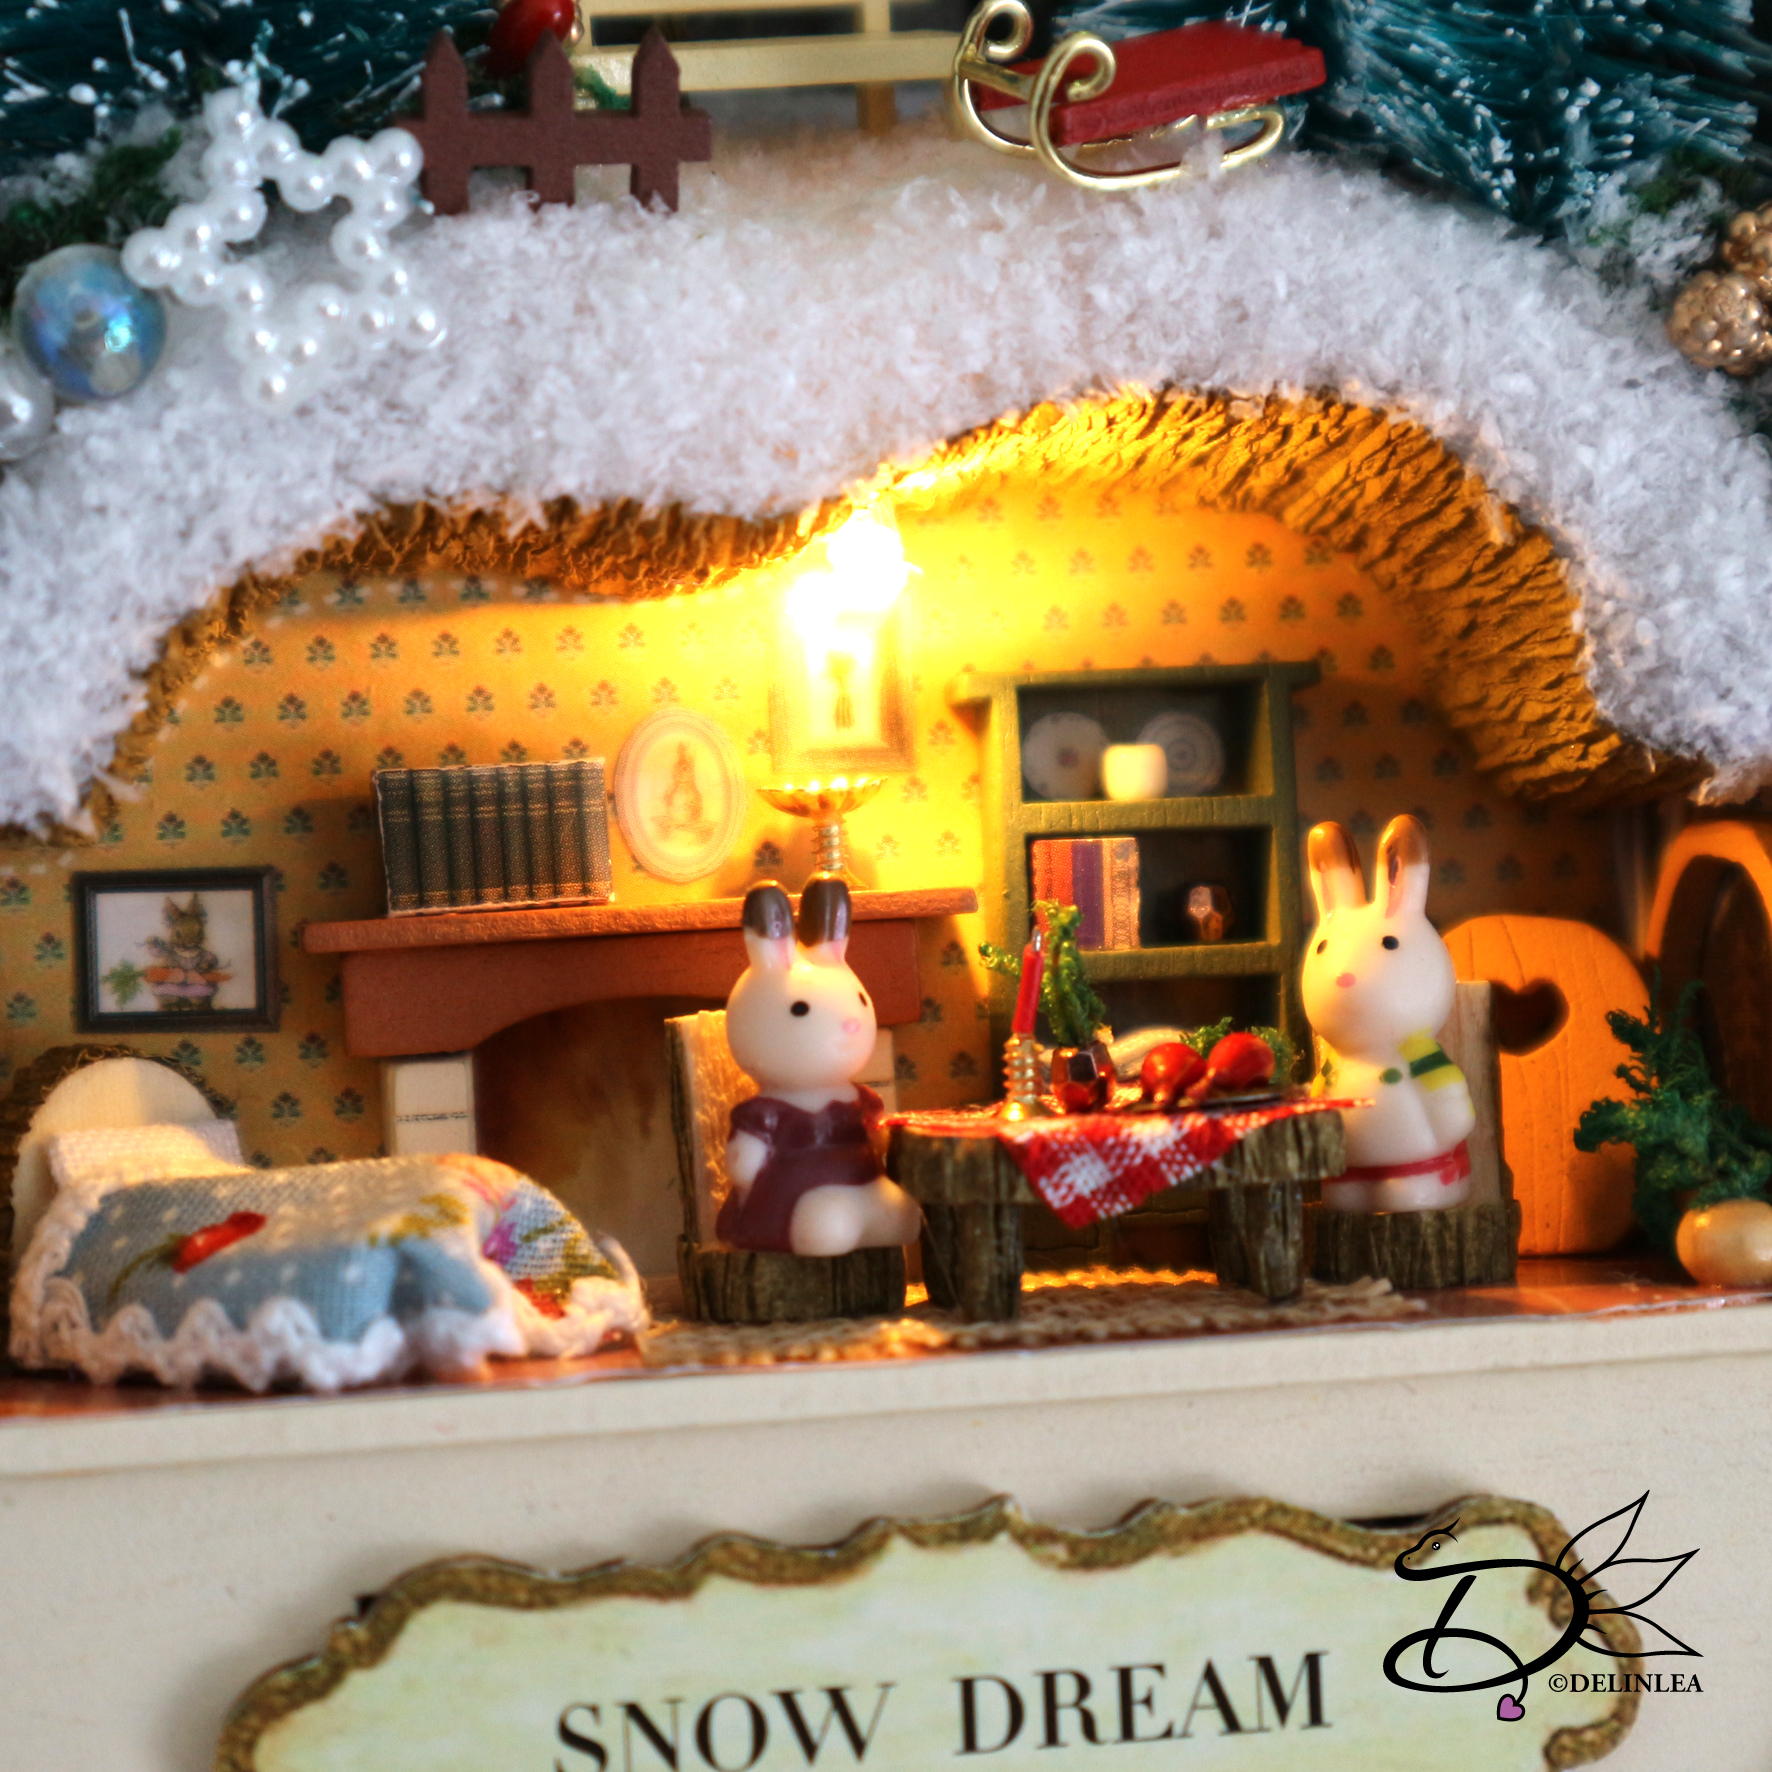
Today I just need to share these DIY kits with you. I’m addicted to them and definitely gonna get some more. I’m talking about Theatre boxes! I found out about these on this Chinese website called aliexpress.com (<< That’s actually a dangerous place for me as a crafter xD). I can spend hours on that site, so I often find cute things that I can use for crafting or, like these, craft kits!

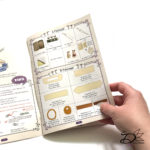
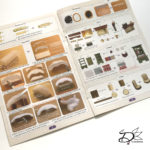
At first I wasn’t sure if I should get them. The instructions seemed to be in Chinese. Usually that doesn’t bother me much, I just follow the pics xD (or if it are videos, just copy what they do xD). After a while of searching and over thinking if I should get them, I found out that there are kits with English instructions, well that makes it a lot easier! Specially if it comes to connecting the lights. Yes! There are lights in there as well! It makes it so much more magical!

Okay, so, if you get a kit like I bought, ‘Forest Rhapsody’ or ‘Snow Dream’, everything is included that you will need, except for the glue (But I saw some ppl online that had glue as well, it depends on the seller I guess). And in one of the packs were batteries and in the other there were not. Even backgrounds are included (those are in the last 2 pages of the instructions that are meant for cutting out). Sadly enough, I don’t have pictures of when the box has just been opened and not used.

With these kits you almost make everthing yourself. In the instructions they tell you exactly what you need for a particulair item and you glue that togehter. Sometimes you need to cut some pieces to the right lenght but that’s always stated. The instructions are very clear, just follow what they show.


I had a lot of fun making these, and definitely gonna get some more! They take some time to make tho. AND you totally should get some tweezers with a bent tip, it can be very fiddly! Most item are tiny, like really tiny to fit in the box. (the boxes are about 8 by 14 cm).

Here you can find the ones I got:
Forest Rhapsody
Snow Dream

I hope I got you a new addiction as well *evil laugh*.

Love
Danielle

Note: this is not sponsored, just someting I love!

Posted in: Crafting, Miniature Tagged: Cute Room, Miniature, Theatre Boxes
« Vorige 1 2 3 4 5 … 30 31 32 33 34 35 36 37 38 … 40 41 42 43 44 Volgende »

What are you looking for?!

My Socials

Ko-Fi

I love making all these free things for you, tho it would be very helpfull if you can support me on Ko-Fi! (You don’t have to tho, totally up to you!)

Ko-Fi Shop!!

In my Ko-Fi shop you can find PDF Amigurumi Patterns!! You can pay easily with PayPal.
Go to the shop here!!

Recent Blog Posts

  • ♥ Happy 2022!
  • ♥ Day 12; Lights
  • ♥ Day 11; Flower Deco
  • ♥ Day 10; Snowman
  • ♥ Day 9; Gingerbread Houses

Recent Comments

  • Erzsebet M. Marosvari op ♥ My Entry For a Faber Castell Contest
  • Delinlea op ♥ Pietje Gnome Amigurumi
  • Delinlea op ♥ Toy Story Alien TsumTsum Amigurumi
  • Delinlea op ♥ Pua Tsum Tsum Amigurumi
  • Charli op ♥ Free Pattern; CNY Mouse Amigurumi

Categories

  • animation
  • Beadwork
  • Blogmas 2018
  • Blogmas 2020
  • Blogmas 2021
  • Books
  • Bujo
  • Christmas
  • Christmas CAL 2019
  • Christmas Countdown 2017
  • Contest
  • Crafting
  • Crochet
  • Drawing
  • Drawing Lesson
  • Easter
  • Geen categorie
  • Life
  • Miniature
  • Nail Art
  • New Year
  • Paper
  • plush
  • Pokemon
  • Poseable Art Doll
  • Recipe
  • Sewing
  • Shop Pattern
  • Sinterklaas
  • Social Media
  • Tsum Tsum
  • Ufufy

Copyright © 2026 Delinlea - My little fantasy world.

Family WordPress Theme by themehall.com