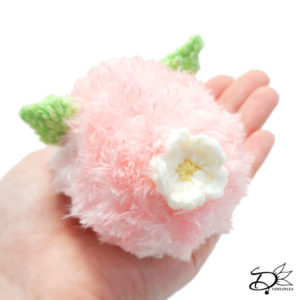
♥ Mrs. Potts Ufufy Amigurumi
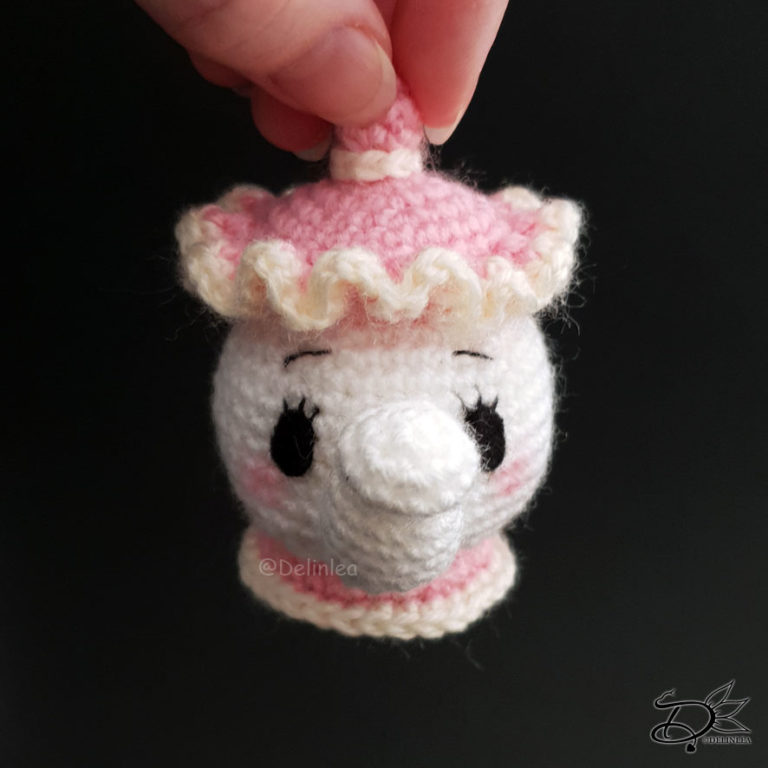
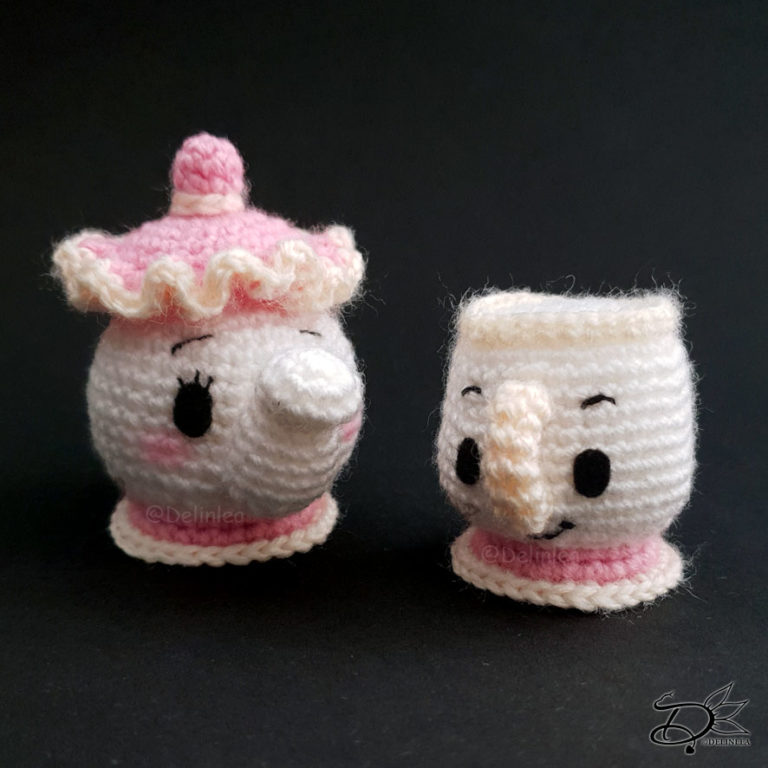
Hey Lovelies! Are you ready for a new Ufufy Pattern? You know I made Chip Mug before, right? Well today it’s Mrs. Potts turn. Those don’t really look like an egg, as all ufufy’s do, but they are still really adorable! I tried to keep them the same size, so they fit in our collection!
For this Pattern you’ll need;
♥ Yarn in the colors White, Pink and Yellow. (I used Zeeman Supersoft)
♥ Crochet hook. ( I used a 2mm)
♥ Stuffing.
♥ Black Felt and Thread for facial details.
♥ Yarn Needle.
♥ Sewing Pins.
♥ Stitch Marker.
♥ (Fabric) Glue.
Stitches used (US Terms):
Magic Ring.
CH = Chain.
SLST = Slip Stitch.
SC = Single Crochet.
ST = Stitch.
BL = Back Loops.
FL = Front Loops.
Inc = Increase.
Dec = Decrease.
(…) = Repeat the space in brackets the given number of times.
[…] = Total number of stitches.
♥ Pattern Mrs. Potts Ufufy
This pattern is made with continues rounds, unless stated otherwise. Use a stitch marker to mark your first/last stitch of your row.
Body
Start with the color White.
1: 6SC in a Magic Ring. [6]
2: 2SC in each st around. [12]
3: (1SC, inc) 6 times. [18]
4: (2SC, inc) 6 times. [24]
5: (3SC, inc) 6 times. [30]
6: (4SC, inc) 6 times. [36]
7: 36SC. [36]
|
14: 36SC. [36]
15: (4SC, dec) 6 times. [30]
16: (3SC, dec) 6 times. [24]
17: BL, (2SC, dec) 6 times. [18]
18: (1SC, dec) 6 times. [12] Stuff the body.
19: dec all around. [6]
Fasten off and weave in tail.
Foot of the Pot
Start with the color Pink.
At row 17 of the body you worked in BL, now rejoin with Pink yarn in the FL.
1: 24SC. [24]
2: (3SC, inc) 6 times. [30]
Change to the color Yellow.
3: BL, 30SC. [30]
Fasten off and weave in tail
Nose
Use the color White.
1: 6SC in a Magic Ring. [6]
2: 2SC in each st around. [12]
3: 12SC. [12]
4: 3SC, (dec) 3 times, 3SC. [9]
5: 9SC. [9]
6: (2SC, inc) 3 times. [12]
7: 12SC. [12]
|
10: 12SC. [12] Stuff lightly.
11: (2SC, dec) 3 times. [9]
12: (1SC, dec) 3 times. [6]
Fasten off and leave a long tail for sewing.
Lid
Use the color Pink.
1: 4SC in a Magic Ring. [4]
2: 2SC in each st around. [8]
3: 8SC. [8]
4: Dec around. [4]
5: (1SC, inc) 2 times. [6]
6: 2SC in each st around. [12]
7: (1SC, inc) 6 times. [18]
8: (2Sc, inc) 6 times. [24]
9: 24SC. [24]
10: 24SC. [24]
11: BL 24SC. [24]
12: (2SC, dec) 6 times. [18]
Fasten off and leave a long tail for sewing.
If you want, you can stuff the lid lightly, but don’t put in their too much. You’ll get too much space between the body and the lid if you put too much stuffing.
Around the tip of the lid you have an Yellow accent, make a small chain that fits around there and sew it on.
Ruffles
Start with the color Pink.
At row 11 of the lid you worked in BL, rejoin with pink yarn in the FL.
1: 4SC in each st around. [96]
Change to the color Yellow.
2: 96SC. [96]
Fasten off and weave in tail.
Handle
Use the color Yellow.
1: 6SC in a Magic Ring. [6]
2: 6SC. [6]
Repeat row 2 until you have 15 rows.
Fasten off and leave a long tail for sewing.
Assembling
Whenever I assemble a Amigurumi, I’d like to use sewing pins first. This way you can move parts around easily until you are happy. Then sew it on.
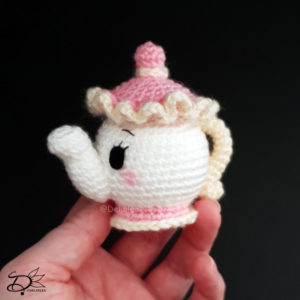
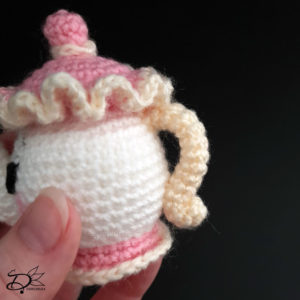
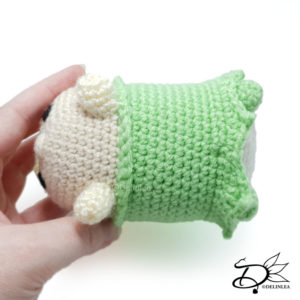
First sew the lid to the body of Mrs. Potts, try to center it on top. Then sew on the nose, flatten the bottom lightly to do so. Last sew on the handle. But before you do, the side where you started with the magic ring will be curled. As you can see in the picture, I’ve sewn this, so it stays in place. After this you can sew it to the body.
Last make eyes from felt and use thread to make the eyelashes and eyebrows. With a bit of pink on the cheeks, finishes off this cute Mrs. Potts.
I hope you had fun making Mrs. Potts ! It looks maybe harder to make as it actually is. If you made on for your own, show me on Instagram or Twitter with the #DelinleaDIY, I’d love to see!
Have a wonderful day and I’ll see you next week!
Love
Danielle

