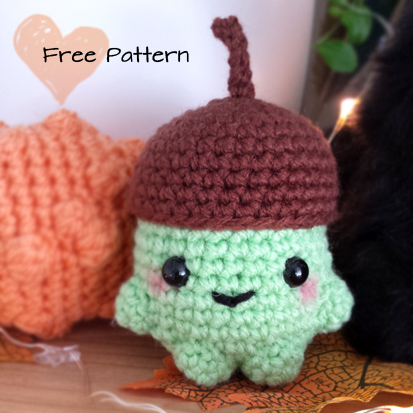
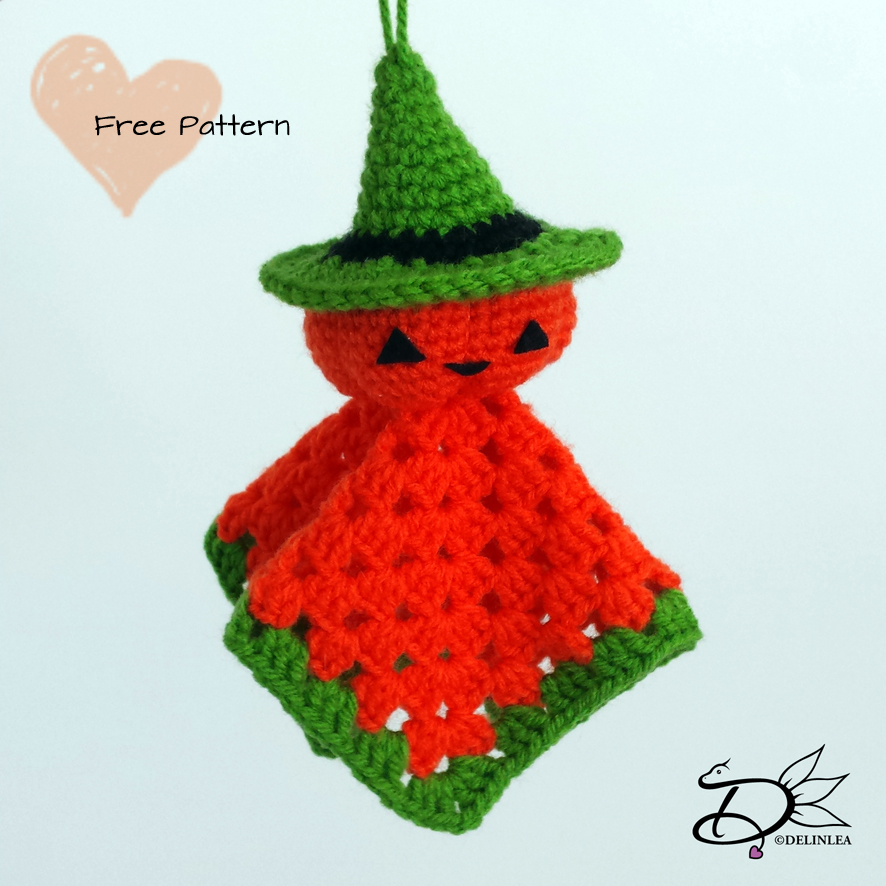
♥ Amigurumi Pumpkin Ghost
Hey Lovelies! It’s Thursday again and that means time for a new DIY. Is it too early to make Halloween decorations already?! Oh well, you can never start early enough xD. But you can use this one as fall decoration as well, so who cares xD. Today we are going to make a pumpkin ghost. It’s cute, believe me.
For this DIY you will need:
♥ Yarn, in Orange, Black and Green.
♥ Crochet hook.
♥ Stitch marker.
♥ Yarn Needle.
♥ Sewing Pins. (optional)
♥ Fiber fill.
♥ Felt in Black.
♥ Scissors.
♥ Glue.
Stitches used (US):
CH = Chain.
SC = Single Crochet.
DC = Double Crochet.
ST = Stitch.
Inc = Increase.
Dec = Decrease.
Slst = Slip Stitch.
FL = Front Loop.
(…) = Repeat the space in brackets the given number of times.
[…] = Total number of stitches.
Pattern
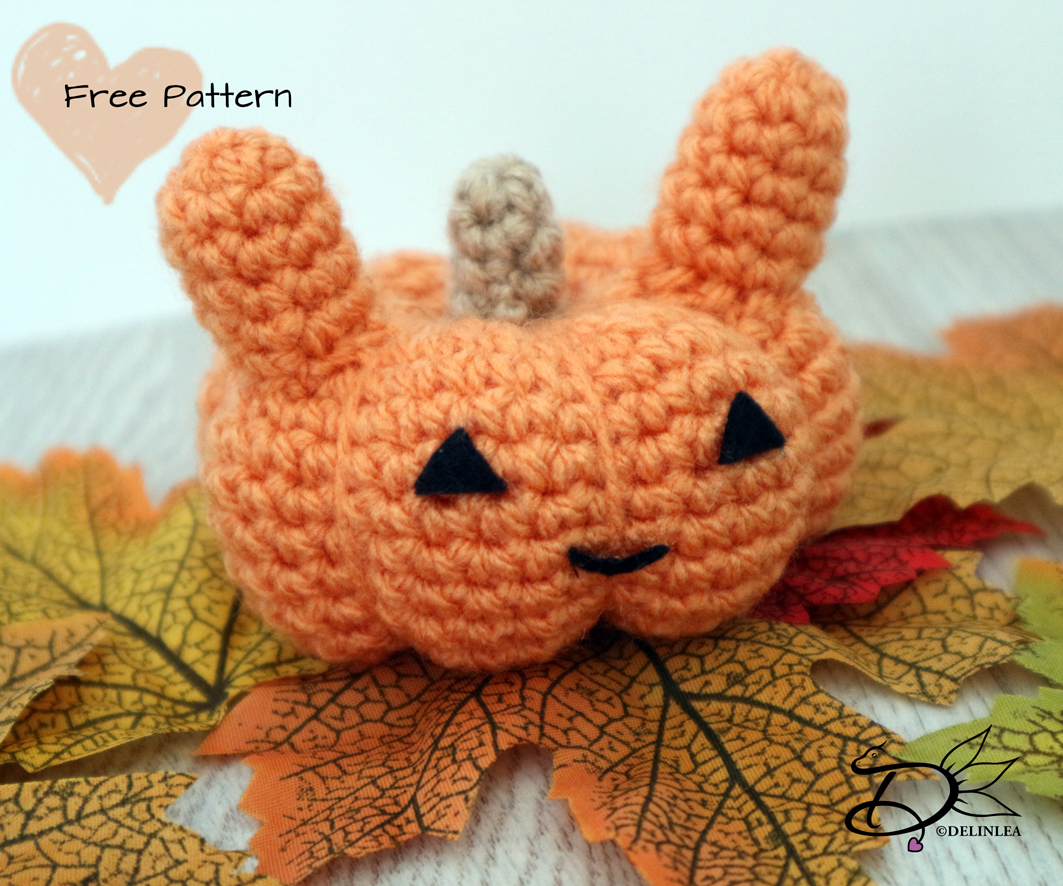
Pumpkin
Use the color Orange.
1: 8SC in Magic Ring. [8]
2: 2SC in each st around. [16]
3: (1SC, inc) 8 times. [24]
4: (2SC, inc) 8 times. [32]
5: (3SC, inc) 8 times. [40]
6: 40SC. [40]
|
13: 40SC. [40]
14: (3SC, dec) 8 times. [32]
15: (2SC, dec) 8 times. [24]
16: (1SC, dec) 8 times. [16] Stuff the Pumpkin here.
17: dec all around. [8]
Fasten off and leave a very long tail. Use this tail to go through the middle and around, and pull tight to get those parts of the typical Pumpkin look. you can do this as many times as you want, I did about 8 times.
Granny Square
Start with the color Orange. You start each row with 2CH, this counts as the first DC. Use SlSt after every row to go to the next ch space.
1: (3DC, CH2) 4 times in Magic Ring. [4ch space, 12DC]
2: (3DC, CH2, 3DC, CH1) 4 times. [8ch space, 24DC]
3: (3DC, CH2, (3DC, CH1) 2 times.) 4 times. [12ch space, 36DC]
4: (3DC, CH2, (3DC, CH1) 3 times.) 4 times. [16ch space, 48DC]
5: (3DC, CH2, (3DC, CH1) 4 times.) 4 times. [20ch space, 60DC]
6: (3DC, CH2, (3DC, CH1) 5 times.) 4 times. [24ch space, 72DC]
7: (3DC, CH2, (3DC, CH1) 6 times.) 4 times. [28ch space, 84DC]
8: (3DC, CH2, (3DC, CH1) 7 times.) 4 times. [32ch space, 96DC]
Change to the color Green.
9: (3DC, CH2, (3DC, CH1) 8 times.) 4 times. [36ch space, 108DC]
Fasten off and weave in tail.
Witch hat
Start with the color Green.
1: 4SC in Magic Ring. [4]
2: (1SC, inc) 2 times. [6]
3: (1SC, inc) 3 times. [9]
4: (2SC, inc) 3 times. [12]
5: (3SC, inc) 3 times. [15]
6: (4SC, inc) 3 times. [18]
7: (5SC, inc) 3 times. [21]
8: 21SC. [21]
9: (6SC, inc) 3 times. [24]
Change to the color Black.
10: (7SC, inc) 3 times. [27]
11: (8SC, inc) 3 times. [30]
Change back to the color Green.
12: Work in front loops only, (2SC, inc) 10 times. [40]
13: 40SC. [40]
14: 40SC. [40]
Fasten off and weave in tail.
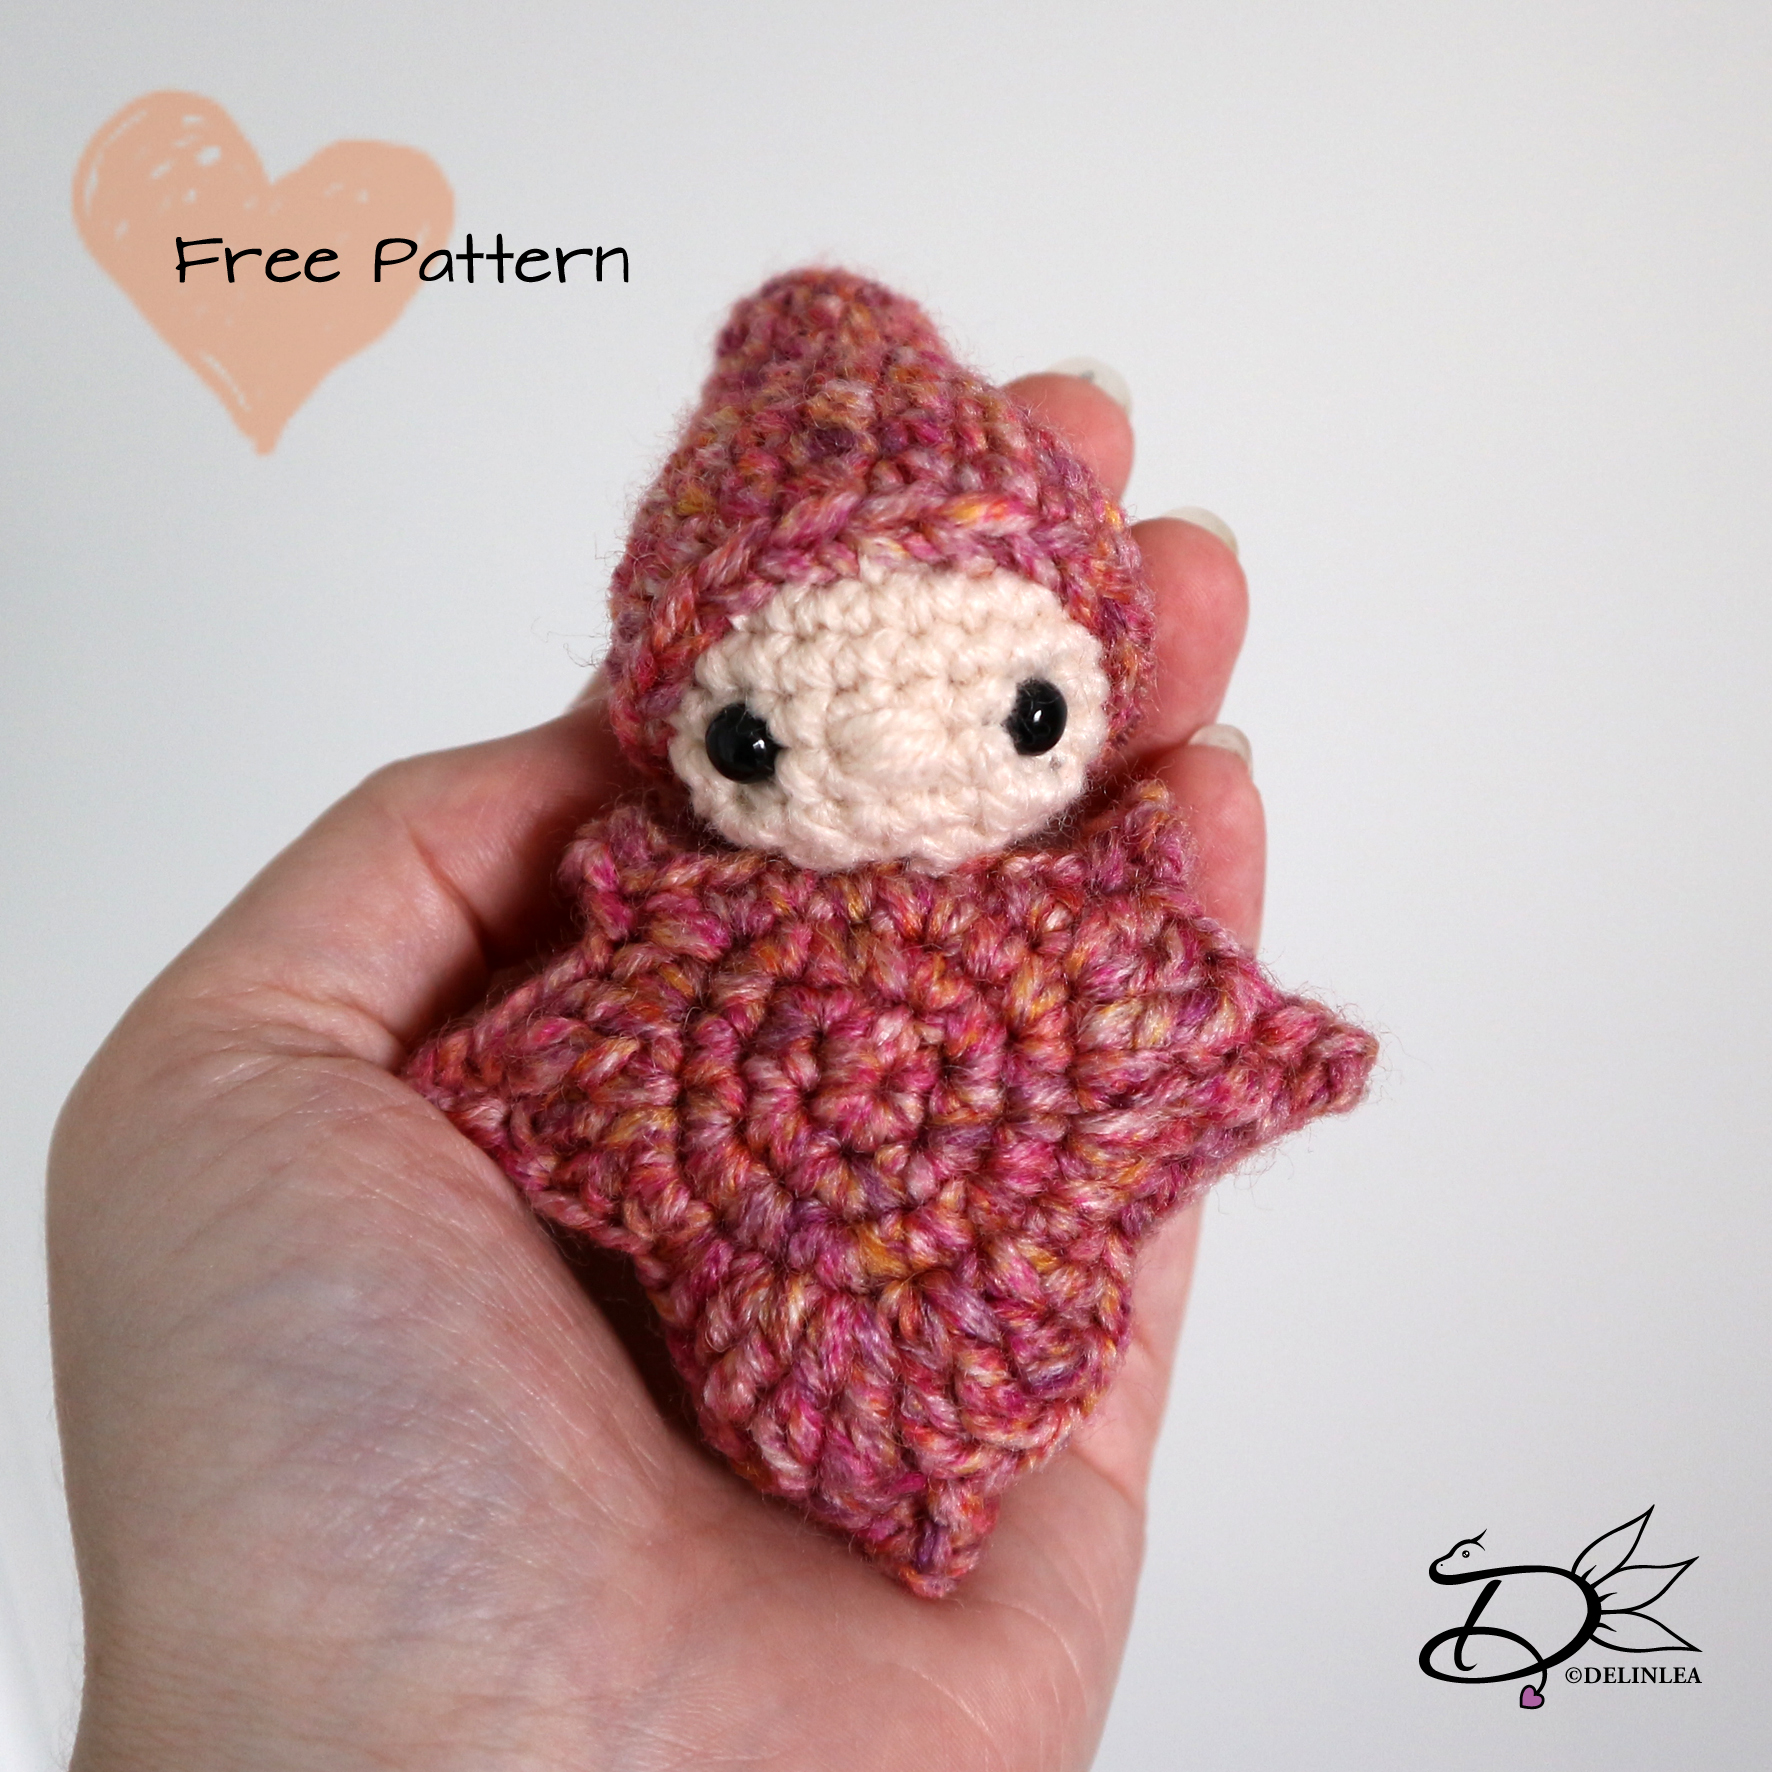
Assembling.
Sew the granny square to the bottom on the pumpkin.
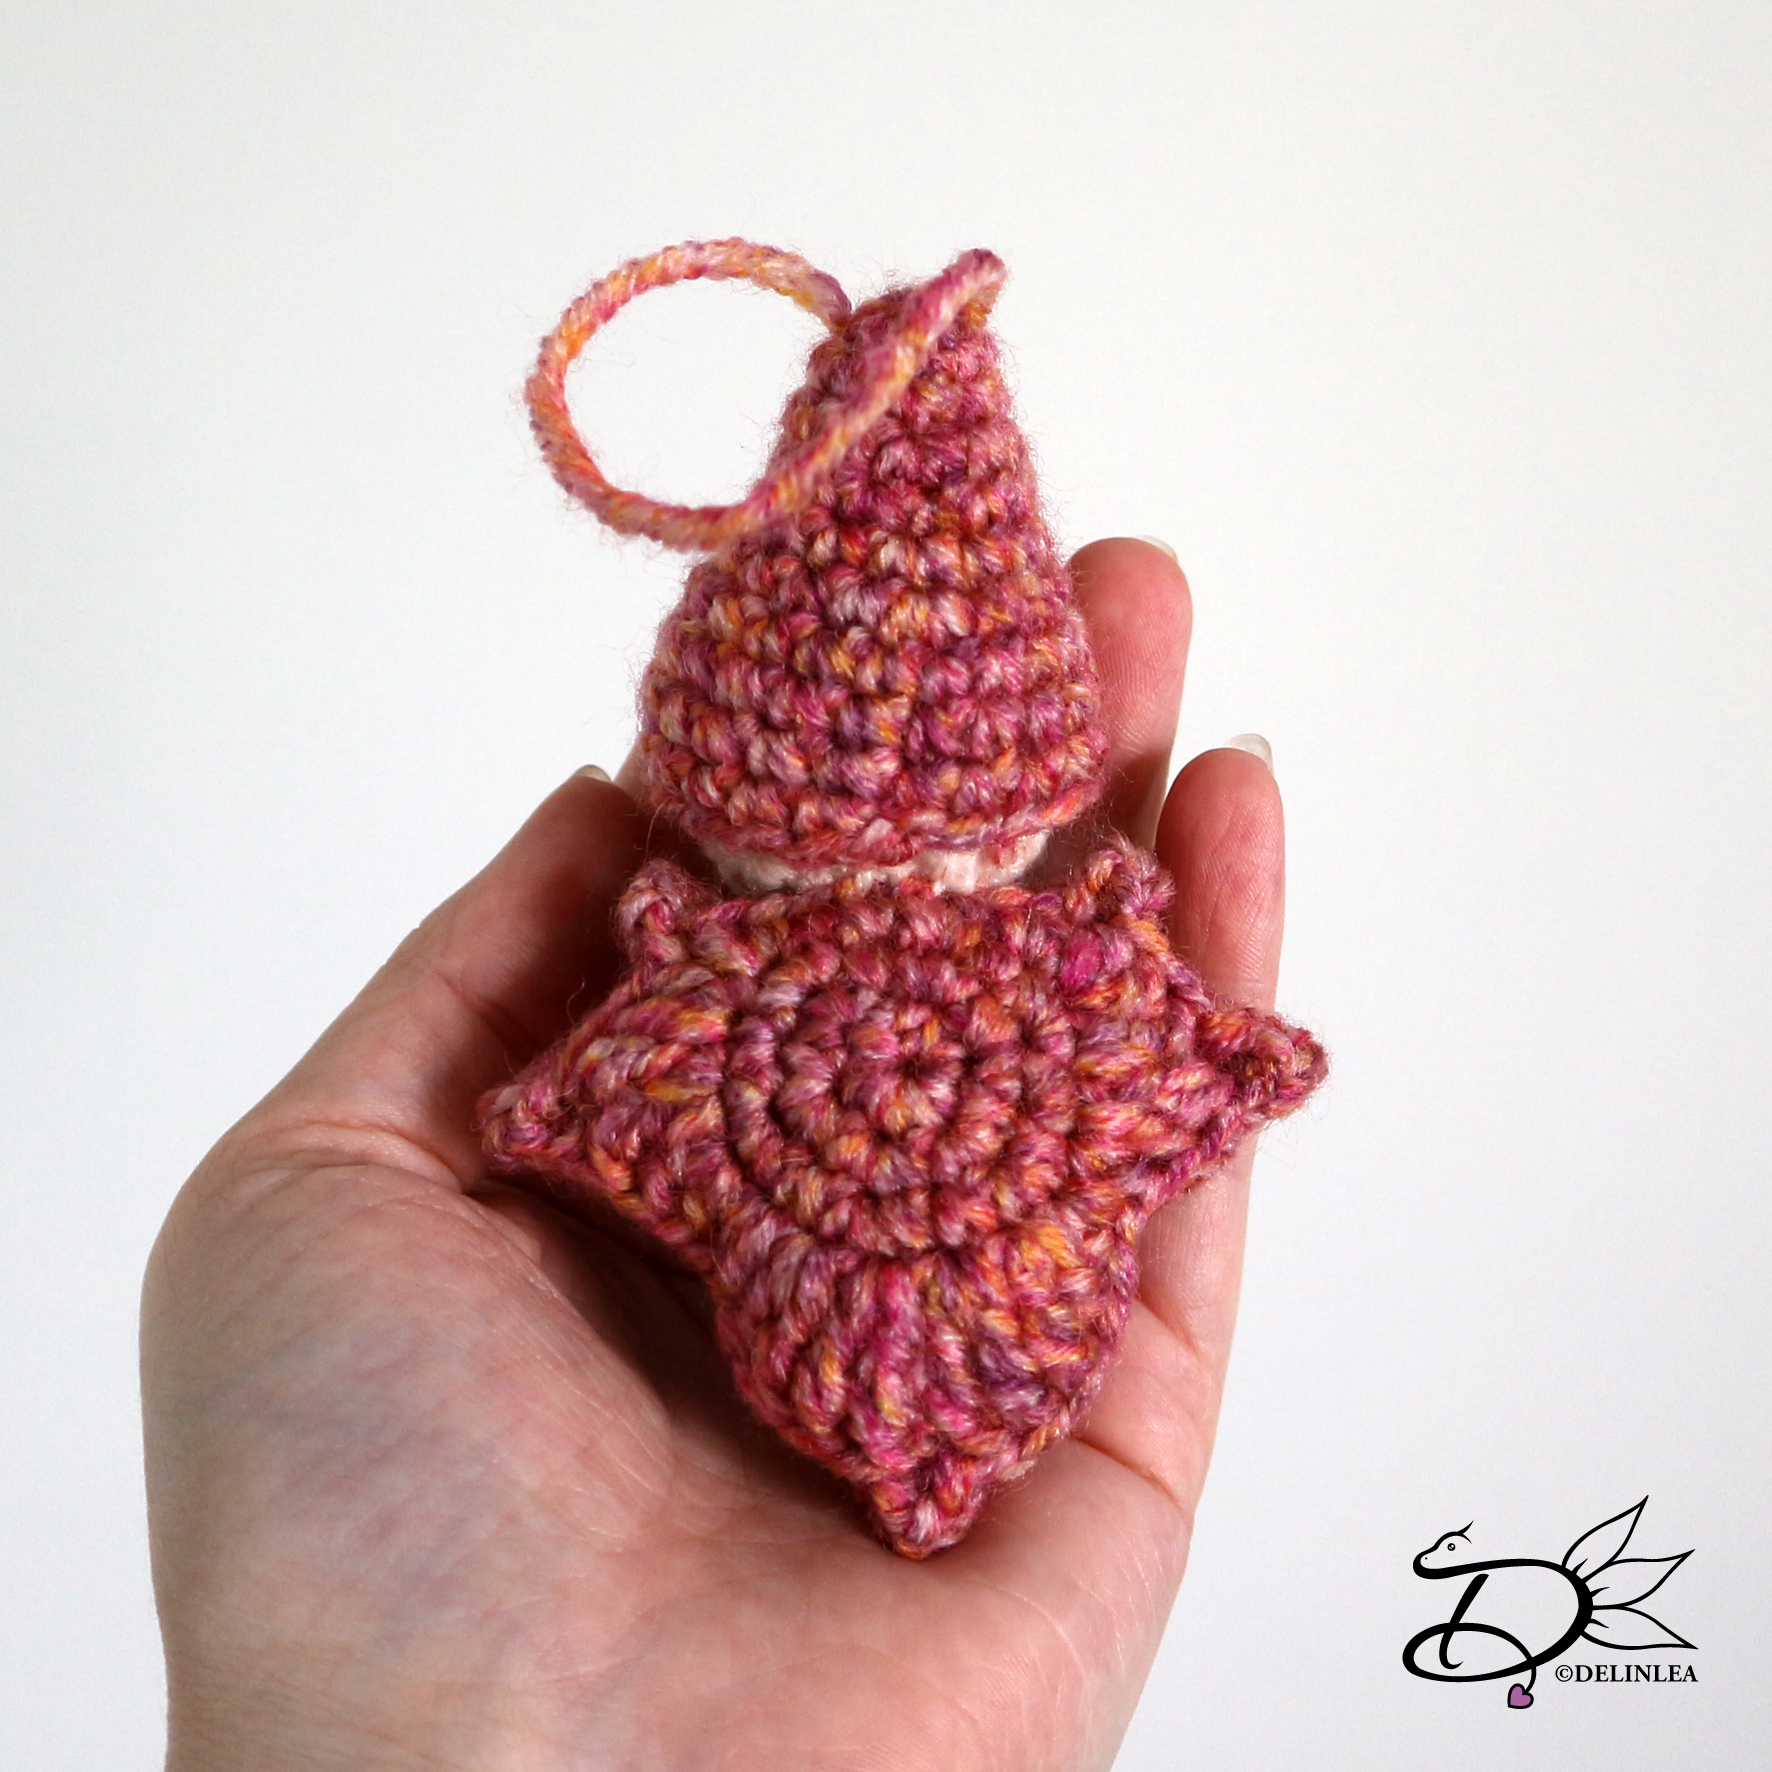
Make a loop on the witch hat and place the hat on the pumpkin, if you are happy with the look, sew it on.
Cut some eyes and mouth out of black felt en glue this on the pumpkin.
And you are done!! I hope you enjoyed this pattern. This will be a series of 3, so, look forward for the other 2. And don’t forget to show me yours if you made it, use the #DelinleaDIY on instagram or twitter!
Love
Danielle