Delinlea - My little fantasy world
  • ♥ Home
  • ♥ About Me
  • ♥ Blogmas 2021
  • ♥ Free Patterns
    • ♥ Amigurumi; Spring/Easter
    • ♥ Amigurumi; Fall/Halloween
    • ♥ Amigurumi; Winter
    • ♥ Amigurumi Tsum Tsum
    • ♥ Amigurumi Ufufy
    • ♥ Amigurumi Others
    • ♥ Christmas Countdown 2017
    • ♥ Blogmas 2018
    • ♥ Blogmas 2020
  • ♥ Tutorials
    • ♥ Easter
    • ♥ Home Deco
    • ♥ Others
  • ♥ Drawing Lessons
  • ♥ FanFic
    • ♥ Chapter 1
    • ♥ Chapter 2
    • ♥ Chapter 3
    • ♥ Chapter 4
    • ♥ Chapter 5
    • ♥ Chapter 6
    • ♥ Chapter 7
  • ♥ Gallery
    • ♥ Crafts
    • ♥ Drawings
    • ♥ Poseable Art Dolls
  • ♥ Links
  • ♥ Contact
    • Privacy Policy

Tutorial

♥ Monstera Leaf of Plexiglass DIY

13 augustus 2020 by Delinlea Leave a Comment

Hey Lovelies! Is it as hot as it is here?! Gosh, I am not made for weather above 25 degrees Celsius, and it is currently 33 >_<. I feel sick cause of the heat and my body aches.. I just want cold/rainy weather! xD (We don’t have airco and houses are build to keep heat inside on cold days..well, it does its job on hot days too..)
Anyway, I am glad I did plan an easy DIY for this week, so I could slowly work on it. I wanna show you how to make Monstera leaves from plexiglass. I had this material left over from some old frames. I’d better use all the stuff I’ve around. (I need to come up with a few more plexiglass ideas, I’ve many more *Hides). I guess the virus also brought something good, I started using a lot of the materials I already had around. I barely bought any crafting supplies since.

Monstera Leaf of Plexiglass

For this DIY you’ll need:
♥ Plexiglass. (Can be as thick as you want)
♥ Sharp Knife or Fretsaw /I believe it is called/.
♥ Shape of a Monstera leaf printed out or drawn.
♥ Cutting Mat.
♥ Sanding Paper.
♥ Glue.
♥ Green Acrylic Paint.

♥DIY Monstera Leaf of Plexiglass

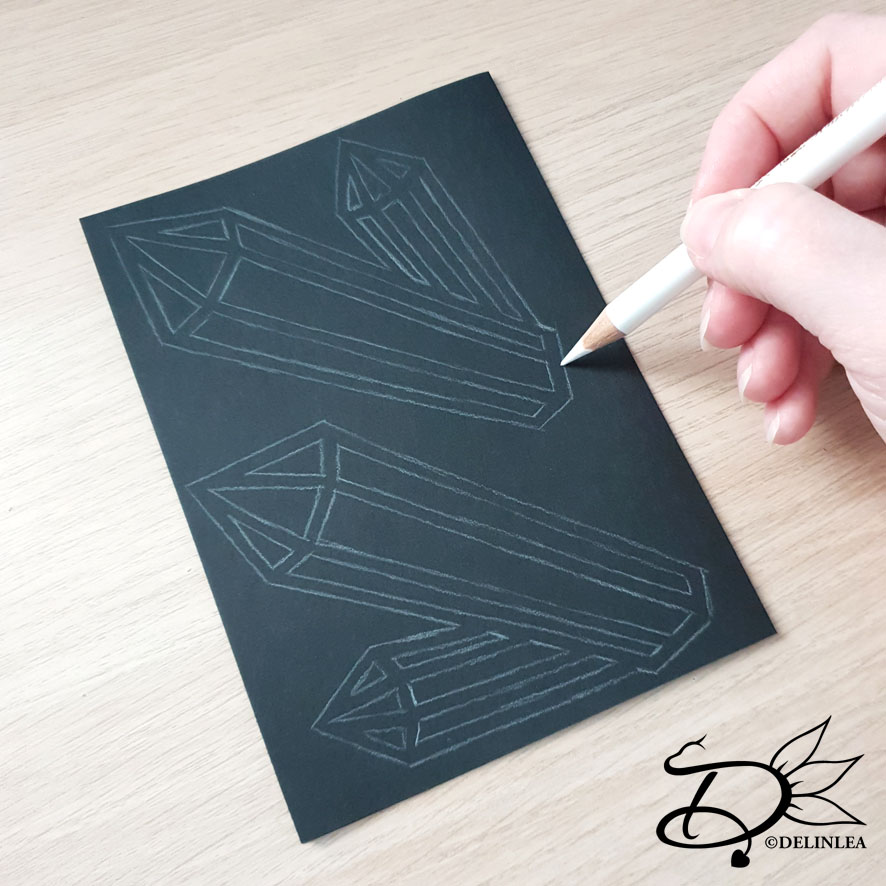
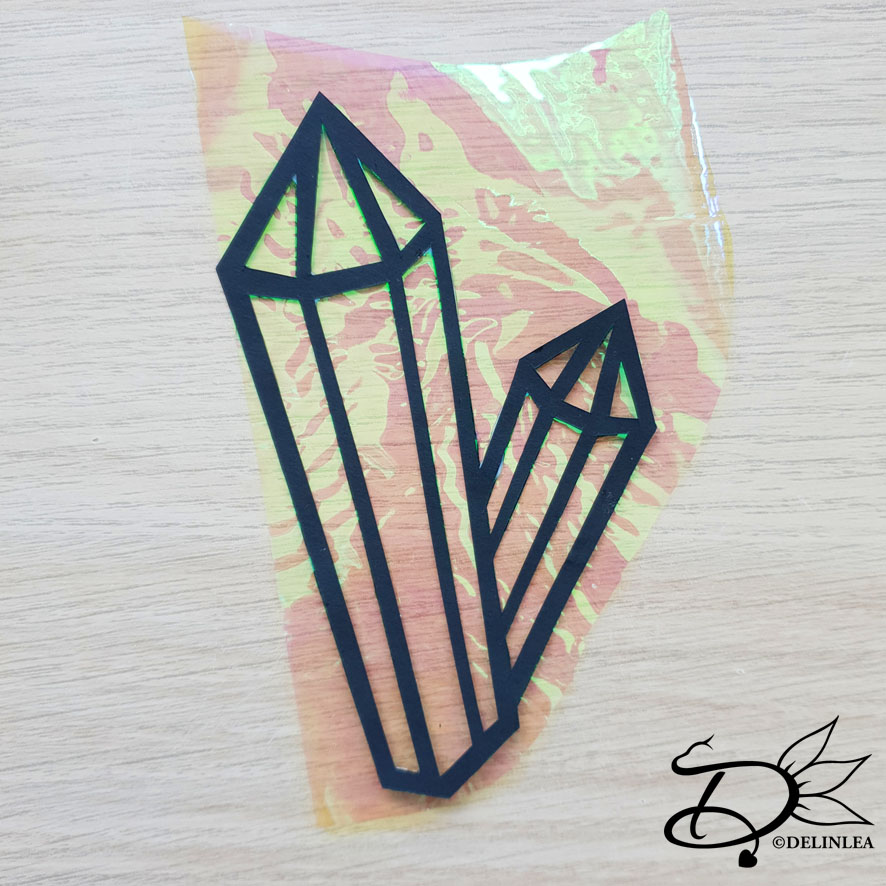
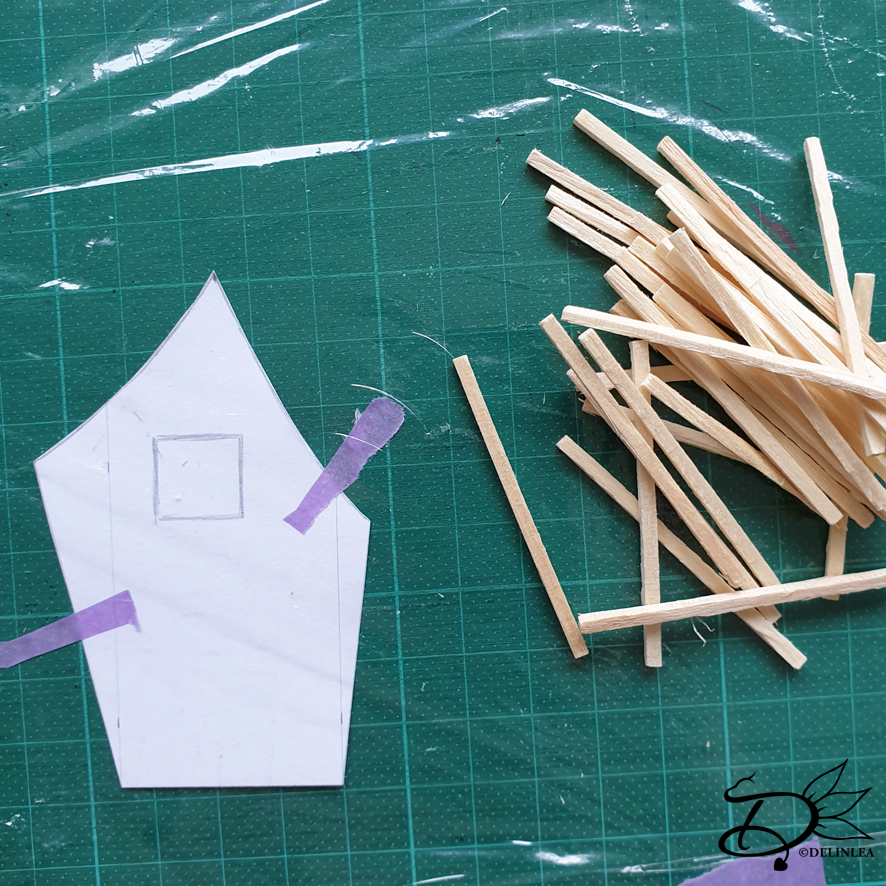
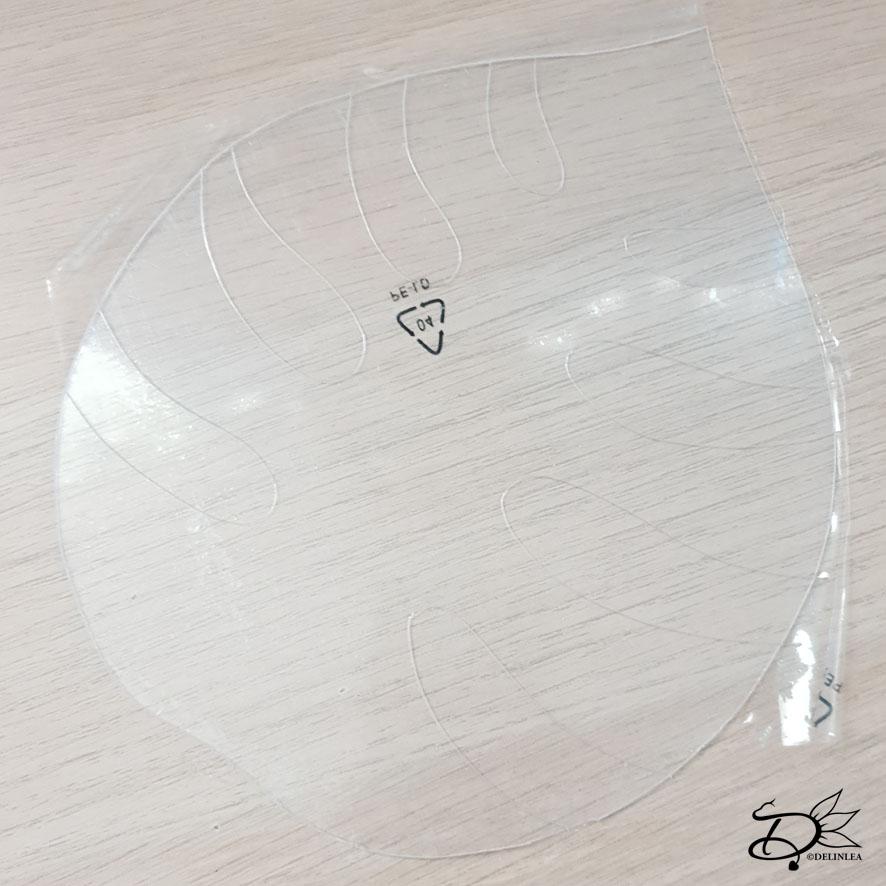
First draw or print out a shape of a Monstera Leaf of your liking. Keep in mind, that the more details it has the more complicated it will be to cut out. You can make it as big as you want, but small is tricky. I made mine about 17cm.

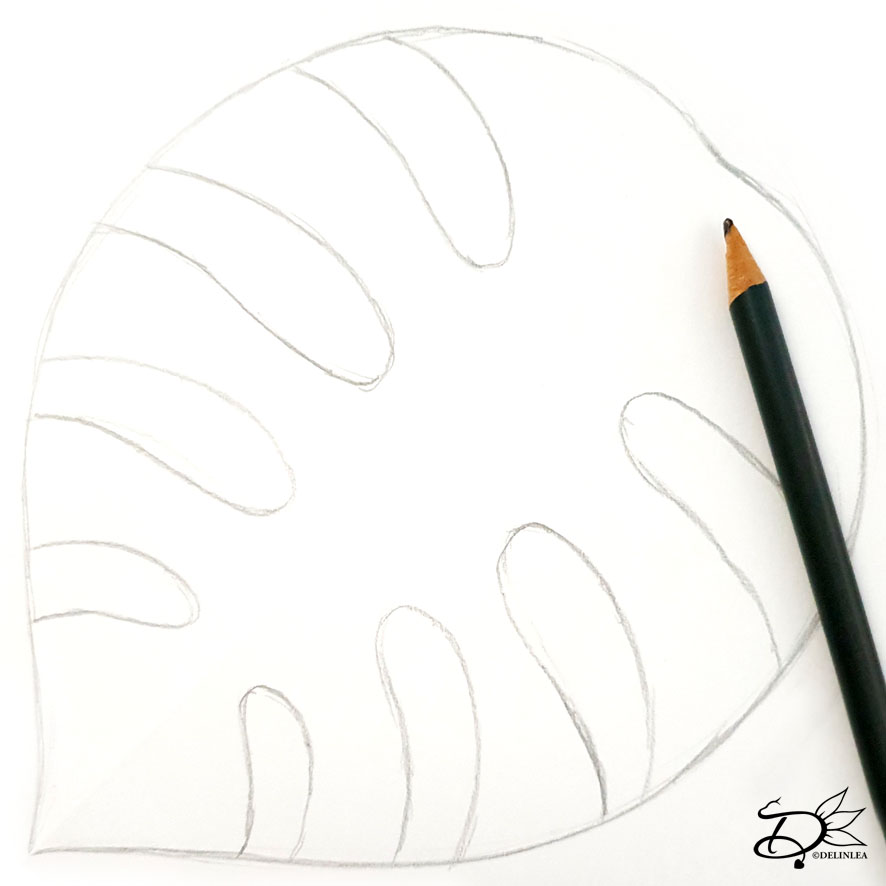
Now trace the leaf to the plexiglass. I used a knive to carve it in lightly, but you can also use a marker. Make sure, that if you use a marker, that there’s still the protective foil on both side. This makes life a lot easier with working on the leaf. It doesn’t get stains or scratches.
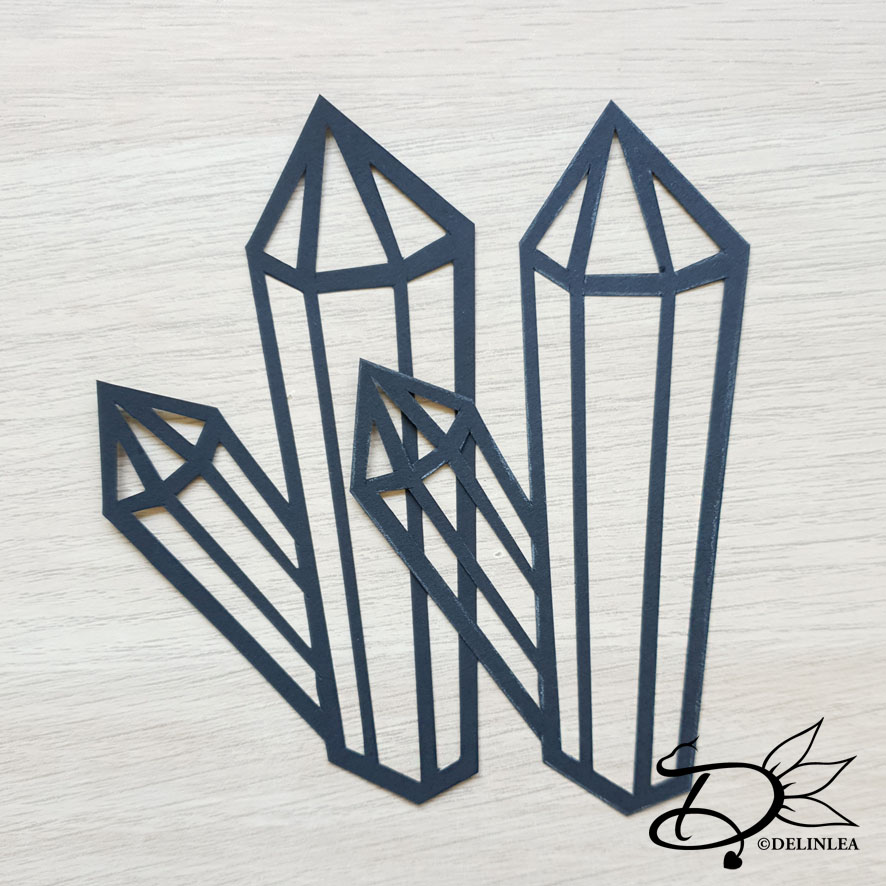
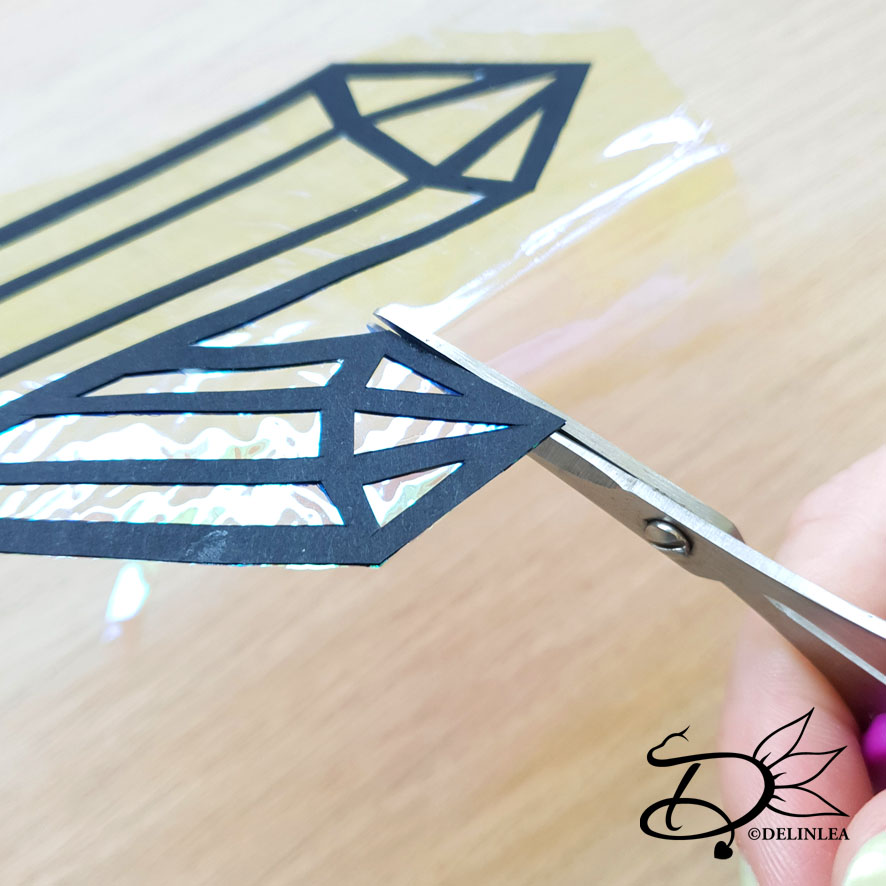
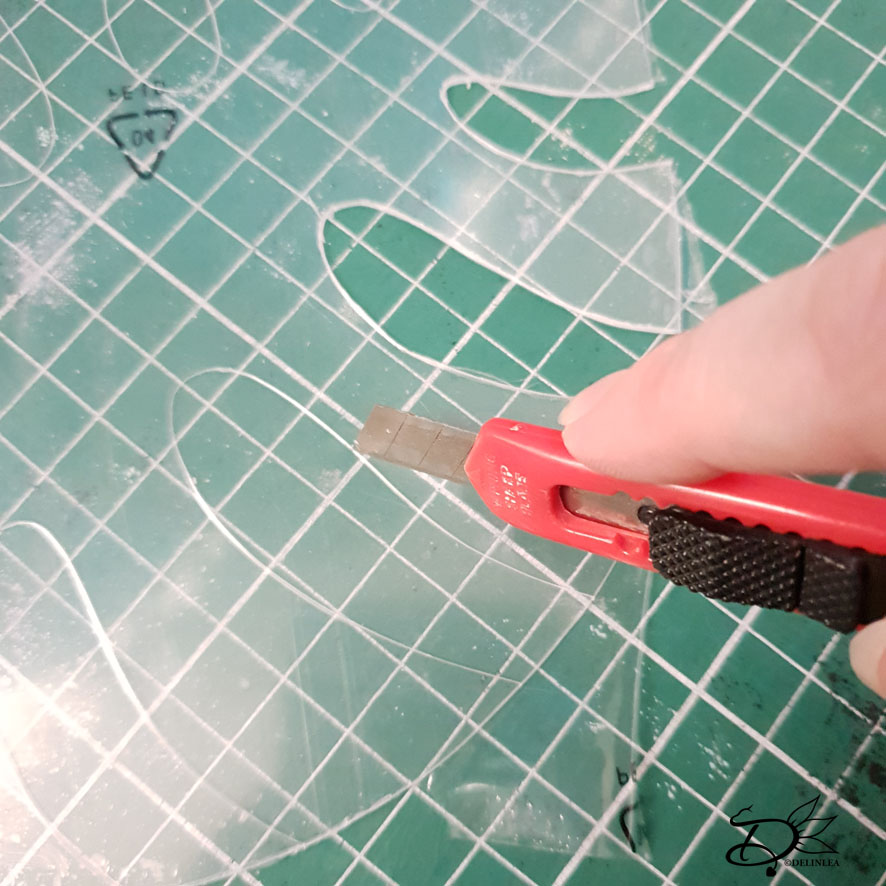
♥ Cutting the shape

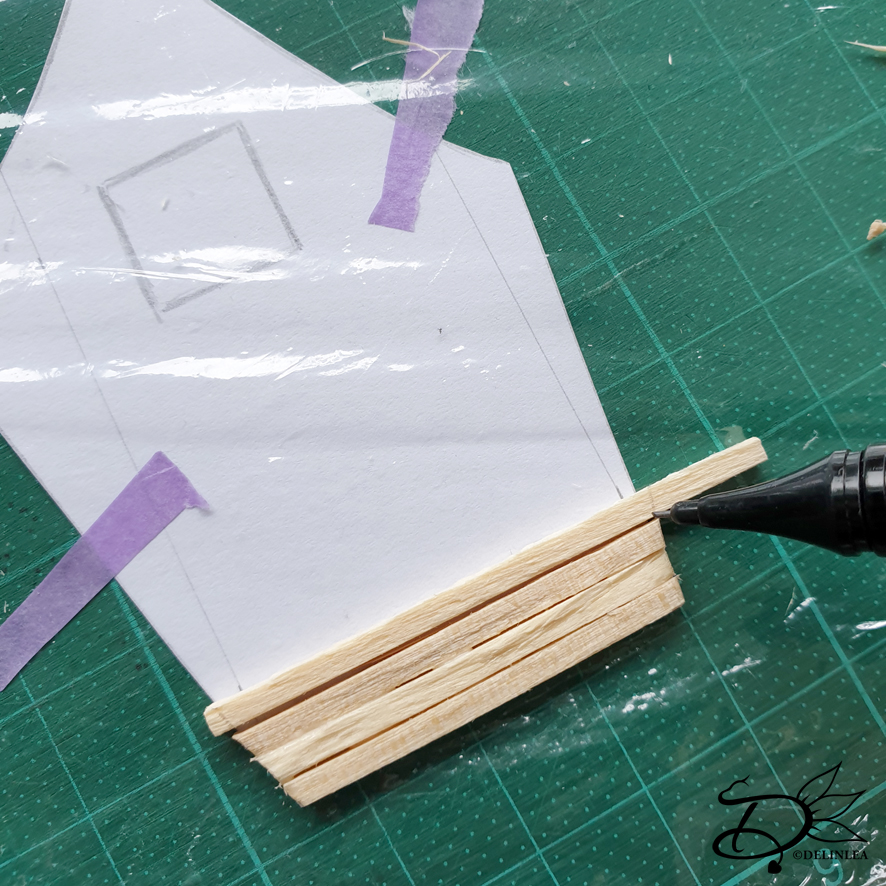
Now it’s time to decide if you wane use a knife to cut it out, carving it in and breaking off the remains carefully. Which can be tricky, (mine broke at some spots I didn’t wanted it to). Or use a fretsaw to go around the out lines. Whichever way you chose, be careful, both are sharp things to use, and if the plastic breaks as well, it’s sharp, don’t hurt yourself!

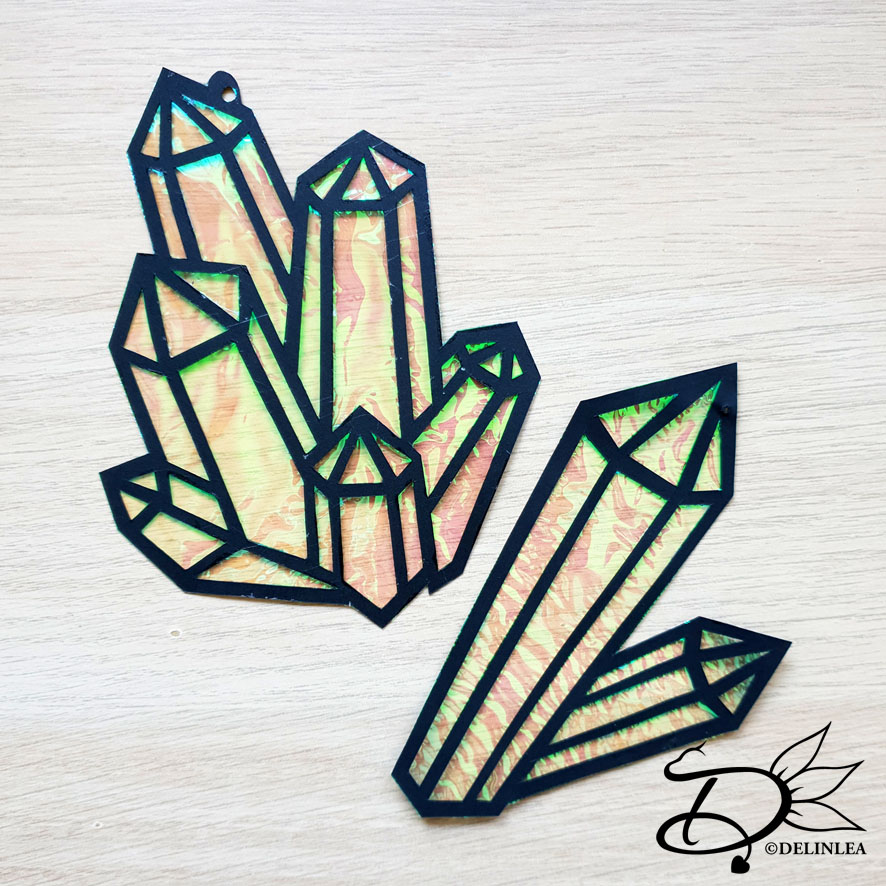
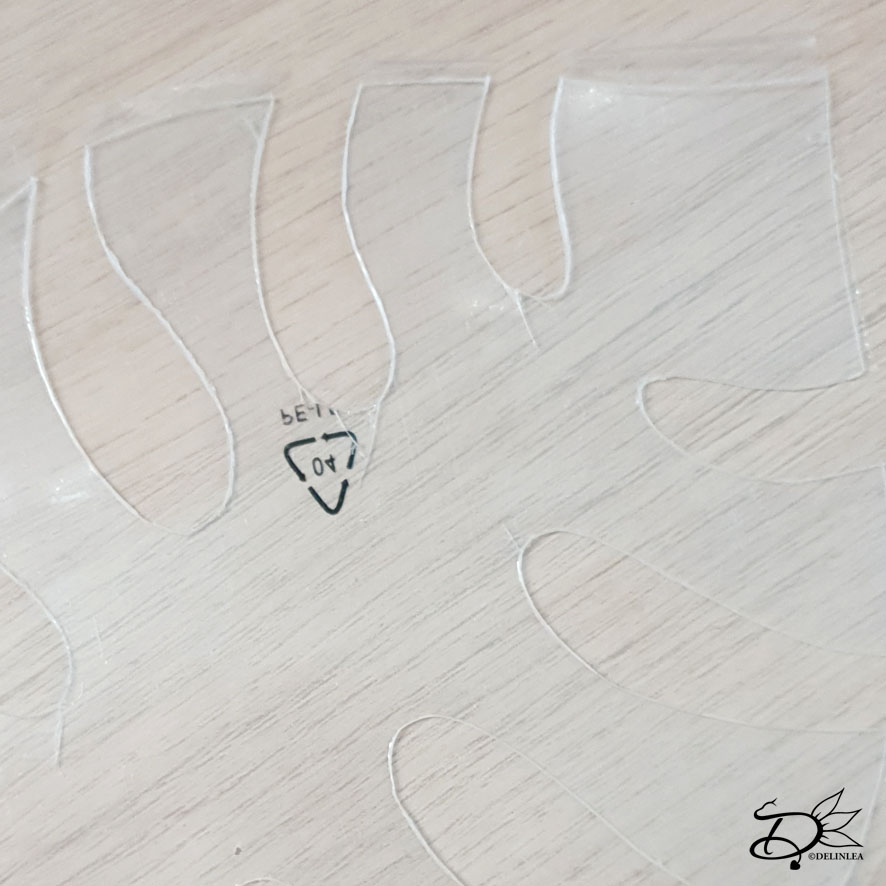
When you have the shape completely cut out, use some sanding paper on the edges. To remove any un even edges and the sharp points that might be there.

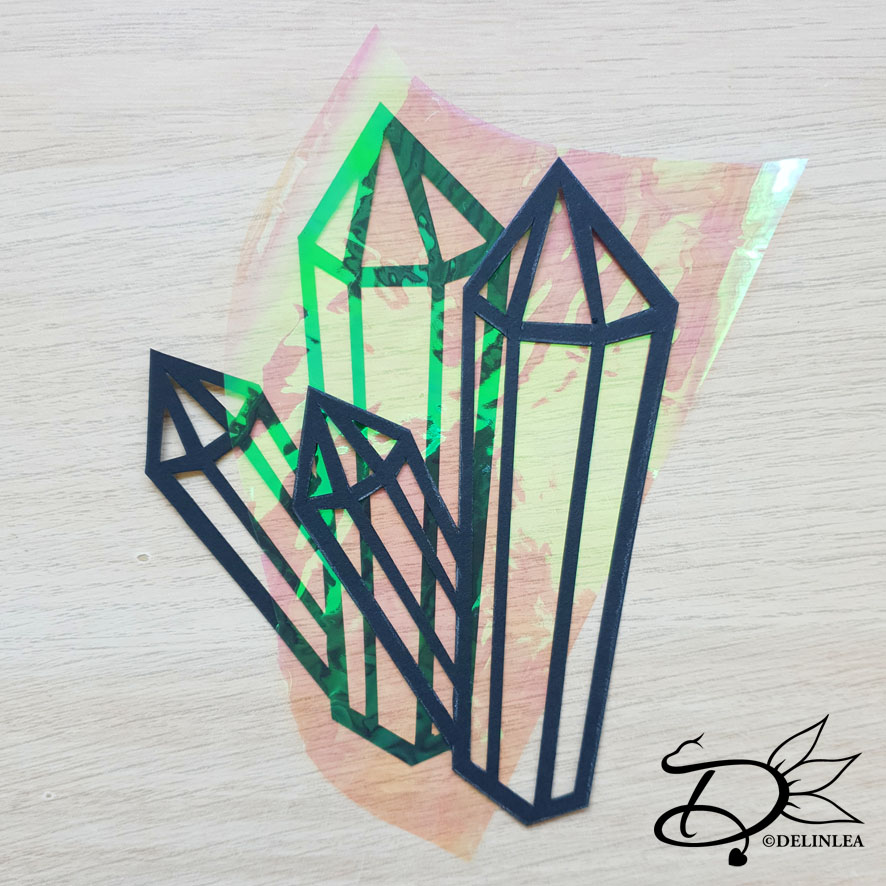
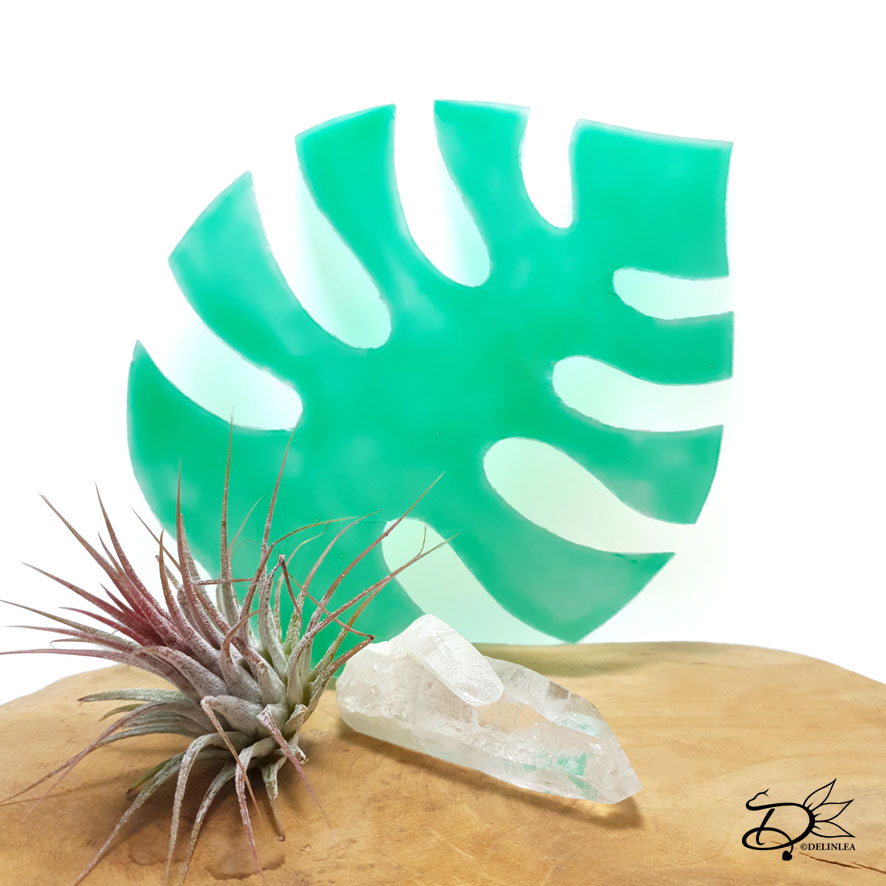
Now it is time to remove the protective foil. If you want you can keep the shape like this and say it is done. But you can also give it some color, like I did.
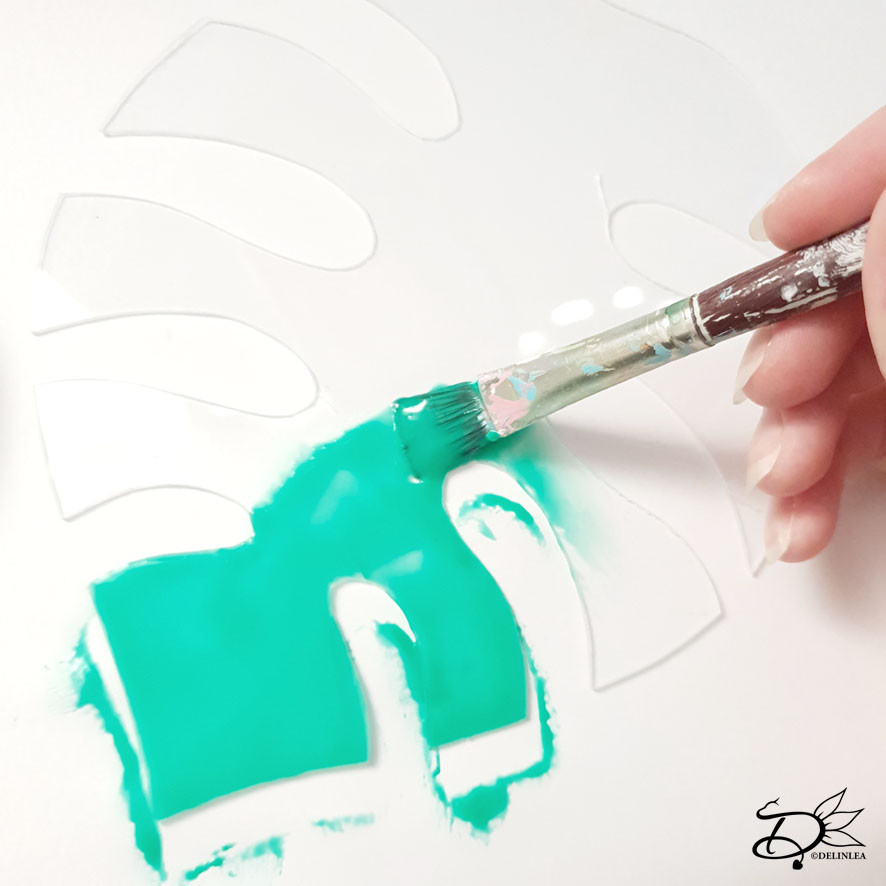
♥ Painting

Mix glue with a tiny bit of green paint (You could use paint only, but then you loose transparency). You could test the color first on one of the scrap pieces to test if you like the color. If you do, paint the whole leaf green, on one side, it’s okay if the layer isn’t even, I think that adds to it. Try to avoid very runny glue, plastic won’t take watery things very well. You can better have it on the thicker side.

When you are done, let it dry completely and give it a gloss varnish if you like.

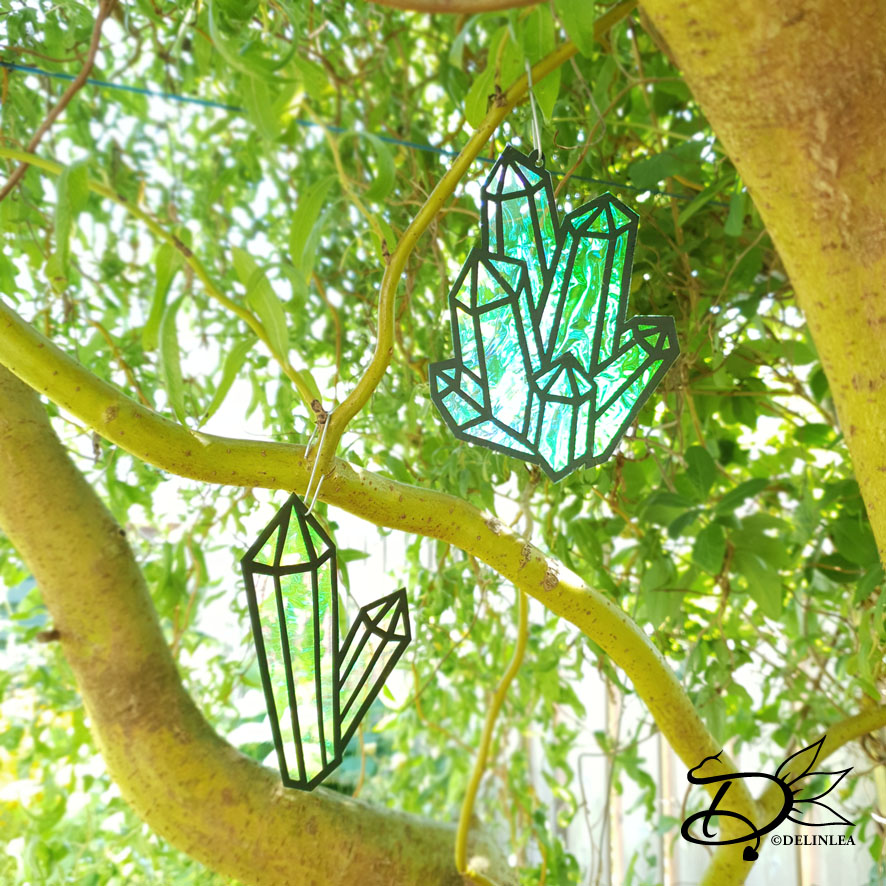
Later I was thinking, what if you add black/metallic tape to the edges, so it looks like stained glass, wouldn’t that be cool?

I hope you enjoyed this DIY! If you decided to make some leaves, show me on Twitter or Instagram with the #DelinleaDIY.

Have a wonderful day and I’ll see you next week!

Love
Danielle

PS. The transparency isn’t really visible, but I refuse to go take pics outside right now! Maybe I’ll update this post later, when heat wave stopped!

Posted in: Crafting Tagged: DIY, home decoration, leaf, monstera, plexiglass, Tutorial

♥ Crystal Sun Catchers DIY

9 juli 2020 by Delinlea Leave a Comment

Hey Lovelies! Whenever I see those stained glass sun catchers I am in love. Do you know what I mean? I hope you do. Forever ago, I saw sun catchers in the shape of crystals, and I always wanted to own them. I still haven’t been able to get them tho. But, why not make a DIY of it, with just simple materials, like cardboard and iridescent foil?! Why haven’t I thought of that sooner. Oh well, better late than never xD. Let’s explain to you how I made them.

Crystal Sun Catchers

For this DIY you’ll need:
♥ Black Cardstock. (or a color you prefer)
♥ Iridescent Wrapping Foil or other see-through stuff.
♥ Pencil.
♥ Scissors.
♥ X-Acto Knife.
♥ Cutting Mat.
♥ Ruler.
♥ Glue.

♥ Crystal Sun Catchers DIY

Take your cardstock and double it, you need 2 of the same shape to make 1 sun catcher.

First you need to draw yourself some crystal shapes. This is not too hard, since crystals come in all shapes and sizes. So, make them however you like. If you find it difficult to make something up, google some crystal line art. I used a white pencil to make it easier to see on black paper.

I made my lines about 3mm thick. So I got a nice border.

You might wanna think of making a little extra bump where you wanna hang it from. So you can make a hole in there. Or you can skip this and poke a hole through the foil/border.

Cutting

Now cut the shape out, make sure the two layers of cardstock stay together in the same spot. You might wanna use some tape. I first did all the shapes on the inside. Use a x-acto knife and a ruler for nice clean lines. Last I did the outer lines to release the shape from the cardstock.

Foil

Take out your foil and place your shape on it to be able to cut the shape out roughly. Make sure to leave some border.

You needed two of the same shape to sandwich the foil in between. Now, glue the cardstock to the foil, make sure to line both sides up. Be careful with the glue, it’s not pretty when the glue is all over the foil. If the glue still get’s on the foil, if you used water based glue, you can remove it with a bit of water when it’s still wet. Let it dry thoroughly.

Last you can trim off the excess foil with scissors or an x-acto knife. If you wanna hang your crystal, poke a hole through the foil/border or if you made that little bump, make a hole in there.

And there you have it, your Crystal Sun Catchers with just simple materials. I hope you enjoyed this little tutorial! If you made them, don’t forget to share with me on Twitter or Instagram with the #DelinleaDIY.

Crystal Sun Catchers

Have a wonderful day and I’ll see you next week.

Love
Danielle

Posted in: Crafting, Paper Tagged: Catcher, Crystal, DIY, stained glass, Sun, Tutorial

♥ Fairy House 2

11 juni 2020 by Delinlea Leave a Comment

Hey Lovelies! I didn’t expect to make another Fairy House for you. But I did! I thought of a round house and I kinda wanted to share with you how to make this one. The technique is quite the similar to this one I made before, so you might wanna check that post as well. I will refer to it a few times in this blog. I hope you will enjoy this one too.

Fairy House 2

For this DIY you’ll need:
♥ Popsicle sticks.
♥ Matchsticks.
♥ Glue.
♥ Empty Toilet Paper Roll.
♥ Paint.
♥ Brushes.
♥ Scissors where you’ll be able to cute the popsicle and matchsticks with.
♥ (Masking) Tape. (Optional)
♥ Cutting Mat. (Optional)
♥ Cling Film. (Optional)
♥ Fake Moss. (Optional)
♥ Anything else you wanna decorate with. (Optional)

Tutorial Fairy House

First draw a design and height (Mine is 5cm) you like for the base of the fairy house on to your Toilet Paper Roll. When you are happy, cover the roll with cling film, this is to be able to remove the house from the roll later. If you don’t you most likely will glue the house to the Toilet Paper Roll, and that’s not what you want.

Make the base

Place the sticks one by one on the design you drew on the Toilet Paper Roll. Draw a line on your stick  if it’s too long and trim it down with sharp scissors. Glue them on, one by one, side by side, following the design.

When you went all around let it dry completely. When it did remove it carefully from the Toilet Paper Roll.

Roof

For this house I made a roof structure. I used about 5 matchsticks for this and made them 4cm long. I glued them, spread evenly, on top of the base of the house and let them all meet at the top. This can be a bit tricky to do, so maybe use some tape to keep them in place while the glue dries.

While this dries, make the roof tiles. I’ve explained how to make those in the previous post under the subtitle “roof”. The only difference might be that I made them pointier for this house, so I could create the round roof better.

When the structure for the roof is dry and you made all the tiles, it’s time to make the roof! Glue the pieces on one by one and let it dry first when you think it’s gonna collapse. And like I said in the previous post, don’t try to make it perfect, it’s more fun when it looks a bit messy and aged.

When you are done, let it all dry completely before you continue.

Painting and decorating

Now it’s time for the fun stuff to make it look really cute, it makes such a difference when you paint and decorate the house. I’ve explained how to do this in the other post under “Painting” and “Decorating”.
The only thing I added with this one is paper leaves that I made. And glued them on the way I thought it would look good. They are not too hard to make, just cut out the shape you like, draw on the veins and curl up the ends so they are not so flat.

  • Fairy House 2
Here you can see the difference between before painting and after painting/decorating!

That was it already, you created a Fairy House! It’s such a fun project and I love to put them with my plants! Fairies are allowed to live with my plants haha xD. I wanted to make pics outside, but it was raining, sadly.
UPDATE; I finally could make some pics outside! <3

  • Fairy House 2
  • Fairy House 2

I hope you enjoyed today’s Fairy House craft and I’ll see you next week! Don’t forget to share your creations with me, since I love to see, on Twitter or Instagram.

Have a wonderful day!

Love
Danielle

Posted in: Crafting, Miniature Tagged: craft, crafting, cute, DIY, Fairy House, kawaii, Miniature, Tutorial

♥ Fairy House

14 mei 2020 by Delinlea Leave a Comment

Hey Lovelies! I always love those fairy house, you can place with you plants or in your garden. And since I am a plant lover, I needed those in my life. When I was cleaning my room I found a bunch of those popsicle sticks and matchsticks. I thought these were the perfect materials to make a fairy house with. And, sure, while writing this, I could also have used fake leaves for the roof or so. Okay, I guess I will make more in the future haha. Those are much fun to make. I hope you will have fun as well!

For this DIY you’ll need:
♥ Popsicle sticks.
♥ Matchsticks.
 ♥ Glue.
♥ This Template. (Or draw something yourself)
♥  (Masking) Tape.
♥ Paint.
♥ Brushes.
♥ Scissors where you’ll be able to cute the popsicle and matchsticks with.
♥ Cutting Mat. (Optional)
♥ Cling Film. (Optional)
♥ Fake Moss. (Optional)
♥ Anything else you wanna decorate with. (Optional)

Tutorial Fairy House

Start with cutting out this template or your self-drawn template. (Yes, there is no template for the roof, I’ll explain that later). Tape this to a flat surface you don’t mind to get glue on. I used my cutting mat. Over the template I used some cling film to make sure to wooden sticks won’t get glued to the template. (Cling film I could easily remove even it was glued together).

Make all parts of the house

Place the sticks one by one on the template, draw a line if your stick is too long and trim it down with sharp scissors. Glue them one by one each time on top of the other, following the template.

When you have one side done, leave it to dry and continue to make all the other side’s as well. If you made all sides, before moving on, make sure they dry properly, preferably over night.

Build the house

All parts are dry, now it’s time to build the house! I placed the floor on a flat surface, and start to glue the front and the back of the house first. Put some glue on the place that touch each other and use tape, that you can remove later, to hold the piece together until it dried. Then place the sides of the house, with glue, between the front and back. Use more tape to hold those pieces together as well. it can be a bit of a stuggle, sometimes you need to let a piece dry before you continue. Just try what works for you.

I decided to add window seals and a door as well. the windows the same technique as the walls and the door from a popsicle stick.

Roof

Now it’s time to make the roof tiles! I used 2 sizes of popsicle sticks for those. Cut them to about 1,5cm in length. It doesn’t really need to be exact that size. It gives the house more of an aged look when they are all different. Like those you will find in a story where the with lives or something xD.

It’s totally fine when the tiles break in half, you can still use those, and the roof will look more fun. Distress all of the pieces with something sharp like a big needle or a knife. But be careful to not hurt yourself! Check the picture if you’re not sure what I mean.

Make enough to cover the roof, and that’s probably more than you would think xD.

Glue the roof tiles on the house one by one, this process can take a while, especially in the beginning you have to wait to let the pieces dry before being able to continue. Don’t try to make it perfect, just make sure that you will be able to meet both sides of the roof on top.

When you are done, let it dry completely.

Painting

To paint the house, I used watered down acrylics. I started with a base color, Brown for the walls and Turquoise for the roof. I made sure to be able to see the wood through the paint. I let the first layer dry completely first. Then I moved on to a second later, watered down Black acrylics this time, for both the roof and walls. Let dry completely.

For the roof I also dry brushed some White acrylic to bring out the texture a bit more. If  you don’t know how to dry brush, try to find a tutorial first.

Decorating

I have used fake moss and dried plants. You can basically anything you like. But I would recommend the fake moss, that really makes the house look likes it’s been there for a while. It’s all in the details! xD

  • Fairy House

I hope you enjoyed today’s tutorial. I sure had fun making this fairy house and wanna make more so badly. I’ll gonna have a problem I guess xD, maybe I can sell them if I make too many! Don’t forget to show me yours if you followed along, on my Instagram or Twitter and use the #DelinleaDIY.

Love
Danielle

Posted in: Crafting, Miniature Tagged: DIY, Fairy House, Matchsticks, Miniature, Popsicle sticks, Tutorial, Wood

♥ Spring Wreath from Scratch

9 april 2020 by Delinlea Leave a Comment

Hey Lovelies! I love making wreath’s, they just give that little extra to your home. And the fun thing is that you can make them however you like. Since we had some cuttings from the garden that I didn’t wanna waste. I decide to make a wreath with it. And I’ll gonna try to explain to you how to make your own. And also give you an idea how you can decorate it with links to tutorials I used.

For this DIY you’ll need:
♥ 100-200cm Twigs, preferably those that are flexible, like from a Willow. Freshly cut twigs are easier to work with. It depends on what you go for on how many twigs you need, but make sure to have plenty.
♥ Pruning Shears.
♥ Things to decorate, like flowers, greens, succulents, etc.

Tutorial

Start with one of you longest twigs, keep your hand at the thick side and bend this one carefully in a circle to the size you want. Mine is about 22cm. When you are happy with the size, wrap the end of the twig around itself. This way it will hold it shape, sorta, without the need of using glue or wire.

Don’t worry if your circle isn’t perfect, you can adjust that along the way.

Now start adding more twigs, I always added the thick side of the twig, at what you choose to be the back, and wrap it around the base circle you made.  If you keep the same flow as the first one, you get one like I made. But you can also make it more messy if you prefer.  Let’s just have fun and see what you can make with materials from nature!

Like I said, along the way you can adjust the shape into a more perfect circle, keep checking what your wreath needs. Add twigs until you are happy with the size and thickness of the whole thing.

And that’s basically it for a basic wreath! it’s not that hard, just need to be careful not to break the twigs. But practice makes perfect!

Decorating

For decorating you can use anything that suits you, I chose to make flowers from felt and add those. Since it’s spring, I wanted to use more pastel tints and  flowers that would bloom now. These are the ones I made, some kind of Rose, Anemone and Daisies.

Here are the tutorials I used, but as usual, I didn’t really followed them along and just modified to whatever I wanted xD. I’m always this person that just start something and then follow along my own rules. Haha.

Link to Rose tutorial.
Link to Anemone tutorial.
Link to Daisy tutorial.

I hope you will have fun making your own wreath!! I love to make things from scratch and be happy with the end result. Plus this really makes you home looks happier!

Have a wonderful day!

Love
Danielle

Posted in: Crafting, Easter Tagged: DIY, felt, flowers, Tutorial, twigs, Wreath
« Vorige 1 2 3 Volgende »

What are you looking for?!

My Socials

Ko-Fi

I love making all these free things for you, tho it would be very helpfull if you can support me on Ko-Fi! (You don’t have to tho, totally up to you!)

Ko-Fi Shop!!

In my Ko-Fi shop you can find PDF Amigurumi Patterns!! You can pay easily with PayPal.
Go to the shop here!!

Recent Blog Posts

  • ♥ Happy 2022!
  • ♥ Day 12; Lights
  • ♥ Day 11; Flower Deco
  • ♥ Day 10; Snowman
  • ♥ Day 9; Gingerbread Houses

Recent Comments

  • Delinlea op ♥ Pietje Gnome Amigurumi
  • Delinlea op ♥ Toy Story Alien TsumTsum Amigurumi
  • Delinlea op ♥ Pua Tsum Tsum Amigurumi
  • Charli op ♥ Free Pattern; CNY Mouse Amigurumi
  • Peter Pesch op ♥ Pietje Gnome Amigurumi

Categories

  • animation
  • Beadwork
  • Blogmas 2018
  • Blogmas 2020
  • Blogmas 2021
  • Books
  • Bujo
  • Christmas
  • Christmas CAL 2019
  • Christmas Countdown 2017
  • Contest
  • Crafting
  • Crochet
  • Drawing
  • Drawing Lesson
  • Easter
  • Geen categorie
  • Life
  • Miniature
  • Nail Art
  • New Year
  • Paper
  • plush
  • Pokemon
  • Poseable Art Doll
  • Recipe
  • Sewing
  • Shop Pattern
  • Sinterklaas
  • Social Media
  • Tsum Tsum
  • Ufufy

Copyright © 2025 Delinlea - My little fantasy world.

Family WordPress Theme by themehall.com