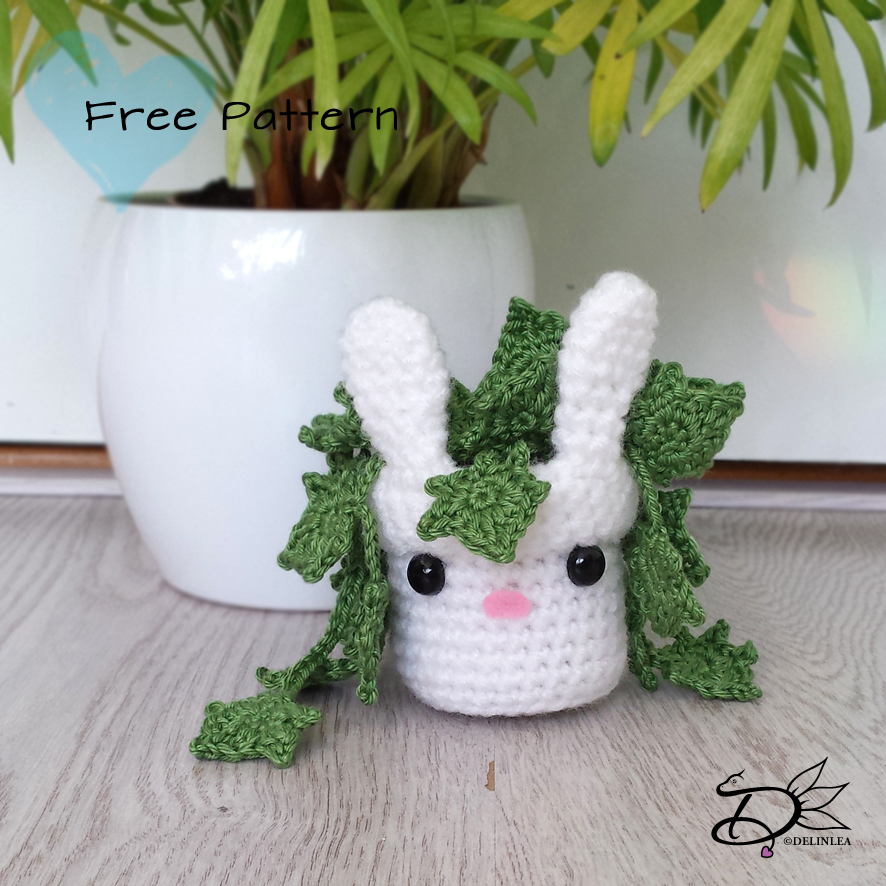
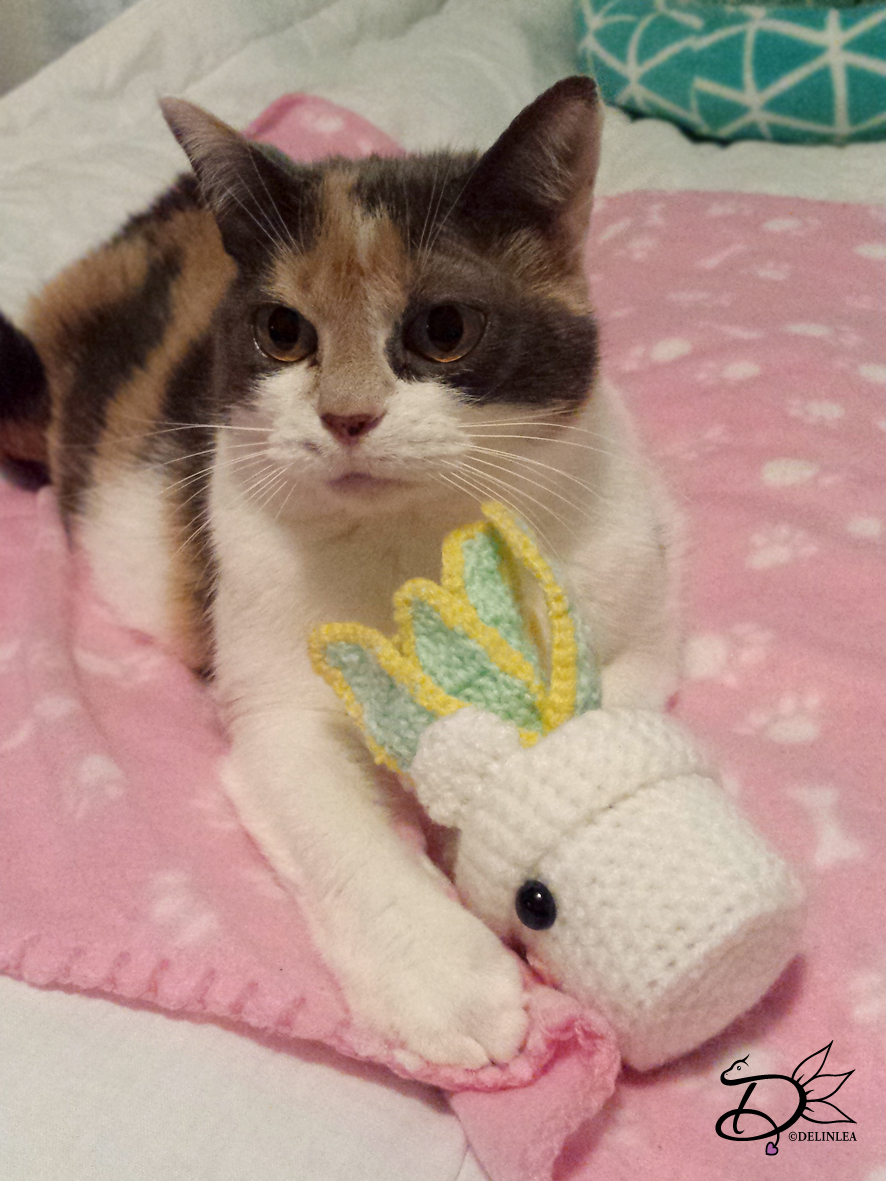
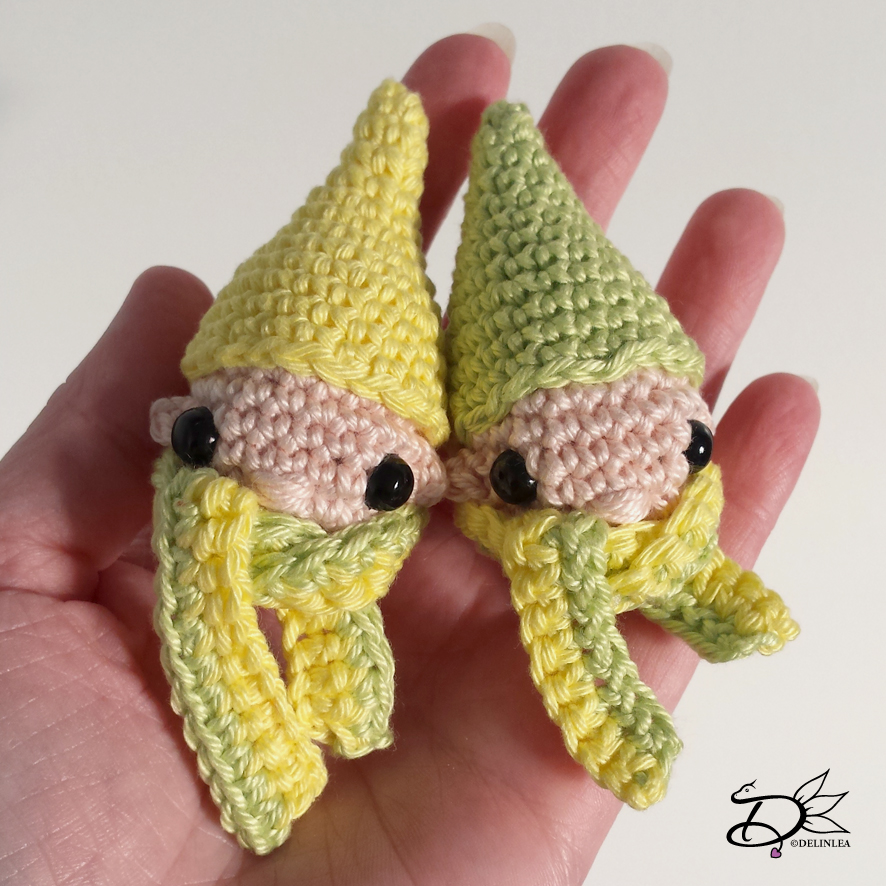
♥ Amigurumi Gnome Face
Hey Lovelies!!
So, somewhere at the end of last year, my grandpa asked me if I could make something for him and handed me a scribble at a small piece of paper. I was like, ‘what’s this’. I was a bit confused but stated how I should make it.. sorta xD. It’s supposed to be a Gnome head/face.
Here is his scribble:

Well, okay, I will try to make something out of it. I only need to know what colors he wanted. He said Yellow and Green. Not sure why he wanted those colors. Not something I would choose, but hé, it’s his party!
So after having the scribble for a while, I should finally make it, and give it to him. (I had a bunch of other stuff that had priority, so my grandpa had to wait). And when I finished them I loved them more as I thought I would. So, I thought why not share the pattern with you all! Are you ready?!
For this DIY you’ll need.
♥ Yarn in 2 colors of green and beige. (I used cotton thread.)
♥ Crochet hook.
♥ Stitch marker.
♥ Yarn needle.
♥ Scissors.
♥ Fiber Fill
♥ 2 Safety eyes. (about 7mm)
Stitches used:
CH = Chain.
SC = Single Crochet.
HDC = Half Double Crochet.
DC = Double Crochet.
Foundation SC.
ST = Stitch.
Inc = Increase.
Dec = Decrease.
Slst = Slip Stitch.
(…) = Repeat the space in brackets the given number of times.
[…] = Total number of stitches.
♥ Pattern
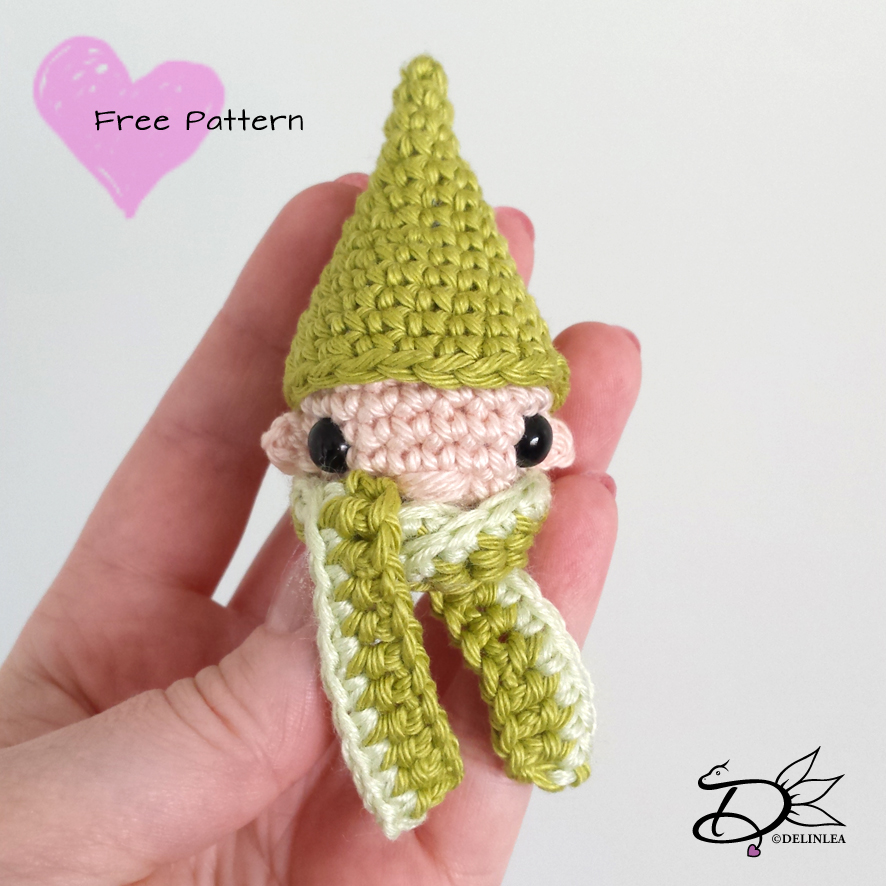
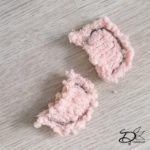
So I made the versions of the hat. By accident. I just didn’t count right. To be honest I like my mistake more as the ‘good’ one haha. So I thought why not give both.
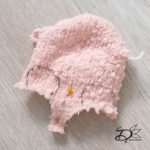
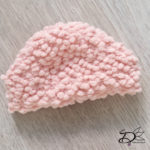
Hat version1 (straight point, ‘good’one)
1: 4SC in magic ring. [4]
2: (1SC, inc), 2 times. [6]
3: (2SC, inc), 2 times. [8]
4: (3SC, inc), 2 times. [10]
5: (4SC, inc), 2 times. [12]
6: (5SC, inc), 2 times. [14]
7: (6SC, inc), 2 times. [16]
8: (7SC, inc), 2 times. [18]
9: (5SC, inc), 3 times. [21]
10: SC in each st around. [21]
11: SC in each st around. [21]
12: 2SC, 1HDC, 7DC, 1HDC, 10 SC. [21]
Fasten off and leave long tail for sewing.
Hat version2 (Curved hat, Mistake one)
1: 4SC in magic ring. [4]
2: (1SC, inc), 2 times. [6]
3: (2SC, inc), 2 times. [8]
4: 7SC, inc. [9]
5: 4SC, inc, 4SC. [10]
6: inc, 5SC, inc, 4SC. [13]
7: 1SC, inc, 6SC, inc, 3SC. [14]
8: 3SC, inc, 7SC, inc, 2SC. [16]
9: (5SC, inc) 2 times, 4SC. [18]
10: (5SC, inc), 3 times. [21]
11: SC in each st around. [21]
12: SC in each st around. [21]
13: 2SC, 1HDC, 7DC, 1HDC, 10 SC. [21]
Fasten off and leave long tail for sewing.
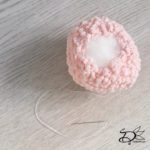
Head:
1: 6SC in magic ring. [6]
2: Inc in each st around. [12]
3: (1SC, inc), 6 times. [18]
4: (5SC, inc), 3 times. [21]
5: SC in each st around. [21]
|
8: SC in each st around. [21]
9: (5SC, dec), 3 times. [18]
10: (1SC, dec), 6 times. [12] Stuff the head lightly.
11: Dec in each st around. [6]
Fasten off and weave in tail.
Note: in between row 5 and 6 you wanna add the safety eyes.
Scarf:
1: Make 40 foundation SC. [40]
2: CH1, turn, 40SC. [40]
Fasten off and weave in tails.
Ears:
Chain2, insert in 2nd chain from hook, 1SC. Fasten off and leave long tail for sewing.
Assembling
Put the head inside the hat, and sew them together. Form the scarf the way you like and sew it to the head as well. Add the ears to both sides of the face and you are done! isn’t it cute?!
I hope you enjoyed making this one! Have a lovely day all!
Love
Danielle