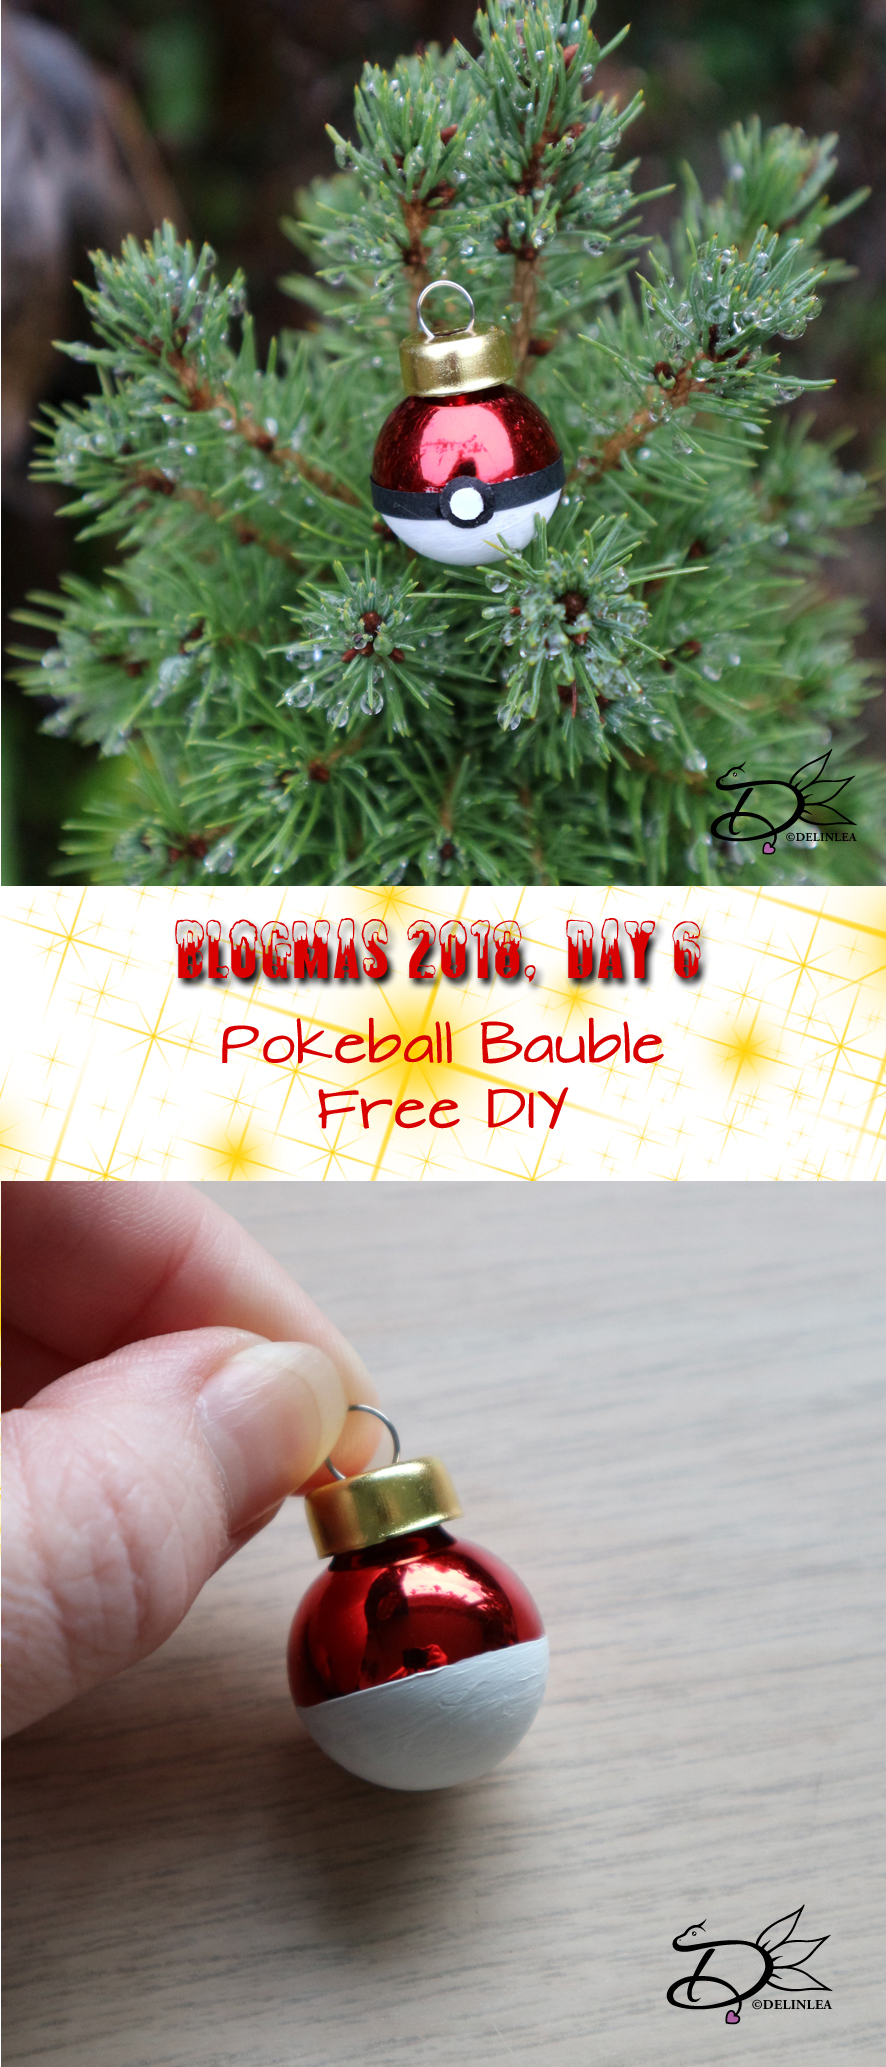
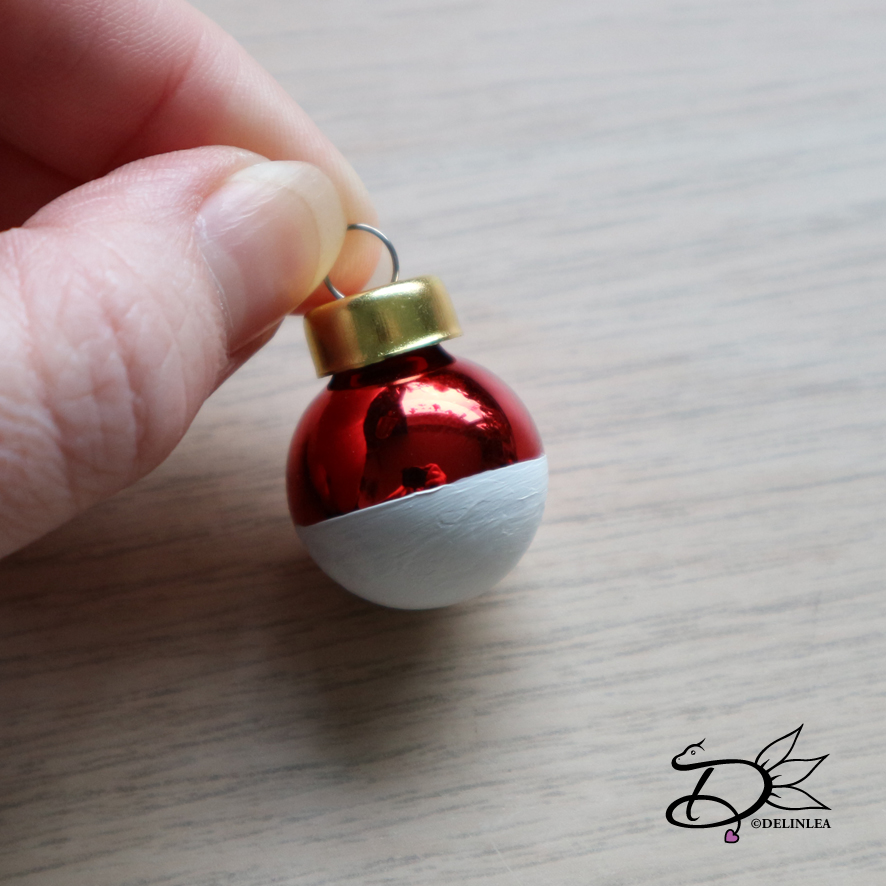
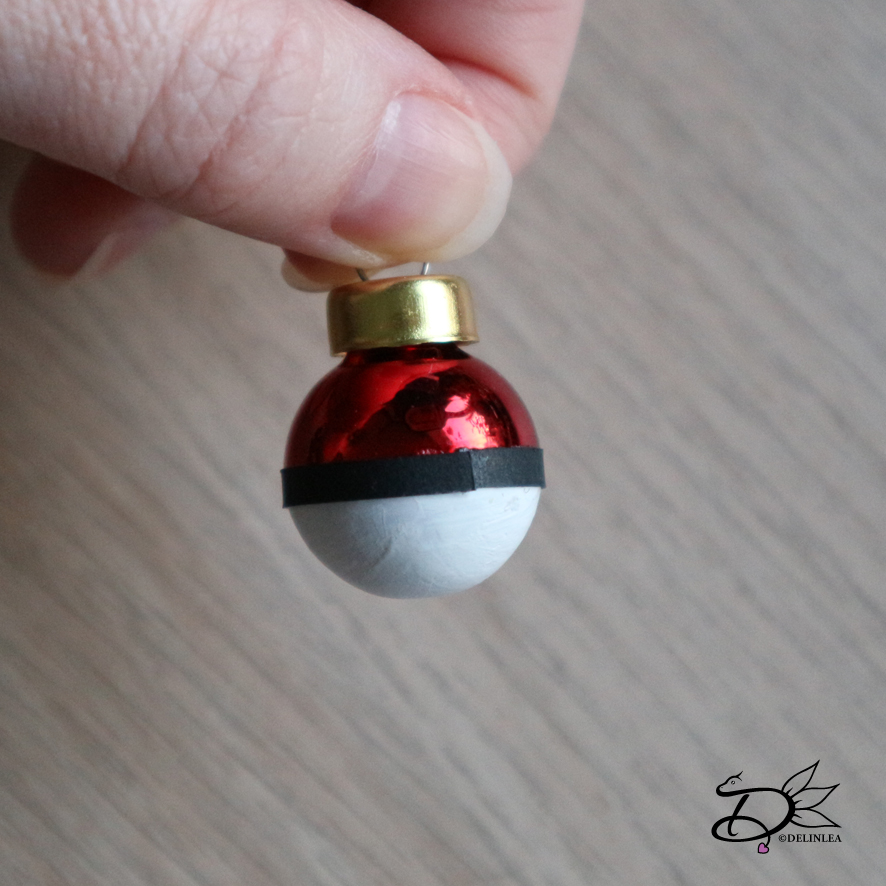
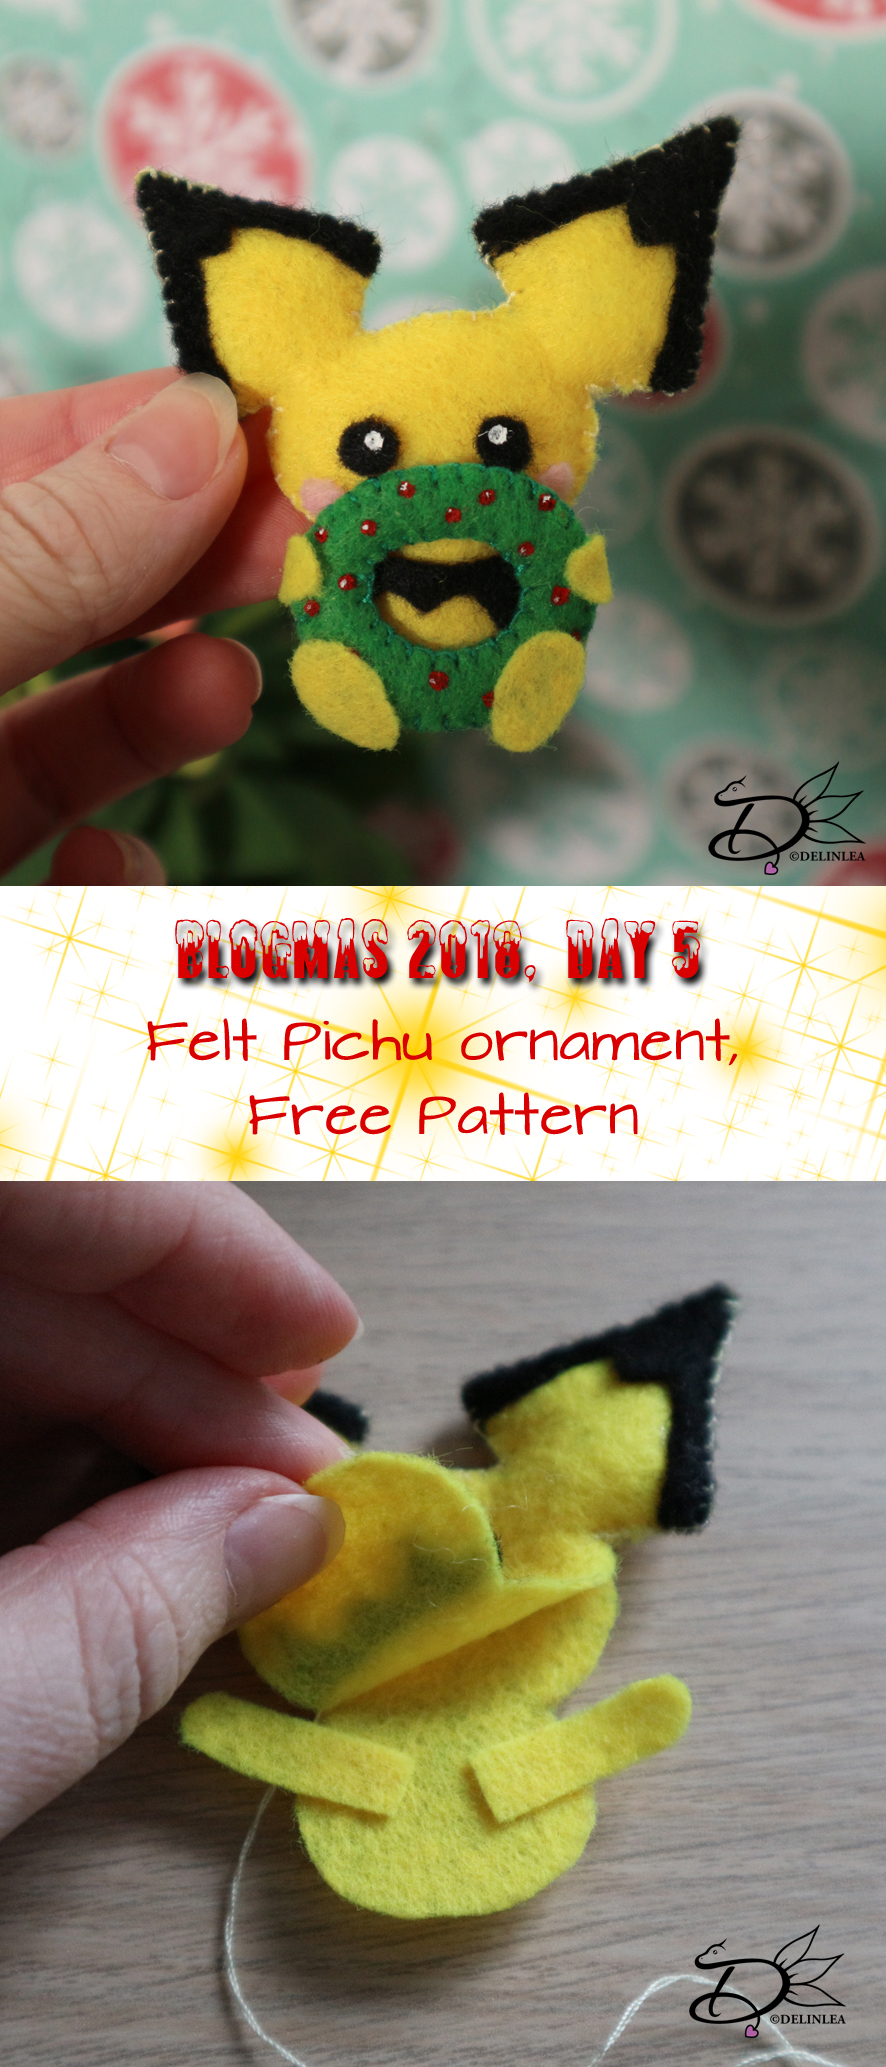
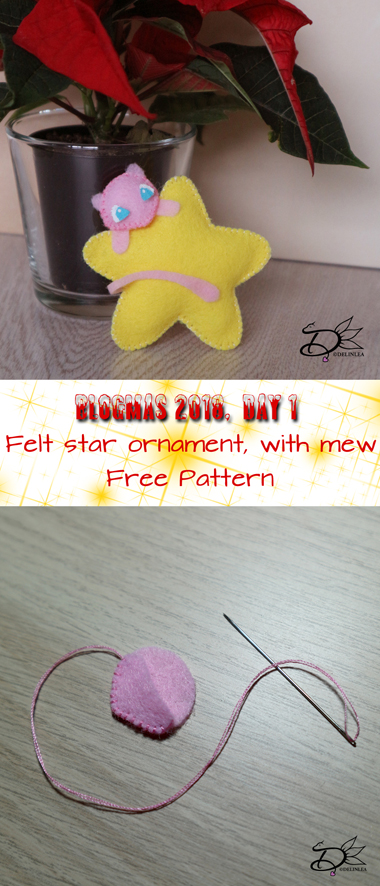
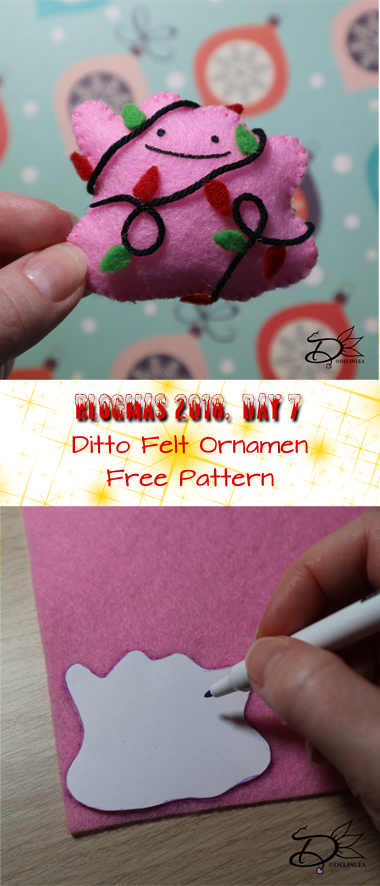
♥ Day 7; Ditto Felt Ornament
Hey Lovelies! It’s day 7 of Blogmas! What do you think of blogmas so far, with all those Pokémon?! It’s time for a new ornament! Today we will make a Ditto who has gotten in trouble with the lights. Instead of decorating the tree, he decorated himself xD. So cute!
For this DIY you’ll need:
♥ Felt in the colors Pink, Red and Green.
♥ Sewing thread in matching colors to the felt.
♥ Sewing Needle.
♥ Trick Marker or anything else where you can copy the pattern with onto your felt.
♥ Pattern.
♥ Scissors.
♥ Stuffing.
♥ Fabric Glue. (optional)
♥ Acryllic Paint in Black.
♥ about 50 cm of black yarn.
DIY
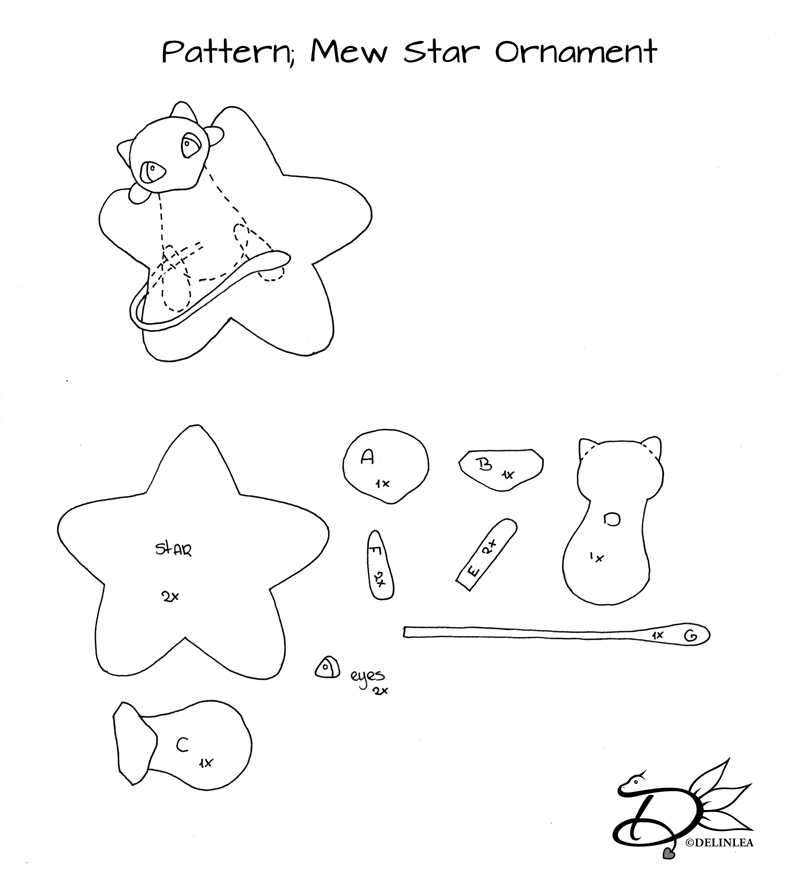
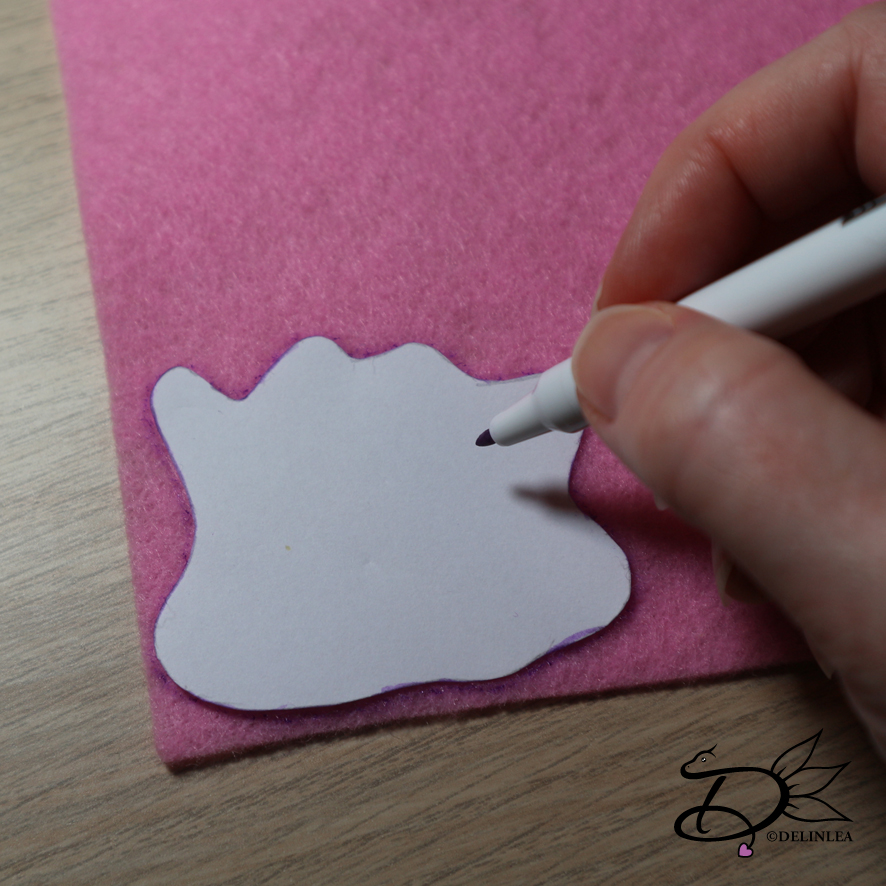
First off all, download the pattern HERE! And print it out (or draw it from your screen). The good thing is, you can make it as big as you want! Then cut out all the pieces. On every piece is stated how many times you need to cut it out of felt.
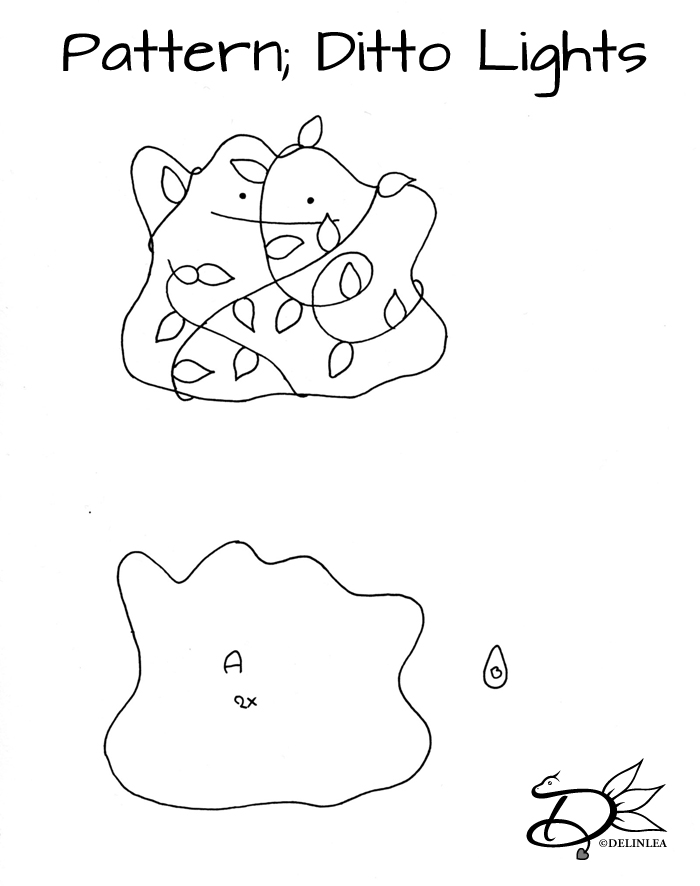
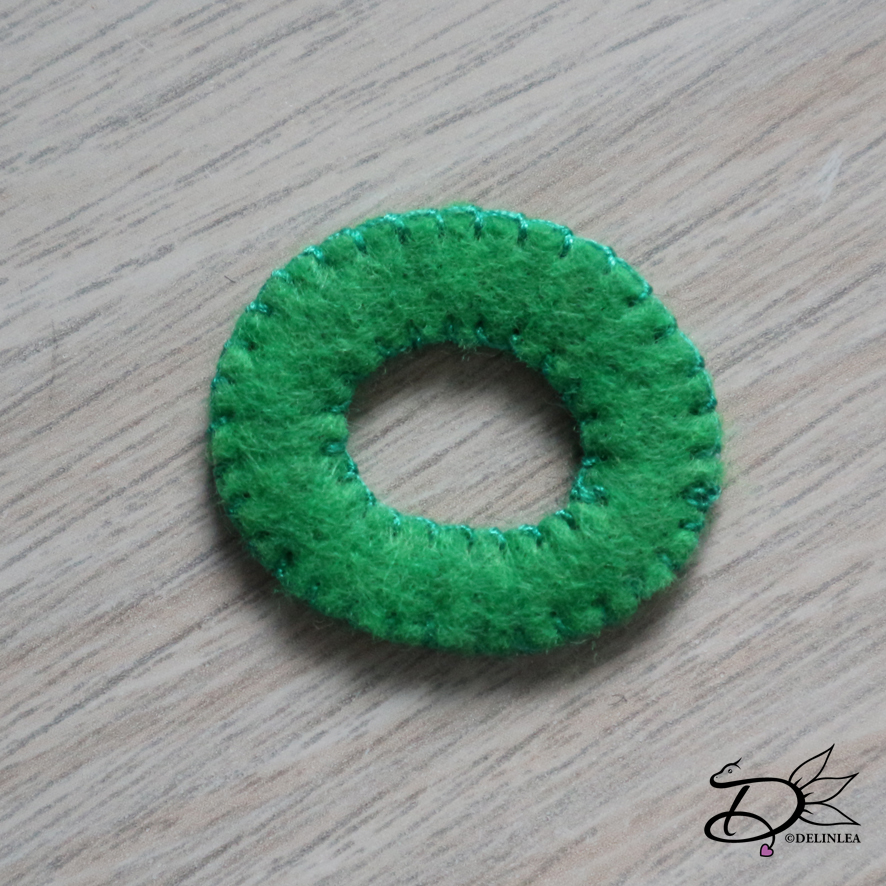
Copy all te pieces to felt, part A you’ll cut out of Pink felt. Part B you’ll cut out of green and red felt. About 14 times total. You can do more or less, or use other colors for the light. But red and green always gives me that Christmassy feeling.
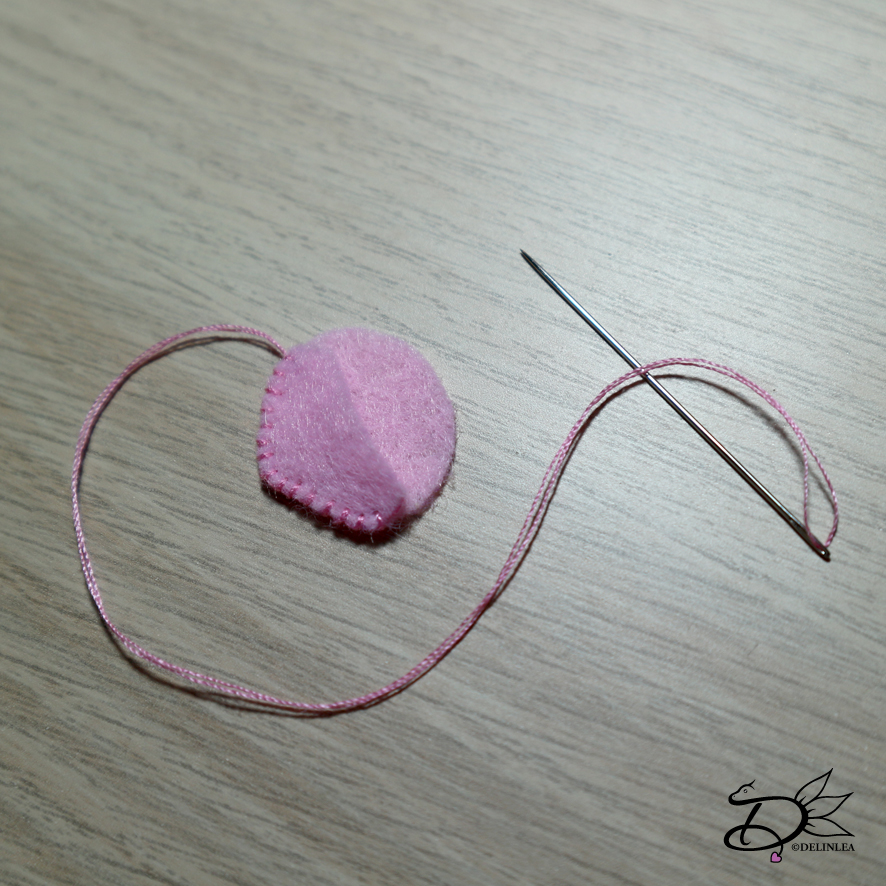
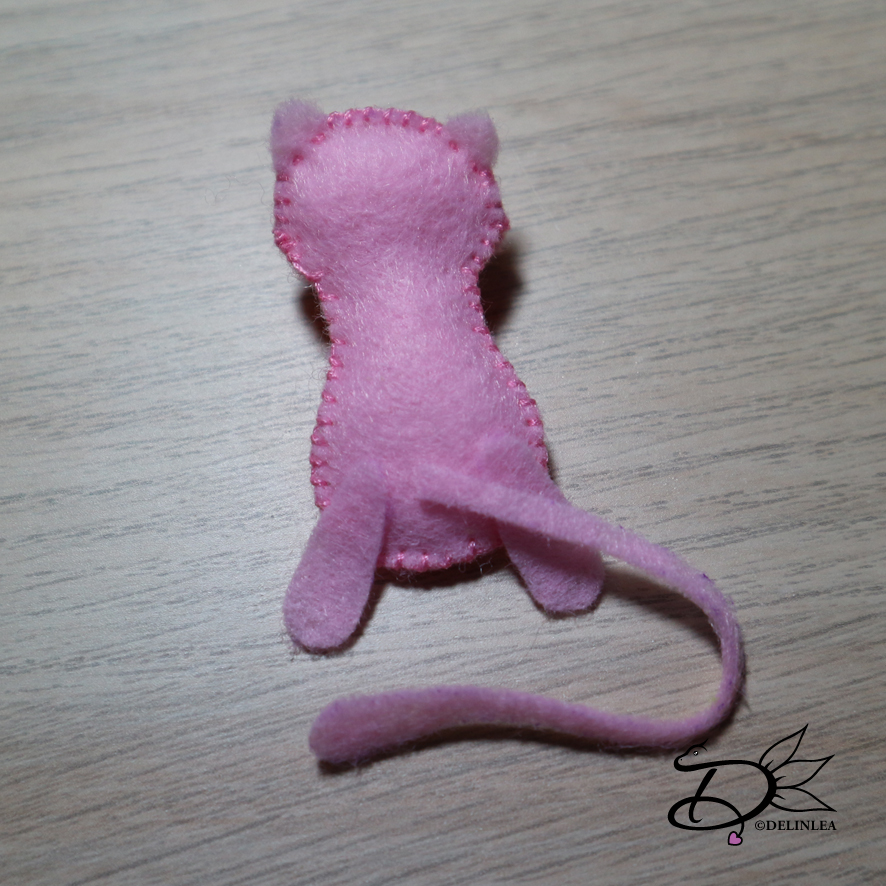
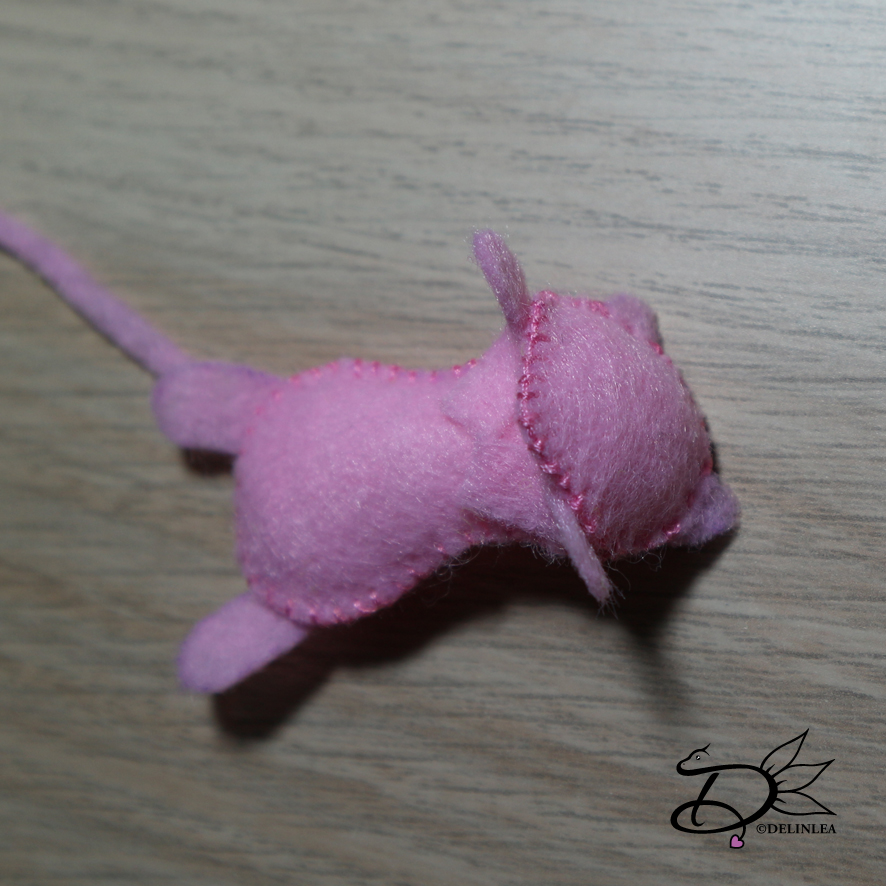
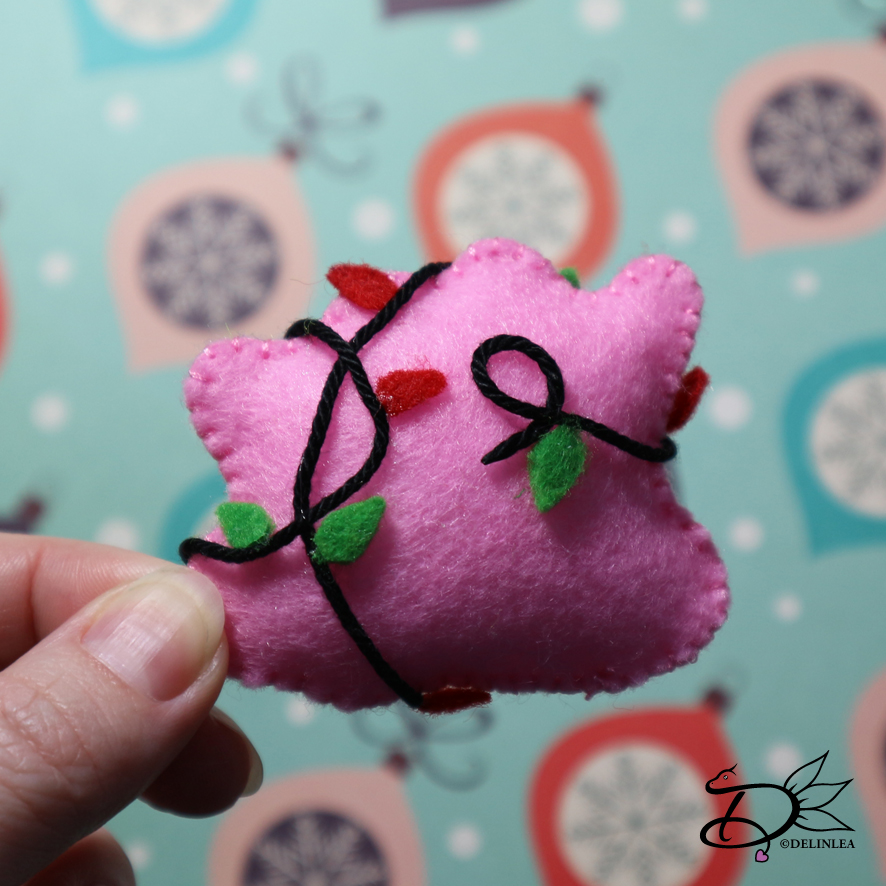
When you’ve done that it’s time to sew both parts A to each other. Use a Blanket stitch to do so. Before almost completely closing it up, make sure you stuff the body.
After finishing sewing the body, paint on the face of ditto with some black paint.
Now the fun part, wrap ditto in the black yarn. You can do this however you like, and how much yarn you use is up to you, 50 cm is probably too much. You can glue the yarn to ditto if you like, or just in some places, or even just the start and ending point.
Time for the lights! glue this here and there to the black yarn. Just do this random, to spots you like.
And you are already done! This is a pretty quick one, but I love it so much! I hope you do to, and make him as well. And if you do so, don’t forget to show me with #DelinleaBlogmas2018DIY on twitter or Instagram.
Have a lovely day, and I’ll see you tomorrow again!
Love
Danielle