Delinlea - My little fantasy world
  • ♥ Home
  • ♥ About Me
  • ♥ Blogmas 2021
  • ♥ Free Patterns
    • ♥ Amigurumi; Spring/Easter
    • ♥ Amigurumi; Fall/Halloween
    • ♥ Amigurumi; Winter
    • ♥ Amigurumi Tsum Tsum
    • ♥ Amigurumi Ufufy
    • ♥ Amigurumi Others
    • ♥ Christmas Countdown 2017
    • ♥ Blogmas 2018
    • ♥ Blogmas 2020
  • ♥ Tutorials
    • ♥ Easter
    • ♥ Home Deco
    • ♥ Others
  • ♥ Drawing Lessons
  • ♥ FanFic
    • ♥ Chapter 1
    • ♥ Chapter 2
    • ♥ Chapter 3
    • ♥ Chapter 4
    • ♥ Chapter 5
    • ♥ Chapter 6
    • ♥ Chapter 7
  • ♥ Gallery
    • ♥ Crafts
    • ♥ Drawings
    • ♥ Poseable Art Dolls
  • ♥ Links
  • ♥ Contact
    • Privacy Policy

Crafting

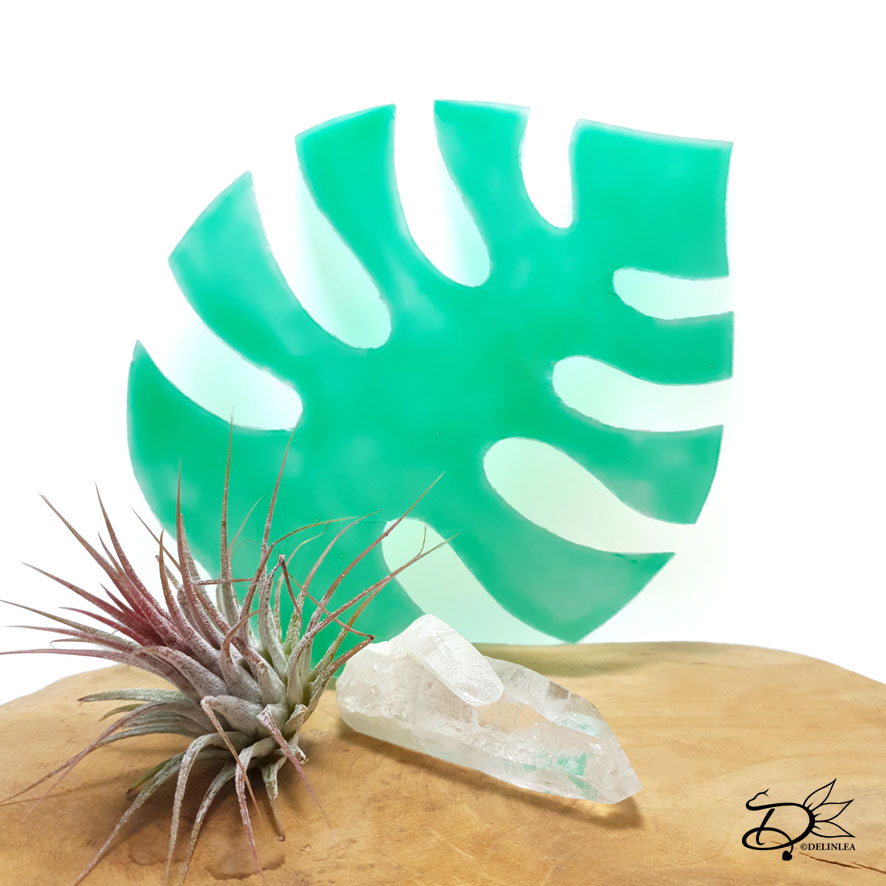
♥ Leaf Rug or Blanket DIY

10 september 2020 by Delinlea Leave a Comment

Hey Lovelies! Since colder days are coming, well, weather forecast says else, but let’s ignore that xD. I really need a new rug, that I could easily dump in the washing machine. My cat is kinda old, with her little accidents, I just need to be able to clean it well. My last rug didn’t survive the washing machine, oops, haha. So, I came up with a much more fun one, in the shape of a leaf! I love botanics and would fit my space well. While I was making it, I realized it would be perfect as blanket as well! So, double fun, just choose where you wanna use this Leaf Rug/Blanket for. Let’s see how to create your own.

Leaf Rug or Blanket

For this DIY you’ll need:
♥ Green Fabric of choice, 1 by 2 meter.
♥ Sheet Stuffing/Snowblanket, 1 by 1 meter.
♥ Template of a Leaf.
♥ Sewing Machine. (optional)
♥ Needle and Thread.
♥ Embroidery Floss in Green.
♥ Tailor’s Chalk.
♥ Sewing Pins.
♥ Fabric Scissors.
♥ Fabric Glue. (Optional)

♥ DIY Leaf Rug or Blanket

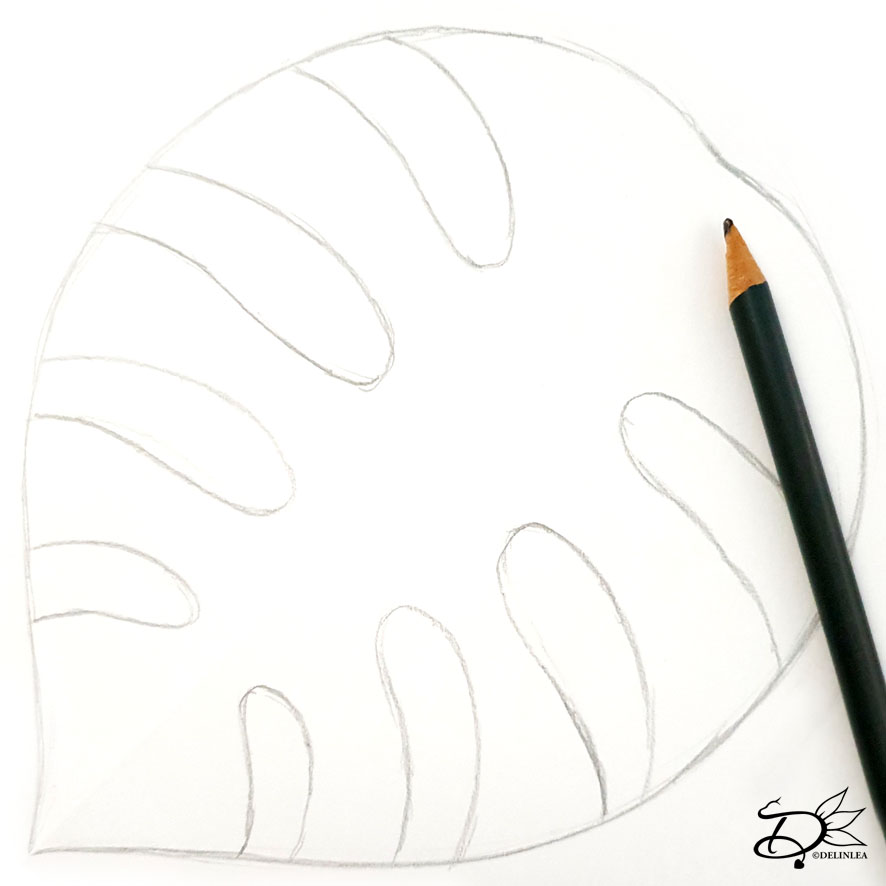
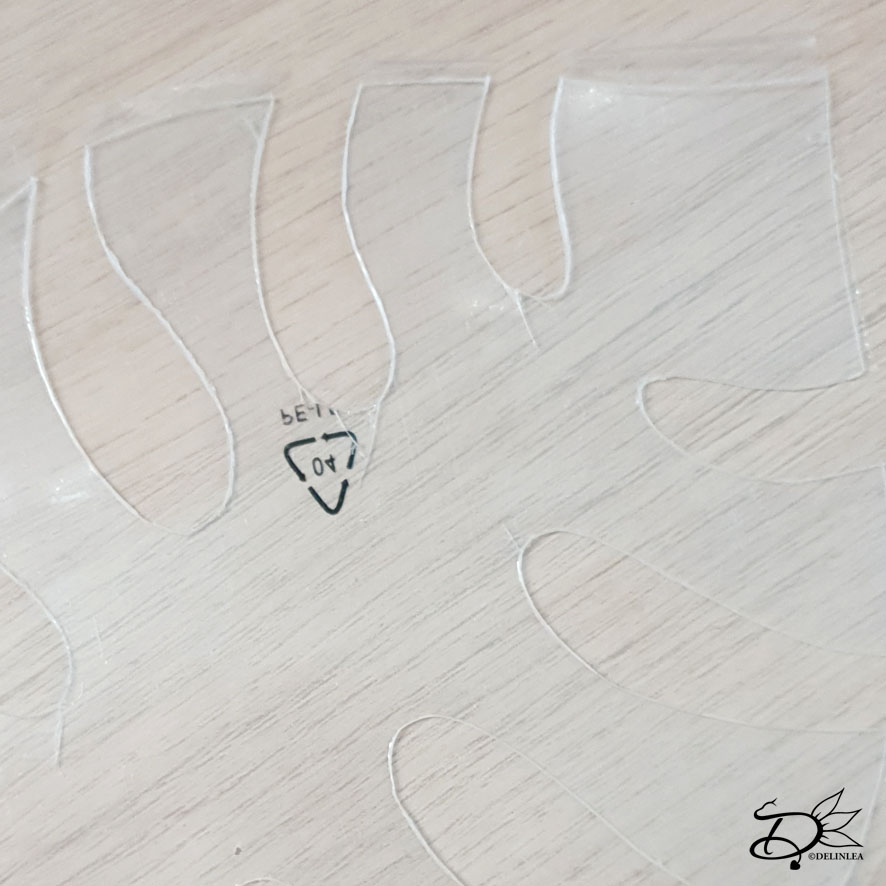
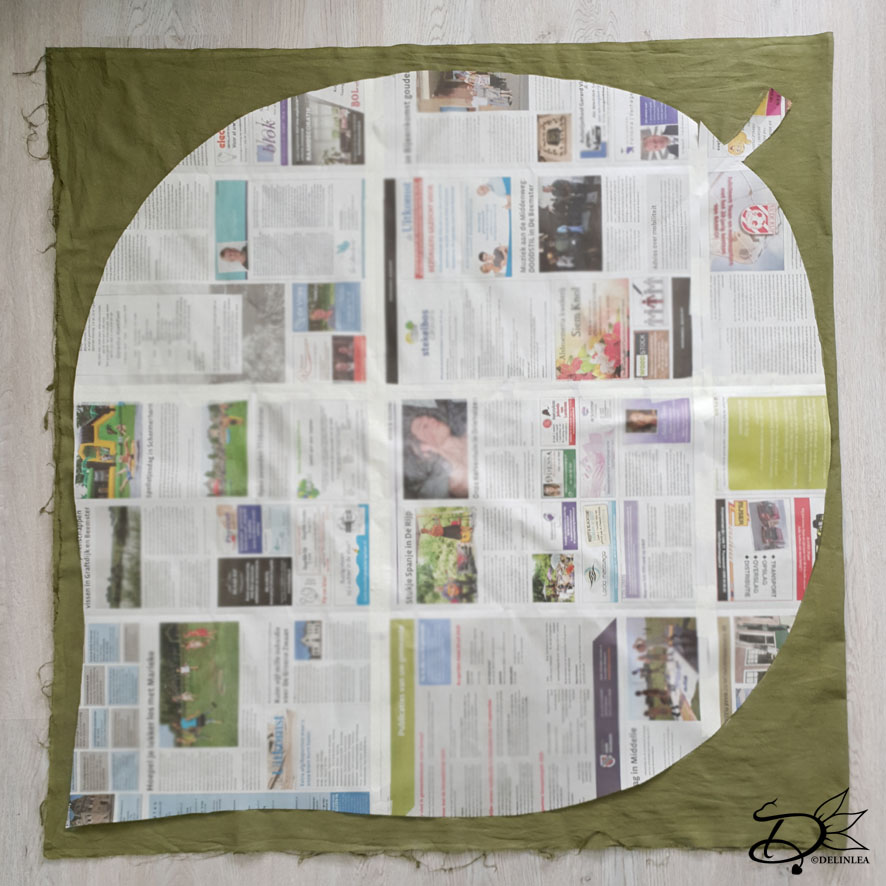
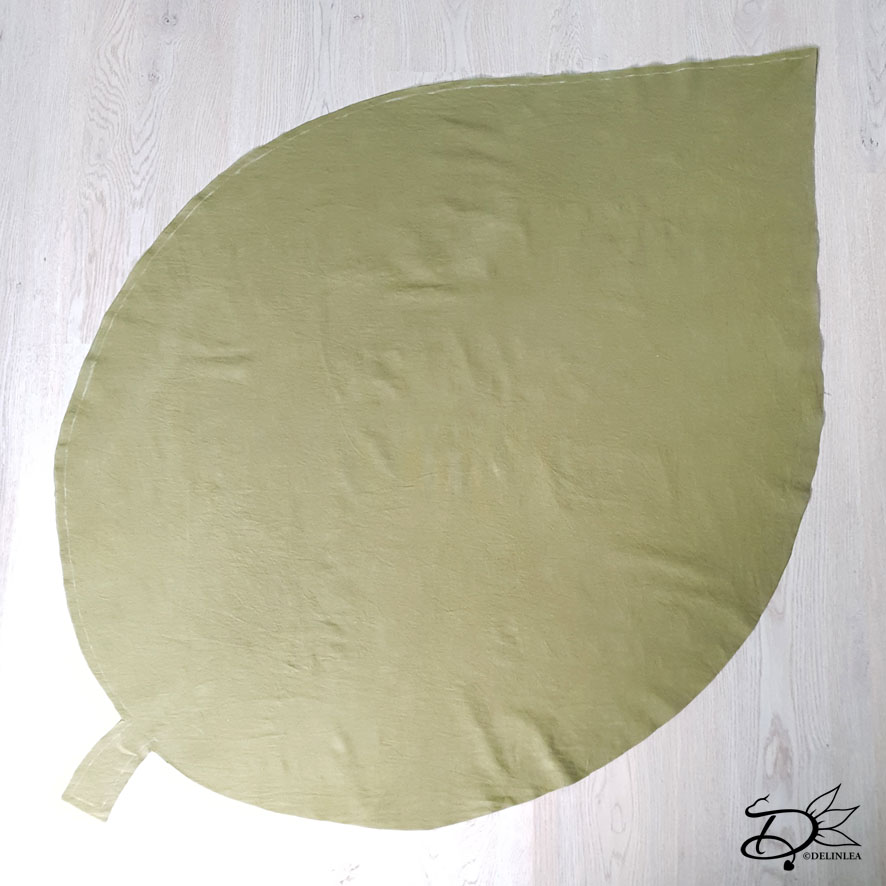
Make a template of a leaf, you can easily find shapes online or draw one yourself. If you are confident enough you can also draw directly on the fabric. Since I am a perfectionist, I used newspaper to draw my leaf on and cut it out. Make sure you stay within 1 by 1 meter.

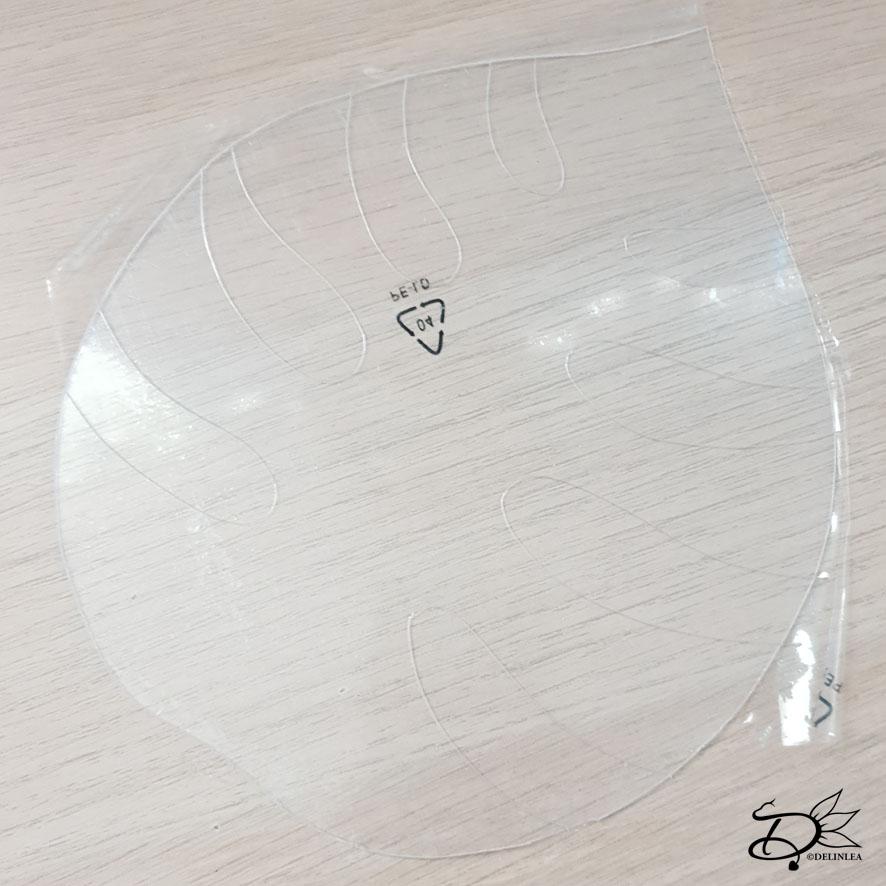
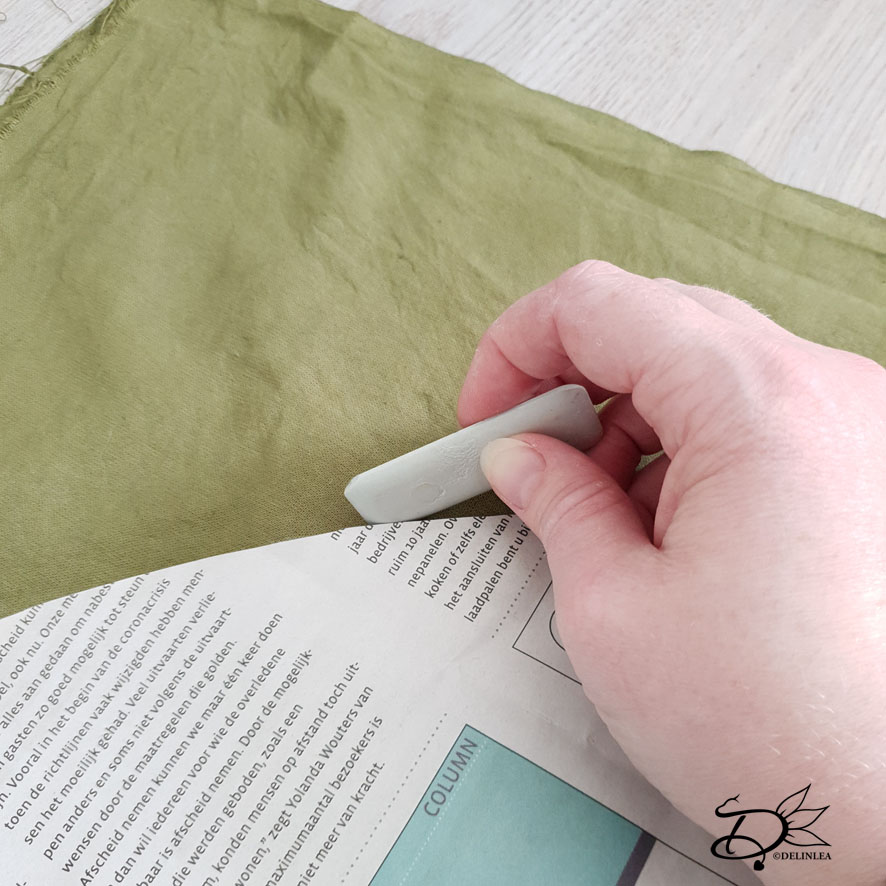
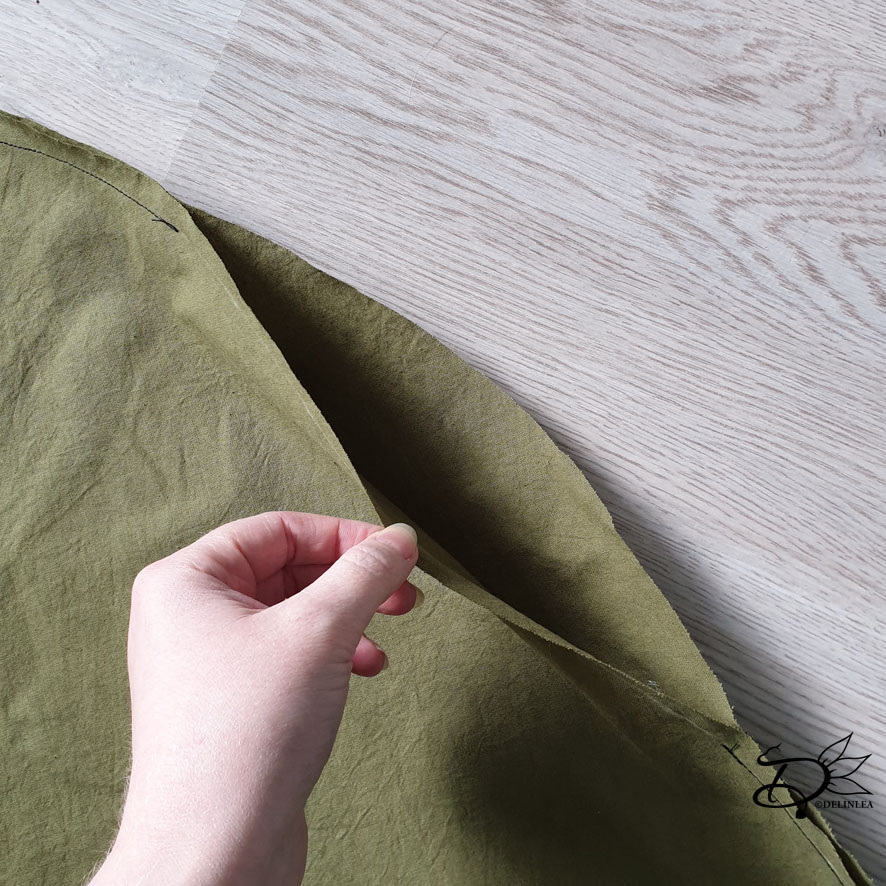
Fold your fabric in half, so you have a 1 by 1 meter sheet. On this, position your template and trace around it with the tailor’s chalk. Or, if you chose to draw it freehand, use the chalk as well.

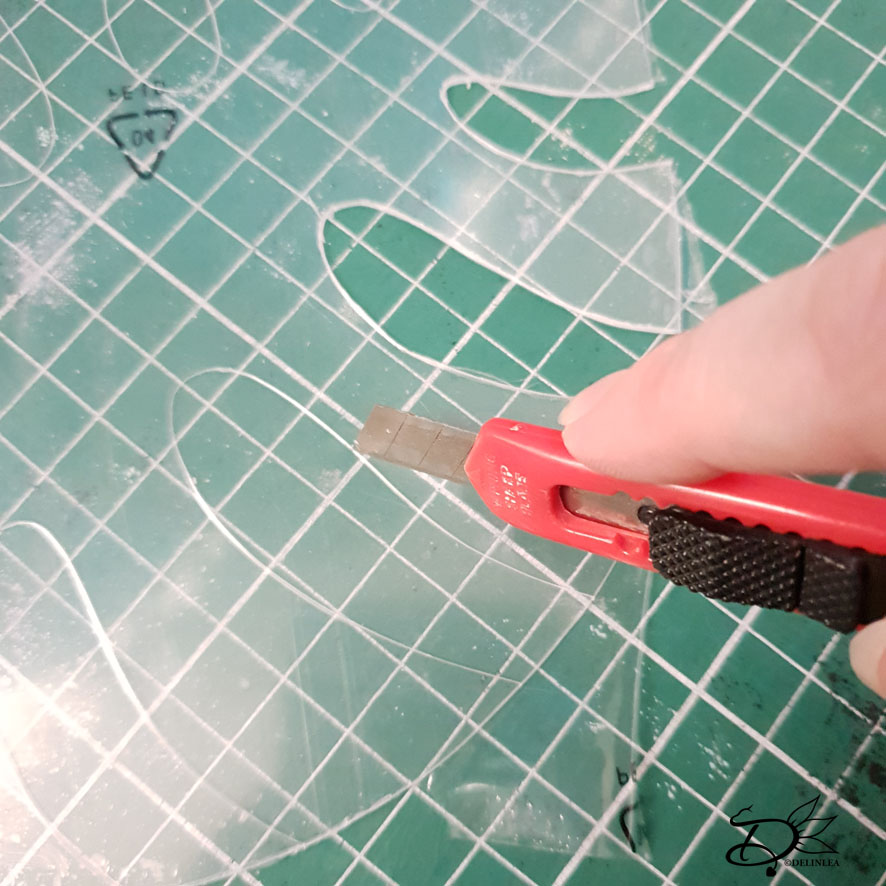
Now before you cut it out. Keep in mind you need seam allowance. I just drew a line 1cm from the edge of the leaf on the inside, or you can add it around it. Just keep in mind that if you draw it within the shape, it will turn out a bit smaller. When you did that, cut it out, both layers at the same time!

In the end I changed the shape of the leaf, as you can see the pics side by side with and without the newspaper.

Sewing

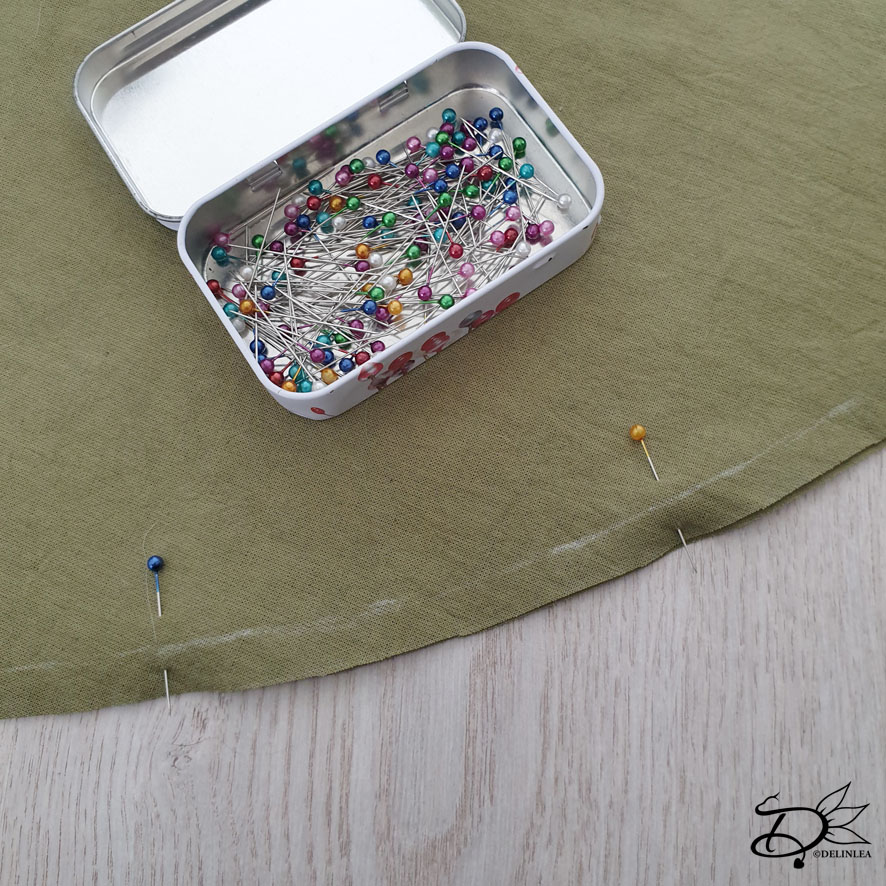
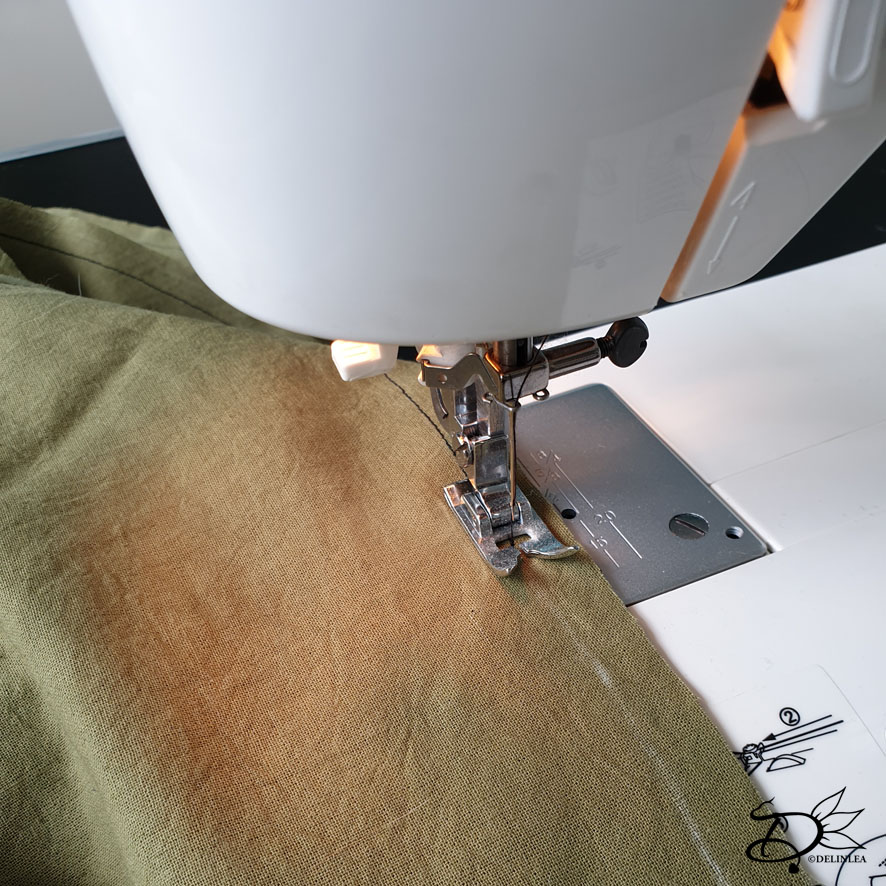
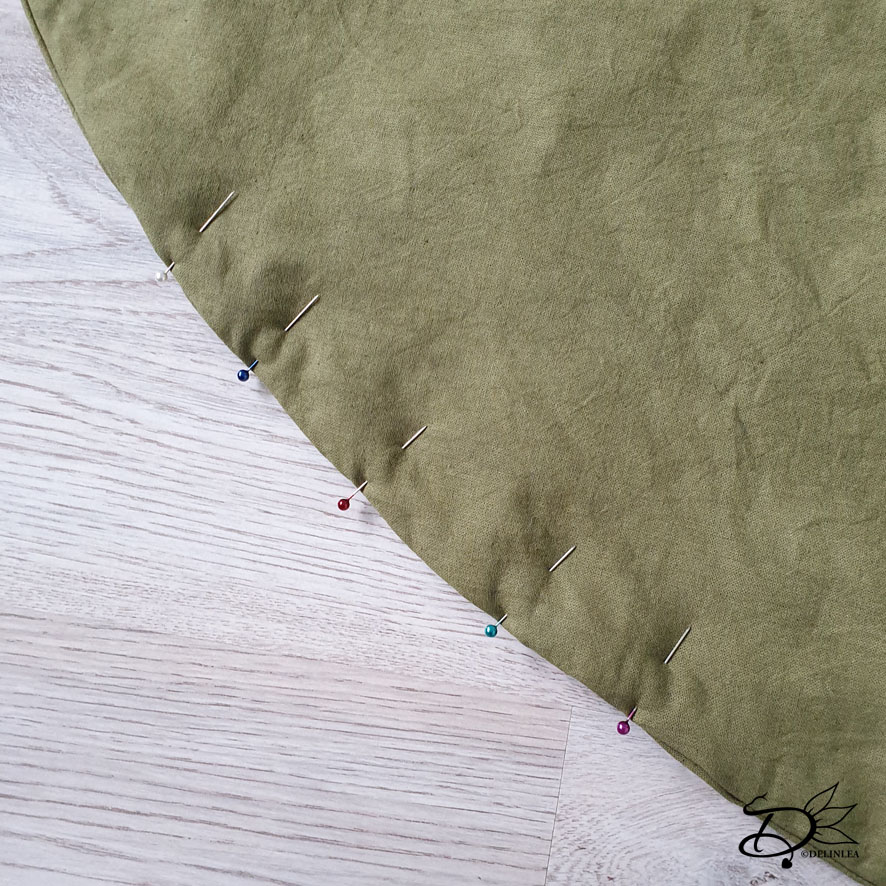
Now it’s time for sewing! You could do this by hand, but that will probably take a while! I used my sewing machine, just a straight stitch will do. Start somewhere on one of the sides, since you need to leave a gap, about 20cm, to turn it inside out. To keep the layers together before sewing, use sewing pins along the edge.

Stuffing.

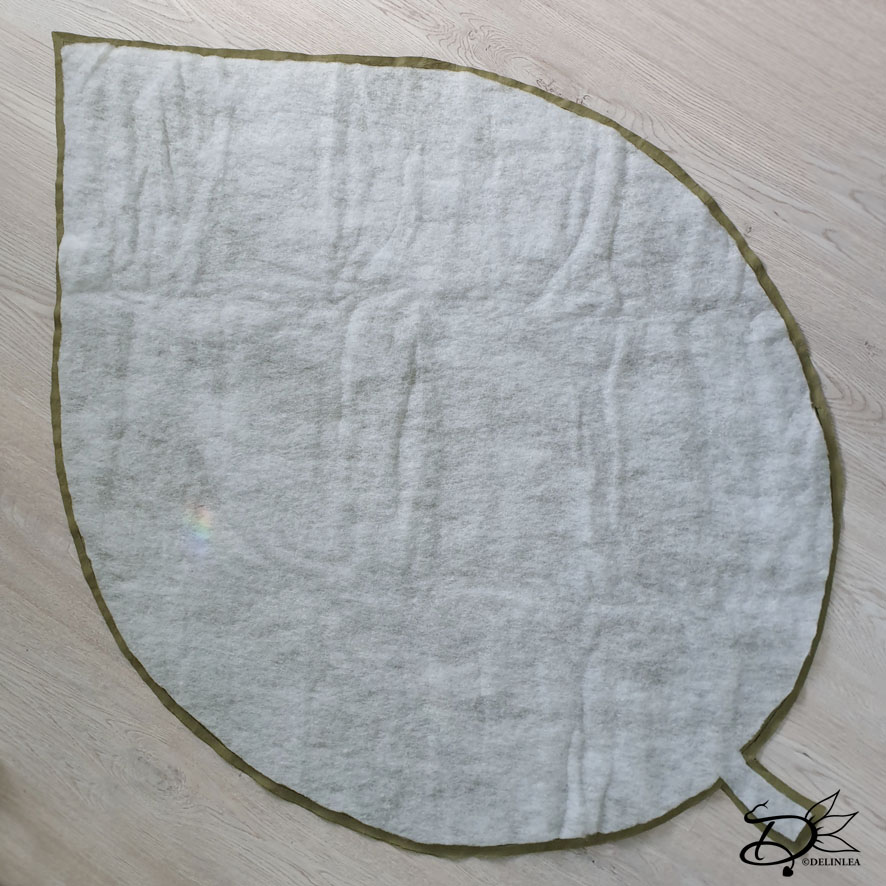
I used an old snow blanket for the stuffing, it was perfect! Cut it to size, use your template. It doesn’t have to be perfectly shaped, just make sure that it will fit inside the seams.

Now for the tricky part, the stuffing has to end up on the inside. You can do this 2 ways. Just flip the fabric and try to get the stuffing nicely inside, which is a challenge but possible.

Or the second way is, before you flip it, use a bit of fabric glue around the edge of the stuffing and glue it to the fabric. Just a warning here, test you glue on a scrap piece of fabric first. Some will leave really bad stains and that’s not pretty! Make sure to let the glue dry well and then flip the whole thing.

Stuffing glued on top of the still inside out piece.

Closing the Gap.

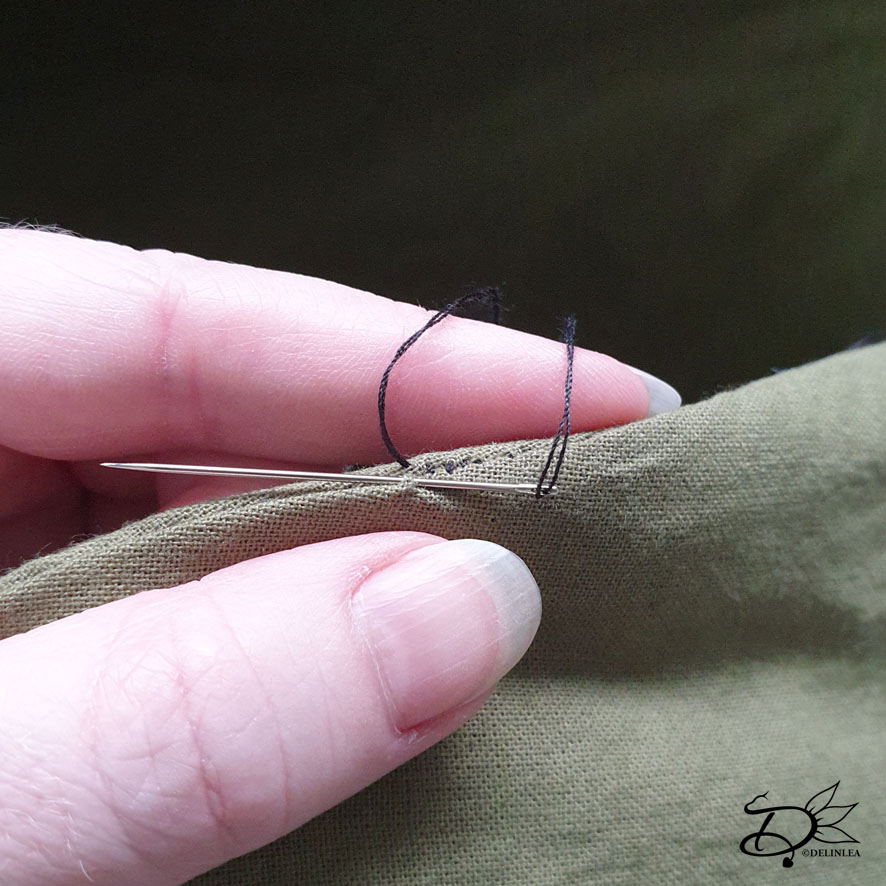
With a neeldle and thread, sew the gap closed. The best way is to use and invisible stitch. If you don’t know how to do this, watch a video on youtube, it’s not as hard as you might think. Make sure you fold in the sewing allowance neatly to the inside so, in the end, it won’t be visible when you are done.
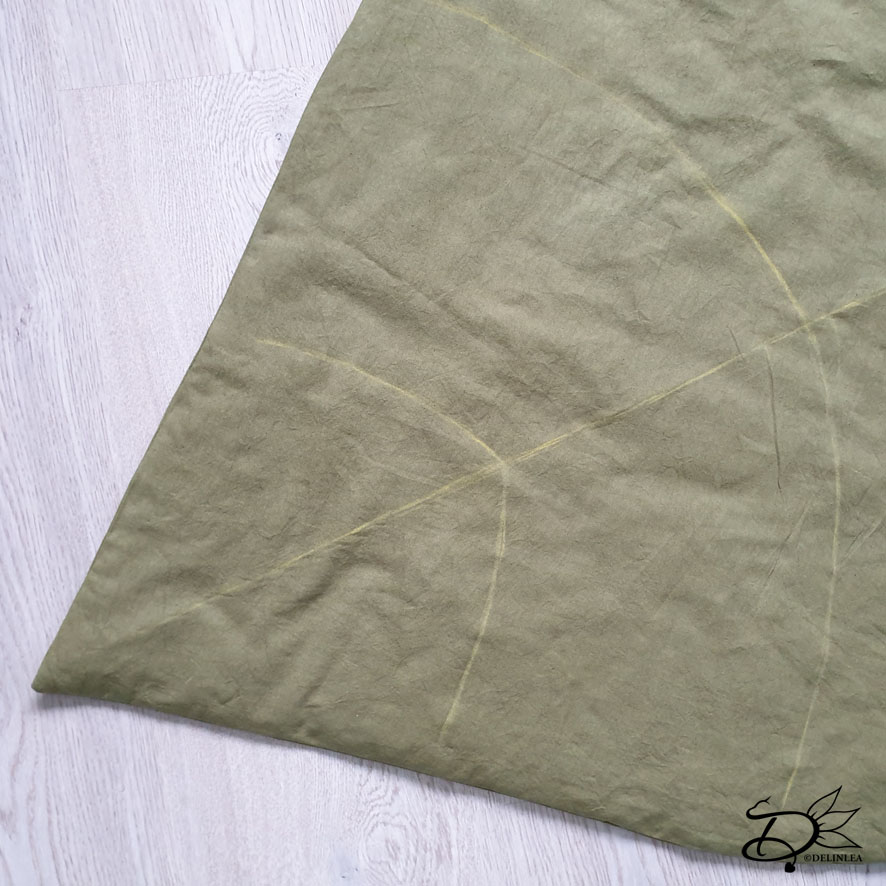
Leaf Veins

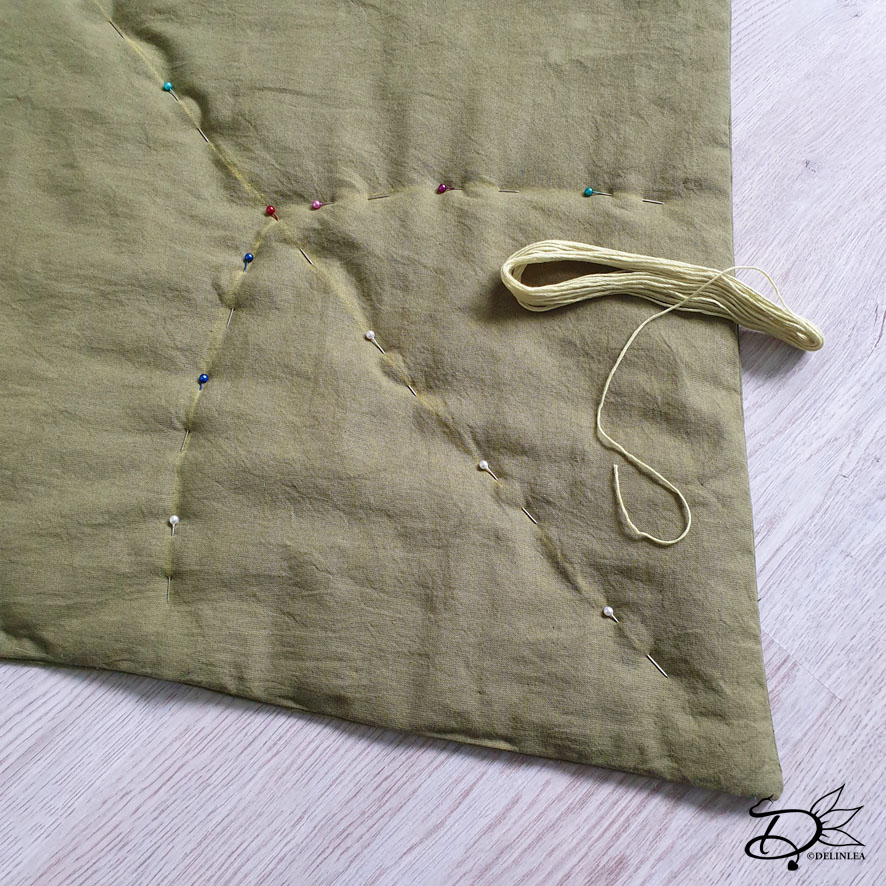
It’s time to give our rug or blanket some more detail! Take out you chalk again and draw out the Leaf Veins is any shape or form you like. If you are happy with how it looks, take your sewing pins and pin those down.

I did use embroidery floss, split in 3 strands. And stitched those veins by hand, it will take a while, but this way they were thinker as I could get with sewing it on my sewing machine. You, of course could choose to use your sewing machine to finish it quickly. But I think it was worth it to do it by hand.
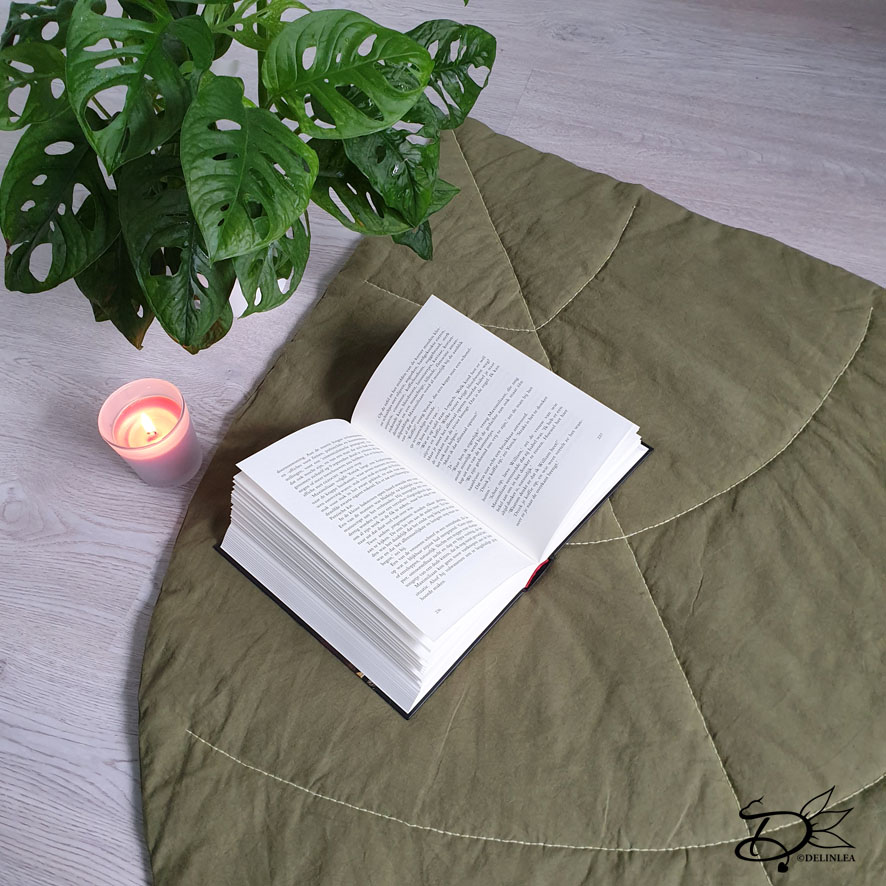
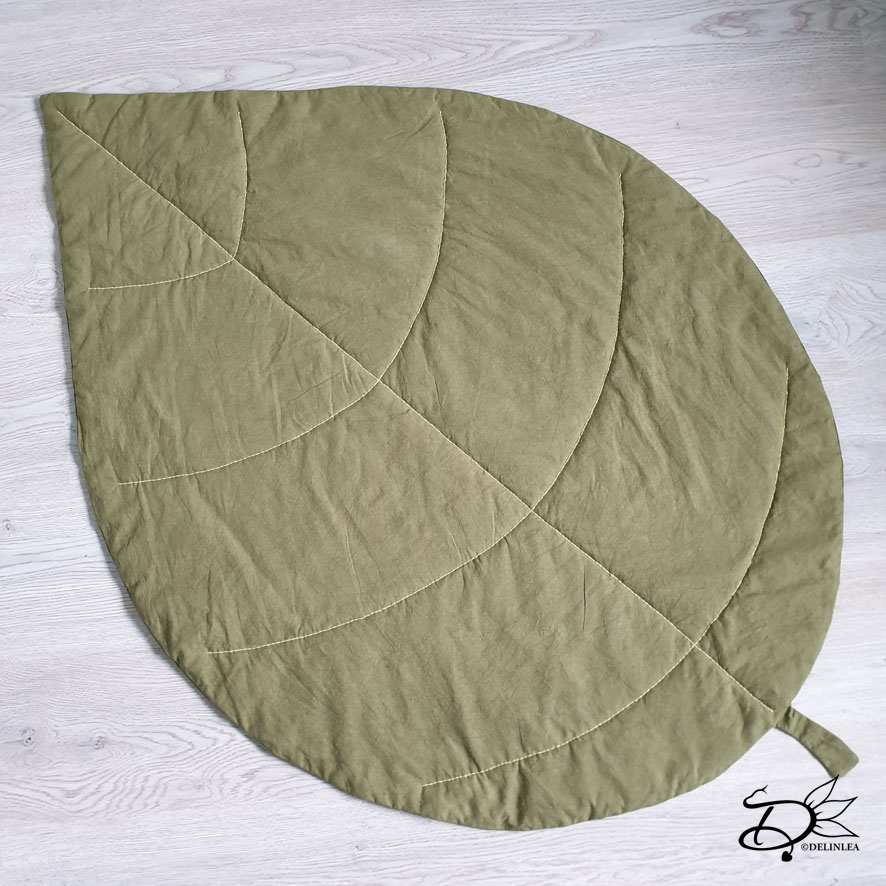
♥ Finished!

Your rug or blanket is finished! Isn’t it fun to see? I hope you enjoyed this tutorial and made a beautiful blanket or rug. If you did, don’t forget to show me on Twitter or Instagram with the #DelinleaDIY

Leaf Rug or Blanket

Have a wonderful day and I’ll see you next week!

Love
Danielle

Posted in: Crafting Tagged: Blanket, botanical, DIY, leaf, Rug, Tutorial

♥ Autumn Amigurumi’s

3 september 2020 by Delinlea Leave a Comment

Hey Lovelies! Are you seeing signs of Autumn arriving where you live as well?! Here the weather is acting like it’s fall. I love it a lot. Because of Fall coming I thought of making a overview with Amigurumi patterns I made over time! Some you might remember, other you might have forgotten. So, let’s do this.

♥ Autumn Spirit

This adorable spirit I made some years ago, and I still love it a lot, it’s not too hard to make, and quite fun that hang everywhere as decoration. Now looking him up, I realized that I had a lot more ideas to make as spirits.. hmm maybe it’s time to make some more. The pattern you can find here!

♥ Adorable Acorn

Do you like picking up Acorns as well in Autumn? I usually do, and put them everywhere. It’s magical what Nature can create, and I often think we don’t enjoy it enough. Nature gives us so much, and what do we give back?!

Anyway, this little one you should definitely make, it will keep you company during the cold days! The pattern you can find here!

♥ Little Foxy

Why did I only make a fox related to Autumn?! I guess I need to do something about that. Any suggestions?! Leave them below if you have. But this foxy is really sweet and always want’s to be around you, maybe as a keychain, so he can travel around with you to see the worlds. He’s really curious! The pattern you can find here!

Little Foxy

♥ Mushroom Buddy

Why do I feel like this mushroom buddy needs some friends?! Maybe because there are so many types of Mushrooms! I can probably can come up with a few more designs. But for now you have to do it with this one only! The pattern you can find here!

Mushroom Buddy

I won’t post the Halloween related amigurumi’s here, since I will make a post about those next month! So wait a little for that or go here, if you are looking for those already.

I hope you enjoy those patterns. Some have been a while since I made them, and then remembering how many more ideas I have. I guess I will be busy for a while! (I’ve some huge yarn stash that really needs to decrease xD) Let’s get crafty!

Ah, and if you made any, don’t forget to show me on Instagram or Twitter with #DelinleaDIY

Have a wonderful /Autumn/ day and I’ll see you next week!

Love
Danielle

Posted in: Crafting, Crochet Tagged: Amigurumi, Autumn, Crochet, cute, fall, haken, kawaii

♥ Tinkerbell Tsum Tsum Amigurumi

28 augustus 2020 by Delinlea Leave a Comment

Hey Lovelies! How’s your week going?! I still have to get back in my productive mode. Still, procrastinating a lot, oops. That’s why my blog is also late today. But here it is, finally. I made a Tinkerbell Tsum Tsum this time. I struggled a lot with making her hair, so annoying, not sure what was going on. Usually I make patterns easily. Oh well, enough babbling, let’s go to the pattern.

Tinkerbell Tsum Tsum

For this Pattern you’ll need:
♥ DK Yarn in Beige, Light Green, White and Yellow. (I used Budgetyarn.com, not sponsored)
♥ Bit of Blue yarn.
♥ Black felt for details.
♥ Crochet Hook. (I used a 2,5mm hook)
♥ Stuffing.
♥ Stitch Markers.
♥ Yarn Needle.
♥ Sewing Pins.
♥ (Fabric)Glue.

Stitches used (US Terms):
Magic Ring.
CH = Chain.
SLST = Slip Stitch.
SC = Single Crochet.
HDC = Half Double Crochet.
DC = Double Crochet.
TR = Treble.
Picot = Chain 3 and slst in the first st.
ST = Stitch.
Inc = Increase.
Dec = Decrease.
(…) = Repeat the space in brackets the given number of times.
[…] = Total number of stitches.

Tinkerbell Tsum Tsum

♥ Pattern Tinkerbell

This pattern is made with continues rounds, unless stated otherwise. Use a stitch marker to mark your first/last stitch of your row.

Body
Start with the color Beige.

1: 6SC in a Magic Ring. [6]
2: 2SC in each st around. [12]
3: (1SC, inc) 6 times. [18]
4: (2SC, inc) 6 times. [24]
5: (3SC, inc) 6 times. [30]
6: (4SC, inc) 6 times. [36]
7: (5SC, inc) 6 times. [42]
8: 42SC. [42]
|
14: 42SC. [42]
Change to the color Light Green.
15: 42SC. [42]
16: BL, 42SC. [42]
17: 42SC. [42]
|
25: 42SC. [42]
Change to the color White.
26: BL, 42SC. [42]
27: 42SC. [42]
|
29: 42SC. [42]
30: (5SC, dec) 6 times. [36]
31: (4SC, dec) 6 times. [30]
32: (3SC, dec) 6 times. [24]
33: (2SC, dec) 6 times. [18] Stuff the body.
34: (1SC, dec) 6 times. [12]
35: dec all around. [6]
Fasten off and weave in tail.
At row 16 of the body you worked in back loops only. Now rejoin your yarn in the front loops, and crochet 42SC around. Fasten off and weave in tail.

Skirt
Use the color Light Green.

At row 26 of Tinkerbell her body you worked in the back loops only. Rejoin your yarn now in the front loops.
1: 42SC. [42]
2: 42SC. [42]
3: (1SC, 1HDC, 1DC + Picot + 1DC in the next st, 1HDC) 10 times, 1SC, SLST. [62]
Fasten off and weave in tail.

Ears (Make 2)
Use the color Beige.

1: 6SC in a Magic Ring. [6]
Fasten off and leave a long tail for sewing.

Hair
Use the color Yellow.

1: Ch15, insert in second ch from hook, 13SC, 3SC in the next st, work along the other side of the chain now, 12SC, inc. [30]
2: Inc, 12SC, (inc) 3 times, 12SC, (inc) 2 times. [36]
3: 1SC, inc, 12SC, (1SC, inc) 3 times, 12SC, (1SC, inc) 2 times. [42]
4: Ch3, 2DC inc the next st, 1HDC, 16SC, 1HDC, 2DC in the next st, 2TR in the next st, 2DC in the next st, 1HDC, 16SC, 2DC in the next st, 1HDC, 1TR. [48] (the first 3Ch counts as the first TR).
Break the yarn.
5: Skip 5st, rejoin the yarn, 13SC, turn. [13]
6: Dec, 9SC, dec, turn. [11]
7: 7SC, dec, turn. [8] Mark the last 2 remaining stitches from the previous row.
8: Dec, 6SC, turn. [7]
9: Dec, 3SC, dec, turn. [5]
10: Dec, 3SC, turn. [4]
11: (Dec) 2 times, turn. [2]
12: Dec. [1]
Fasten off and leave along tail for sewing.

Go back to the 2 stitches you marked.
1: inc, 1SC, turn. [3] (the 1sc should be at the outside of the hair).
2: Dec, 1SC, turn. [2]
3: Dec. [1]
Fasten off and weave in tail.

Bun
Use the color Yellow.

1: 6SC in a Magic Ring. [6]
2: 2SC in each st around. [12]
3: (1SC, inc) 6 times. [18]
4: 18SC. [18]
|
6: 18SC. [18]
7: (1SC, dec) 6 times. [12]
Fasten off and leave a long tail for sewing. Don’t forget to stuff the bun.

Hairband
Use the color Blue.

Make a chain that can fit around the base of the bun.

Wings (Make 2)
Use the color White. (Optional, use metallic/glitter thread along with the yarn, to create a sparkle effect).
The wings won’t be worked in continues rounds.

1: Ch7, insert in second ch from hook, 5SC, 3SC in the next st, now work along the other side of the chain, 5SC, turn. [13]
2: 4SC, (inc, 1sc) 2 times, inc, 4SC. [16]
3: Ch6, insert in second ch from hook, 5SC, turn. [5]
4: 5SC, turn. [5]
5: Dec, 3SC. [4]
Fasten off and leave a long tail for sewing.

Legs (Make 4)
Use the color Beige for 2 legs and for the other 2 use the color Light Green.

1: 4SC in Magic Ring. [4]
2: 2SC in each st around. [8]
3: 8SC. [8]
|
4: 8SC. [8]
Fasten off and leave a long tail for sewing. 
You don’t have to stuff the legs, but you can if you want.

♥ Assembling

Whenever I start to assemble Amigurumi’s, I use sewing pins first to position all parts. This way you can easily move things around until you are happy and sew it on. I recommend you would do this as well.

First sew on Tinkerbell her legs, the 2 back legs go under her skirt and the beige ones, near her face. Now you now that the top of her body is, position her hair nicely and sew it on, then add the bun and put the hairband around it. Then sew on her ears as well. Last sew on her wings!
From felt make her eyes and eyebrows (Or use yarn to create her eyebrows). Glue those on and let dry.

Tinkerbell is finished! I hope it wasn’t too hard? I don’t think so. I hope you had fun. If you decided to make her, make sure to show me on Twitter or Instagram with the #DelinleaDIY.

Have a wonderful day and I’ll see you next week!

Love
Danielle

Posted in: Crafting, Crochet, Tsum Tsum Tagged: Amigurumi, Crochet, cute, Disney, haken, kawaii, tinkerbell, Tsum Tsum

♥ Tigger Ufufy Amigurumi

20 augustus 2020 by Delinlea Leave a Comment

Hey lovelies! We have to more hot days and then it should go back to normal for this time of year. They expect rain! Yay! I can’t wait I’m so done with hot, sunny weather. I wonder what Tigger would think about this weather. Yes, that’s right, today I’ve a Tigger Ufufy pattern for you to enjoy! Are you ready?

Tigger Ufufy

For this Pattern you’ll need:
♥ DK Yarn in Orange, Light Yellow and Brown.
♥ Pink and Brown felt for details.
♥ Crochet Hook. (I used a 3mm hook)
♥ Stuffing.
♥ Stitch Markers.
♥ Yarn Needle.
♥ Sewing Pins.
♥ (Fabric)Glue.

Stitches used (US Terms):
Magic Ring.
CH = Chain.
SLST = Slip Stitch.
SC = Single Crochet.
ST = Stitch.
Inc = Increase.
Dec = Decrease.
(…) = Repeat the space in brackets the given number of times.
[…] = Total number of stitches.

♥ Pattern Tigger

This pattern is made with continues rounds, unless stated otherwise. Use a stitch marker to mark your first/last stitch of your row.

Body
Start with the color Orange.

1: 6SC in a Magic Ring. [6]
2: 2SC in each st around. [12]
3: (1SC, inc) 6 times. [18]
4: (2SC, inc) 6 times. [24]
5: 24SC. [24]
6: 24SC. [24]
7: (3SC, inc) 6 times. [30]
8: 30SC. [30]
|
11: 30SC. [30]
From here on you will alternate colors to create the belly.
12: Orange; 13SC, Light Yellow; 9SC, Orange; 8SC. [30]
|
14: Orange; 13SC, Light Yellow; 9SC, Orange; 8SC. [30]
15: Orange; 12SC, inc, Light Yellow; dec, 5SC, dec, Orange; inc, 7SC. [30]
16: Orange; 13SC, inc, Light Yellow; dec, 3SC, dec, Orange; inc, 8SC. [30]
Continue with Orange only.
17: 30SC. [30]
18: (3SC, dec) 6 times. [24]
19: (2SC, dec) 6 times. [18] Stuff the body nicely.
20: (1SC, dec) 6 times. [12]
21: (dec) 6 times. [6]
Fasten off and weave in tail.

Face
Use the color Light Yellow.

1: 6SC in a Magic Ring. [6]
2: (inc) 3 times, turn. [6]
3: Ch1, inc, 5SC, inc, turn. [8]
4: Ch1, 8SC. [8]
Fasten off and leave a long tail for sewing.

Ears (Make 2)
Use the color Orange.

1: Ch4, insert in second ch from hook, 2SC, 3SC in the next st, continue along the other side of the chain, 1SC, inc. [8]
2: 8SC. [8]
3: (Dec, 2SC) 2 times. [6]
4: 6SC. [6]
Fasten off and leave a long tail for sewing.

Snout
Use the color Light Yellow.

1: 6SC in a Magic Ring. [6]
2: 2SC in each st around. [12]
3: 12SC. [12]
Fasten off and leave a long tail for sewing.

Legs (Make 4)
Use the color Orange.

1: 6SC in a Magic Ring. [6]
2: 6SC. [6]
Fasten off and leave a long tail for sewing.

Tail
Start with Brown.
This one you won’t work in continues rounds.

1: 6SC in magic ring, SlSt in the first st. [6]
2: Chain 1, 6SC, SlSt in the first st.  [6]
Change to Orange.
3: Chain 1, 6SC, SlSt in the first st.  [6]
Change to Brown.
4: Chain 1, 6SC, SlSt in the first st.  [6]
Repeat row 3 and 4 until you have 9 rows total.
Fasten off and leave long tail for sewing.

Tigger Ufufy

♥ Assembling

Whenever I start assembling a Amigurumi, I’d like to use sewing pins first to position all part. This way you can easily move everything around until you are happy. Then you can sew it on.

Start with Tigger’s legs, two just under his belly and two on the side. Then position his face, keep the snout near to check if it is positioned right, since the snout will go partially over the face. Make sure, in the end, that the snout will be just above the belly.
Then sew on his ears and tail.
Now it is time to make his stripes, there are a lot, so check my pictures for references. You can make the stripes with either felt or yarn, use whatever you are most comfortable with.
Last make his eyes, nose and inside of the ears.

Tigger is done! I hope you enjoyed following along this pattern! If you made him, don’t forget to show me on Twitter or Instagram with the #DelinleaDIY.

I hope you have a wonderful day! I’ll see you next week with a TsumTsum pattern.

Love
Danielle

Posted in: Crafting, Crochet, Ufufy Tagged: Amigurumi, Crochet, cute, Disney, Free Pattern, haken, kawaii, Tigger, Tsum Tsum, Ufufy, Winnie the pooh

♥ Monstera Leaf of Plexiglass DIY

13 augustus 2020 by Delinlea Leave a Comment

Hey Lovelies! Is it as hot as it is here?! Gosh, I am not made for weather above 25 degrees Celsius, and it is currently 33 >_<. I feel sick cause of the heat and my body aches.. I just want cold/rainy weather! xD (We don’t have airco and houses are build to keep heat inside on cold days..well, it does its job on hot days too..)
Anyway, I am glad I did plan an easy DIY for this week, so I could slowly work on it. I wanna show you how to make Monstera leaves from plexiglass. I had this material left over from some old frames. I’d better use all the stuff I’ve around. (I need to come up with a few more plexiglass ideas, I’ve many more *Hides). I guess the virus also brought something good, I started using a lot of the materials I already had around. I barely bought any crafting supplies since.

Monstera Leaf of Plexiglass

For this DIY you’ll need:
♥ Plexiglass. (Can be as thick as you want)
♥ Sharp Knife or Fretsaw /I believe it is called/.
♥ Shape of a Monstera leaf printed out or drawn.
♥ Cutting Mat.
♥ Sanding Paper.
♥ Glue.
♥ Green Acrylic Paint.

♥DIY Monstera Leaf of Plexiglass

First draw or print out a shape of a Monstera Leaf of your liking. Keep in mind, that the more details it has the more complicated it will be to cut out. You can make it as big as you want, but small is tricky. I made mine about 17cm.

Now trace the leaf to the plexiglass. I used a knive to carve it in lightly, but you can also use a marker. Make sure, that if you use a marker, that there’s still the protective foil on both side. This makes life a lot easier with working on the leaf. It doesn’t get stains or scratches.

♥ Cutting the shape

Now it’s time to decide if you wane use a knife to cut it out, carving it in and breaking off the remains carefully. Which can be tricky, (mine broke at some spots I didn’t wanted it to). Or use a fretsaw to go around the out lines. Whichever way you chose, be careful, both are sharp things to use, and if the plastic breaks as well, it’s sharp, don’t hurt yourself!

When you have the shape completely cut out, use some sanding paper on the edges. To remove any un even edges and the sharp points that might be there.

Now it is time to remove the protective foil. If you want you can keep the shape like this and say it is done. But you can also give it some color, like I did.

♥ Painting

Mix glue with a tiny bit of green paint (You could use paint only, but then you loose transparency). You could test the color first on one of the scrap pieces to test if you like the color. If you do, paint the whole leaf green, on one side, it’s okay if the layer isn’t even, I think that adds to it. Try to avoid very runny glue, plastic won’t take watery things very well. You can better have it on the thicker side.

When you are done, let it dry completely and give it a gloss varnish if you like.

Later I was thinking, what if you add black/metallic tape to the edges, so it looks like stained glass, wouldn’t that be cool?

I hope you enjoyed this DIY! If you decided to make some leaves, show me on Twitter or Instagram with the #DelinleaDIY.

Have a wonderful day and I’ll see you next week!

Love
Danielle

PS. The transparency isn’t really visible, but I refuse to go take pics outside right now! Maybe I’ll update this post later, when heat wave stopped!

Posted in: Crafting Tagged: DIY, home decoration, leaf, monstera, plexiglass, Tutorial
« Vorige 1 2 3 4 5 … 12 13 14 15 16 17 18 19 20 … 40 41 42 43 44 Volgende »

What are you looking for?!

My Socials

Ko-Fi

I love making all these free things for you, tho it would be very helpfull if you can support me on Ko-Fi! (You don’t have to tho, totally up to you!)

Ko-Fi Shop!!

In my Ko-Fi shop you can find PDF Amigurumi Patterns!! You can pay easily with PayPal.
Go to the shop here!!

Recent Blog Posts

  • ♥ Happy 2022!
  • ♥ Day 12; Lights
  • ♥ Day 11; Flower Deco
  • ♥ Day 10; Snowman
  • ♥ Day 9; Gingerbread Houses

Recent Comments

  • Erzsebet M. Marosvari op ♥ My Entry For a Faber Castell Contest
  • Delinlea op ♥ Pietje Gnome Amigurumi
  • Delinlea op ♥ Toy Story Alien TsumTsum Amigurumi
  • Delinlea op ♥ Pua Tsum Tsum Amigurumi
  • Charli op ♥ Free Pattern; CNY Mouse Amigurumi

Categories

  • animation
  • Beadwork
  • Blogmas 2018
  • Blogmas 2020
  • Blogmas 2021
  • Books
  • Bujo
  • Christmas
  • Christmas CAL 2019
  • Christmas Countdown 2017
  • Contest
  • Crafting
  • Crochet
  • Drawing
  • Drawing Lesson
  • Easter
  • Geen categorie
  • Life
  • Miniature
  • Nail Art
  • New Year
  • Paper
  • plush
  • Pokemon
  • Poseable Art Doll
  • Recipe
  • Sewing
  • Shop Pattern
  • Sinterklaas
  • Social Media
  • Tsum Tsum
  • Ufufy

Copyright © 2025 Delinlea - My little fantasy world.

Family WordPress Theme by themehall.com