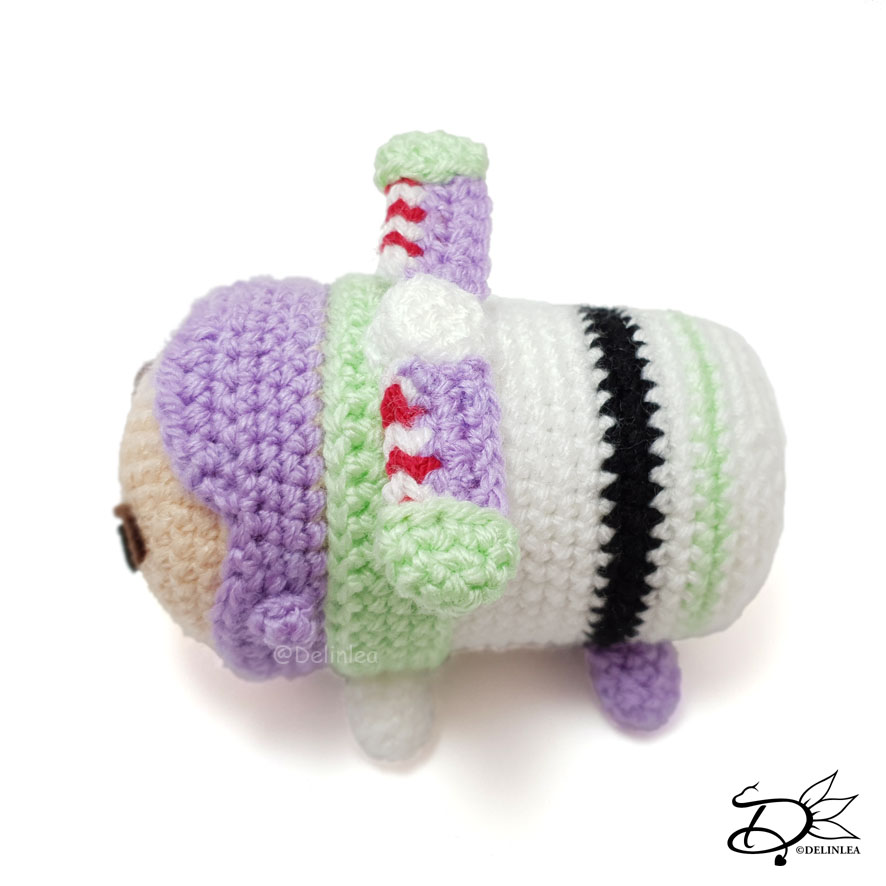
♥ Buzz Lightyear TsumTsum Amigurumi
Hey Lovelies! I’m a bit late with today’s post. Well simply because I got distracted by Thai Drama’s xD. Do you like to watch drama’s? And which do you like? Anyway, I tried to crochet while trying to read the subtitles as well, that went very~~ slow xD.
As you might know today it’s time for a Tsum Tsum, I hope you are ready and a lover of Toy Story! It’s Buzz Lightyear!! Let’s go to the pattern.
For this Pattern you’ll need;
♥ Yarn in the colors Beige, Purple, Green, White, Black and Red. (I used Stylecraft Special DK)
♥ Crochet hook. ( I used a 3mm)
♥ Stuffing.
♥ Black, and Brown Felt for facial details.
♥ Yarn Needle.
♥ Sewing Pins.
♥ Stitch Marker.
♥ (Fabric) Glue.
Stitches used (US Terms):
Magic Ring.
CH = Chain.
SLST = Slip Stitch.
FSC = Foundation Single Crochet.
SC = Single Crochet.
ST = Stitch.
BL = Back Loops.
FL = Front Loops.
Inc = Increase.
Dec = Decrease.
(…) = Repeat the space in brackets the given number of times.
[…] = Total number of stitches.
♥ Pattern Buzz Lightyear Tsum Tsum.
This pattern is made with continues rounds, unless stated otherwise. Use a stitch marker to mark your first/last stitch of your row.
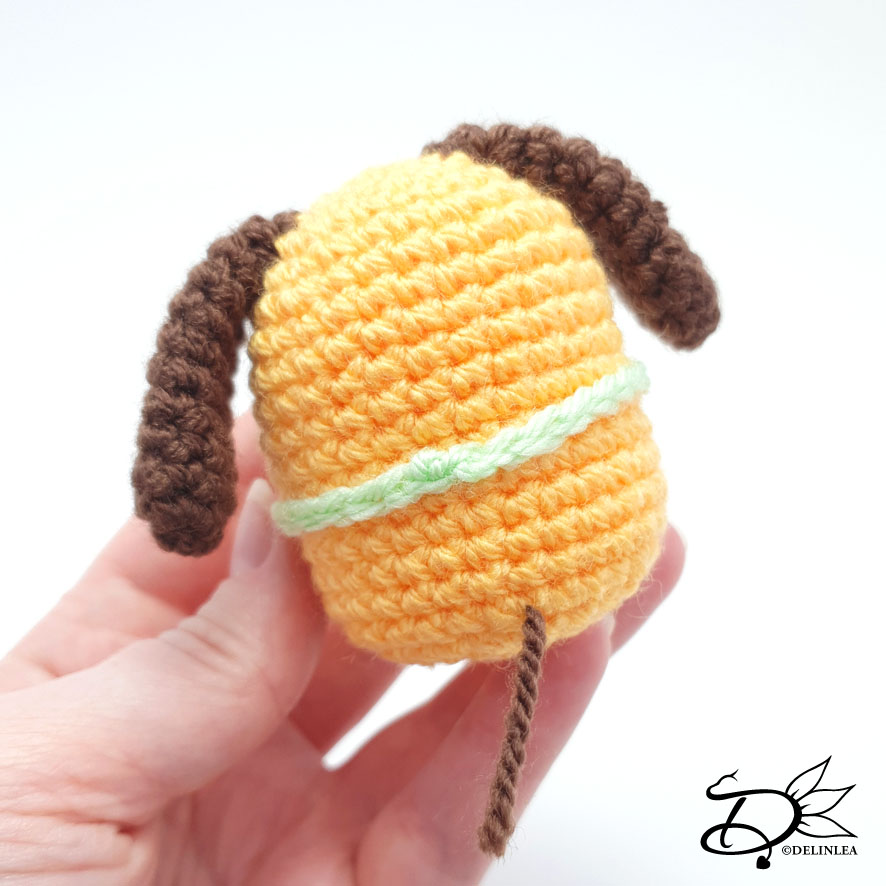
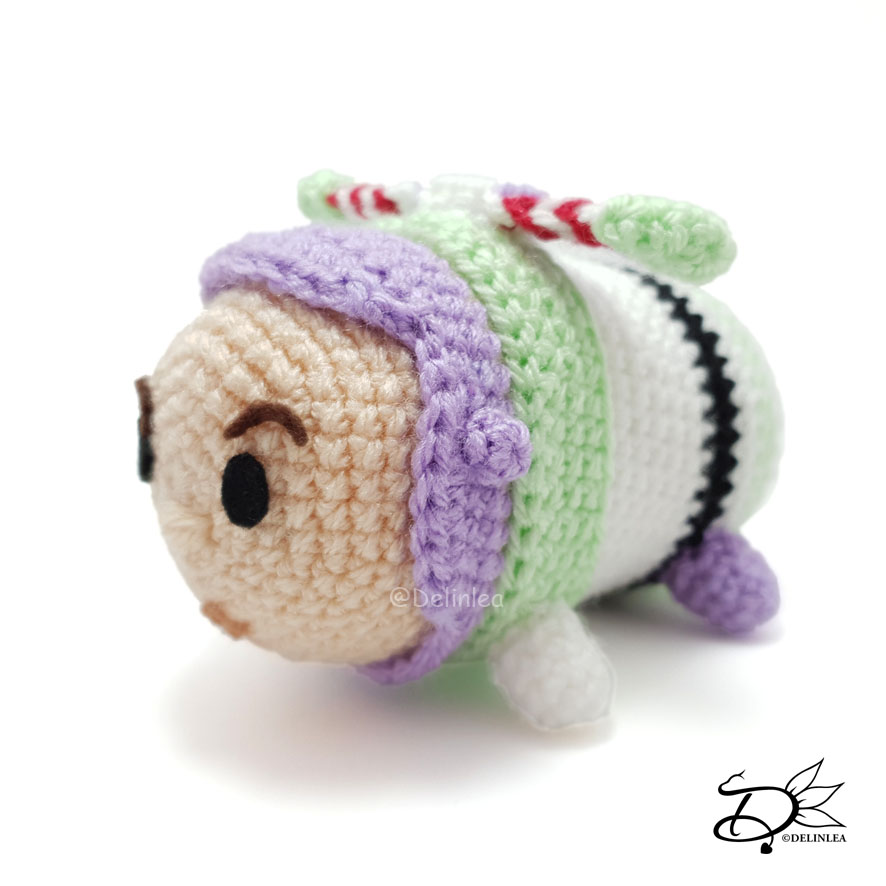
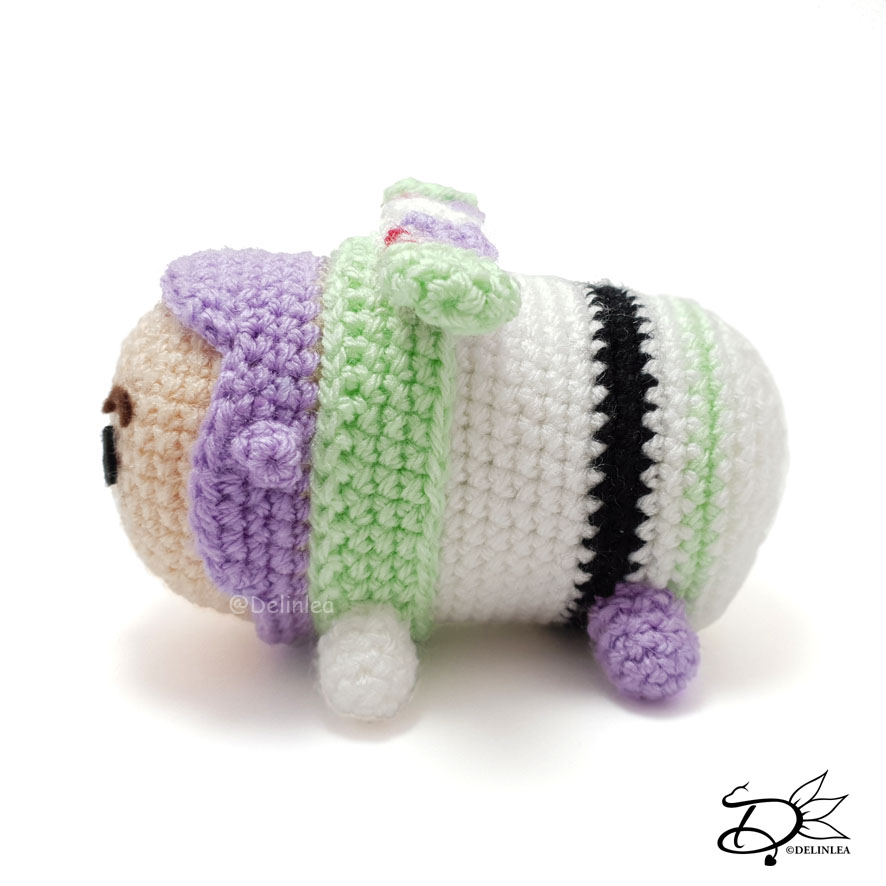
Body
Start with the color Beige.
1: 6SC in a Magic Ring. [6]
2: 2SC in each st around. [12]
3: (1SC, inc) 6 times. [18]
4: (2SC, inc) 6 times. [24]
5: (3SC, inc) 6 times. [30]
6: (4SC, inc) 6 times. [36]
7: (5SC, inc) 6 times. [42]
8: 42SC. [42]
|
13: 42SC. [42]
Change to the color White.
14: BL 42SC. [42] Mark the first FL of this row!
15: 42SC. [42]
|
23: 42SC. [42]
Change to the color Black.
24: 42SC. [42]
25: 42SC. [42]
Change to the color White.
26: 42SC. [42]
27: 42SC. [42]
Change to the color Green.
28: 42SC. [42]
Change to the color White.
29: 42SC. [42]
30: (5SC, dec) 6 times. [36]
31: (4SC, dec) 6 times. [30]
32: (3SC, dec) 6 times. [24]
33: (2SC, dec) 6 times. [18] Stuff the body.
34: (1SC, dec) 6 times. [12]
35: Dec around. [6]
Fasten off and weave in tail.
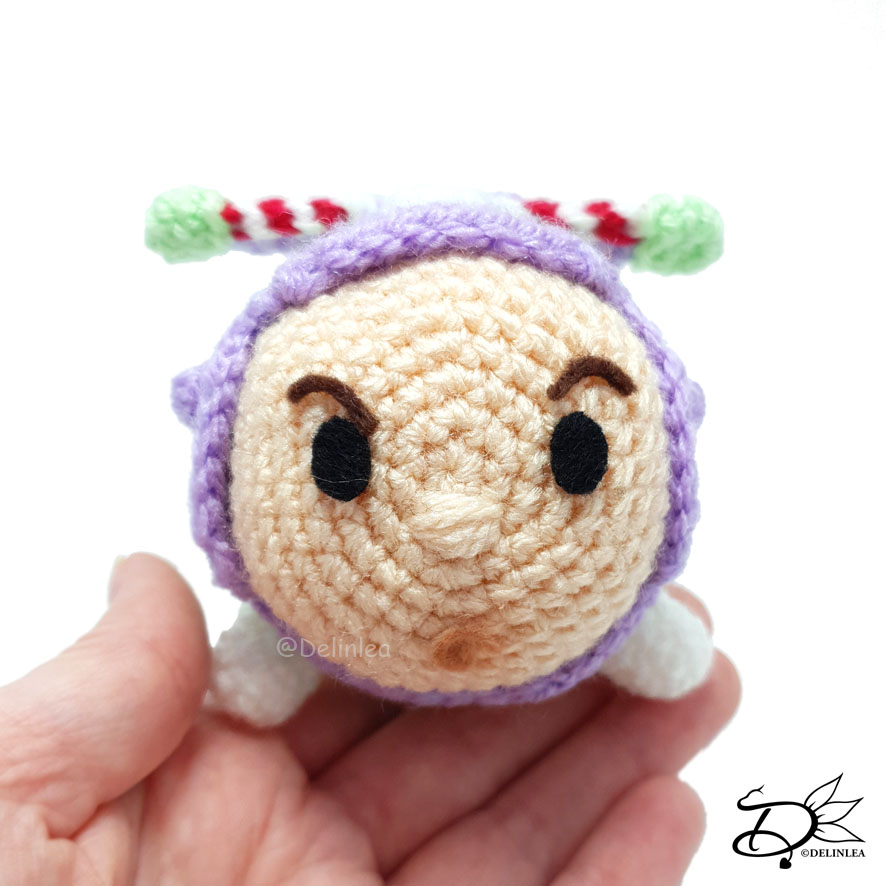
Purple Head Cover
At row 14 of the body you worked in BL, now rejoin your purple yarn in the front loops, in the stitch you marked. I kept the butt towards me and worked on it that way.
1: 42SC. [42]
2: 42SC. [42]
Break the yarn and fasten off. Now, skip 9st from where you stopped and rejoin your yarn.
3: 30SC, turn. [30] The remaining stitches you leave untouched.
4: Dec, 5HDC, 1SC, SlSt, 1SC and mark this st with a stitch marker, 9SC, 1SC and mark this st with a stitch marker as well, SlSt, 1SC, 5HDC, Dec.
Break the yarn and fasten off. Now, go to the stitches your marked in the previous row. Join your yarn in either one of them.
5: Dec, 9SC, dec, turn. [11]
6: Dec SC, 7HDC, dec SC. [9]
Fasten off and weave in tail and other tails that might be there.
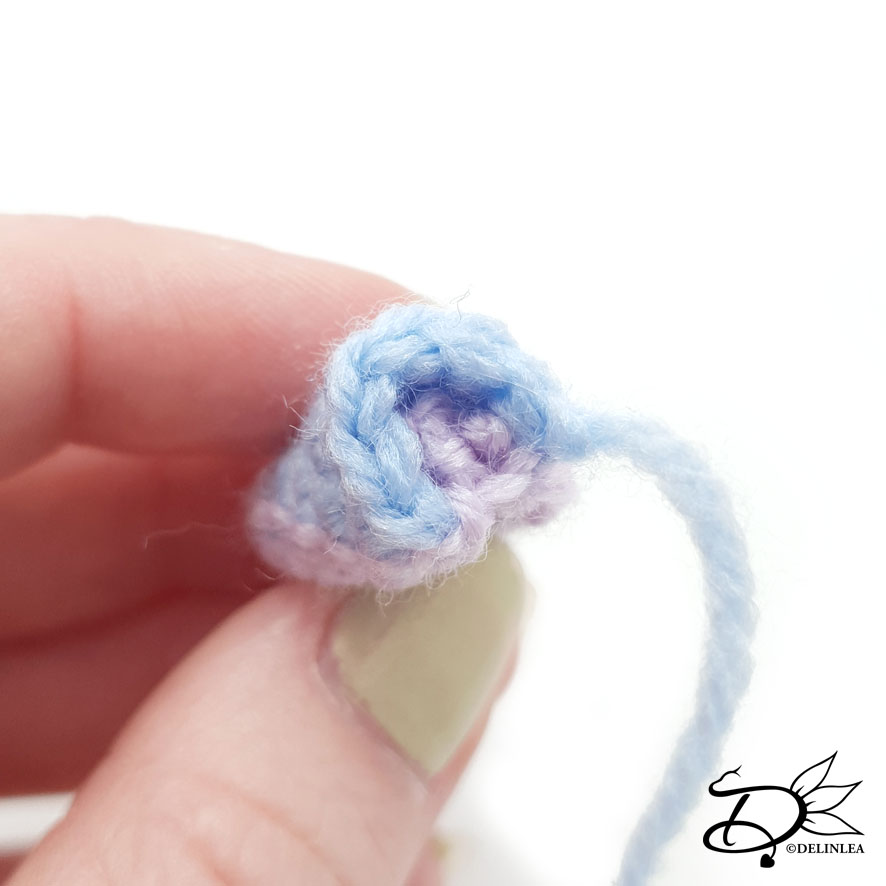
Ear Covers (Make 2)
Use the color Purple.
5SC in a Magic Ring, SlSt in the first st.
Fasten off and leave a long tail for sewing
Green Band around his Body
Use the color Green.
1: 43FSC, make round with a SlSt in the first st. [43] (you could also Ch44, insert in second ch from hook, 43SC).
2: Ch1, 43SC, SlSt in the first st. [43]
|
4: Ch1, 43SC, SlSt in the first st. [43]
Fasten off and leave a long tail for sewing.
Legs (Make 4)
Make 2 in the color White, and 2 in the color Purple.
1: 4SC in a Magic Ring. [4]
2: 2SC in each st around. [8]
3: 8SC. [8]
|
5: 8SC. [8]
Fasten off and leave a long tail for sewing.
Middle of the Wings
Use the color White.
1: 6SC in a Magic Ring. [6]
2: 2SC in each st around. [12]
3: BL 12SC. [12]
Fasten off and leave a long tail for sewing.
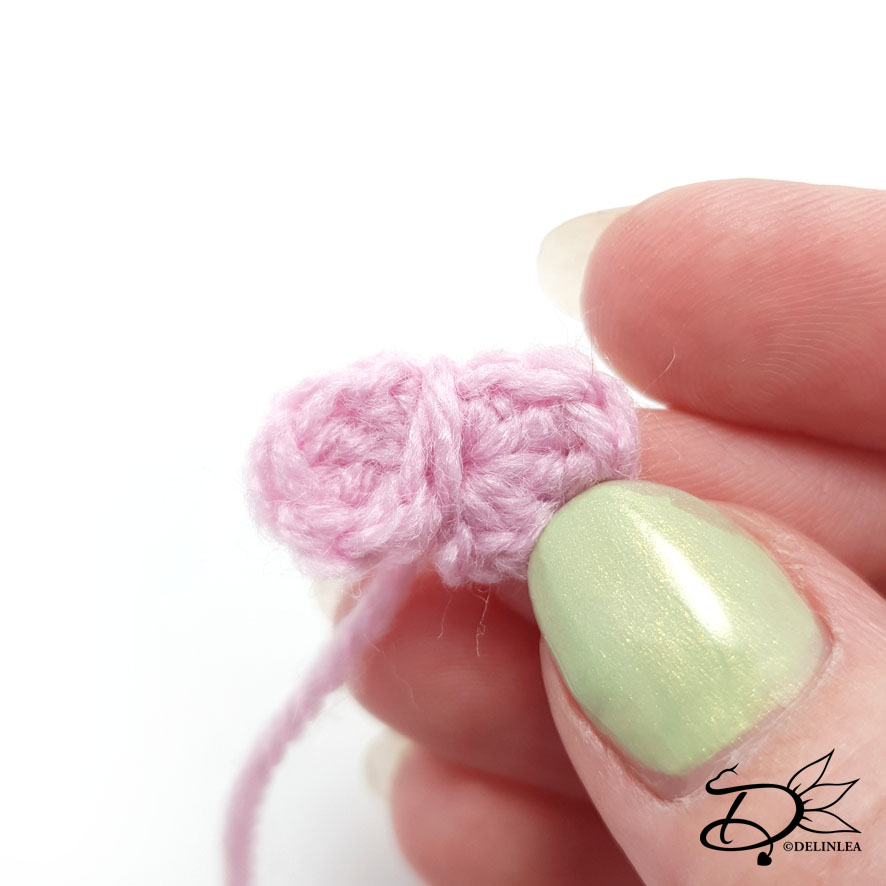
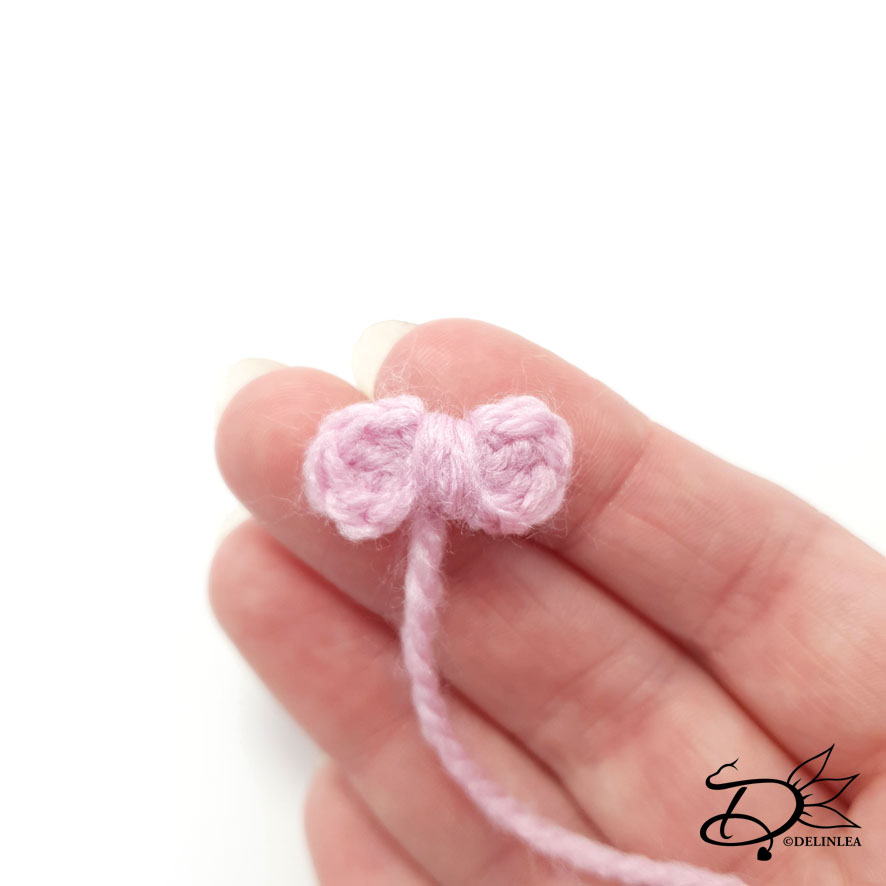
Wings (Make 2)
Start with the color Purple.
This part won’t be worked in continues rounds.
1: Ch7, insert in second ch from hook, 6SC, turn. [6]
2: Ch1, 6SC, turn [6]
The next row you will alternate white and red yarn for every SC.
3: Ch1, 6SC. [6]
Fasten off and weave in tails.
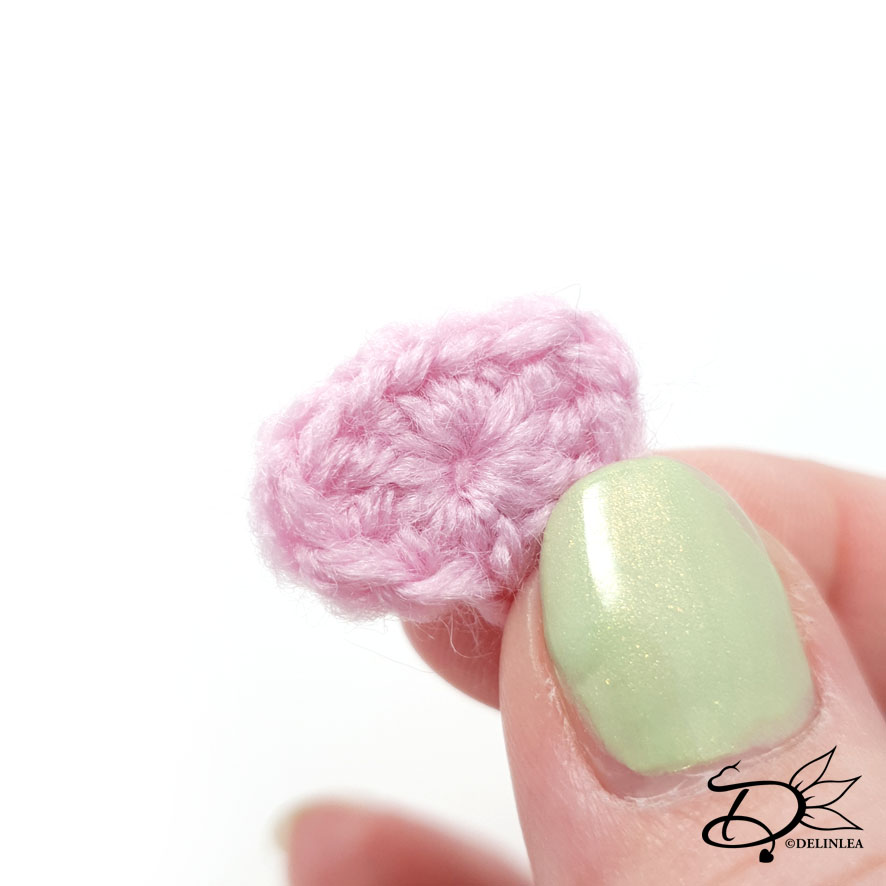
Tip of the Wings (Make 2)
Use the color Green.
1: 6SC in a Magic Ring. [6]
2: (1SC, inc) 3 times. [9]
3: 9SC. [9]
Fasten off and leave a long tail for sewing.
♥ Assembling
Whenever I assemble Amigurumi’s, I always use sewing pins first. This way you can move parts around until you are happy, then sew it on.
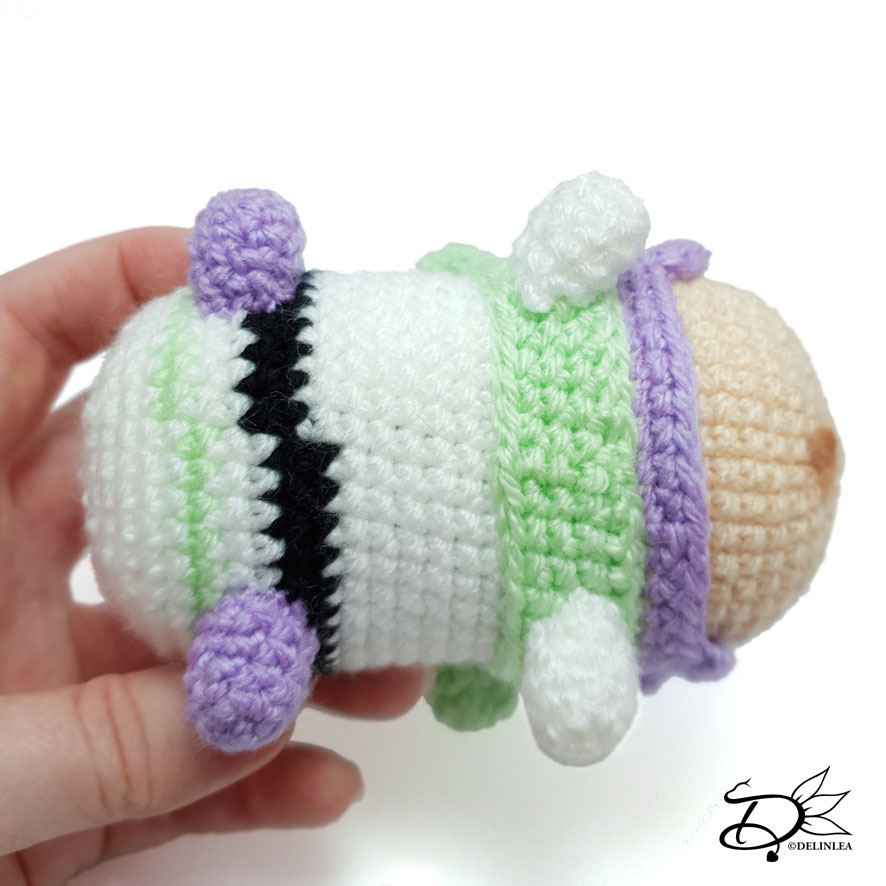
First, put the green band around his body, right after the purple part, sew this on. The add his legs, White in front, Purple at the back.
The ear cover go on both sides of his face, on the purple part. I always like to use references to check where everything goes.
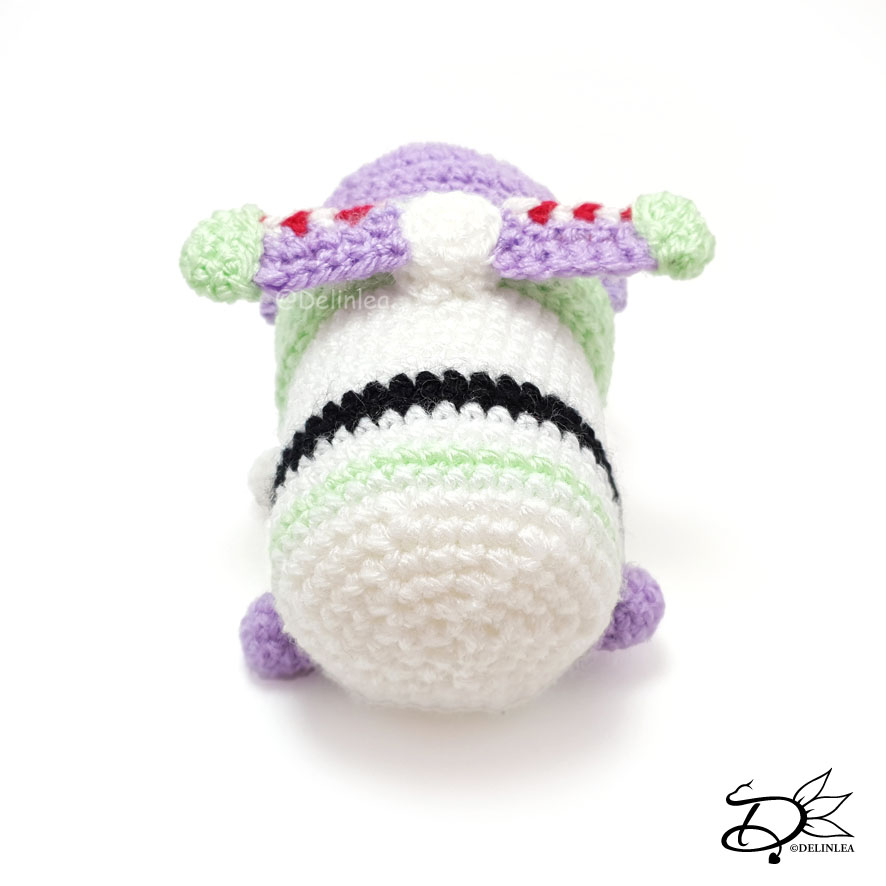
Last, let’s assemble his wings. The Green tips of the wings, slide those over the wing part and sew those on, keep in mind that the white and red part for both are facing forward when the green tips are on the outsides. So those will be mirrored when assembled. Then sew the middle part of the wings to the body, it will be partly on green and partly on white. Now the tip/wing combination you will sew to the middle part.
Make his face, I use yarn for his nose, and felt for the eyes, eyebrows and Chin.
That was it for today, some parts might feel a bit confusing, but if you have no clue how to do it, let me know and I’ll try to help you out! If you made Buzz Lightyear, show me on Twitter or Instagram with #DelinleaDIY I’d love to see what you created!
Have a wonderful day and I’ll see you next week!
Love
Danielle