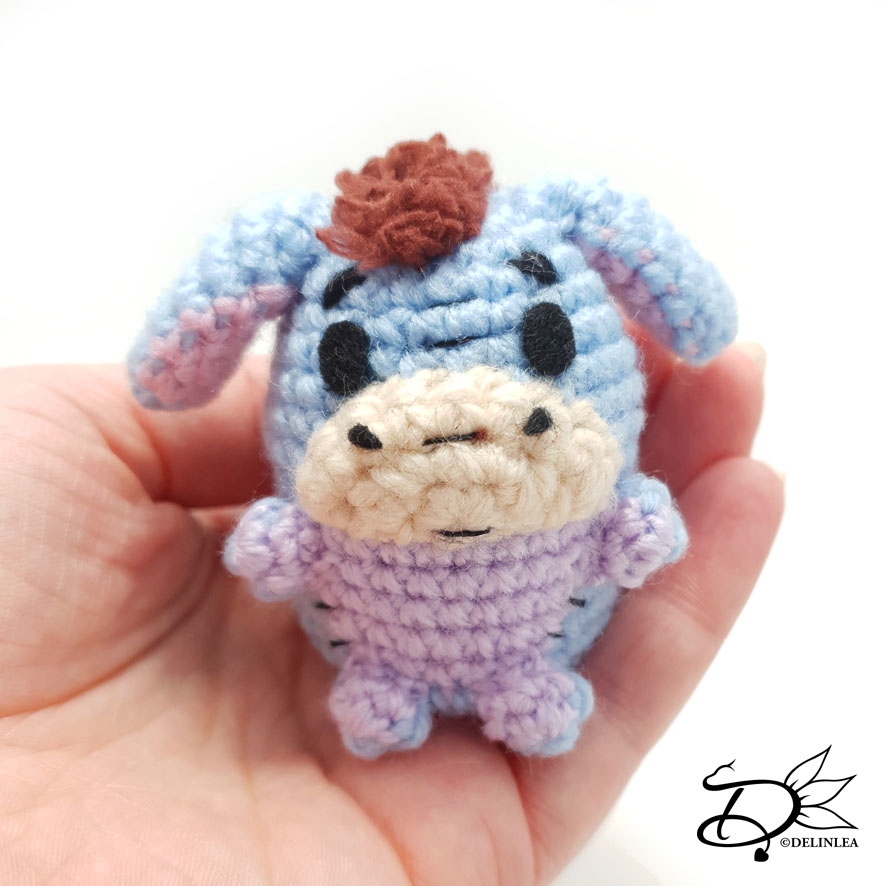
♥ Eeyore Ufufy Amigurumi
Hey Lovelies! How are you doing?! I hope you are well. I am like hyped up and I don’t know why, I wanna finish and do a lot of stuff today. Some days are like that I guess. Let’s see how much I can finish/do today. First, let’s finish this blog for you, nicely, before I go on to the next thing. It’s ufufy time today and I love today’s subject. Eeyore! Do you love him too? Let’s go to the pattern~.
For this Pattern you’ll need:
♥ Yarn in Light Blue, Light Purple, Beige and Pink. (I used Zeeman Supersoft and Budgetyarn.com)
♥ Brown Fluffy Yarn. (You don’t need much)
♥ Black Felt and Yarn for the details on his body and face.
♥ Crochet Hook. (I used a 2mm hook)
♥ Stuffing.
♥ Stitch Markers.
♥ Yarn Needle.
♥ Sewing Pins.
♥ (Fabric)Glue. (In case you decided to go with felt).
Stitches used (US Terms):
Magic Ring.
CH = Chain.
SLST = Slip Stitch.
SC = Single Crochet.
ST = Stitch.
Inc = Increase.
Dec = Decrease.
(…) = Repeat the space in brackets the given number of times.
[…] = Total number of stitches.
♥ Pattern Eeyore
This pattern is made with continues rounds, unless stated otherwise. Use a stitch marker to mark your first/last stitch of your row.
Body
Start with the color Light Blue.
1: 6SC in a Magic Ring. [6]
2: 2SC in each st around. [12]
3: (1SC, inc) 6 times. [18]
4: (2SC, inc) 6 times. [24]
5: 24SC. [24]
6: 24SC. [24]
7: (3SC, inc) 6 times. [30]
8: 30SC. [30]
|
11: 30SC. [30]
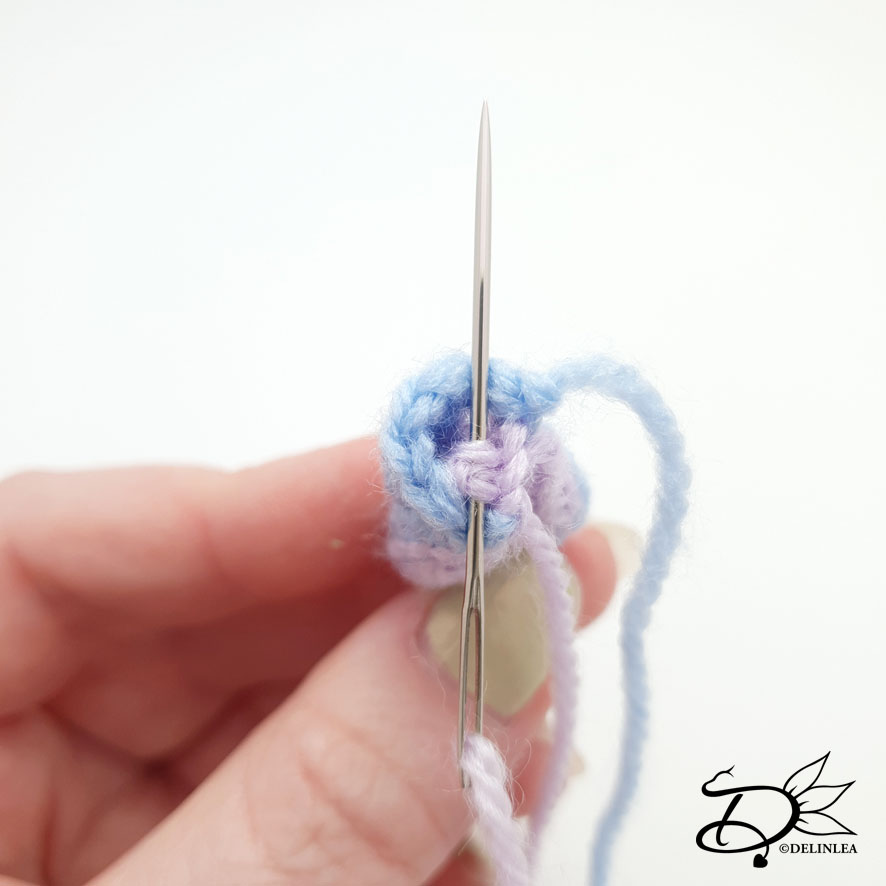
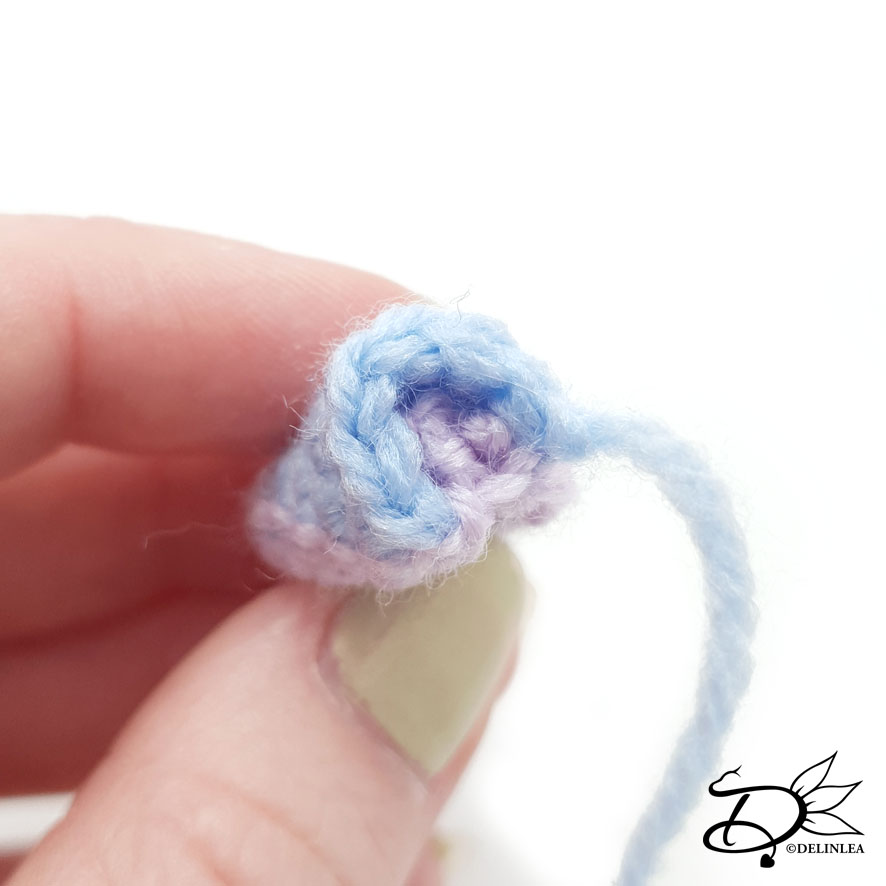
From here on you will alternate colors to create the belly.
12: Light Blue; 13SC, Light Purple; 9SC, Light Blue; 8SC. [30]
|
14: Light Blue; 13SC, Light Purple; 9SC, Light Blue; 8SC. [30]
15: Light Blue; 12SC, inc, Light Purple; dec, 5SC, dec, Light Blue; inc, 7SC. [30]
16: Light Blue; 13SC, inc, Light Purple; dec, 3SC, dec, Light Blue; inc, 8SC. [30]
Continue with Light Blue only.
17: 30SC. [30]
18: (3SC, dec) 6 times. [24]
19: (2SC, dec) 6 times. [18] Stuff the body nicely.
20: (1SC, dec) 6 times. [12]
21: (dec) 6 times. [6]
Fasten off and weave in tail.
Legs (Make 4)
To make the legs, you want them to be half Light Purple and half Light Blue. This can be a bit tricky to do on a small leg. You can also choose to make them fully Light Blue.
1: In a Magic Ring, crochet 3SC Light Blue, change to Light Purple and crochet 3SC. [6]
2: Light Blue; 3SC, Light Purple, 3SC. [6]
Fasten off and leave a long tail for sewing.
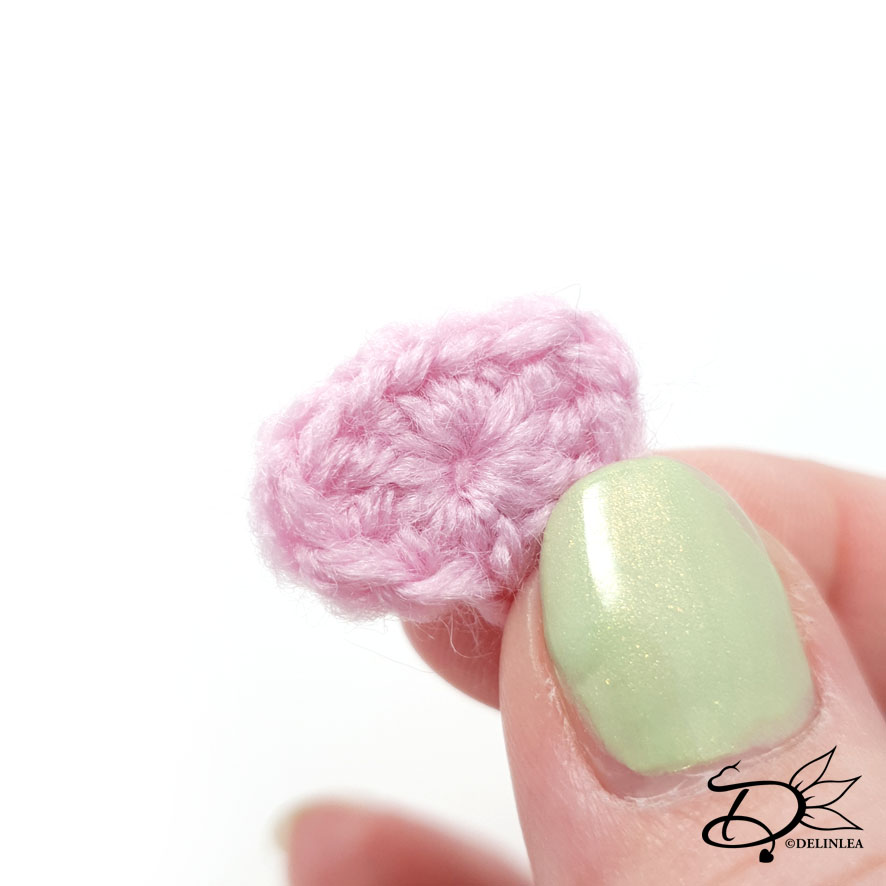
Ears (Make 2)
Start with the color Light Blue.
1: 6SC in a Magic Ring. [6]
2: Light Blue; (inc) 3 times, Pink; (inc) 3 times. [12]
3: Light Blue; 6SC, Pink 6SC. [12]
|
7: Light Blue; 6SC, Pink 6SC. [12]
8: 6SC. [6] (You stop half way the row, you could make a SlSt in the next st if you prefer)
Fasten off and leave a long tail for sewing.
For the pink part I folded it in half to the inside and sewn it together, so the ear gets a bit more shape.
Snout
Use the color Beige.
This part will be a half circle shape. So the first 2 rows are continues and the last you turn your work.
1: 6SC in a magic Ring. [6]
2: Ch2, HDC in the first st, (SC inc) 2 times, HDC + DC in the next st, turn. [8]
3: Ch1, inc, 6SC, inc. [10] (this row is all SC)
Fasten off and leave a long tail for sewing.
Tail
Use the color Light Blue.
Chain5, insert in second ch from hook, 4SC. [4]
Fasten off and leave a long tail for sewing.
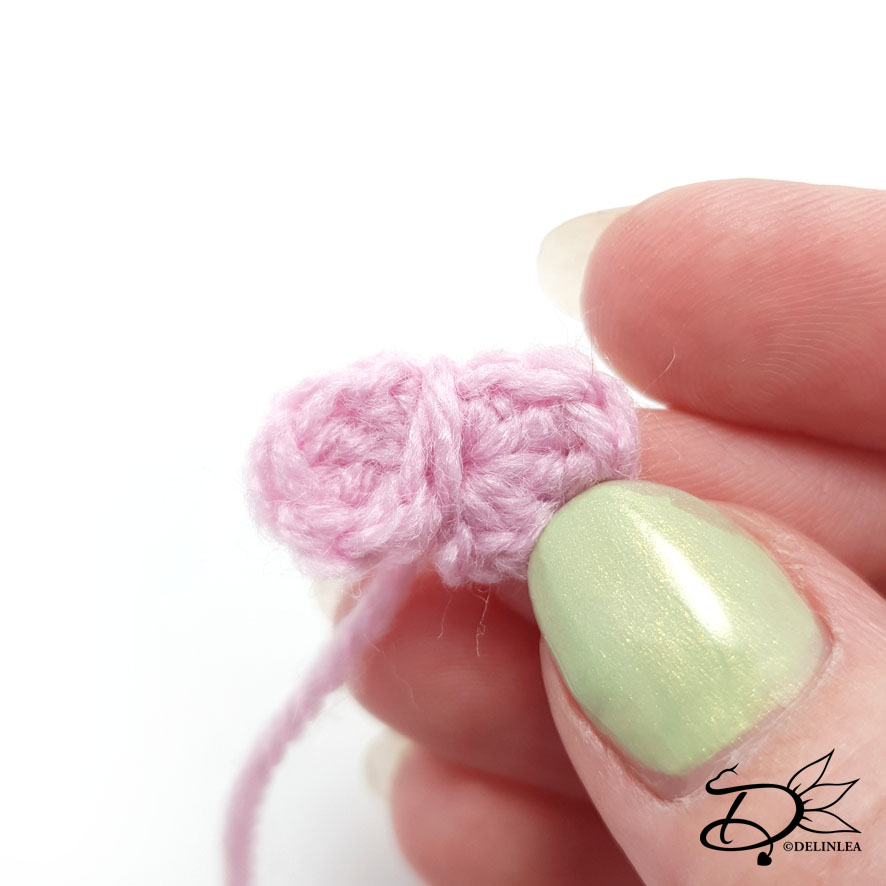
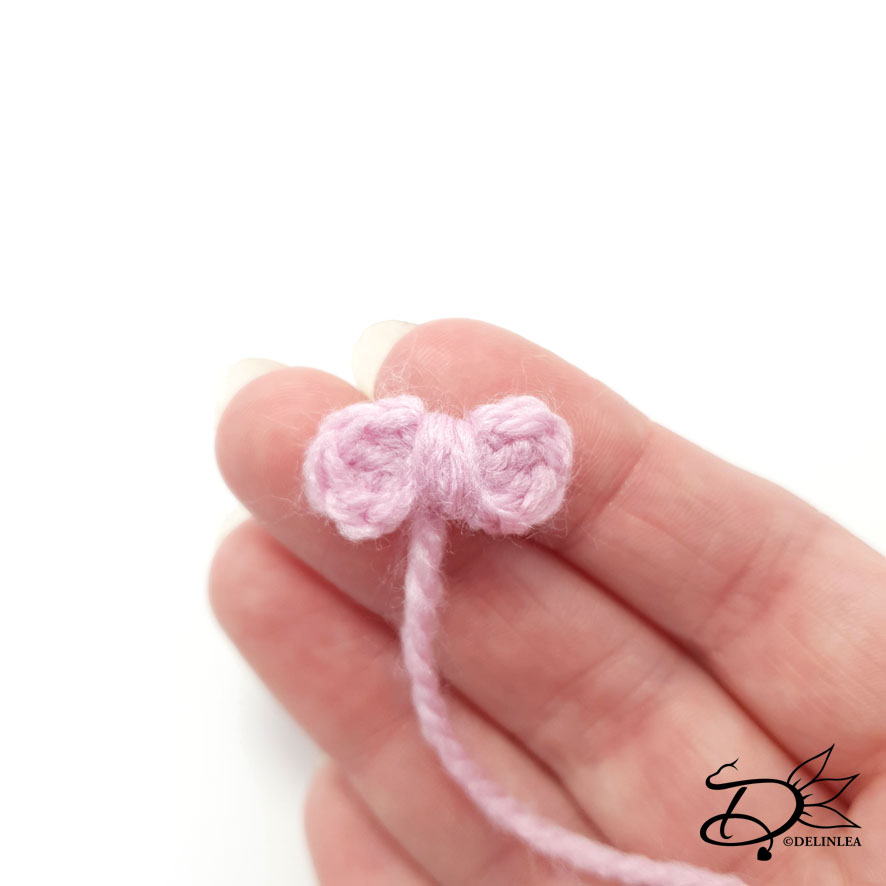
Bow
Use the color Pink.
In a Magic Ring; (1SC, 1HDC, 2DC, 1HDC, 1SC) 2 times. [12]
Fasten off and wrap the tail a few times around the bow tightly, where the SC’s are. If you like how it looks, fasten off and leave the rest of the tail there for sewing.
♥ Assembling
Whenever I assemble Amigurumi’s I use sewing pins first to position all parts, this way I can easily move them around until I am happy with the result, then I will sew them on. I recommend you do it this way as well.
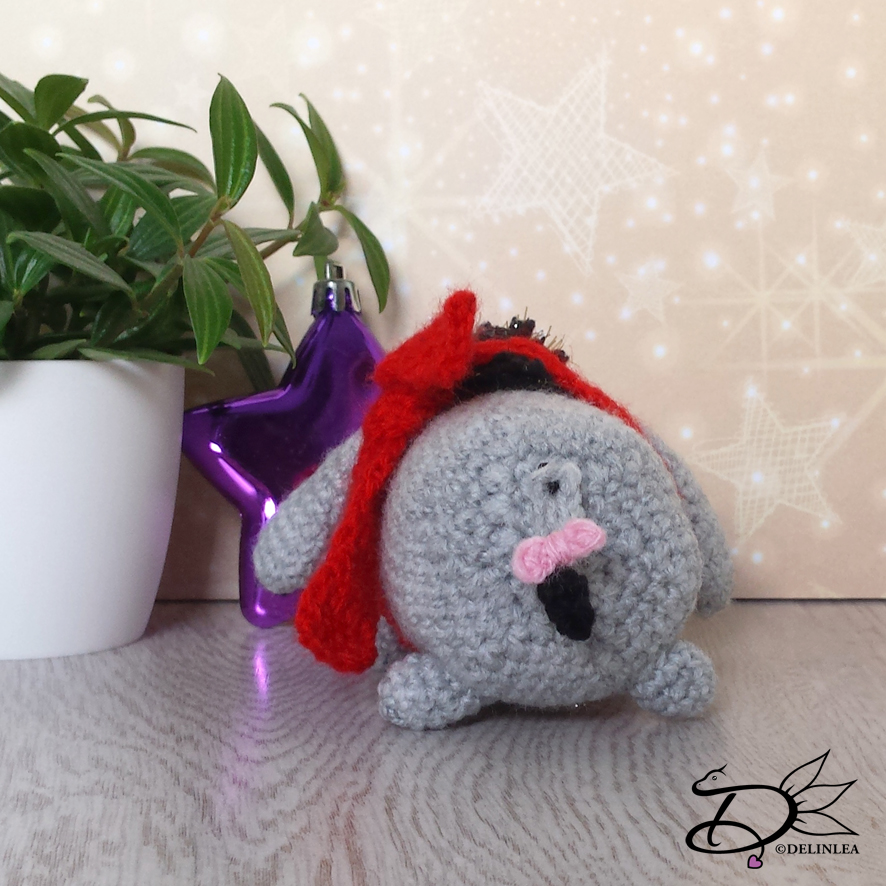
Position Eeyore his snout just above his belly, make sure to center it. Then sew it on, and when it was almost completely sewn on, I put a bit of stuffing under it. Just to give it a little bit more shape.
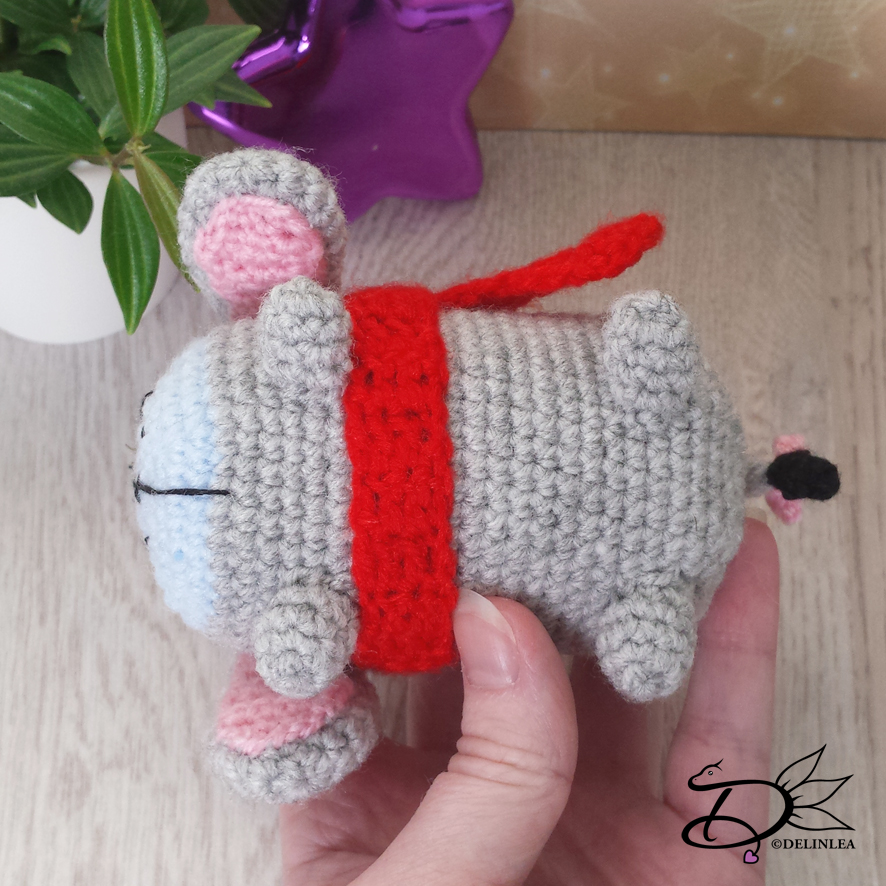
Then is time for his legs, make sure to face all the purple parts of the legs, towards his belly. Sew them on.
Position the ears, since I’ve sewn the pink part together already, I pulled the blue a bit more over it so it’s easier to sew on.
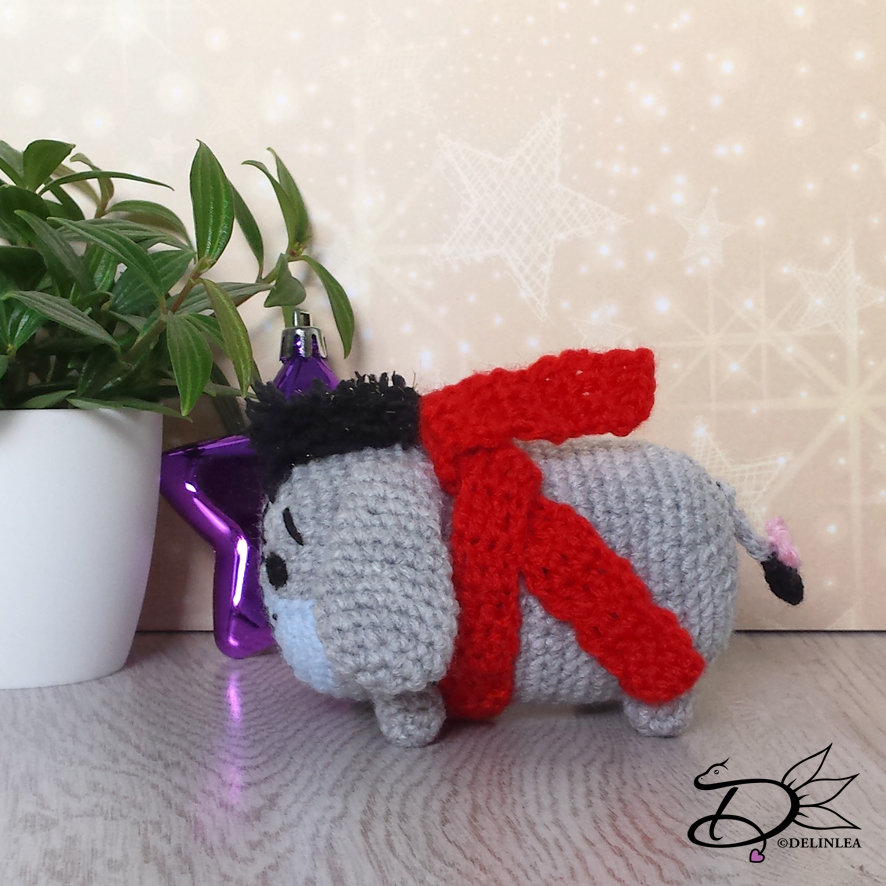
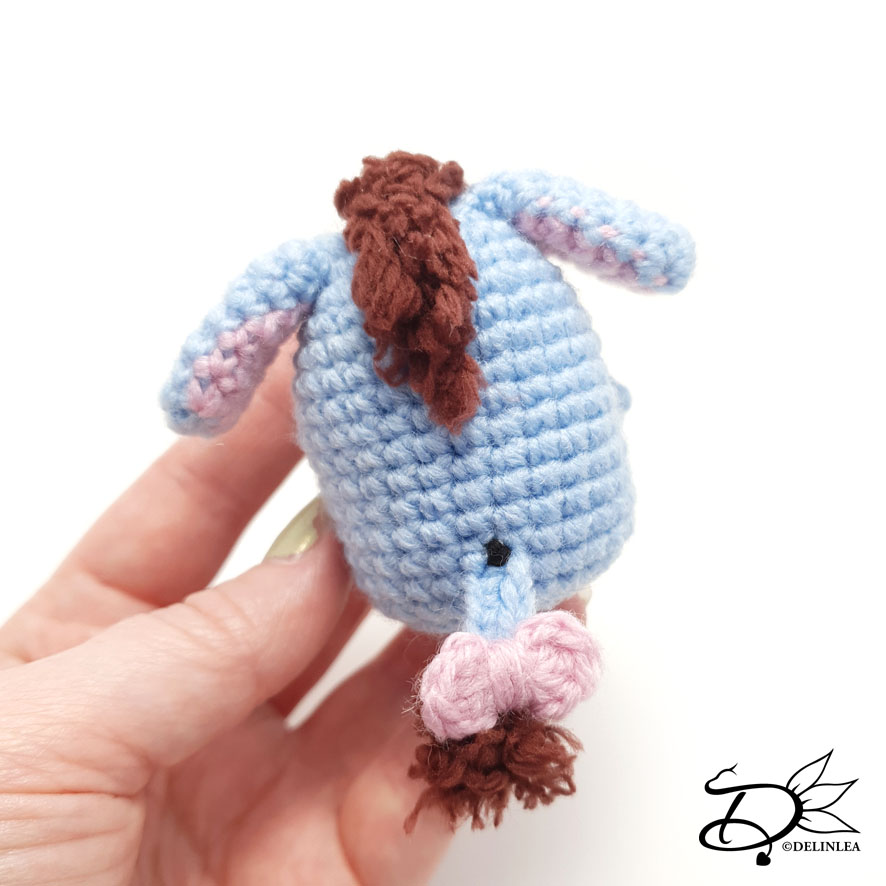
For his tail, sew it to his back. With some black yarn you can make the ‘nail’ if you like. On the tip of the tail add some brown fluffy yarn and stitch his bow on as well.
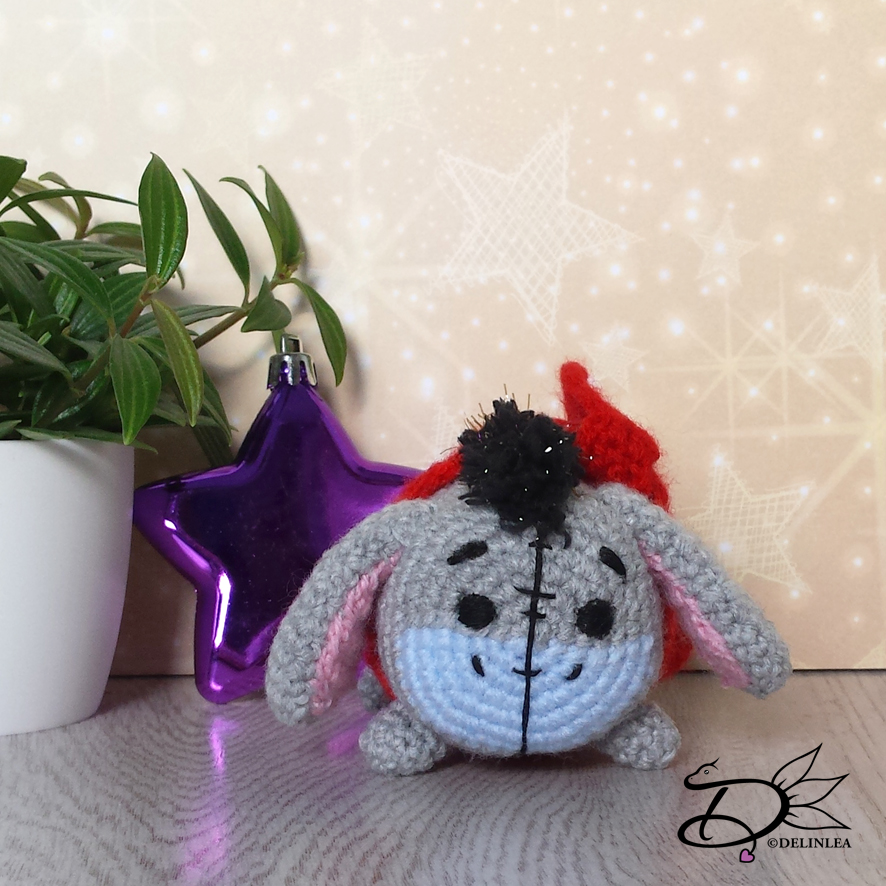
With some more brown fluffy yarn, make Eeyore his hair, I just went a few time back and forth on his head, until I thought he had enough hair.
Last but not least, create all his details, like his stitchmarks on his body, eyes, nose, etc.
And that was it, I hope you liked making Eeyore! I love him. If you made him as well, don’t forget to show me on Twitter or Instagram with the #DelinleaDIY.
Have a wonderful day and I’ll see you next week.
Love
Danielle