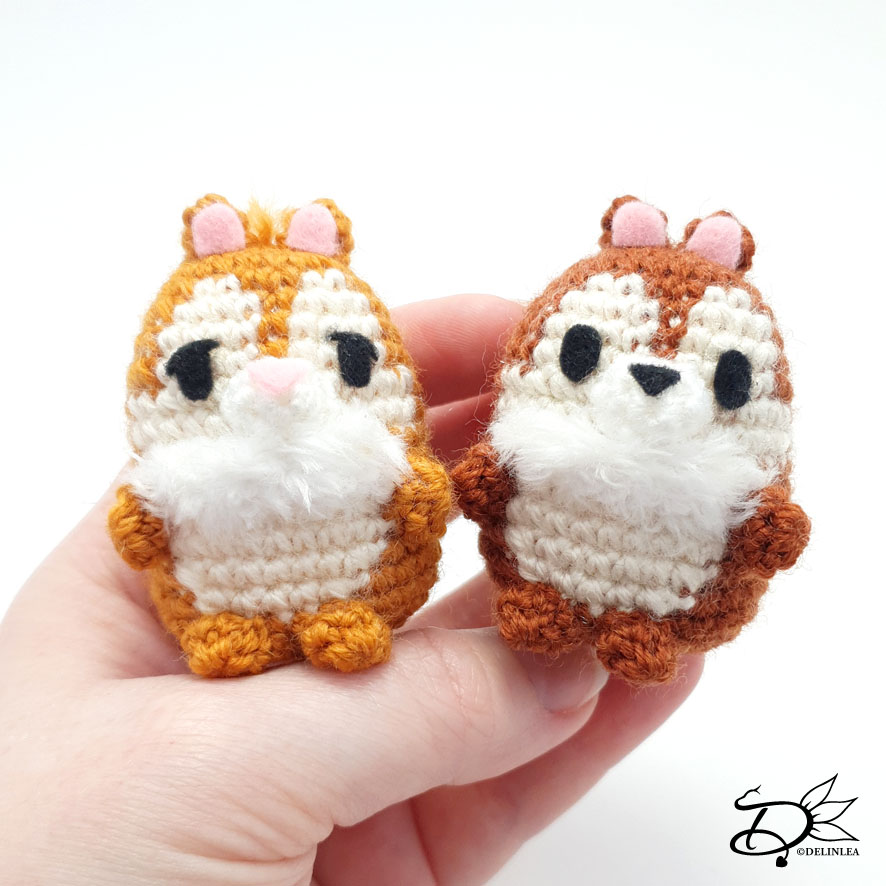
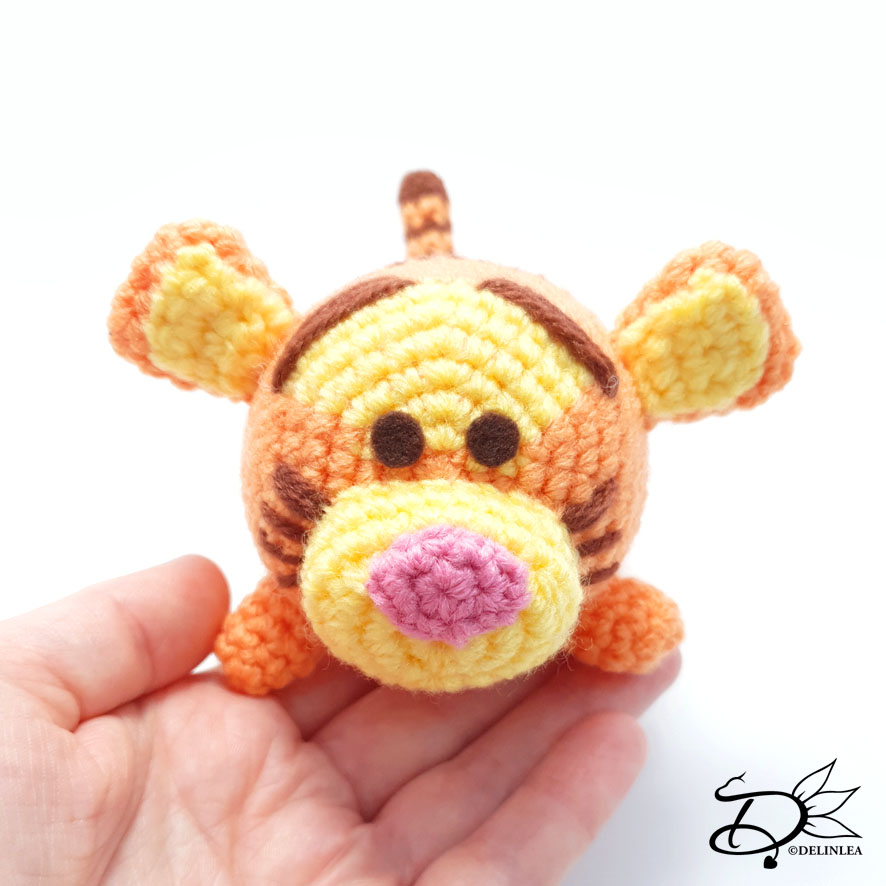
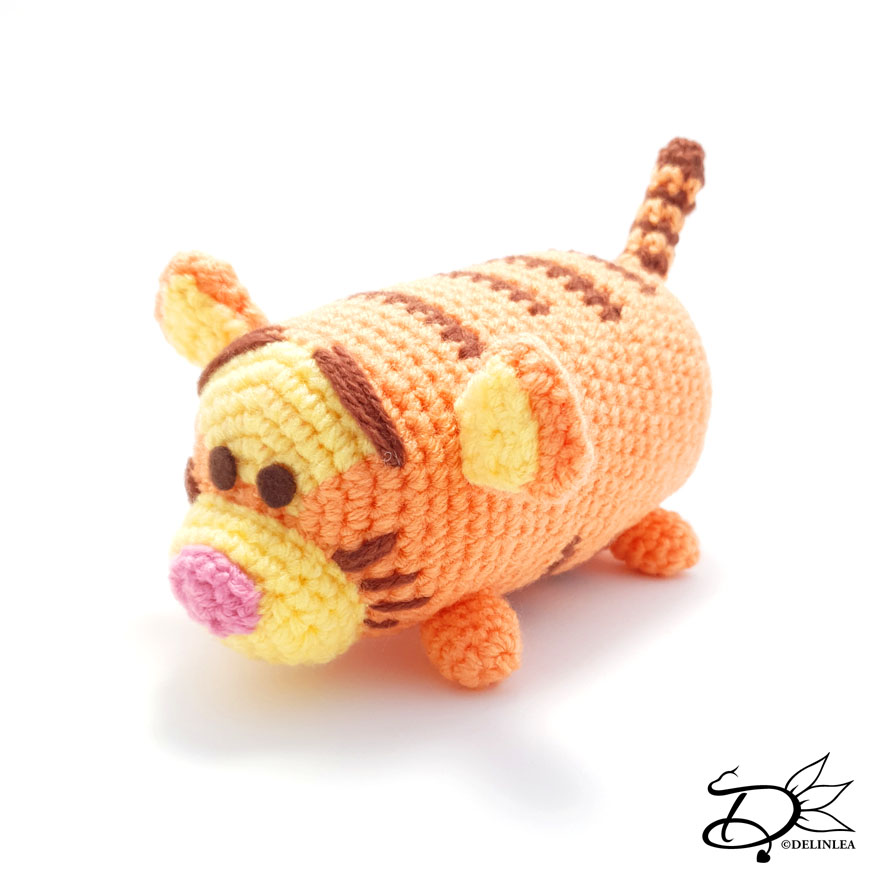
♥ Tigger Tsum Tsum Amigurumi
Hey Lovelies! Do you remember Christmas Countdown 2017?! Damn, it sounds ages ago! But I remember it very well, and my theme was Tsum Tsum’s that year. I also made Tigger in his cute little elf costume, which can be found here. Now, I realized that I never made a regular version for a Tigger Tsum. So, I thought it was time to make a pattern for him, I first thought I wanted to use parts of the Christmas version, but I ended up with a completely new pattern, oops xD.
For this Pattern you’ll need:
♥ Yarn in the Orange, Brown, Light Yellow and Pink. (I used some random DK yarn)
♥ Crochet Hook. (I used a 2,5mm hook)
♥ Stitch Markers.
♥ Sewing Pins
♥ Stuffing.
♥ Yarn Needle.
♥ Felt in the color Dark Brown.
♥ Scissors.
♥ (Fabric) Glue.
Stitches used (US Terms):
Magic Ring.
CH = Chain.
SLST = Slip Stitch.
SC = Single Crochet.
HDC = Half Double Crochet.
ST = Stitch.
Inc = Increase.
Dec = Decrease.
(…) = Repeat the space in brackets the given number of times.
[…] = Total number of stitches.
♥ Pattern Tigger
This pattern is made using continuous rounds, unless stated otherwise.
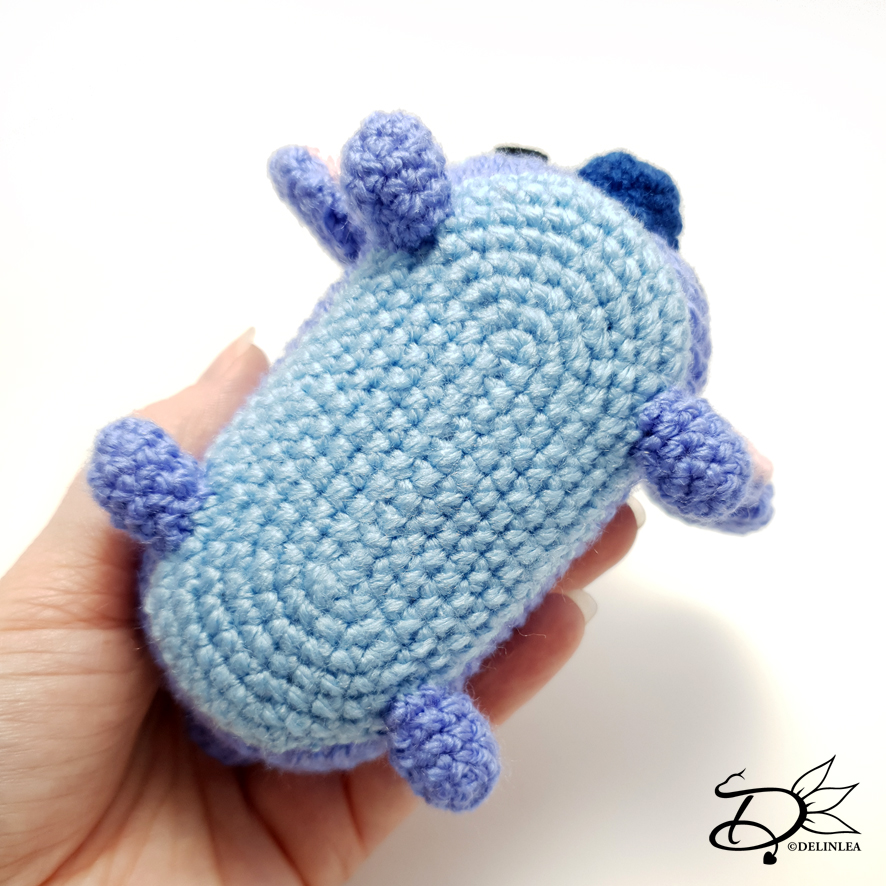
Body
Start with the color Orange.
1: 6SC in a Magic Ring. [6]
From here on you will change colors every now and then to create his eye area.
2: Orange; 1SC, Light Yellow; 1SC in the same st as the last SC, inc, 1SC, Orange; 1SC in the same st as the last SC, (inc) 2 times. [12]
3: Orange; 1SC, Light Yellow; inc, (1SC, inc) 2 times, Orange; (1SC, inc) 3 times. [18]
4: Orange; 2SC, Light Yellow; inc, (2SC, inc) 2 times, Orange; (2SC, inc) 3 times. [24]
5: Orange; 3SC, Light Yellow; inc, (3SC, inc) 2 times, Orange; (3SC, inc) 3 times. [30]
6: Orange; 4SC, Light Yellow; inc, (4SC, inc) 2 times, Orange; (4SC, inc) 3 times. [36]
7: Orange; 5SC, Light Yellow; inc, (5SC, inc) 2 times, Orange; (5SC, inc) 3 times. [42]
8: 42SC. [42]
|
12: 42SC. [42]
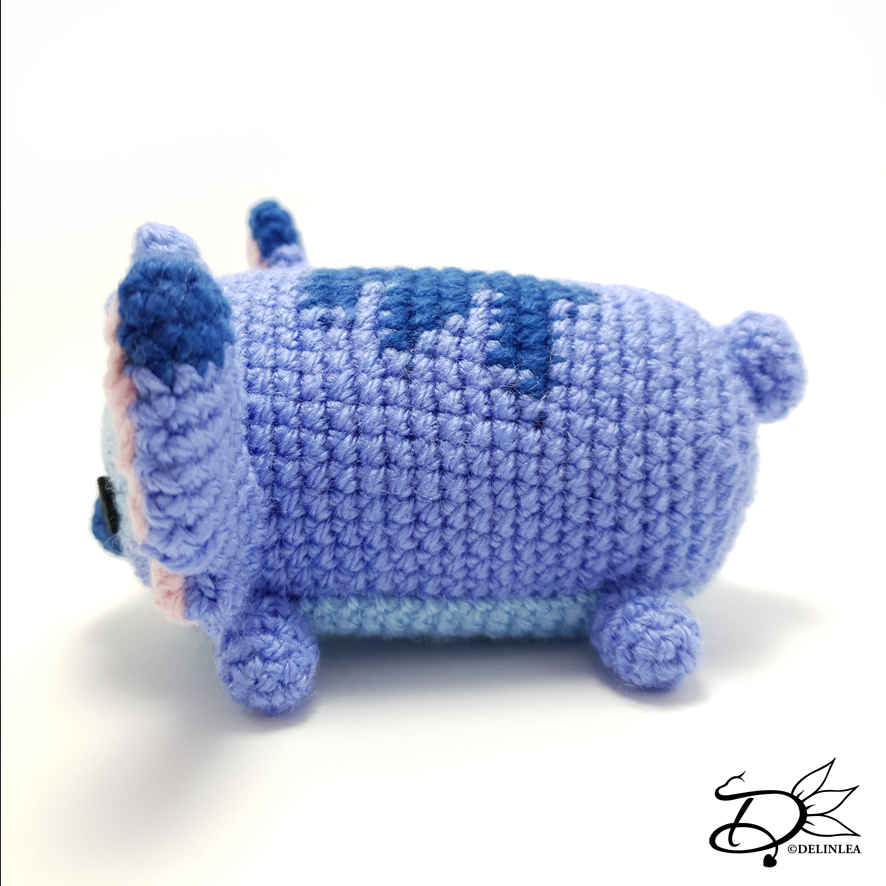
From here on you will create his stripes, read well to see where they go.
13: Orange; 8SC, Brown; 1SC, 13HDC, 1SC, Orange; 20SC. [42]
14: Orange; 9SC, 13SlSt, 21SC. [42]
15: Orange; 42SC. [42]
16: Orange; 42SC. [42]
17: Orange; 28SC, Brown; 1SC, 13HDC. [42]
18: Brown; 1HDC, 1SC, Orange; 27SC, 13SlSt. [42]
19: Orange; 1SlSt, 11SC, Brown; 1SC, 7HDC, 1SC, Orange; 21SC. [42]
20: Orange; 13SC, 7SlSt, 22SC. [42]
21: Orange; 42SC. [42]
22: Orange; 28SC, Brown; 1SC, 13HDC. [42]
23: Brown; 1HDC, 1SC, Orange; 10SC, Brown; 1SC, 9HDC, 1SC, Orange; 6SC, 13SlSt. [42]
24: Orange; 1SlSt, 12SC, 9SlSt, 20SC. [42]
25: Orange; 42SC. [42]
26: Orange; 42SC. [42]
27: Orange; 14SC, Brown; 1SC, 7HDC, 1SC, Orange; 19SC. [42]
28: Orange; 15SC. 7SlSt, 20SC. [42]
Continue the rest of the body with Orange.
29: 42SC. [42]
30: (5SC, dec) 6 times. [36]
31: (4SC, dec) 6 times. [30]
32: (3SC, dec) 6 times. [24] Start stuffing the body
33: (2SC, dec) 6 times. [18]
34: (1SC, dec) 6 times. [12] Add more stuffing if you feel Tigger needs it.
35: (dec) 6 times. [6]
Fasten off and weave in tail.
Snout
Use the color Light Yellow.
1: 8SC in a Magiv Ring. [8]
2: 2SC in each st around. [16]
3: 1SC, inc, 1HDC, 2HDC in the next st, 1HDC, (2SC in the next st, 1SC) 2 times, 1HDC, 2HDC in the next st, 1HDC, 2SC in the next st, 1SC, inc. [24]
4: 24SC. [24]
5: 24SC. [24]
Fasten off and leave a long tail for sewing. The snout you will stuff while you sew it on later.
Nose
Use the color Pink.
1: 6SC in a Magic Ring. [6]
2: 3SC in the next st, 2SC, 3SC in the next st, 2SC. [10]
Fasten off and leave a long tail for sewing.
Ears (Make2)
Use the color Orange.
1: Ch5, insert in second ch from hook, 3SC, 3SC in the next st, now work along the other side of the chain, 2SC, inc. [10]
2: 3SC, (inc) 3 times, 4SC. [13]
3: 4SC, (dec) 3 times, 3SC. [10]
4: 10SC.
5: (Dec, 3SC) 2 times. [8]
Fasten off and leave a long tail for sewing.
Inner Ear (Make2)
Use the color Light Yellow.
This one you won’t work in continues rounds.
1: Ch4, insert in second ch from hook, 3SC, turn. [3]
2: 3SC, turn. [3]
3: 2SC, inc. [4]
Fasten off and leave a long tail for sewing. Sew those inner ears to the base of the ear.
Legs (Make4)
Use the color Orange.
1: 4SC in a Magic Ring. [4]
2: 2SC in each st around. [8]
3: 8SC. [8]
4: 8SC. [8]
5: 8SC. [8]
Fasten off and leave a long tail for sewing.
Tail
Start with Brown.
This one you won’t work in continues rounds.
1: 6SC in magic ring, SlSt in the first st. [6]
2: Chain 1, 6SC, SlSt in the first st. [6]
Change to Orange.
3: Chain 1, 6SC, SlSt in the first st. [6]
Change to Brown.
4: Chain 1, 6SC, SlSt in the first st. [6]
Repeat row 3 and 4 until you have 9 rows total.
Fasten off and leave long tail for sewing.
♥ Assembling
Whenever I start to assemble a Amigurumi plush, I use sewing pins to put it together first. This way I can move all parts around until I am happy and sew them on.
Position his snout just under the middle of the face, and sew it on, and while you do so, make sure to stuff it. Now the snout is on you can also sew on his nose.
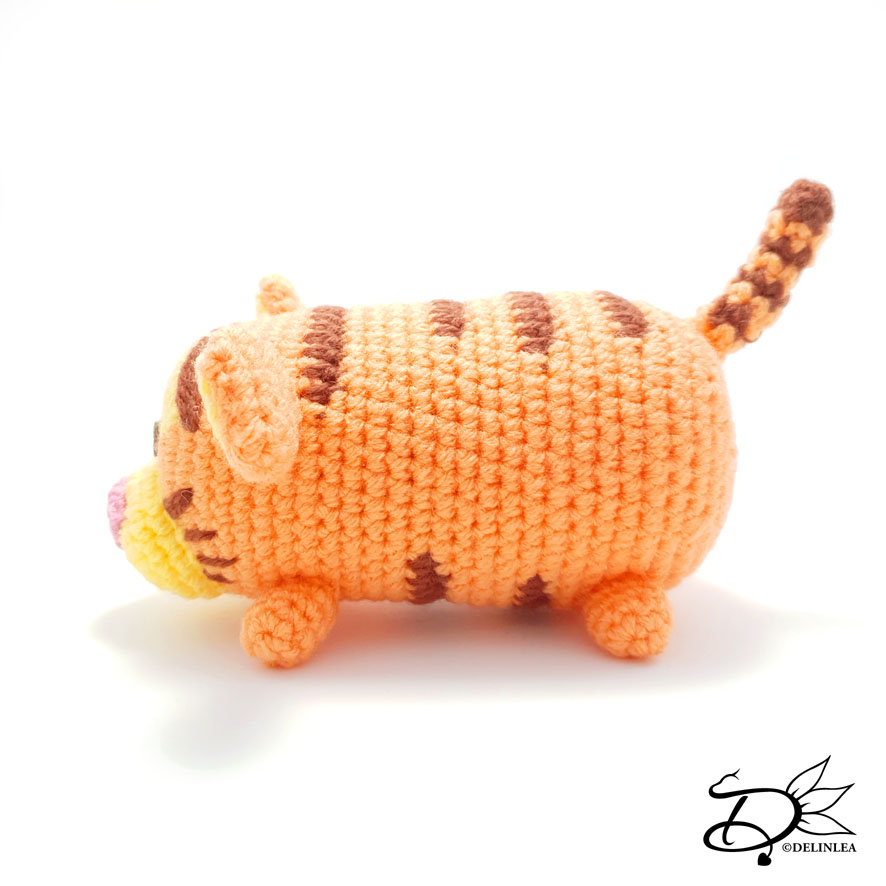
Sew his legs on and place his ears. If you haven’t yet, make sure to sew on the inner ears to the base of the ears before attaching it to the body.
Don’t forget to put his tail on!
Last there are some feature you have to stitch on or use felt for it. Like his eyebrows, stripes and eyes. Just don’t forget any details!
And Tigger is done! You made it! Haha I hope you loved this pattern. Whenever I think of Tigger I always instantly think of Bang Yongguk as well, he’s such a huge Tigger lover. Anyway, I hope you had fun and don’t forget to show me your on Twitter or Instagram with the #DelinleaDIY.
Have a wonderful dat and I’ll see you next week.
Love
Danielle