Delinlea - My little fantasy world
  • ♥ Home
  • ♥ About Me
  • ♥ Blogmas 2021
  • ♥ Free Patterns
    • ♥ Amigurumi; Spring/Easter
    • ♥ Amigurumi; Fall/Halloween
    • ♥ Amigurumi; Winter
    • ♥ Amigurumi Tsum Tsum
    • ♥ Amigurumi Ufufy
    • ♥ Amigurumi Others
    • ♥ Christmas Countdown 2017
    • ♥ Blogmas 2018
    • ♥ Blogmas 2020
  • ♥ Tutorials
    • ♥ Easter
    • ♥ Home Deco
    • ♥ Others
  • ♥ Drawing Lessons
  • ♥ FanFic
    • ♥ Chapter 1
    • ♥ Chapter 2
    • ♥ Chapter 3
    • ♥ Chapter 4
    • ♥ Chapter 5
    • ♥ Chapter 6
    • ♥ Chapter 7
  • ♥ Gallery
    • ♥ Crafts
    • ♥ Drawings
    • ♥ Poseable Art Dolls
  • ♥ Links
  • ♥ Contact

Crafting

♥ Sebastian Ufufy Amigurumi

20 mei 2021 by Delinlea Leave a Comment

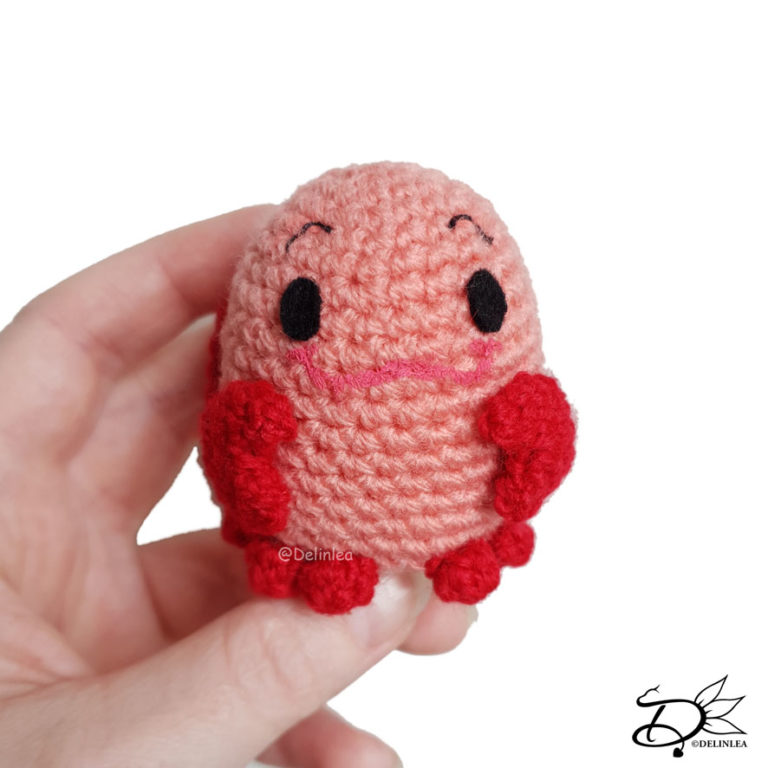
Hey Lovelies! Are you ready for a new ufufy pattern today?! I started on time with designing this one, but somehow I still had to rush today to get it online. Do you have that sometimes too?! I wonder how I manage to do that haha. Oh well, we are here and if you are reading this it means I made it on time. xD I hope you will love this Sebastian ufufy from the Little Mermaid.

Sebastian Ufufy made with the Amigurumi technique

For this Pattern you’ll need:
♥ Yarn in the colors; Light Red and Red. (I used Zeeman Supersoft)
♥ Crochet Hook (I used a 2mm hook).
♥ Stitch Markers.
♥ Stuffing.
♥ Scissors.
♥ Sewing Pins.
♥ Yarn Needle.
♥ Felt for the facial details.
♥ (Fabric) Glue.

Stitches used (US Terms):
Magic Ring.
CH = Chain.
SLST = Slip Stitch.
SC = Single Crochet.
HDC = Half Double Crochet.
ST = Stitch.
Inc = Increase.
Dec = Decrease.
(…) = Repeat the space in brackets the given number of times.
[…] = Total number of stitches.

Pattern Sebastian

This pattern is made using continues rounds, unless stated otherwise. Use a stitch marker to mark the first stitch.

Body
Use the color Light Red, I know it’s kinda a odd color to name.

1: 6SC in a Magic Ring. [6]
2: 2SC in each st around. [12]
3: (1SC, inc) 6 times. [18]
4: (2SC, inc) 6 times. [24]
5-6: 24SC. [24]
7: (3SC, inc) 6 times. [30]
8-17: 30SC. [30]
18: (3SC, dec) 6 times. [24]
19: (2SC. dec) 6 times. [18]
Stuff the body.
20: (1SC, dec) 6 times. [12]
21: dec around. [6]
Fasten off and weave in tail.

Legs (Make 6)
Use the color Red.

1: 6SC in a Magic Ring. [6]
2: 6SC. [6]
Fasten off and leave a long tail for sewing.

Arms (Make 2)
Use the color Red.

1: 6SC in a Magic Ring. [6]
2: 2SC in each st around. [12]
3: 12SC. [12]
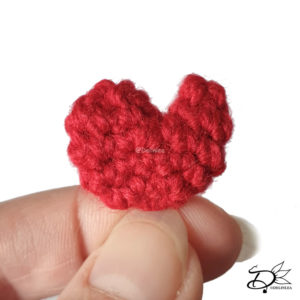
From here on you will make the claw part, you’ve to read well and it’s devided in 2 parts.
4: 3SC, count back 5st and insert your hook in that st, 2SC. [5]
5: 5SC. [5]
Fasten off and close the little hole up neatly.
reattach the yarn in the unused stitches of row 3.
6: 7SC, slst in the first st. [7]
7: 2SC, dec, 3SC. [6]
Fasten off and close this hole as well. Use the tail to sew the arm to the body later as well.

How the arm/claw should look like

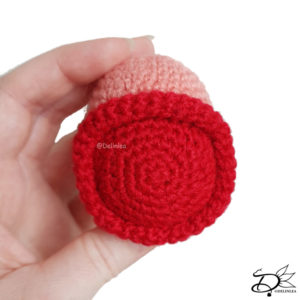
Shell
Use the color Red.

1: 6SC in a Magic Ring. [6]
2: 2SC in each st around. [12]
3: (1SC, inc) 6 times. [18]
4: 5SC, 1SC+1HDC in the next st, 2HDC, 1HDC+1SC in the next st, 2SC, inc, 2SC, 1SC+1HDC in the next st, 2HDC, 1HDC+1SC. [23]
5: 6SC, 1SC+1HDC in the next st, 3HDC, 1HDC+1SC in the next st, 3SC, inc, 3SC, 1SC+1HDC in the next st, 3HDC, 1HDC+1SC. [28]
6: 7SC, 1SC+1HDC in the next st, 4HDC, 1HDC+1SC in the next st, 4SC, inc, 4SC, 1SC+1HDC in the next st, 4HDC, 1HDC+1SC. [33]
Fasten off and leave a long tail for sewing.

Edge of the Shell
Use the color Red.

1: 5SC in a Magic Ring. [5]
2: 5SC. [5]
Repeat row 2 until it’s long enough to go around the shell.
Fasten off and sew the start and end together, into a circle.

Assembling

Whenever I start assembling an amigurumi, I use sewing pins first. This way I can move all parts around until I am happy with how it looks. Then I will sew it on.

Sew the shell to Sebastian’s back. When that’s secure, sew the edge of the shell around. Next sew on all the legs, 3 on each side. Last sew on his claws/arms, with a bit of yarn create a arm like shape.
Last from some felt, make his facial features and glue those on. You could also use the embroidery technique or anything else you prefer!

Sebastian is finished already! Isn’t he adorable?! I think he is. I will make more of the Little Mermaid plushies this year, so wait for it. When you have made Sebastian as well, don’t forget to show me on Twitter or Instagram! I’d love to see what you create with my patterns.

Have a wonderful day and I’ll see you next week!

Love
Danielle

PS. if you love those patterns, maybe you’d like to support me on Ko-Fi?! So I can keep making content like this!

// ©2021 Delinlea / Danielle Kaal // Items made with this pattern may be sold in a limited number. Credit to ‘Delinlea’ is appreciated. Not allowed for mass production or commercial purposes. You may not reproduce, translate, share, freely distribute or sell this pattern as your own in digital or printed from.

Posted in: Crafting, Crochet, Ufufy Tagged: Amigurumi, Crochet, cute, Free Pattern, haken, kawaii, sebastian, The little mermaid

♥ BookNook Part 2

14 mei 2021 by Delinlea 1 Comment

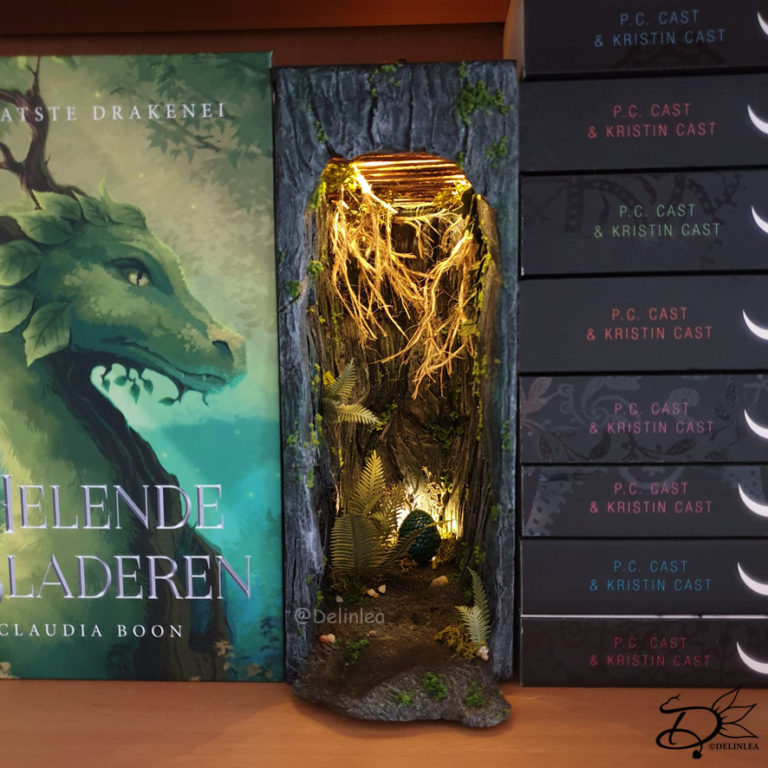
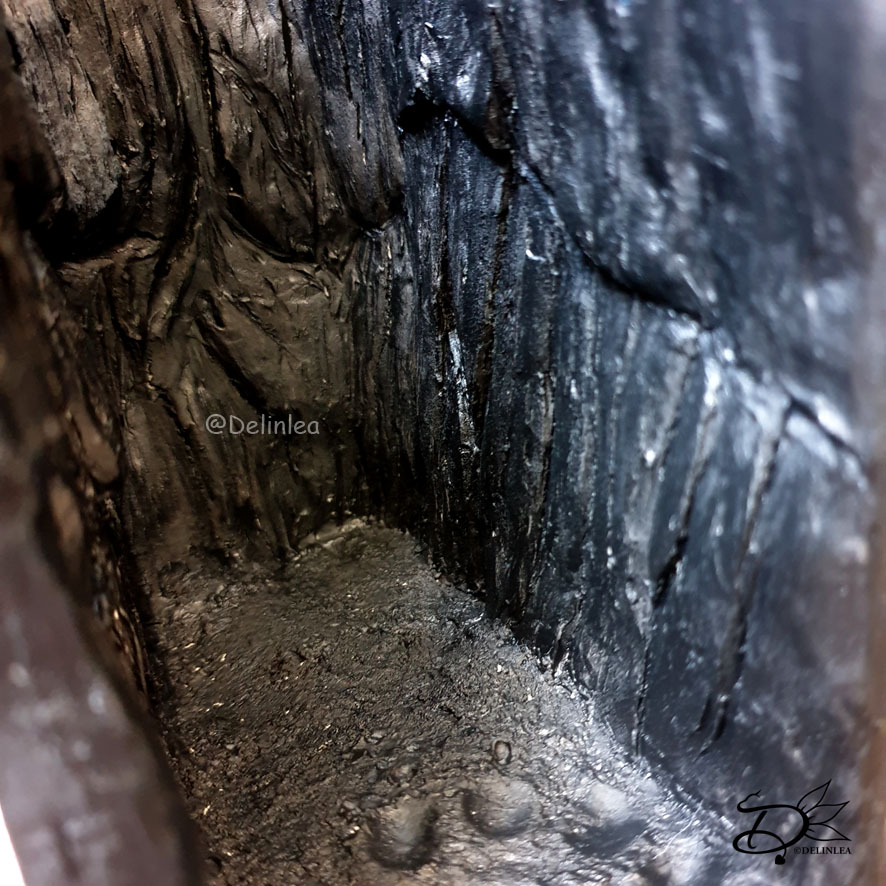
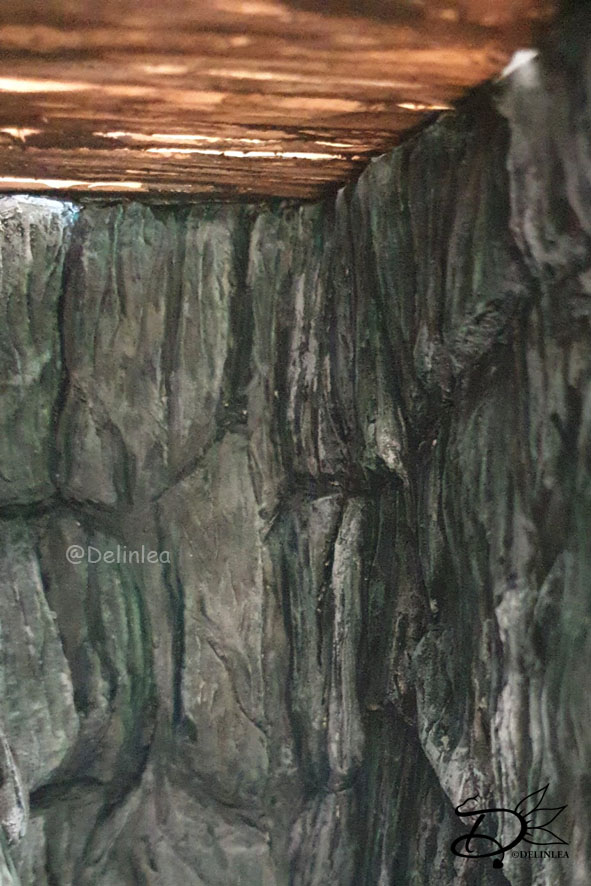
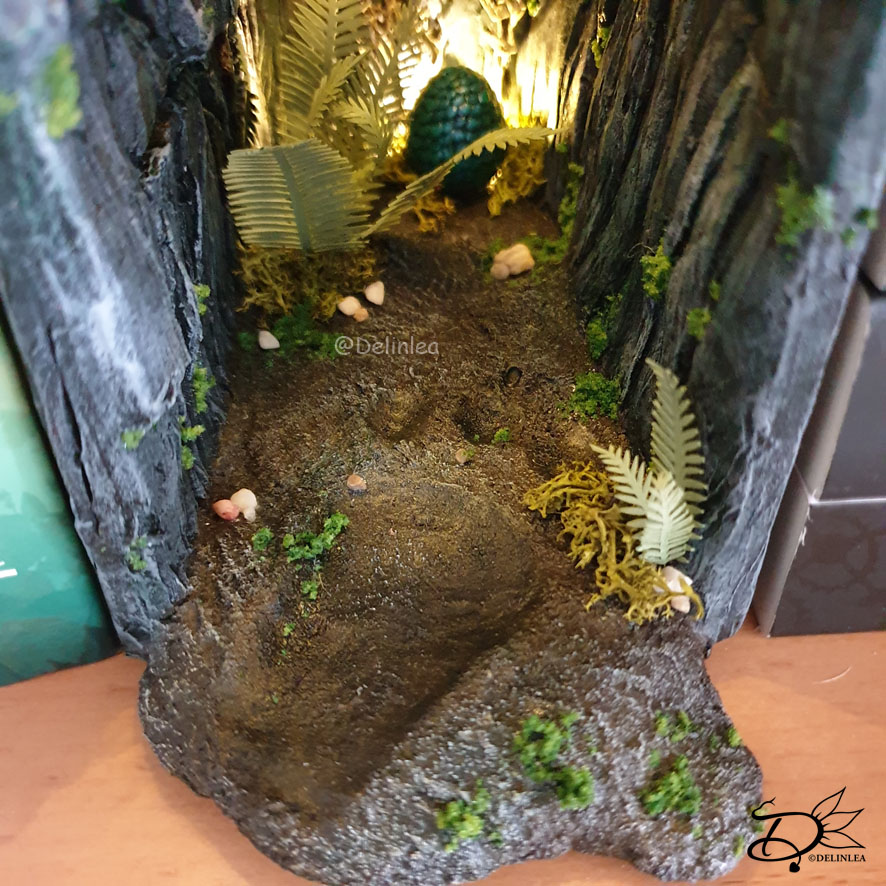
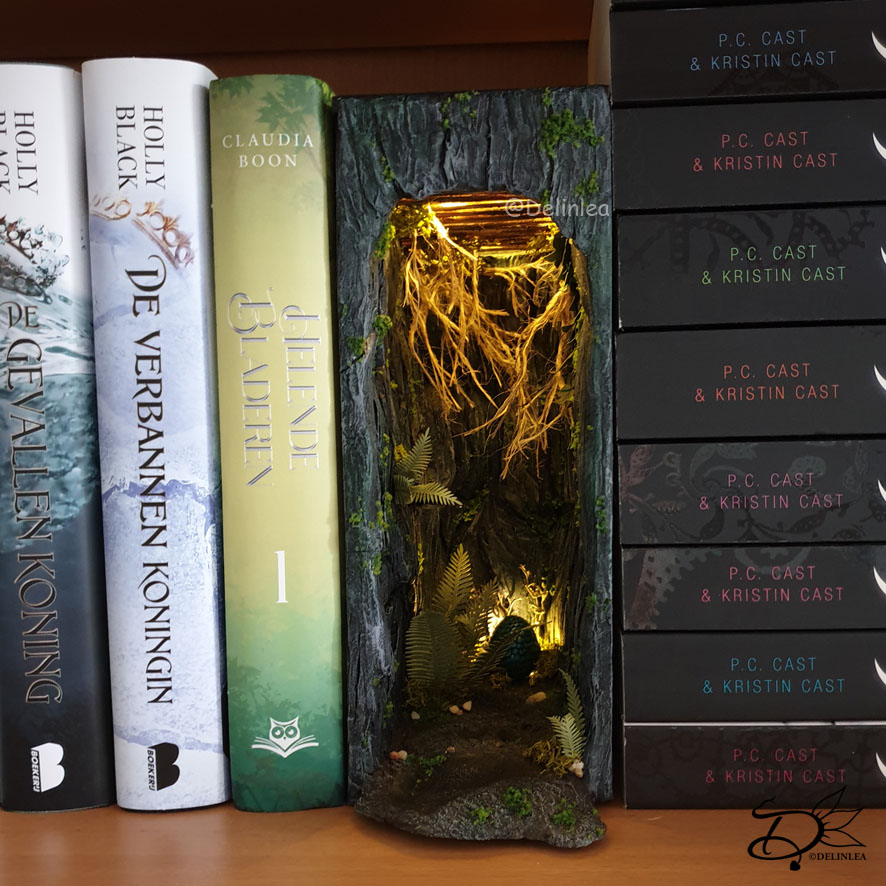
Hey Lovelies! Here is part 2 of my first ever booknook! I finished it, barely on time for this blog this week, in fact, while I am writing this, the glue is still drying xD. I am realizing how much I love to make those kind of things. Just creating things from imagination with all kinds of materials. If you haven’t seen part one, go read it here. This booknook I based it on how Claudia Boon described a part of the world in the book “Helende Bladeren”. I hope I did it justice, but no matter what, I love how it turned out and I hope you do too. Ah, again this won’t be a tutorial, just my journey making one from scratch and I hope to inspire you as well!

BookNook or bookshelf insert based on the book Helende Bladeren

Clay

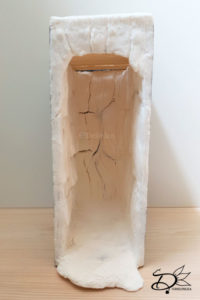
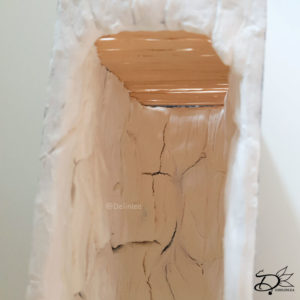
I first finished the clay base that I started with in part 1 of this booknook. I wish I could have kept one side loose to make it easier to work with, but I didn’t wanna have gaps anywhere. So glueing it together was the only way to go.

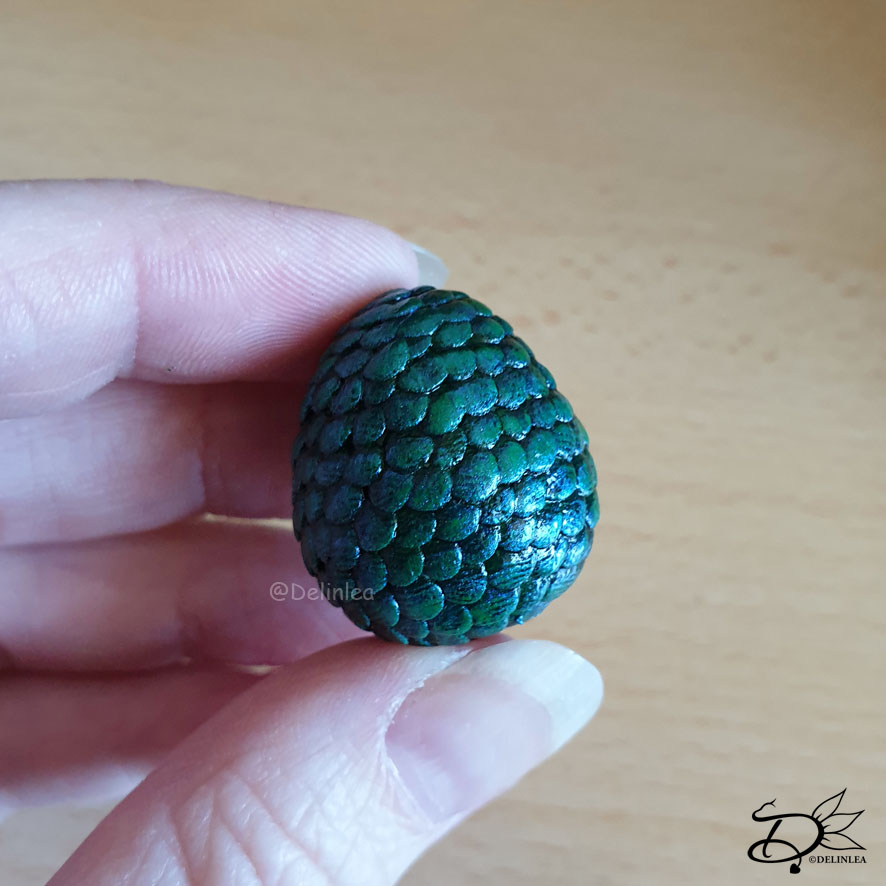
I shouldn’t forget to mention that I also made a dragon’s egg out of clay, that’s the whole point of this book.

Ceiling

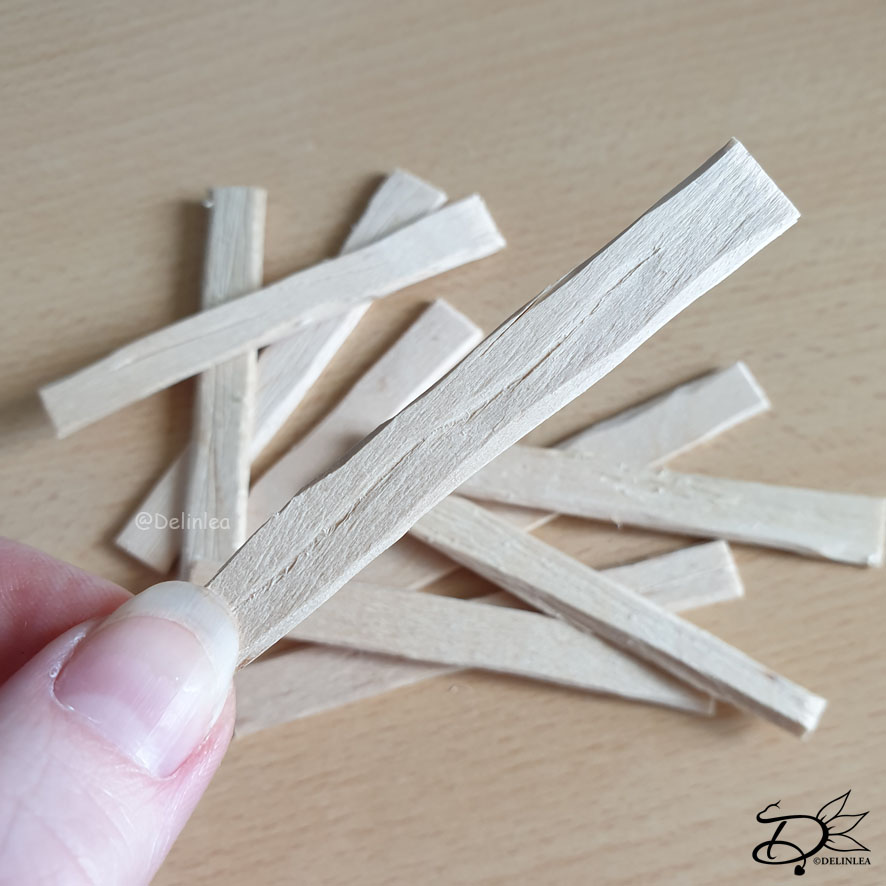
For the ceiling I used popsicle sticks. I cut those to size and made them a bit more worn out with a knife. It has to be an old cave vibe, not like brand new xD. Later I’ve painted those with thinned acrylic paint and I had some acrylics with sand in it, that came in really handy. Since this cave is supposed to be under ground.

Painting

Here is where the magic will happen most part, painting the whole thing including the egg. I started with a base layer of black. When that dried I used the dry brushing technique to imitate a rock and soil texture. The trick is to use different kinds of colors, like I also used green and brown beside grey for the rocks.

Decorations

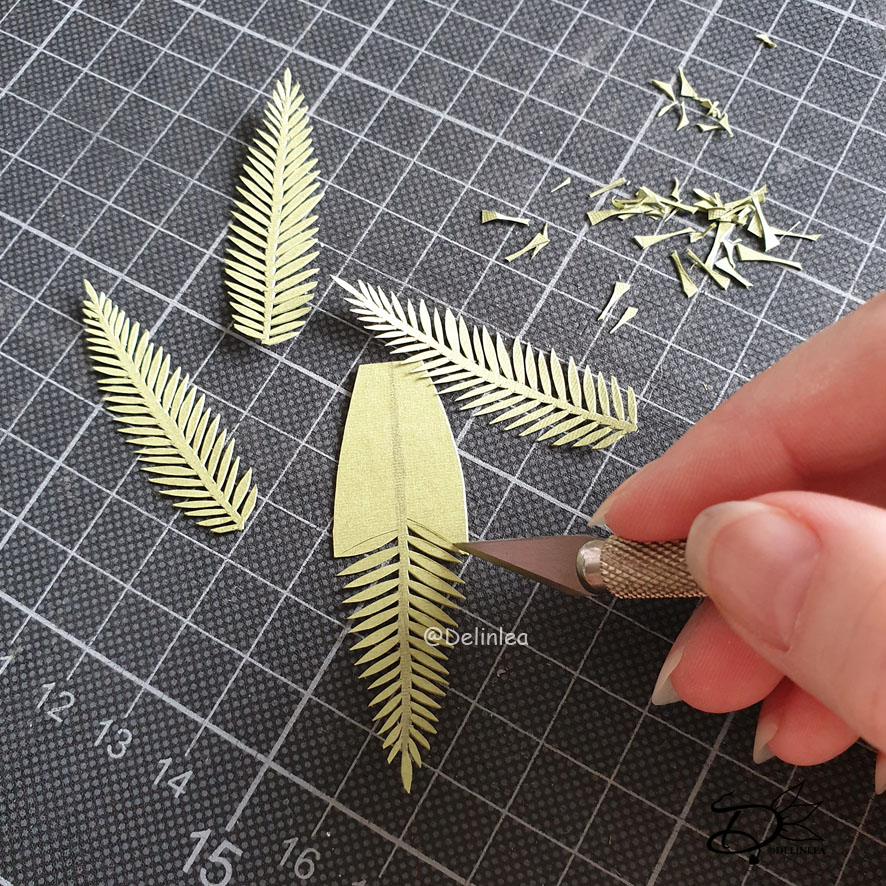
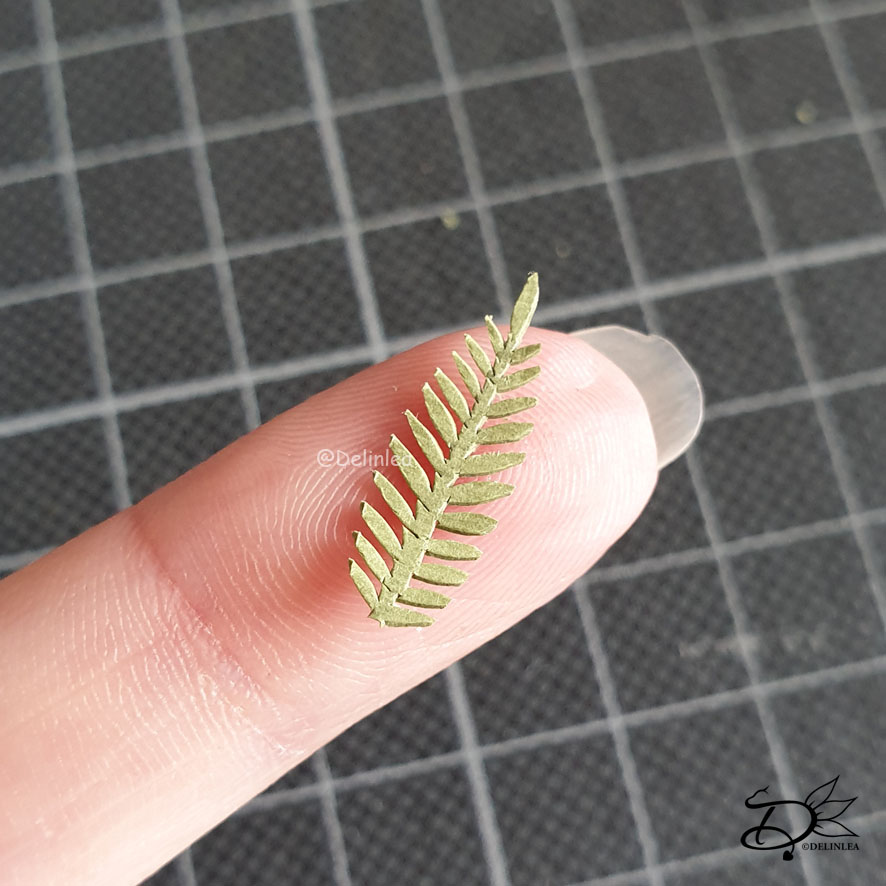
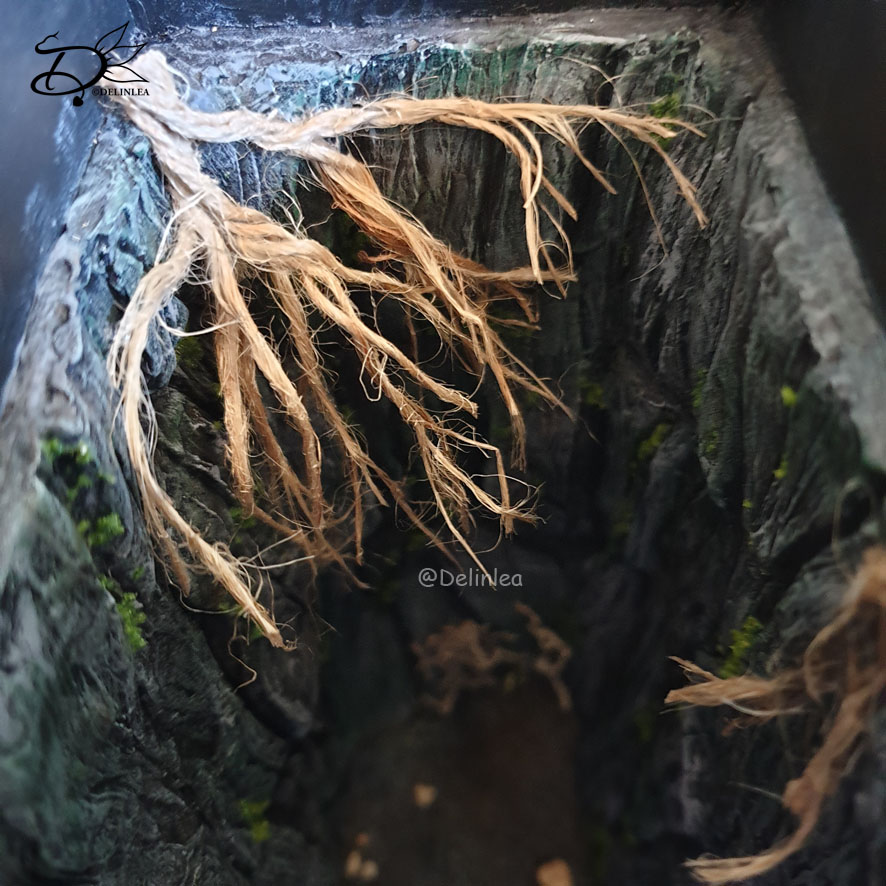
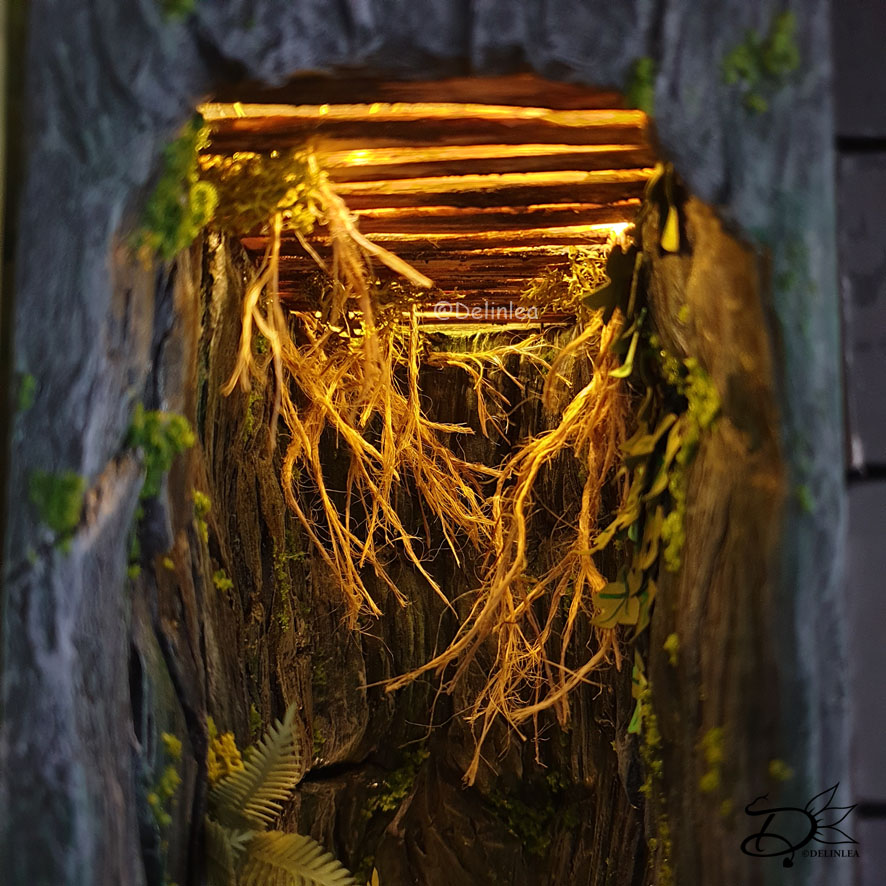
For this I used anything I had around. To be honest, I have a lot of craft supplies around or I get creative to make it. So I rarely really have to buy anything lately. I used paper to make all the leaves for the Ivy and Ferns. Some (fake) moss I had left over from previous crafts. Jute rope to create the roots and a lot of glue to secure everything in. I found this a really fun part to do, since everything came together, but also one of the hardest things. I sometimes struggled to get it in that made it look interesting and not like empty spots or something.

Lights

I also added lights, just those led string lights you can buy anywhere. This was one of the things I kept in mind from the beginning. But in the end I wanted also a light behind the egg, to really light that one out.  I had to make a little hole for that, since I didn’t plan that on properly xD.

BookNook is Finished!

I had a lot of fun making this booknook! I love how it turned out, I definitely wanna make some more. Not sure if I will keep all myself, or sell them, but we will see what the future brings.
This post, it’s just to inspire you as well to just create anything you want. I hope you won’t copy this booknook, but just take the idea to create something unique yourself. It’s not as hard as you think. And you can make it as hard as you want! I promise it is fun and your bookshelfs will look even more pretty!

If I inspired you to make a booknook as well, show me on Twitter or Instagram, I would love to see what you create!

Have a wonderful day!

Love
Danielle

PS. if you love those kind of blog, maybe you’d like to support me on Ko-Fi?! So I can keep making content like this!

// ©2021 Delinlea / Danielle Kaal // You may not reproduce, translate, share, freely distribute or sell this blog/craft as your own.

Posted in: Books, Crafting Tagged: Booknook, bookshelf insert, crafting

♥ Giant Bumble Bee Amigurumi

6 mei 2021 by Delinlea Leave a Comment

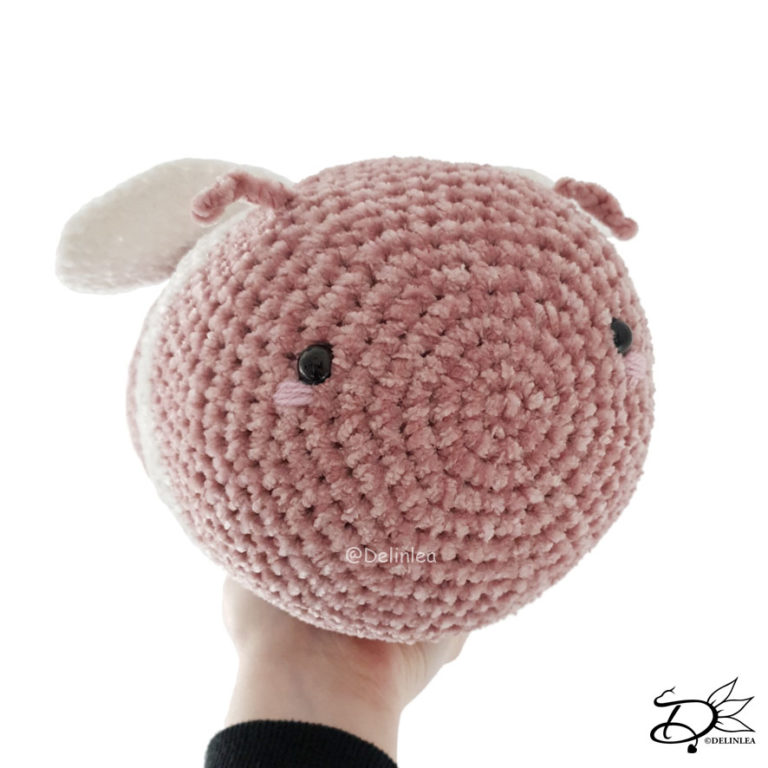
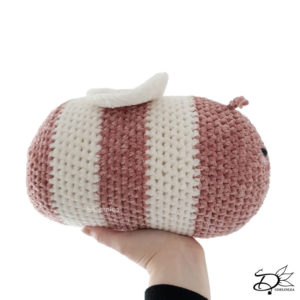
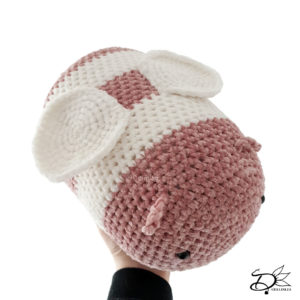
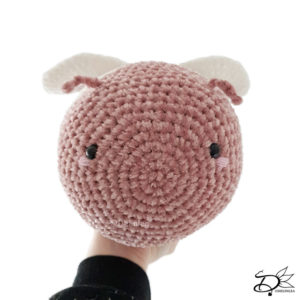
Hey Lovelies! My sister asked me if I could make this giant bumble bee, that she saw online, for her. I said, yeah sure, so we went online to find yarn. We ended up buying Behéme Velvet “double” from go handmade (not sponsored). When it arrived we realized it was a lot thinner as expected. So that’s why I am releasing this pattern today, that if you still want a giant bee you can still make it with thinner velvet yarn. I hope you will enjoy!

For this Pattern you’ll need:
♥ Bohéme Velvet “Double” by Go Handmade, in the colors Snow White and Soft Rose.
♥ Crochet Hook (I used a 6 and 5 mm hook).
♥ Stuffing.
♥ Scissors.
♥ Stitch Markers.
♥ Sewing Pins.
♥ Yarn Needle.
♥ Safety Eyes, 12mm.
♥ Bit of pink felt or yarn to make the cheeks pink.

Stitches used (US Terms):
Magic Ring.
CH = Chain.
SLST = Slip Stitch.
SC = Single Crochet.
ST = Stitch.
Inc = Increase.
Dec = Decrease.
(…) = Repeat the space in brackets the given number of times.
[…] = Total number of stitches.

Pattern Giant Bumble Bee

This pattern is made using continues rounds, unless stated otherwise. Use a stitch marker to mark the first stitch.

Body
Start with the color Pink.
Use the 6mm hook.

1: 6SC in a Magic Ring. [6]
2: 2SC in each st around. [12]
3: (1SC, inc) 6 times. [18]
4: (2SC, inc) 6 times. [24]
5: (3SC, inc) 6 times. [30]
6: (4SC, inc) 6 times. [36]
7: (5SC, inc) 6 times. [42]
8: (6SC, inc) 6 times. [48]
9: 48SC. [48]
Place the eyes between row 7 and 8, about 10cm apart.
10: (7SC, inc) 6 times. [54]
11-17: 54SC. [54]
Change to the color White.
18-24: 54SC. [54]
Change to the color Pink.
25-31: 54SC. [54]
Change to the color White.
32-38: 54SC. [54]
Change to the color Pink.
39-41: 54SC. [54]
42: (7SC, dec) 6 times. [48]
43: 48SC. [48]
44: (6SC, dec) 6 times. [42]
45: (5SC, dec) 6 times. [36]
46: (4SC, dec) 6 times. [30]
47: (3SC, dec) 6 times. [24]
Start Stuffing the body.
48: (2SC, dec) 6 times. [18]
49: (1SC, dec) 6 times. [12]
Complete stuffing until you like it.
50: dec around. [6]
Fasten off and weave in tail.

Wings (Make 2)
Use the color White and a 5mm hook.

1: 6SC in a Magic Ring. [6]
2: 2SC in each st around. [12]
3: (1SC, inc) 6 times. [18]
4: (2SC, inc) 6 times. [24]
5: (3SC, inc) 6 times. [30]
6: (4SC, inc) 6 times. [36]
7: 36SC. [36]
Fasten off and leave a long tail for sewing.

Antenna (Make 2)
Use the color Pink and a 5mm hook.

Ch8, fasten off and leave a long tail for sewing.

Assembling

Whenever I start with assembling an Amigurumi, I use sewing pins first. This way I can move around all parts until I am happy with the result. Then I sew it on.

The wings will be sewn on the middle, pink stripe of the Bumble bee, make sure to attach it well. The antenna will be on top of its head. Check to see what’s the cutest position. Then with pink felt or yarn make little pink cheeks just under its eyes.

Your Giant Bumble Bee is ready! It’s a fun project to make, and pretty quick. I loved making this one for my sister, and she loves it a lot. Haven’t seen it back since I gave it haha. If you made one as well, don’t forget to show me on Twitter or Instagram with #DelinleaDIY. I’d love to see what you create with my patterns.

I hope you’ll have a wonderful day!

Love
Danielle

PS. if you love those patterns, maybe you’d like to support me on Ko-Fi?! So I can keep making content like this!

// ©2021 Delinlea / Danielle Kaal // Items made with this pattern may be sold in a limited number. Credit to ‘Delinlea’ is appreciated. Not allowed for mass production or commercial purposes. You may not reproduce, translate, share, freely distribute or sell this pattern as your own in digital or printed from.
Posted in: Crafting, Crochet Tagged: Amigurumi, Bumble Bee, Crochet, cute, Free Pattern, Giant, haken, kawaii

♥ Lumpy Tsum Tsum Amigurumi

29 april 2021 by Delinlea Leave a Comment

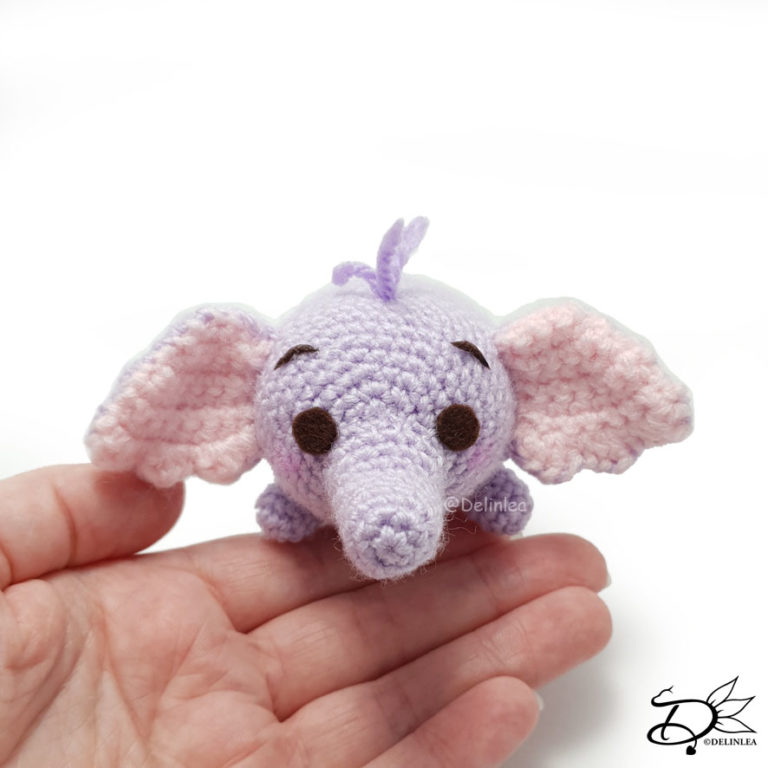
Hey Lovelies! How are you doing today, I hope you are well! Since yesterday we can go to a store without appointment, and it was weird. And then I was like, since when it’s weird to just walk into a store?! It’s ridiculous how fast we get used to some restrictions. But, Yeah, I guess that’s what 4,5month of lockdown does. Anyway, let’s go to the fun part of this blog, are you ready to make a Lumpy Tsum Tsum. He’s from Winnie the Pooh and so cute. I hope you will like this amigurumi pattern.

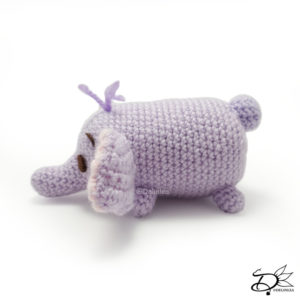
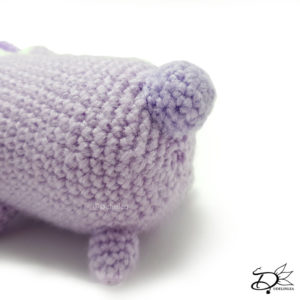
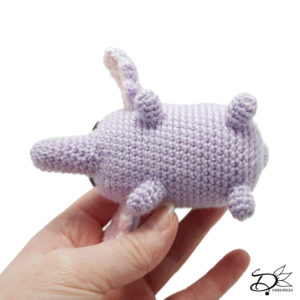
Lumpy Tsum Tsum made with the Amigurumi technique

For this Pattern you’ll need:
♥ Yarn in the colors Light Purple, Purple and  Light Pink. (I used Zeeman Supersoft)
♥ Crochet Hook (I used a 2 mm hook).
♥ Stuffing.
♥ Scissors.
♥ Stitch Markers.
♥ Sewing Pins.
♥ Yarn Needle.
♥ Felt for the facial details.
♥ (Fabric) Glue.

Stitches used (US Terms):
Magic Ring.
CH = Chain.
SLST = Slip Stitch.
SC = Single Crochet.
HDC = Half Double Crochet.
DC = Double Crochet.
ST = Stitch.
Inc = Increase.
Dec = Decrease.
(…) = Repeat the space in brackets the given number of times.
[…] = Total number of stitches.

Pattern Lumpy

This pattern is made using continues rounds, unless stated otherwise. Use a stitch marker to mark the first stitch.

Body
Use the color Light Purple.

1: 6SC in a Magic Ring. [6]
2: 2SC in each st around. [12]
3: (1SC, inc) 6 times. [18]
4: (2SC, inc) 6 times. [24]
5: (3SC, inc) 6 times. [30]
6: (4SC, inc) 6 times. [36]
7: (5SC, inc) 6 times. [42]
8-29: 42SC. [42]
30: (5SC, dec) 6 times. [36]
31: (4SC, dec) 6 times. [30]
32: (3SC, dec) 6 times. [24]
33: (2SC, dec) 6 times. [18]
Stuff the body here.
34: (1SC, dec) 6 times. [12]
25: Dec around. [6]
Fasten off and weave in tail.

Legs (Make 4)
Use the color Light Purple.

1: 4SC in a Magic Ring. [4]
2: 2SC in each st around. [8]
3-5: 8SC. [8]
Fasten off and leave a long tail for sewing.

Tail
Use the color (Light) Purple. Depends on what color you like it to give.

1: 6SC in a Magic Ring. [6]
2: 2SC in each st around. [12]
3: 12SC. [12]
4: 12SC. [12]
5: (4SC, dec) 2 times. [10]
Fasten off and leave a long tail for sewing. Stuff lightly.

Trunk
Use the color Light Purple.

1: 6SC in a Magic Ring. [6]
2: 2SC in each st around. [12]
3-8: 12SC. [12]
9: (3SC, inc) 3 times. [15]
10: 15SC. [15]
Fasten off and leave a long tail for sewing. Stuff lightly.

Ears (Make 4)
Make 2 in the color Light Purple and 2 in the color Light Pink.
This part won’t be made with continues rounds.

1: Ch5, insert in second ch from hook, 4SC, turn. [4]
2: 3SC, inc, turn. [5]
3: Inc, 4SC, turn. [6]
4: 5SC, inc, turn. [7]
5-7: 7SC, turn. [7]
8: (1SC, HDC+DC+HDC in the next st) 3 times, 1 sc. [13]
Fasten off and leave a long tail for sewing.

Assembling

Whenever I start assembling an Amigurumi, I use sewing pins first to put everything together. This way I can move all parts around easily until I am happy with how it looks. Then I will sew it on. I recommend you do so as well.

Before you start, sew the 2 parts, 1 Light Purple and 1 Pink, of the ears together, along the edge. Keep in mind that you make 2 mirrored ears, so the pink is able to face forward when you sew them to the body.

Start with sewing on Lumpy his trunk, just under the middle of his face. Next, position his ears and attach those well. Then sew on his legs and tail. With a few pieces of purple yarn you create some hair on top of his head.

And that’s it for this adorable Lumpy Tsum Tsum, I hope you had fun making it! If you did, make sure to show me on Twitter of Instagram with #DelinleaDIY, I’d love to see what you created with my patterns!

Have a wonderful day!

Love
Danielle

PS. if you love those Tsum Tsum patterns, maybe you’d like to support me on Ko-Fi?! So I can keep making content like this!

// ©2021 Delinlea / Danielle Kaal // Items made with this pattern may be sold in a limited number. Credit to ‘Delinlea’ is appreciated. Not allowed for mass production or commercial purposes. You may not reproduce, translate, share, freely distribute or sell this pattern as your own in digital or printed from.
Posted in: Crafting, Crochet, Tsum Tsum Tagged: Amigurumi, Crochet, cute, Disney, Elephant, Free Pattern, haken, kawaii, Lumpy, Tsum Tsum, Winnie the pooh

♥ Scrump Ufufy Amigurumi

22 april 2021 by Delinlea Leave a Comment

Hey Lovelies! I wasn’t sure if there would be a blog today. I had severe back pain to the point that I couldn’t do anything, just sitting/laying was already a challenge. But I felt something popping in my back earlier this week and that seems to have helped, the pain is not gone yet, but improved a lot. Anyway, enough about me, back to the blog! I kinda kept is simple today since I was running out of time. I made a Scrump ufufy pattern for you. I hope you will this one, despite it is an easy one. Enjoy it!

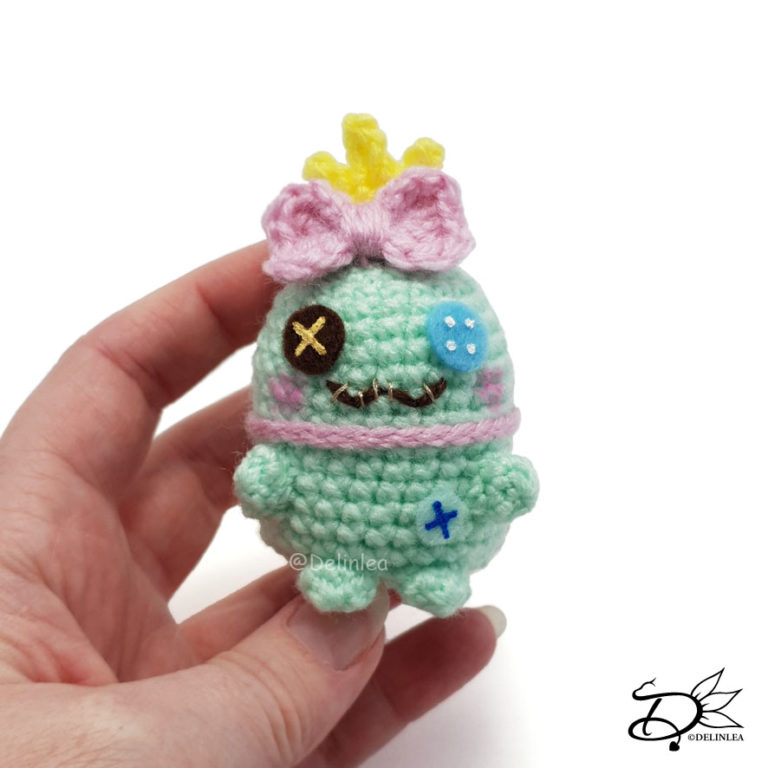
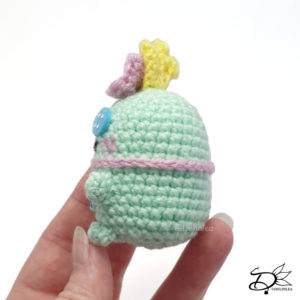
Scrump Ufufy made with the Amigurumi technique

For this Pattern you’ll need:
♥ Yarn in the colors Light Green, Pink and Yellow. (I used Zeeman Supersoft)
♥ Crochet Hook (I used a 2mm hook).
♥ Stitch Markers.
♥ Stuffing.
♥ Scissors.
♥ Sewing Pins.
♥ Yarn Needle.
♥ Felt/Yarn for the facial details.
♥ (Fabric) Glue.

Stitches used (US Terms):
Magic Ring.
CH = Chain.
SLST = Slip Stitch.
SC = Single Crochet.
HDC = Half Double Crochet.
DC = Double Crochet.
TR = Treble Crochet.
ST = Stitch.
Inc = Increase.
Dec = Decrease.
(…) = Repeat the space in brackets the given number of times.
[…] = Total number of stitches.

Pattern Scrump

This pattern is made using continues rounds, unless stated otherwise. Use a stitch marker to mark the first stitch.

Body
Use the color Light Green

1: 6SC in a Magic Ring. [6]
2: 2SC in each st around. [12]
3: (1SC, inc) 6 times. [18]
4: (2SC, inc) 6 times. [24]
5-6: 24SC. [24]
7: (3SC, inc) 6 times. [30]
8-17: 30SC. [30]
18: (3SC, dec) 6 times. [24]
19: (2SC. dec) 6 times. [18]
Stuff the body.
20: (1SC, dec) 6 times. [12]
21: dec around. [6]
Fasten off and weave in tail.

Legs (Make 4)
Use the color Light Green.

1: 6SC in a Magic Ring. [6]
2: 6SC. [6]
Fasten off and leave a long tail for sewing.

Collar
Use the color Pink.

Make a chain of 30ch, make sure it’s long enough to go around the body, you might wanna add a few more ch.
Fasten off and leave a long tail for sewing.

Bow
Use the color Pink.

In a Magic Ring, crochet: (1SC, 1HDC, 1DC, 2TR, 2DC, 2TR, 1DC, 1HDC, 1SC) 2 times.
Fasten off and leave a long tail for sewing.
Wrap a part of the tail around the middle of the bow part, where the SC’s are. So you will get a bow like shape. Secure this part.

Hair
Use the color Yellow.
This part is not made with continues rounds.

1: Ch5, insert in second ch from hook, 4SC, turn. [4]
2: 3SC, Ch3, insert in second ch from hook, 2SC, 3SlSt, turn. [5]
3: 3SC, Ch2, insert in second ch from hook, 1SC, 3SlSt. [4]
Fasten off and leave a long tail for sewing.

Assembling

Whenever I start assembling an Amigurumi I will use sewing pins first to put it together. This way I can move parts around until I am happy with how it looks. The you can sew it on, I recommend you do so as well.

First put the collar around row 11, and sew it on. Next attach Scrump his legs to the body. After that’s on, you will sew on the hair and bow on top of its head.
Last you will make facial detail and the button on his belly from felt and/or yarn. You can do this in several ways, either flue those on or stitch it on. With a bit of pink soft pastel/make-up you can make it’s cheeks pink.

And that was it for todays blog! Scrump is done, did you have fun?! I hope you did, and if you made it, make sure to tag me on Twitter or Instagram with #DelinleaDIY. I’d love to see your creations!

Have a wonderful day! And I’ll see you next week.

Love
Danielle

PS. if you love those Ufufy patterns, maybe you’d like to support me on Ko-Fi?! So I can keep making content like this!

// ©2021 Delinlea / Danielle Kaal // Items made with this pattern may be sold in a limited number. Credit to ‘Delinlea’ is appreciated. Not allowed for mass production or commercial purposes. You may not reproduce, translate, share, freely distribute or sell this pattern as your own in digital or printed from.
Posted in: Crafting, Crochet, Ufufy Tagged: Amigurumi, Crochet, cute, Disney, Free Pattern, haken, kawaii, Lilo and Stitch, Scrump, Ufufy
« Vorige 1 2 3 4 5 6 7 8 9 10 … 40 41 42 43 44 Volgende »

What are you looking for?!

My Socials

Ko-Fi

I love making all these free things for you, tho it would be very helpfull if you can support me on Ko-Fi! (You don’t have to tho, totally up to you!)

Ko-Fi Shop!!

In my Ko-Fi shop you can find PDF Amigurumi Patterns!! You can pay easily with PayPal.
Go to the shop here!!

Recent Blog Posts

  • ♥ Happy 2022!
  • ♥ Day 12; Lights
  • ♥ Day 11; Flower Deco
  • ♥ Day 10; Snowman
  • ♥ Day 9; Gingerbread Houses

Recent Comments

  • Delinlea op ♥ Pua Tsum Tsum Amigurumi
  • Marfermar op ♥ Free Pattern; Easter Bunny
  • mary op ♥ Pua Tsum Tsum Amigurumi
  • Delinlea op ♥ Life Update + Kittens
  • Delinlea op ♥ Amigurumi Ghost

Categories

  • animation
  • Beadwork
  • Blogmas 2018
  • Blogmas 2020
  • Blogmas 2021
  • Books
  • Bujo
  • Christmas
  • Christmas CAL 2019
  • Christmas Countdown 2017
  • Contest
  • Crafting
  • Crochet
  • Drawing
  • Drawing Lesson
  • Easter
  • Geen categorie
  • Life
  • Miniature
  • Nail Art
  • New Year
  • Paper
  • plush
  • Pokemon
  • Poseable Art Doll
  • Recipe
  • Sewing
  • Shop Pattern
  • Sinterklaas
  • Social Media
  • Tsum Tsum
  • Ufufy

Copyright © 2023 Delinlea - My little fantasy world.

Family WordPress Theme by themehall.com