Delinlea - My little fantasy world
  • ♥ Home
  • ♥ About Me
  • ♥ Blogmas 2021
  • ♥ Free Patterns
    • ♥ Amigurumi; Spring/Easter
    • ♥ Amigurumi; Fall/Halloween
    • ♥ Amigurumi; Winter
    • ♥ Amigurumi Tsum Tsum
    • ♥ Amigurumi Ufufy
    • ♥ Amigurumi Others
    • ♥ Christmas Countdown 2017
    • ♥ Blogmas 2018
    • ♥ Blogmas 2020
  • ♥ Tutorials
    • ♥ Easter
    • ♥ Home Deco
    • ♥ Others
  • ♥ Drawing Lessons
  • ♥ FanFic
    • ♥ Chapter 1
    • ♥ Chapter 2
    • ♥ Chapter 3
    • ♥ Chapter 4
    • ♥ Chapter 5
    • ♥ Chapter 6
    • ♥ Chapter 7
  • ♥ Gallery
    • ♥ Crafts
    • ♥ Drawings
    • ♥ Poseable Art Dolls
  • ♥ Links
  • ♥ Contact

Books

♥ BookNook Part 2

14 mei 2021 by Delinlea 1 Comment

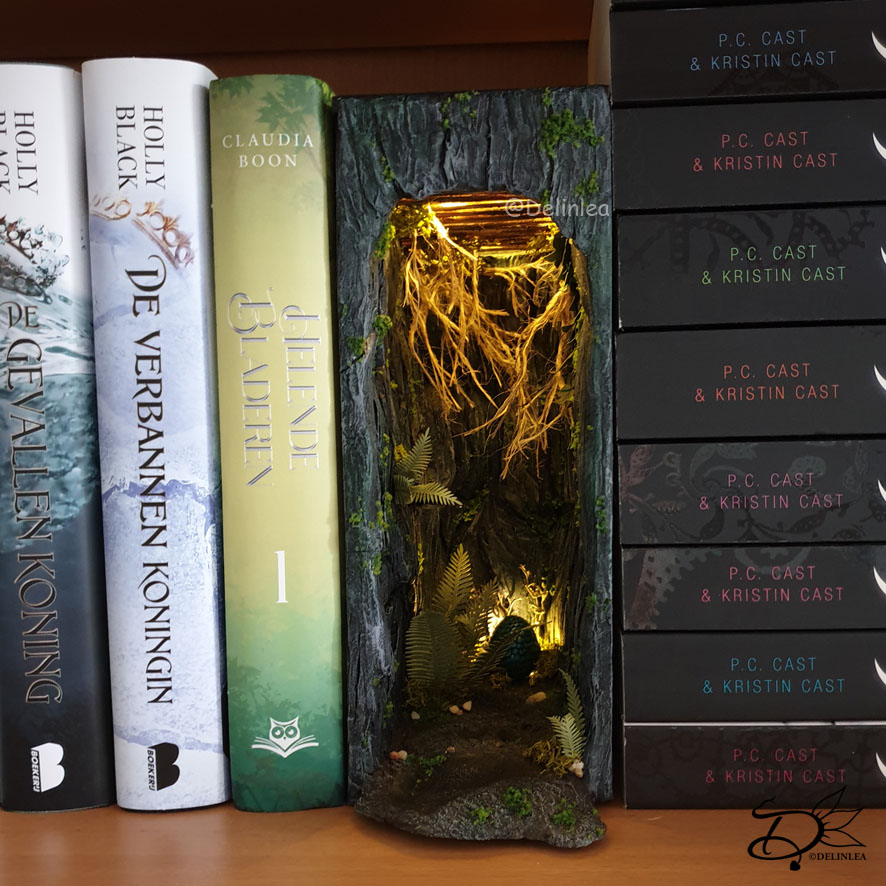
Hey Lovelies! Here is part 2 of my first ever booknook! I finished it, barely on time for this blog this week, in fact, while I am writing this, the glue is still drying xD. I am realizing how much I love to make those kind of things. Just creating things from imagination with all kinds of materials. If you haven’t seen part one, go read it here. This booknook I based it on how Claudia Boon described a part of the world in the book “Helende Bladeren”. I hope I did it justice, but no matter what, I love how it turned out and I hope you do too. Ah, again this won’t be a tutorial, just my journey making one from scratch and I hope to inspire you as well!
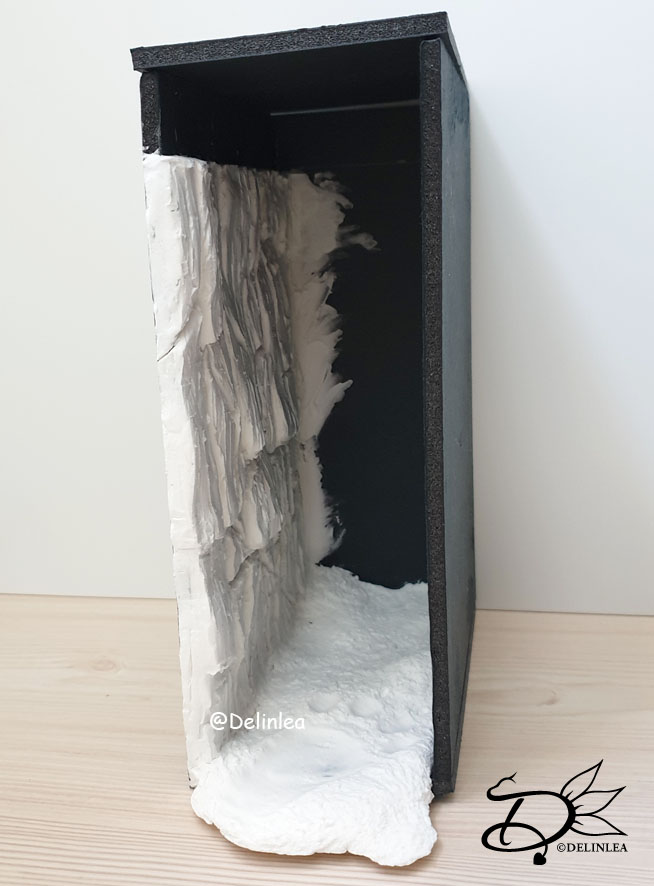
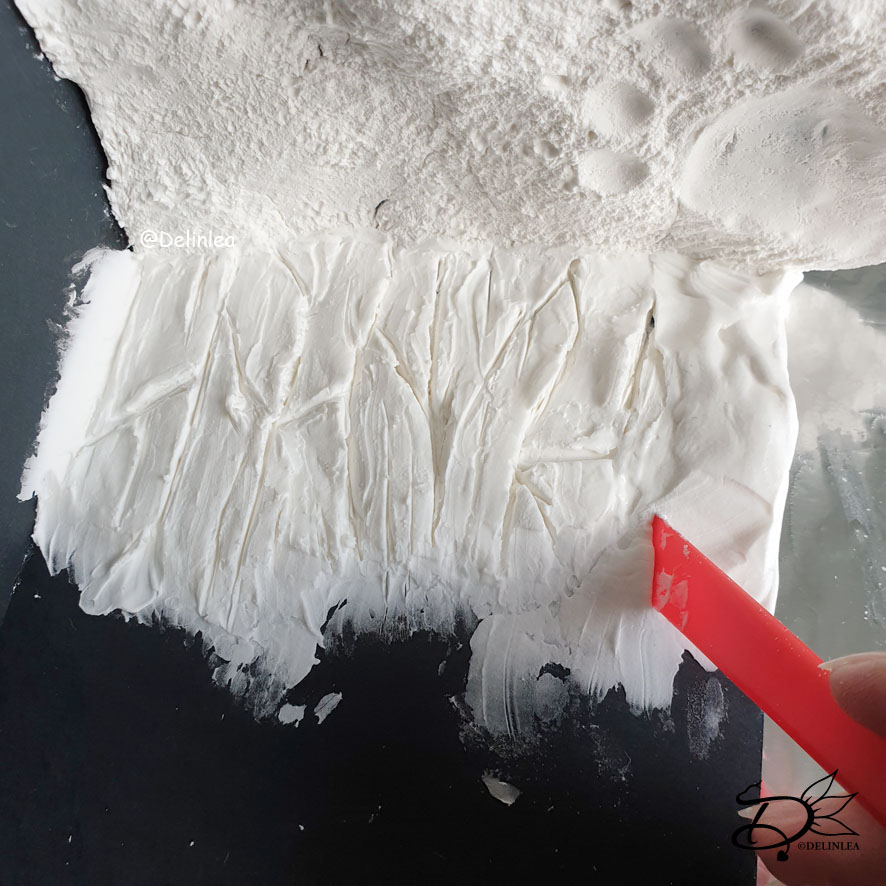
BookNook or bookshelf insert based on the book Helende Bladeren

Clay

I first finished the clay base that I started with in part 1 of this booknook. I wish I could have kept one side loose to make it easier to work with, but I didn’t wanna have gaps anywhere. So glueing it together was the only way to go.

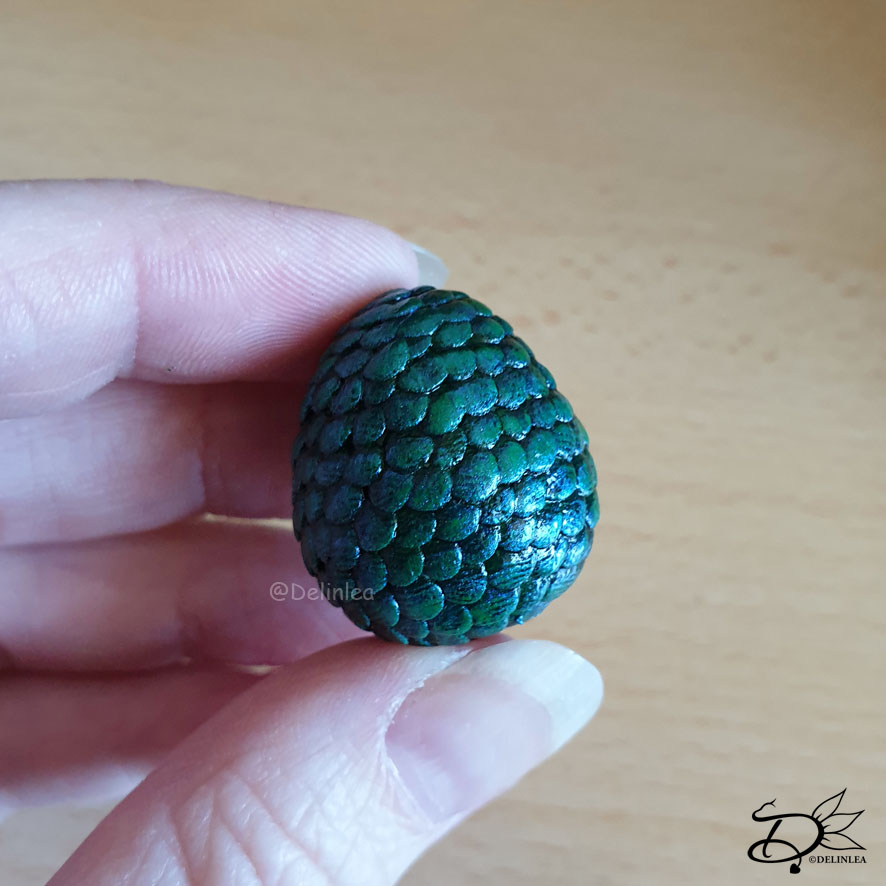
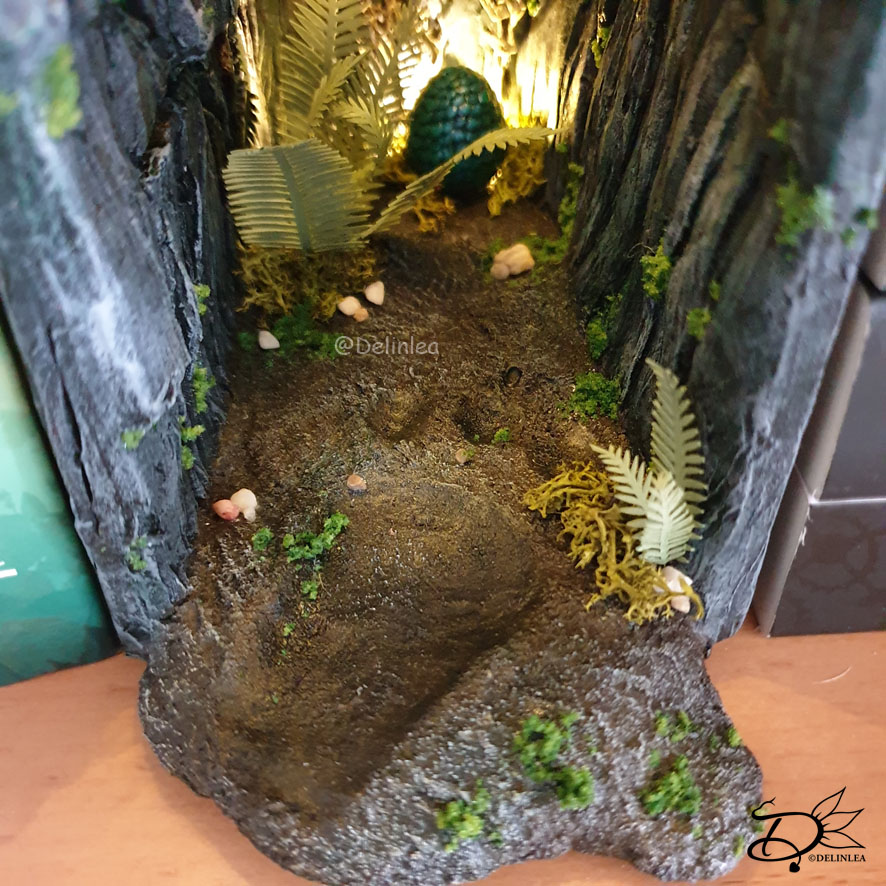
I shouldn’t forget to mention that I also made a dragon’s egg out of clay, that’s the whole point of this book.
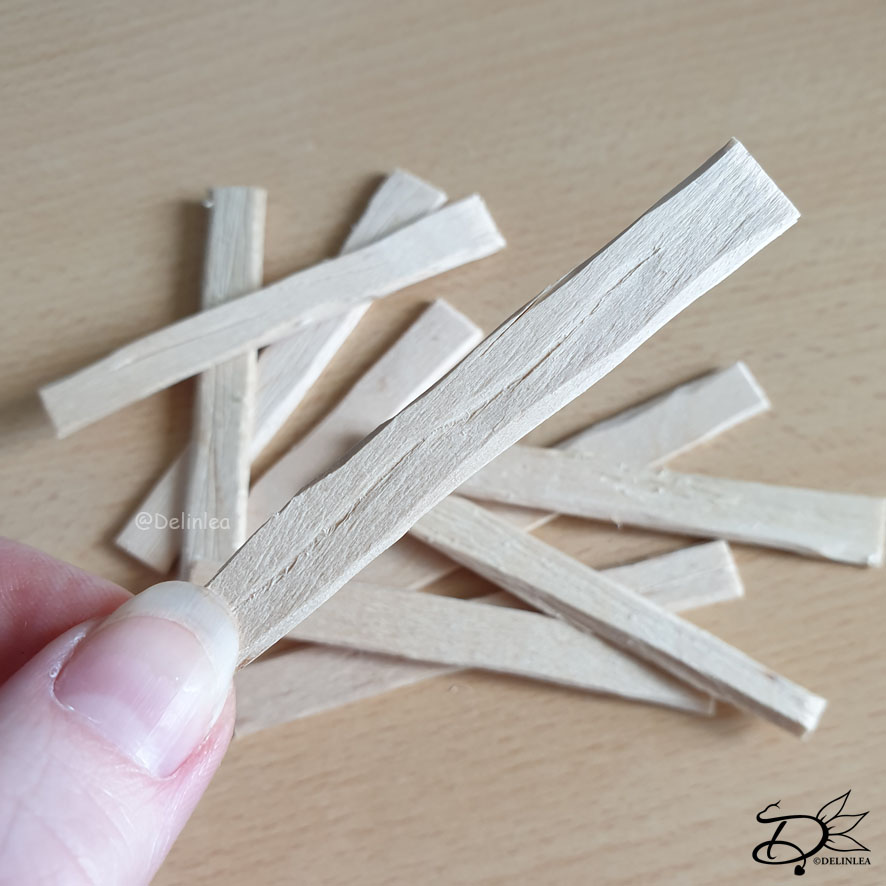
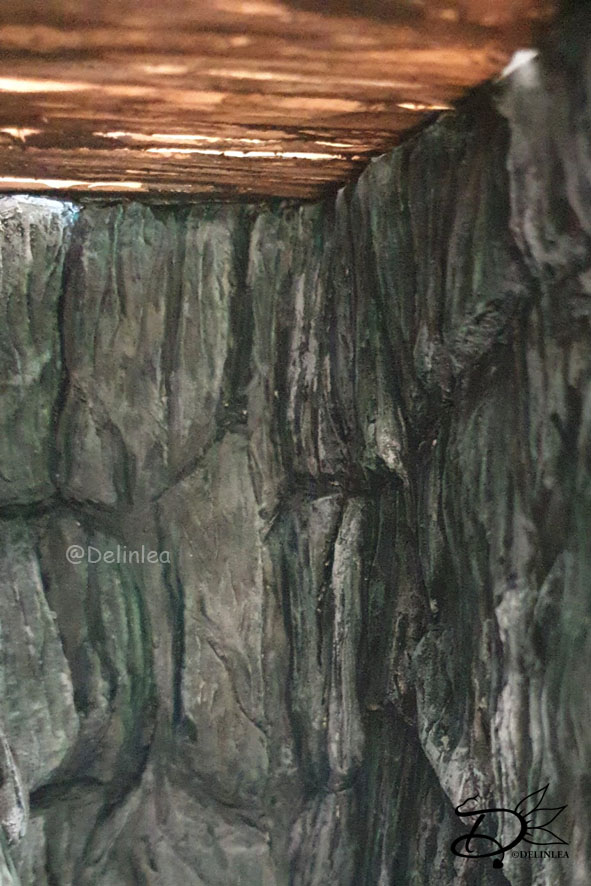
Ceiling

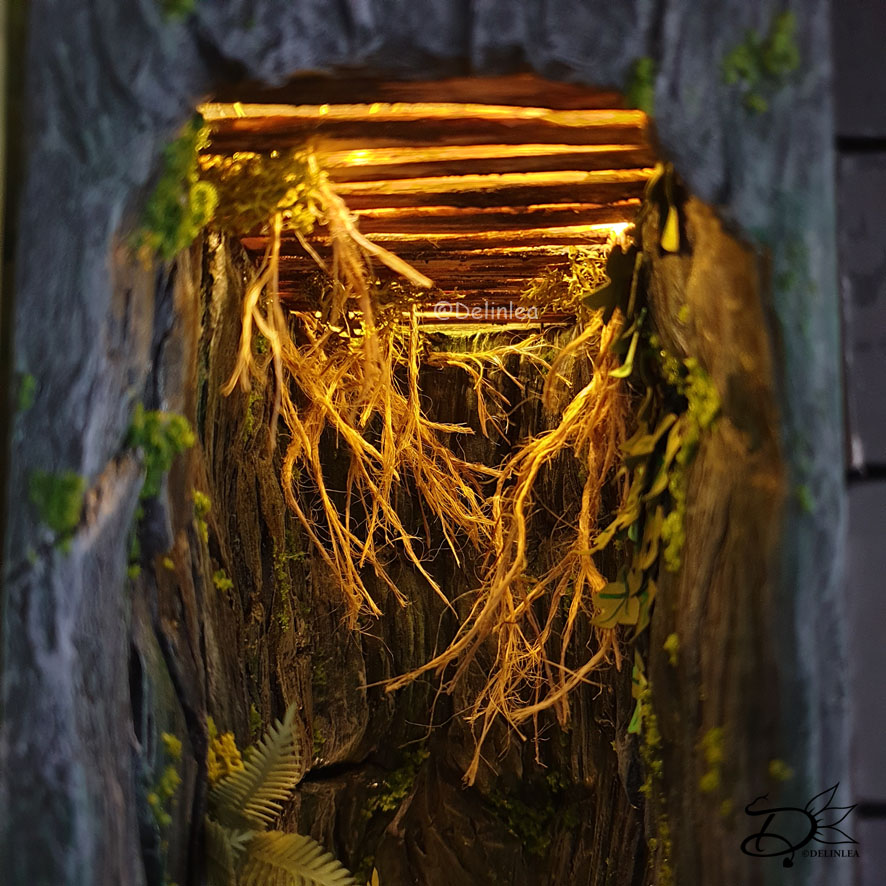
For the ceiling I used popsicle sticks. I cut those to size and made them a bit more worn out with a knife. It has to be an old cave vibe, not like brand new xD. Later I’ve painted those with thinned acrylic paint and I had some acrylics with sand in it, that came in really handy. Since this cave is supposed to be under ground.
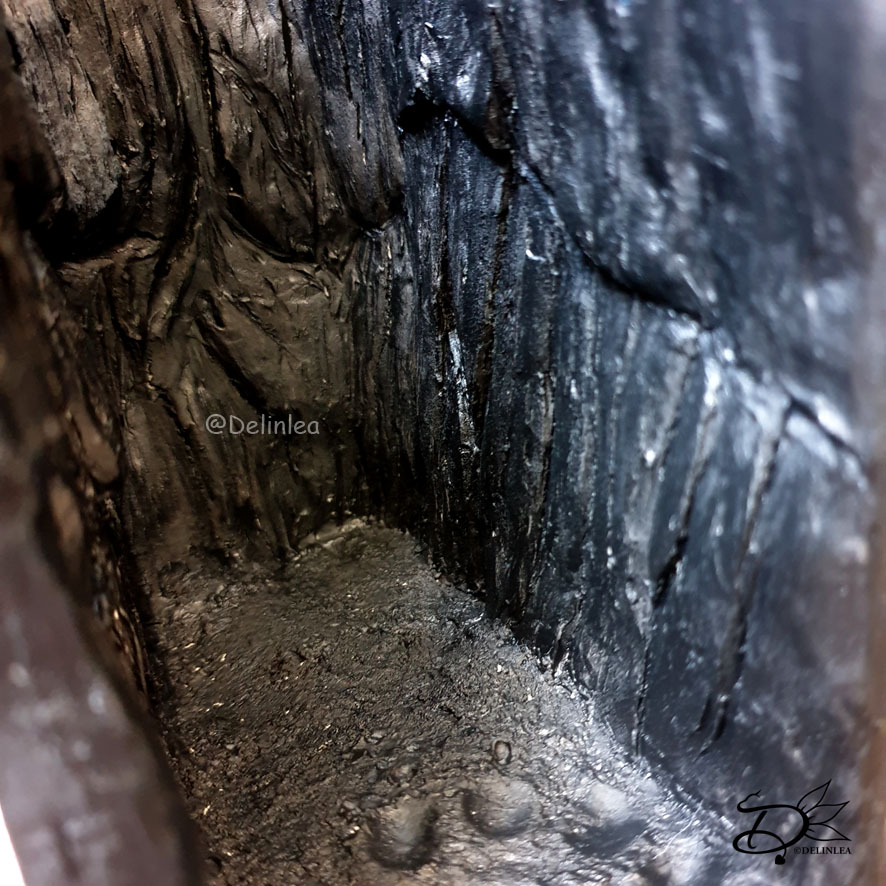
Painting

Here is where the magic will happen most part, painting the whole thing including the egg. I started with a base layer of black. When that dried I used the dry brushing technique to imitate a rock and soil texture. The trick is to use different kinds of colors, like I also used green and brown beside grey for the rocks.
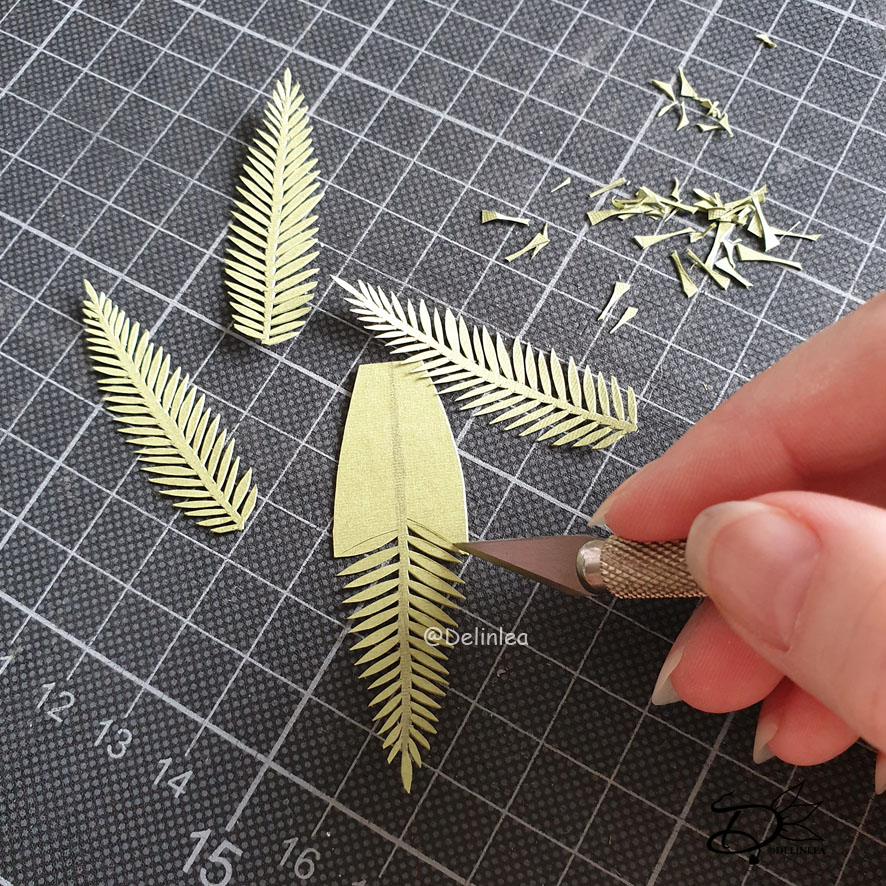
Decorations

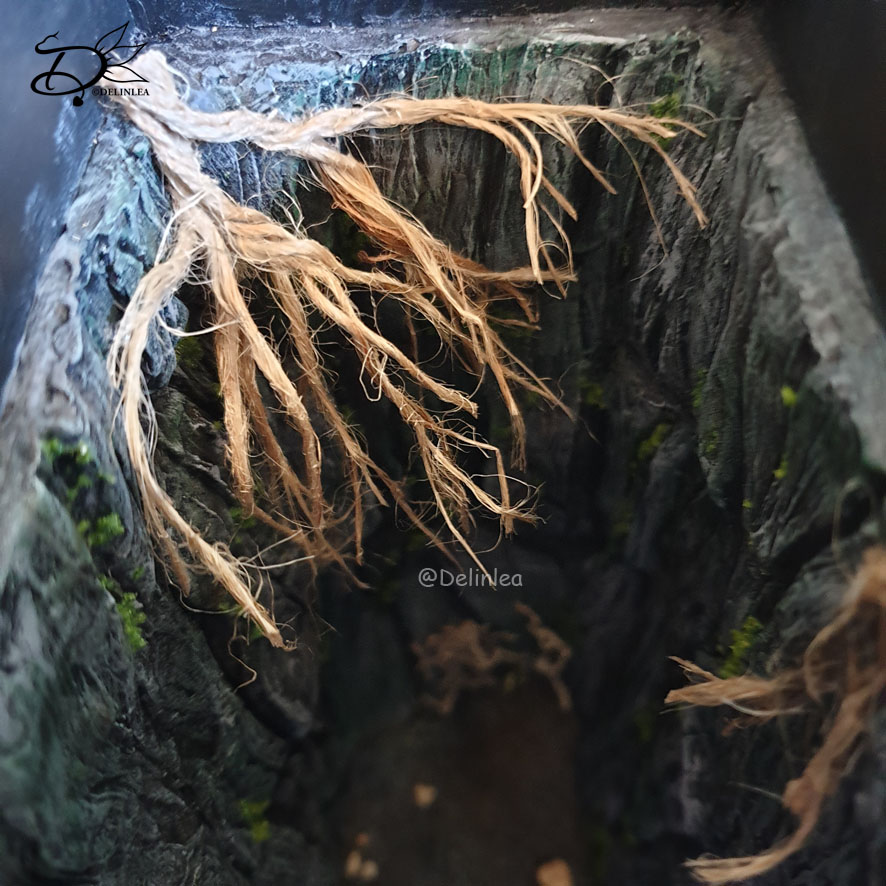
For this I used anything I had around. To be honest, I have a lot of craft supplies around or I get creative to make it. So I rarely really have to buy anything lately. I used paper to make all the leaves for the Ivy and Ferns. Some (fake) moss I had left over from previous crafts. Jute rope to create the roots and a lot of glue to secure everything in. I found this a really fun part to do, since everything came together, but also one of the hardest things. I sometimes struggled to get it in that made it look interesting and not like empty spots or something.

Lights

I also added lights, just those led string lights you can buy anywhere. This was one of the things I kept in mind from the beginning. But in the end I wanted also a light behind the egg, to really light that one out.  I had to make a little hole for that, since I didn’t plan that on properly xD.

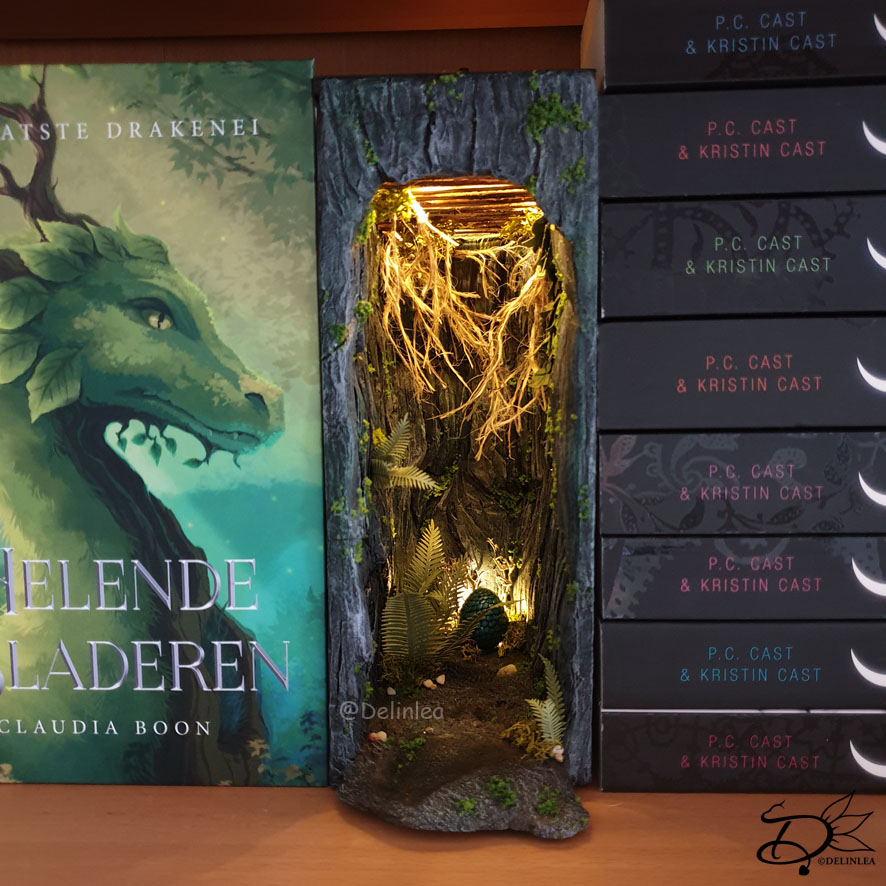
BookNook is Finished!

I had a lot of fun making this booknook! I love how it turned out, I definitely wanna make some more. Not sure if I will keep all myself, or sell them, but we will see what the future brings.
This post, it’s just to inspire you as well to just create anything you want. I hope you won’t copy this booknook, but just take the idea to create something unique yourself. It’s not as hard as you think. And you can make it as hard as you want! I promise it is fun and your bookshelfs will look even more pretty!

If I inspired you to make a booknook as well, show me on Twitter or Instagram, I would love to see what you create!

Have a wonderful day!

Love
Danielle

PS. if you love those kind of blog, maybe you’d like to support me on Ko-Fi?! So I can keep making content like this!

// ©2021 Delinlea / Danielle Kaal // You may not reproduce, translate, share, freely distribute or sell this blog/craft as your own.

Posted in: Books, Crafting Tagged: Booknook, bookshelf insert, crafting

♥ Booknook Part 1

16 april 2021 by Delinlea Leave a Comment

Hey lovelies! I don’t know if you love reading or not at all? I personally love books, reading them, collecting them. I often get inspired by them and that brings me to today’s post. A while ago I got introduced to something called a “booknook”, or bookshelf insert. It’s just a little world inside a nook of your bookshelf. Ever since I saw one, I kept looking at videos of people who would make them. Everyone makes them how they want to, it’s really fun. You could make them inspired by books or movies, or just make something up yourself. So, today I will show you a bit of progress on my first ever booknook that I will make. I’m very excited already! It’s not really a tutorial what I will make here. But more like an explanation of what you could do. Be inspired and get creative yourself. This is gonna be fun! Ah, right, this will be part1, part2 will come next month, didn’t wanna rush.

Base of the booknook

First I started off with the base of the booknook, I used foamboard for it, since that was still lying around from school days. I’d better use it now. But you could also use wood or cardboard. Just what you have around. For the size, it is really up to what your plan is. That’s why I made a sketch first to see how much detail I wanted. Then I measured up a book to figure out the height and the depth.

The sizes I used for this booknook I am working on.

I used tape at first to put it together but then decided I wanted to glue one side, the back and the bottom together to have some sturdiness going on already. The other parts I wanted to keep loose so I could remove them while working on the inside.

the start of a booknook with foam and clay

The Inside

For the inside you could use any material you would like. Think of clay, miniature objects either made yourself or bought, foliage, wood, etc. Use anything you could think of to make the nook you want.

Since I wanna make a booknook based of “Helende Bladeren” by Claudia Boon. I went ahead and started with clay, as you can see in the pictures. Since I used light air dry clay, I had to deal with drying time. And that’s the main reason I’ve split up this blog post. I wanted to let all parts dry properly before continuing to paint etc.

So next month I will release part 2, hopefully I’ve a finished booknook to show to you. But I already know now, that I really wanna make more of them. Different themes though, just wanna have fun! I hope you get inspired by my work as well. If you do, don’t forget to tag me on Twitter or Instagram, I’d love to see what you create!

I hope you have a wonderful day and I’ll see you next week!

Love
Danielle

PS. if you love those DIYs, maybe you’d like to support me on Ko-Fi?! So I can keep making content like this!

// ©2021 Delinlea / Danielle Kaal // You may not reproduce, translate, share, freely distribute or sell this tutorial/craft as your own in digital, made or printed from.

Posted in: Books, Crafting, Miniature Tagged: Booknook, bookshelf insert, clay, craft, crafting, DIY, Handmade

What are you looking for?!

My Socials

Ko-Fi

I love making all these free things for you, tho it would be very helpfull if you can support me on Ko-Fi! (You don’t have to tho, totally up to you!)

Ko-Fi Shop!!

In my Ko-Fi shop you can find PDF Amigurumi Patterns!! You can pay easily with PayPal.
Go to the shop here!!

Recent Blog Posts

  • ♥ Happy 2022!
  • ♥ Day 12; Lights
  • ♥ Day 11; Flower Deco
  • ♥ Day 10; Snowman
  • ♥ Day 9; Gingerbread Houses

Recent Comments

  • Liane Van der Donck op ♥ Amigurumi Ghost
  • Kimberly Spear op ♥ Free Pattern; Amigurumi Shiber
  • Delinlea op ♥ Pua Tsum Tsum Amigurumi
  • Marfermar op ♥ Free Pattern; Easter Bunny
  • mary op ♥ Pua Tsum Tsum Amigurumi

Categories

  • animation
  • Beadwork
  • Blogmas 2018
  • Blogmas 2020
  • Blogmas 2021
  • Books
  • Bujo
  • Christmas
  • Christmas CAL 2019
  • Christmas Countdown 2017
  • Contest
  • Crafting
  • Crochet
  • Drawing
  • Drawing Lesson
  • Easter
  • Geen categorie
  • Life
  • Miniature
  • Nail Art
  • New Year
  • Paper
  • plush
  • Pokemon
  • Poseable Art Doll
  • Recipe
  • Sewing
  • Shop Pattern
  • Sinterklaas
  • Social Media
  • Tsum Tsum
  • Ufufy

Copyright © 2023 Delinlea - My little fantasy world.

Family WordPress Theme by themehall.com