Delinlea - My little fantasy world
  • ♥ Home
  • ♥ About Me
  • ♥ Blogmas 2021
  • ♥ Free Patterns
    • ♥ Amigurumi; Spring/Easter
    • ♥ Amigurumi; Fall/Halloween
    • ♥ Amigurumi; Winter
    • ♥ Amigurumi Tsum Tsum
    • ♥ Amigurumi Ufufy
    • ♥ Amigurumi Others
    • ♥ Christmas Countdown 2017
    • ♥ Blogmas 2018
    • ♥ Blogmas 2020
  • ♥ Tutorials
    • ♥ Easter
    • ♥ Home Deco
    • ♥ Others
  • ♥ Drawing Lessons
  • ♥ FanFic
    • ♥ Chapter 1
    • ♥ Chapter 2
    • ♥ Chapter 3
    • ♥ Chapter 4
    • ♥ Chapter 5
    • ♥ Chapter 6
    • ♥ Chapter 7
  • ♥ Gallery
    • ♥ Crafts
    • ♥ Drawings
    • ♥ Poseable Art Dolls
  • ♥ Links
  • ♥ Contact
    • Privacy Policy

Crafting

♥ Valentines DIY: Bear Sock Plush

8 februari 2018 by Delinlea Leave a Comment

Hey Lovelies!

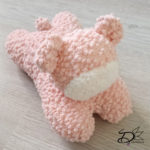
If you didn’t notice yet, wednesday, next week, it’s valentines day! Okay, I have nothing with that day, I won’t even celebrate.. forever alone day hahaha. But I thought let’s make a DIY for those who will celebrate and have no clue yet what to give~. So, why not make a sock pluch, that’s easy to make, yet cute! Sounds good, right?! Well let’s make a cute little bear with a balloon.
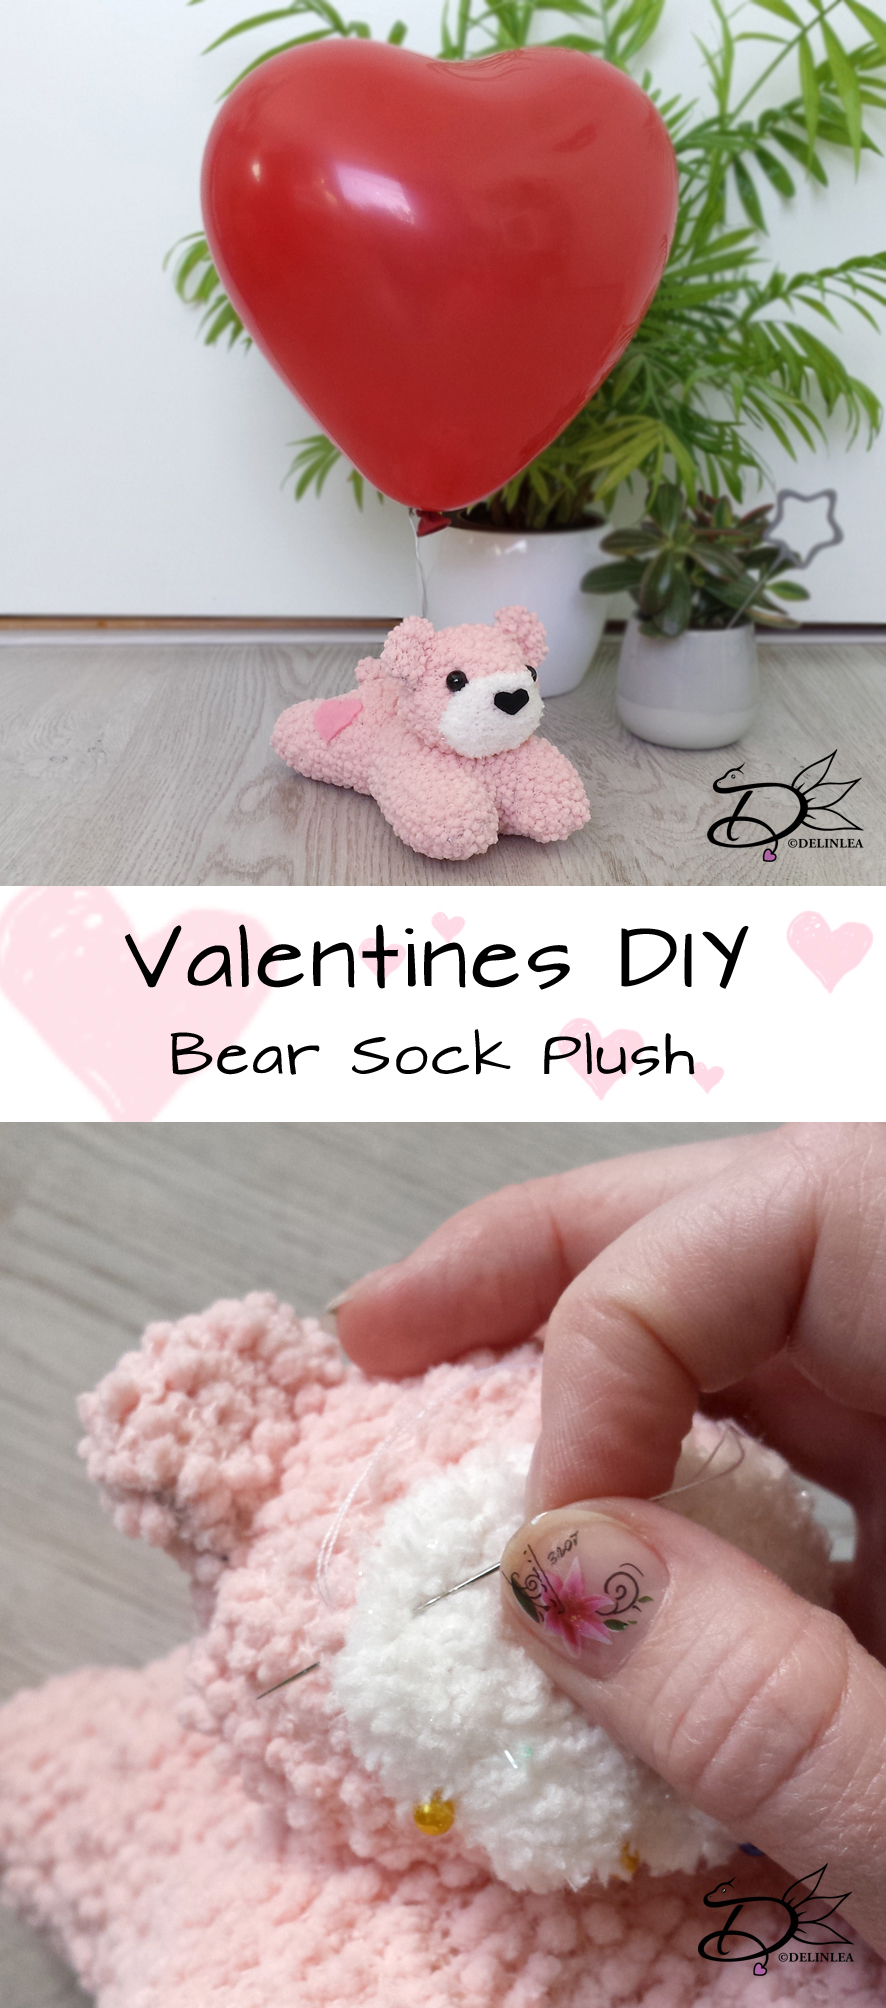
For this diy you’ll need:
♥ A fluffy sock in a color of choise. (I used pink, you can use 2 socks if you feel you don’t have enough of 1).
♥ A (scrap piece of a) white fluffy sock (or other fabric).
♥ Felt in Black and Pink.
♥ Needle and thread.
♥ Scissors.
♥ Marker.
♥ Glue (optional).
♥ 2 Beads.
♥ Wire.
♥ Heart shaped balloon.

Tutorial:

Body

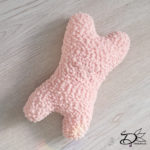
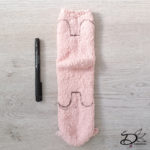
Turn your sock, that you wanna use for the body, inside out. Now draw out the legs as shown in the picture (keep the heel in the middle). I used a black marker to make the lines, so you can see better, but use whatever color you feel comfortable with (black can show through). Now, sew along those lines with a matching color of thread.

When you are done sewing the legs, cut around the lines. BUT not on the lines, don’t cut your just sewn lines haha.
Now draw a half circle on the heel and cut this out, keeping both sides of the heel together, so you’ll end up with a circle, you will use this part for his tail. Put this aside, I’ll come back about it later.
Turn the body inside out and stuff it. Make sure you stuff the legs slightly more as the body it self, so you’ll get a bone shaped body.
It’s time to close up the hole in the body, use a straight stitch along the edge of the hole, and pull tight. (try to push the edges inside when pulling it tight.) For now we are done with the body, put aside until later.



Ears

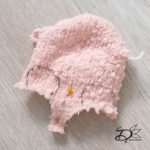
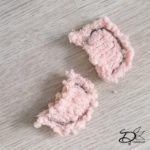
Get the toe part of the sock, which you cutted off earlier and draw 2 ear shapes on the open side. Don’t make them to big, cause the rest of the toe part you will use for the head. Sew along the the lines and cut them out.
Head

The rest of the toe part you will use for the head. Cut the opening straight and turn inside out. Sew with a Straight stitch along the edge. Pull the thread slightly and stuff. When you are done stuffing, pull the thread completly~ and finish off.
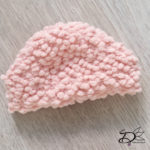
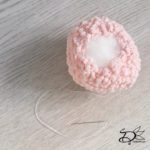
Tail

Find the circle you cutted out from the heel. Sew along the edge with a straight stitch. Pull the thread slightly and stuff the tail a bit. Now pull the thread completly and tie it off.

Assembling.

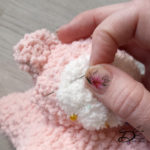
Sew the head to the front part of the body and the tail on it’s butt. Place the ears with safety pins on the head so you can position them well. When you are happy with the position, sew them on.
Now cut out a oval from a white fluffy sock, this will be the mouth, with safety pins, I placed it on the head and sew it on. Now draw a heart shape on black felt, this will be the nose. Cut it out and glue it on if you are laze like me (okay I’m not really lazy, my arm hurts >_<) or you can sew it on of course. Mark the position for the eyes with a marker. And with needle and thread you’ll gonna sew the eyes (beads) on.
Now cut out an additional heart out of pink felt and glue this on his butt.


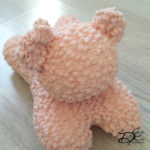


Attach some wire around his body, leave about 10cm standing up and finish it with a circle. Blow up the balloon and put it inside the circle of wire. And you are done with you cute Valentines gift!
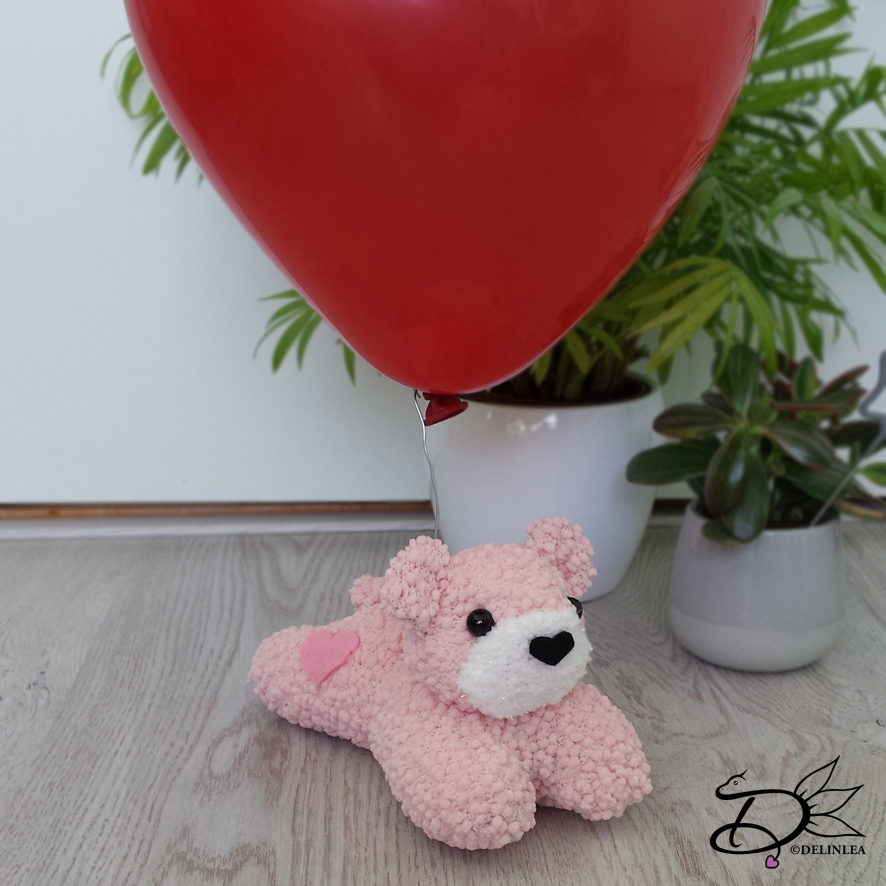
I hope you enjoyed this tutorial! I know I had fun and I have made this cutie for myself haha. Why not tread yourself, right?!

Happy early Valentines day everyone!

Love
Danielle
 

Posted in: Crafting, plush Tagged: bear, DIY, free tutorial, sock plush, Valentine

♥ Crochet Plant Pots, Sanseviera part 2

1 februari 2018 by Delinlea Leave a Comment

Hey Lovelies!

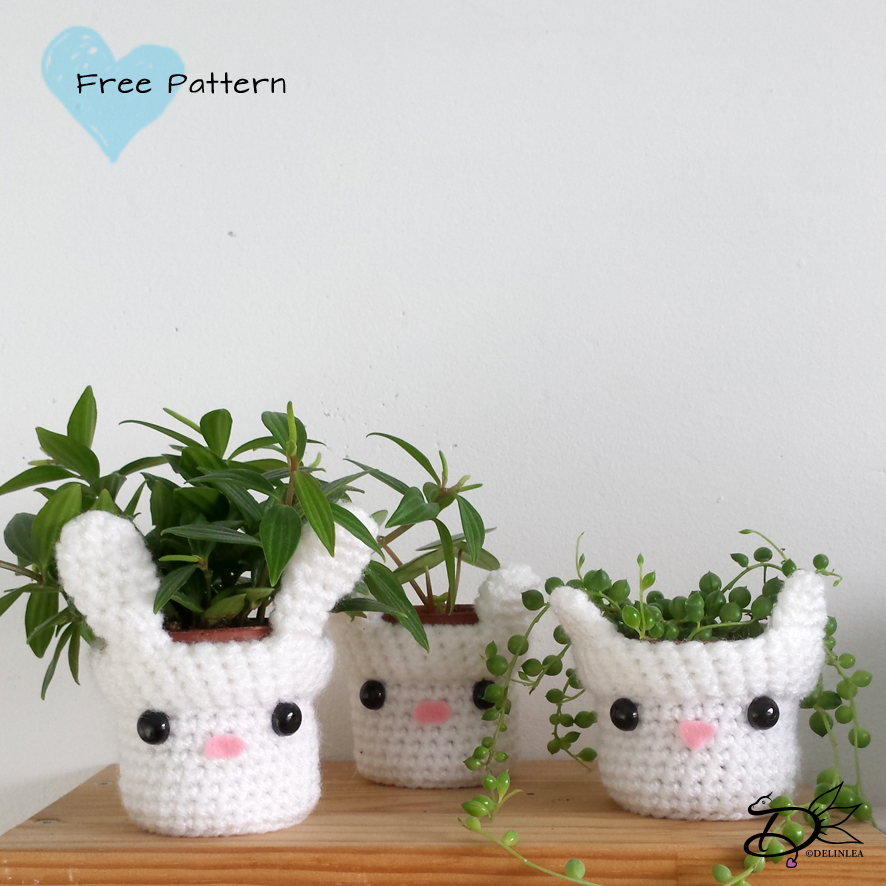
Last week I gave you a pattern of adorable crochet plant pots! You could make 3 versions, and leave them as they are.

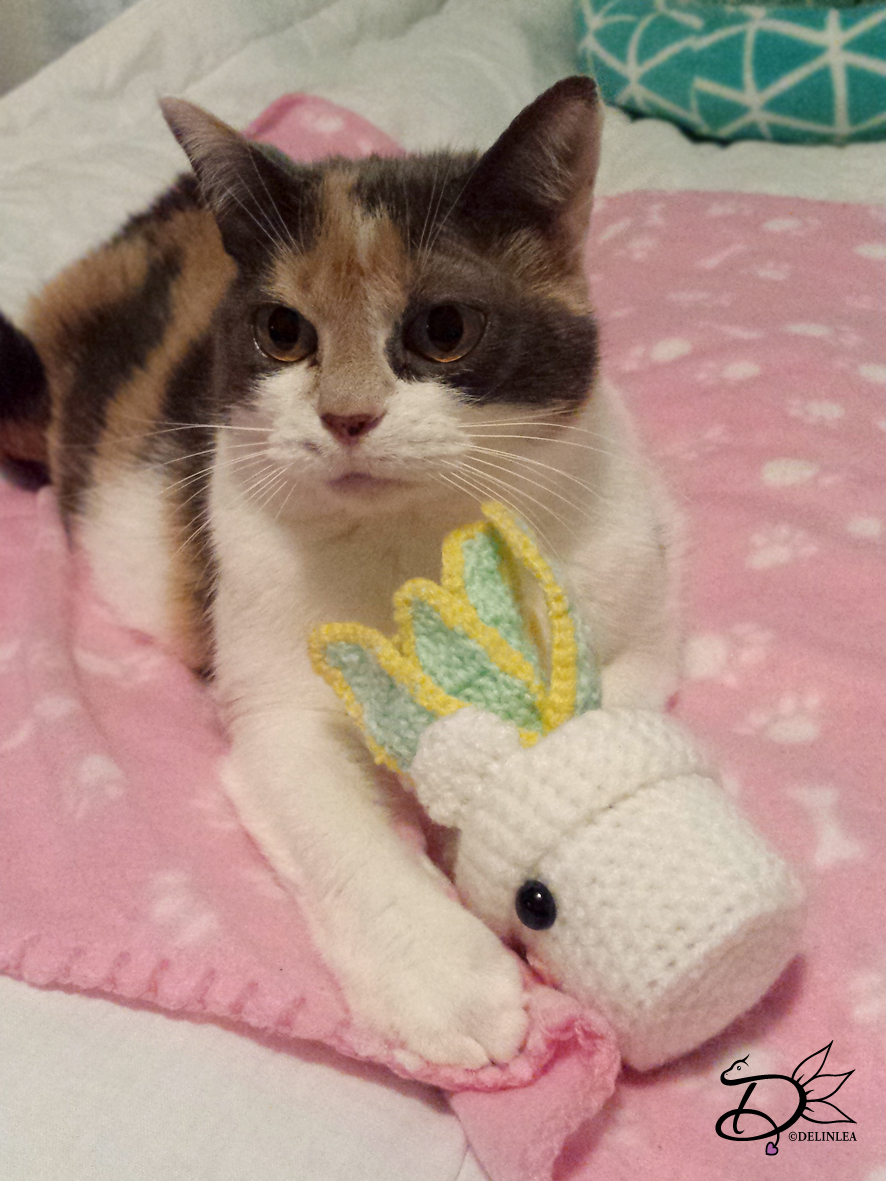
But as promised I will teach you to make a fake plant for them! The best thing is that when you finish it, you don’t have to care for it at all, and it will stay as pretty as it is! Awesome, right?!

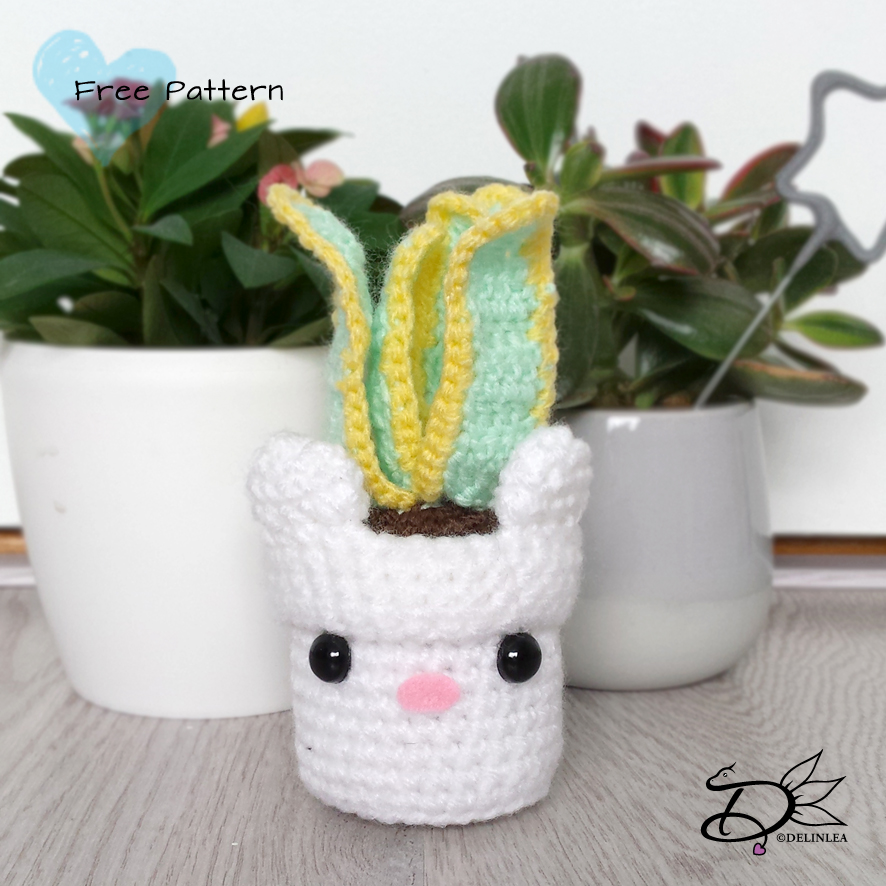
So, I decided to make a Sanseviera today. It’s a pretty easy plant to crochet but looks still cute. I made it with pastel colors but you are free to change it up to your likings! ^-^

For this DIY you’ll need.
♥  Wool, in Pastel Green and Pastel Yellow and Brown
♥  Crochet hook.
♥  Stitch marker.
♥  Yarn needle.
♥  Scissors.
♥  Toilet roll tube. (optional)

Stitches used:
SC = Single Crochet.
DC = Double Crochet.
ST = Stitch.
Inc = Increase.
Dec = Decrease.
Slst = Slip Stitch.
(…) = Repeat the space in brackets the given number of times.
[…] = Total number of stitches.

Pattern:

Soil/ground:
in Brown.

1: 1: 6SC in magic ring. [6]
2: SC in each ST around. [12]
3: (1SC, inc), 6 times. [18]
4: (2SC, inc), 6 times. [24]
5: SC in each st around. [24]
Fasten off and leave long tail for sewing.

Sanseviera leave small: (3)
Start with Pastel Green.

1: Chain 6, insert in 3rd chain from hook, 4DC, Turn. [5]
2: Chain 2 (this will count as the first DC), 4DC, Turn. [5]
|
4: Chain 2, 4DC, Turn. [5]
5: Chain 2, 2DC, Dec, Turn. [4]
6: Chain 2, 1DC, Dec, Turn. [3]
7: Chain 2, Dec,  [2]
Fasten Off and leave long tail for sewing.
Now, crochet with Pastel Yellow, SC around the 2 long sides of the leave, Fasten off and weave in tail.

Sanseviera leave large: (3)
Start with Pastel Green.

1: Chain 6, insert in 3rd chain from hook, 4DC, Turn. [5]
2: Chain 2 (this will count as the first DC), 4DC, Turn. [5]
|
6: Chain 2, 4DC, Turn. [5]
7: Chain 2, 2DC, Dec, Turn. [4]
8: Chain 2, 1DC, Dec, Turn. [3]
9: Chain 2, Dec,  [2]
Fasten Off and leave long tail for sewing.
Now, crochet with Pastel Yellow, SC around the 2 long sides of the leave, Fasten off and weave in tail.

Assembling

Cut down your toilet roll tube to about 4 cm long, and place this inside you plant pot. I did this, so the pot will keep it’s shape. This is optional, you don’t have to do it.
Now sew in your soil/ground just above the toilet roll tube, or if you didn’t use it, just a bit under the edge of the pot. Make Sure to stuff the pot lightly before you entirly closed it with the soil/ground.
Get your 3 small leave and sew those together, you only have to sew the short side of the leaves together. Now sew your 3 large leaves around the 3 small ones.
When all the leaves are sewn together to your likings, then sew them to the soil/ground. You can also use (hot) Glue if you are lazy haha.

And you are done with your adorable plant pot with plant. Next week I will teach you how to make another plant, or maybe the week after, since Valentines day is coming up as well, maybe I’ll do a DIY for that.

Until then, and stay Healthy and Safe!

Love
Danielle
Bonus picture, my cat didn’t give me the plant back anymore, Dangerous xD.

Posted in: Crafting, Crochet Tagged: Amigurumi, Crochet, cute, DIY, Free Pattern, haken, plant, sanseviera

♥ Crochet Plant pots Part 1

25 januari 2018 by Delinlea Leave a Comment

Hey Lovelies!

I’m sorry, I’m a bit late with today’s post, had a lot to do. I also went to the opening of Pipoos Alkmaar today, only due to traffic jam we missed the ribbon cutting *cries*. But I love how the store looks, maybe a bit more ‘gezelligheid’ needs to be added, ha I don’t know a word for that in English! Anyway, I didn’t buy to much, only things I needed now. But I’m sure I’ll go there more often haha. RIP wallet.

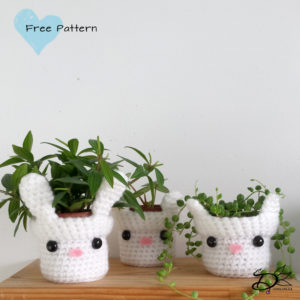
For today’s DIY I split it up in parts. So today we will crochet some plant pots, you can use them like this as plant pot covers, but in some follow up DIYs I will explane how you can crochet plants for them as well, not sure how many it gonna be for now, but we will see.

For this DIY you’ll need.
♥  Wool, in white. (I used Royal from the Zeeman, 100g/241m.)
♥  Crochet hook.
♥  Stitch marker.
♥  Yarn needle.
♥  Scissors.
♥  (Safety) Eyes. (I cutted of the pins and glued them on).
♥  Pink Felt.
♥  (Hot) Glue (+ Glue Gun.)

Stitches used:
SC = Single Crochet.
ST = Stitch.
Inc = Increase.
Dec = Decrease.
Slst = Slip Stitch.
(…) = Repeat the space in brackets the given number of times.
[…] = Total number of stitches.

Pattern:

Pot Base:

1: 6SC in magic ring. [6]
2: SC in each ST around. [12]
3: (1SC, inc), 6 times. [18]
4: (2SC, inc), 6 times. [24]
5: (3SC, inc), 6 times. [30]
6: 30 SC in Back Loops only. [30]
7: 30 SC in each ST around. [30]
|
20: 30 SC in each ST around. [30]
Fasten off and weave in tail. Now fold about 3 rows back, so you’ll get that pot idea.

I made 3 different sets of ears, you can either make them all of choose which you like the most. You can choose from, Bunny, Bear or Cat.

Bunny Ears: (2)

1: 6SC in magic ring. [6]
2: (1SC, inc), 3 times. [9]
3: SC in each ST around. [9]
|
5: SC in each ST around. [9]
5: (1SC, dec), 3 times. [6]
6: SC in each ST atound. [6]
|
9: SC in each ST around. [6]
Fasten off and leave long tail for sewing.

Bear Ears: (2)

1: 6SC in magic ring. [6]
2: Inc in each ST around. [12]
3: SC in each ST around. [12]
4: (1SC, dec), 4 times. [9]
Fasten off and leave long tail for sewing.

Cat Ears: (2)

1: 4SC in magic ring. [4]
2: (1SC, inc), 2 times. [6]
3: (2SC, inc), 2 times. [8]
4: (3SC, inc), 2 times. [10]
Fasten off and leave long tail for sewing.

Assembling:

When you are done with making all the parts, you can now sew on the ears on top of the place where the fold is, on top of the pot. You can use safety pins to check if you like the position before you sew them on.
Glue on the eyes where you like them best and cut a nose from the fabric, glue those on as well! Now you have a cute plant pot cover. Or you can wait for my blog next week, to make a fake and easy plant to put in.

I hope you enjoyed this weeks DIY. And see you next week.

Love
Danielle.


Posted in: Crafting, Crochet Tagged: Amigurumi, cover, Crochet, cute, Free Pattern, haken, kawaii, Plant pot

♥ Beaded Baby Dragons

11 januari 2018 by Delinlea Leave a Comment

Hey Lovelies!

How’s the new year going so far?! Sticking to your new years resolutions or did you already stopped with them?! haha I’m sticking to them so far. Some are quit challenging to keep doing, but I am trying. And that’s the only thing you can do, right?!

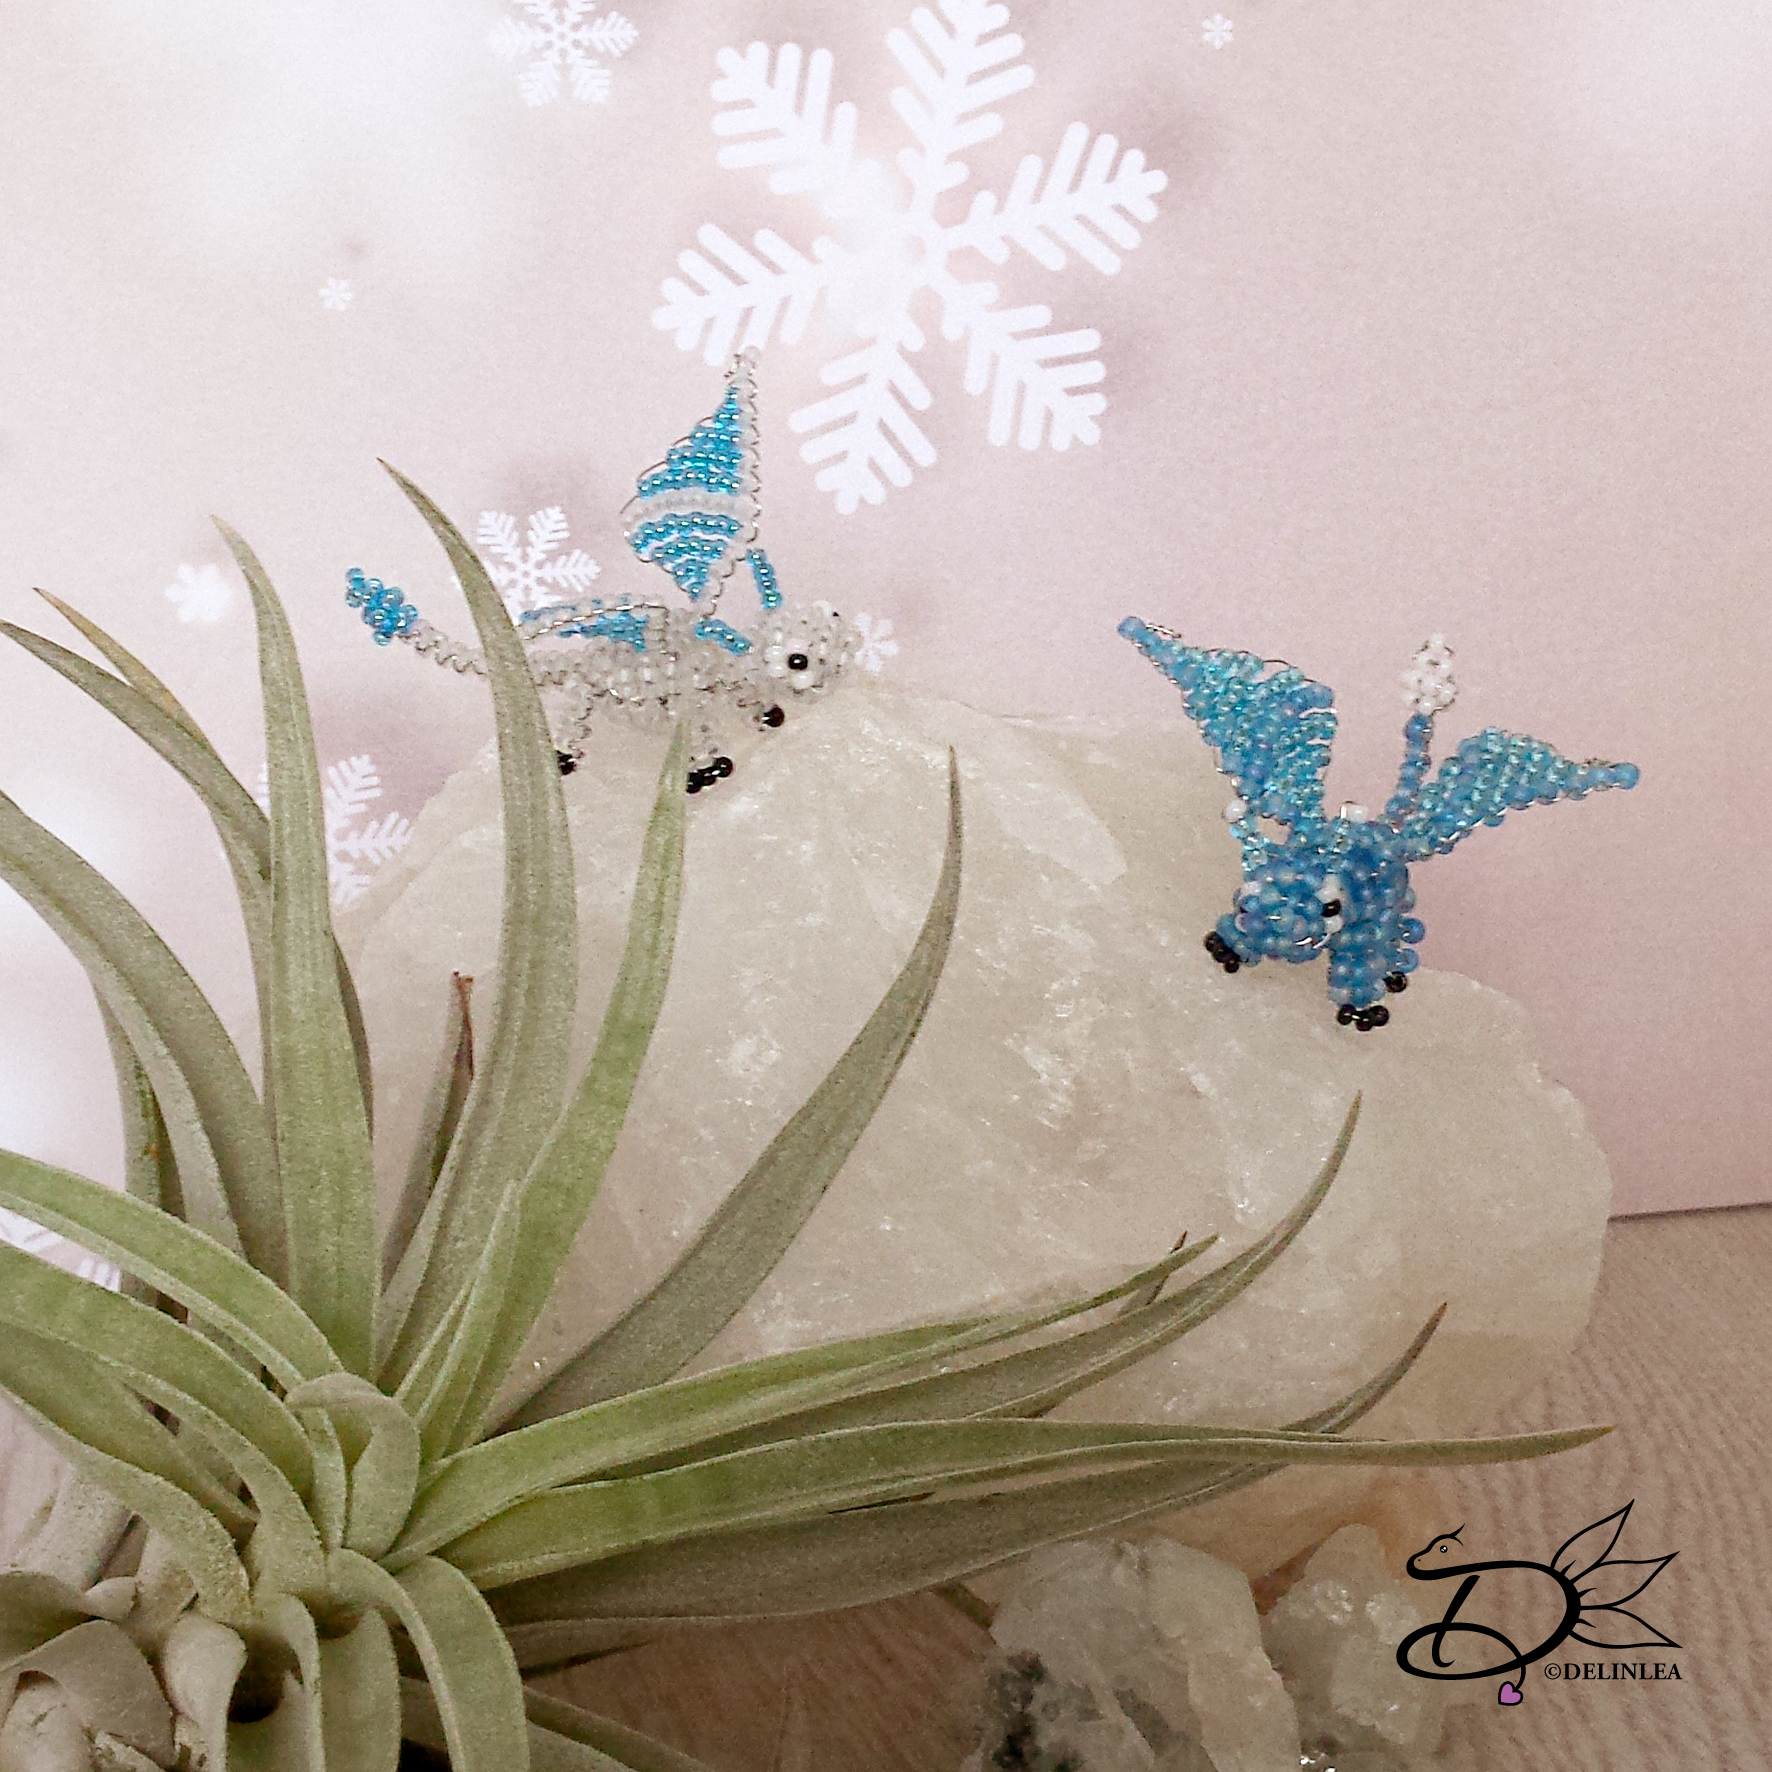
So for today I decided to dust off an old craft I loved to make. Bead work as in Perlentiere as in Gegenfädeltechnik. You probably don’t understand what I mean at all, but if you see what you can make, I’m sure you will get excited! It’s making a 3D figure with seed beads and wire. It looks hard at the beginning, but as soon as you know how to do it, it’s fun!

For this DIY you’ll need:
♥ Wire (o.3mm)
♥ Seedbeads in at least 3 colors.
♥ Ruler.
♥ Something to cut your wire with.

Since I love to make Dragons I’d go with dragons for today. The pattern is not mine! But free for personal use. Here you can find the pattern. (The pattern is by Christiane Brüning – www.perlentiere.com). Perlentiere.com is one of the biggest resouces if it comes to the gegenfädeltechnik, I love that website.

When you open the pattern you will see a flat thingy. How does this work?! Well, you always see two rows of dots and then a line. The first row of dots goes on the up side of your project, in this case a dragon, the second row will go under. Every line makes it easier to see which row goes where, up or under.
Now measure the wire, for the body you need about 1meter. Fold it in half (don’t make a hard fold though, just slightly), so you know where the middle is. For row 1 just put the required number of beads on and let them slide to the middle. Put the number of beads for row 2 on one end of the wire and hold them, put the other end of the wire through the opposite of the beads, so you cross your wire inside the beads. Now pull tight until you reach the beads in the middle. Put on the required number of beads for row 3, hold, cross wires and pull tight again, make sure they are on the upside of your work now. Keep doing this according the pattern. Make sure you add the wires for the legs and wings while you go. They are show with colored lines through the dots. If you try to do this when the body is ready, you’ll be in trouble. (wire for the legs is about 20cm each, and for the wings is about 40cm each).
If you are clueless right now, which I can totally imagine, go check out this link.

For the wings you see a row of dots and then a line etc. This means that the thing you are working on is going to stay flat. No up or under rows. All the rows go nicely after each other.

I hope you kinda understand this project, and that you will have fun making these! If not, let me know and I will try to help you out. ^-^

I decided to try to update my blog every thursday. I have to get used to do that though. But I will try, if there is anything you wanna see me post about let me know in the comments below, suggestions are always welcome!

Love
Danielle

Posted in: Beadwork, Crafting Tagged: baby dragon, beadwork, DIY, Dragon, gegenfädeltechnic, perlentiere, seedbeads

♥ Day 25: Bambi Tsum Tsum Amigurumi

25 december 2017 by Delinlea Leave a Comment

Hey Lovelies!

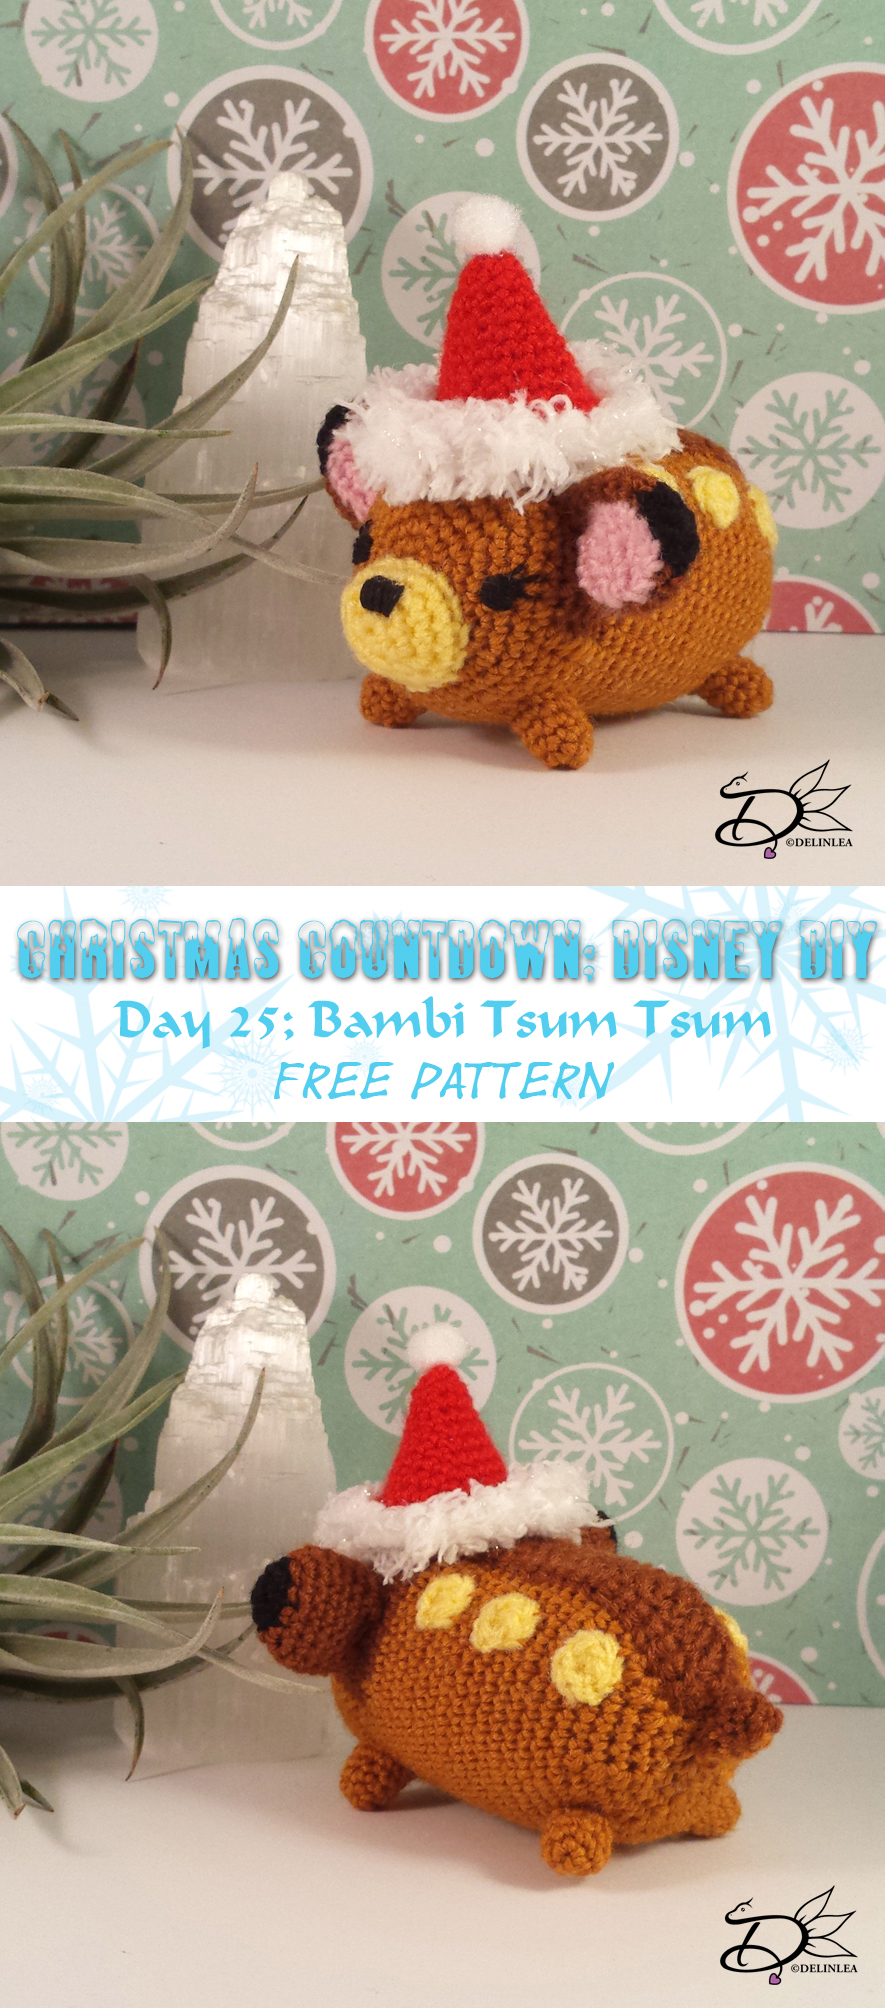
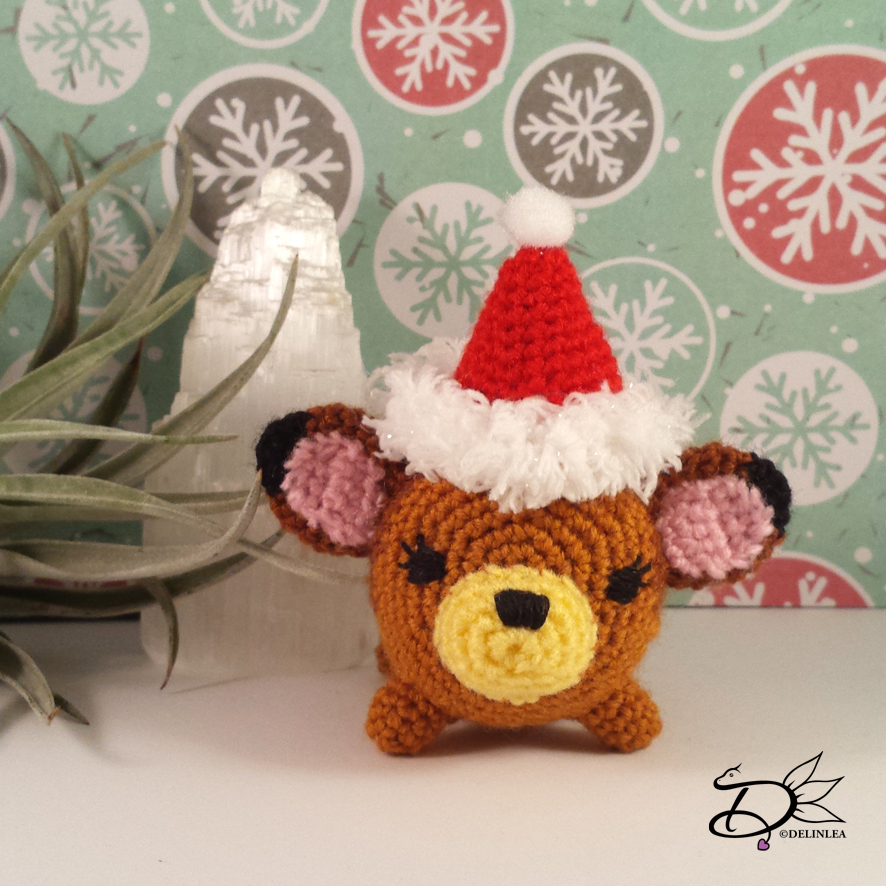
It’s Christmas!! Merry Christmas to you all!! And that also means this is the last day of the Disney Christmas Countdown! And right now I have used the word Christmas too much haha. For the last one for this years countdown we are gonna make a Bambi Tsum Tsum. I have to admit, he stole Piglet’s hat xD Okay, maybe I was lazy… xD

I hope you have a wonderful Christmas! Let’s go to the pattern now ^-^.

For this DIY you will need:
♥  Yarn: in the colors Light Brown, Dark Brown, Light Yellow, Black, Pink and Red.
♥  Cloud yarn in White (optional)
♥  Small Pompom.
♥  Crochet hook.
♥  Stitch marker.
♥  Fiber fill.
♥  Yarn needle.
♥  Embroidery needle with black thread or black felt.
♥  Scissors.
♥  Glue.

Stitches used:
SC = Single Crochet.
TR = Triple Crochet
ST = Stitch.
Inc = Increase.
Dec = Decrease.
Slst = Slip Stitch.
(…) = Repeat the space in brackets the given number of times.
[…] = Total number of stitches.

♥ Pattern:

Body:
Start with Light Brown

1: 6SC in magic ring. [6]
2: Inc in each st around. [12]
3: (1SC, inc), 6 times. [18]
4: (2SC, inc), 6 times. [24]
5: (3SC, inc), 6 times. [30]
6: (4SC, inc), 6 times. [36]
7: (5SC, inc), 2 times, 4SC, Change to Dark Brown, 1SC, inc, 1SC, Change to Light Brown, 4SC, inc, (5SC, inc), 2 times. [42]
8: 17SC, Change to Dark Brown, 6SC, Change to Light Brown, 19SC. [42]
9: 9SC, Change to Dark Brown, 23SC, Change to Light Brown, 10SC. [42]
10: 8SC, Change to Dark Brown, 25SC, Change to Light Brown, 9SC. [42]
|
13: 8SC, Change to Dark Brown, 25SC, Change to Light Brown, 9SC. [42]
14: 10SC, Change to Dark Brown, 21SC, Change to Light Brown, 11SC. [42]
15: SC in each st around. [42]
|
29: SC in each st around. [42]
30: (5SC, dec), 6 times. [36]
31: (4SC, dec), 6 times. [30]
32: (3SC, dec), 6 times. [24]
33: (2SC, dec), 6 times. [18] Stuff the body here.
34: (1SC, dec), 6 times. [12]
35: Dec around. [6]
Fasten off and weave in tail.

Legs: (4)
In Light Brown

1: 4SC in magic ring. [4]
2: Inc in each st around. [8]
3: SC in each st around. [8]
|
5: SC in each st around. [8]
Fasten off and leave a long tail for sewing. You don’t have to stuff them.

Stripe on his back:
In Dark Brown.

1: Chain 20, insert in 4th chain from hook, 17TR, turn. [17]
2: SC in each st around. (First in 17DC st and then in 20 Chain st). [37]
Fasten off and leave long tail for sewing.

Dots on his back: (6)

Make 6SC in magic ring, with Light Yellow. Fasten off and leave long tail for sewing.

Nose:
In Light Yellow.

1: 6SC in magic ring. [6]
2: Inc in each st around. [12]
3: (1SC, inc), 6 times. [18]
4: SC in each st around. [18]
Fasten off and leave long tail for sewing. Stuff the nose lightly.

Ears: (2)
Start with Black.
1: 6SC in magic ring. [6]
2: (1SC, inc), 3 times. [9]
Change to Dark Brown.
3: (2SC, inc), 3 times. [12]
4: (1SC, inc), 6 times. [18]
5: SC in each st around. [18]
|
8: SC in each st around. [18]
9: (1SC, dec), 6 times. [12]
Fasten off and leave long tail for sewing. Don’t stuff the ears, just flatten them.

Inside Ears: (2)
In Pink.

1: Chain 4, insert in 2nd chain from hook, 3SC, turn. [3]
2: Chain 1, 1SC, inc, 1SC, turn. [4]
3: Chain 1, 4SC. [4]
Fasten off and sew to the ear.

Tail:
Start with Dark Brown

1:  2SC, Change to Light Brown, 2SC in magic ring. [4]
2: Change to Dark Brown, 1SC, inc, Change to light Brown, 1SC, inc. [6]
3: Change to Dark Brown, 1SC, inc, 2SC, Change to Light Brown, 1SC in the same st as the last SC, 1SC, inc. [9]
4: Change to Dark Brown, 5SC, Change to Light Brown, 4SC. [9] Stuff lightly.
5: Change to Dark Brown, (1SC, dec) 2 times, Change to Light Brown, 1SC, dec. [6]
Fasten off and leave long tail for sewing.

Santa Hat:
Start with red.

1: 6SC in magic ring. [6]
2: (2SC, inc), 2 times. [8]
3: (3SC, inc), 2 times. [10]
4: (4SC, inc), 2 times. [12]
5: (5SC, inc), 2 times. [14]
6: (6SC, inc), 2 times. [16]
7: (7SC, inc), 2 times. [18]
8: (8SC, inc), 2 times. [20]
9: (9SC, inc), 2 times. [22]
10: (10SC, inc), 2 times. [24]
11: (11SC, inc), 2 times. [26]
Change to white cloud yarn.
12: SC in each st around. [26]
Fasten off and weave in tail. Glue the pompom on the tip of the hat.

♥ Assembling:

To make sure you sew all parts in the right place, you can use some sewing pins to position them. When you are happy with the position, you can sew them on.
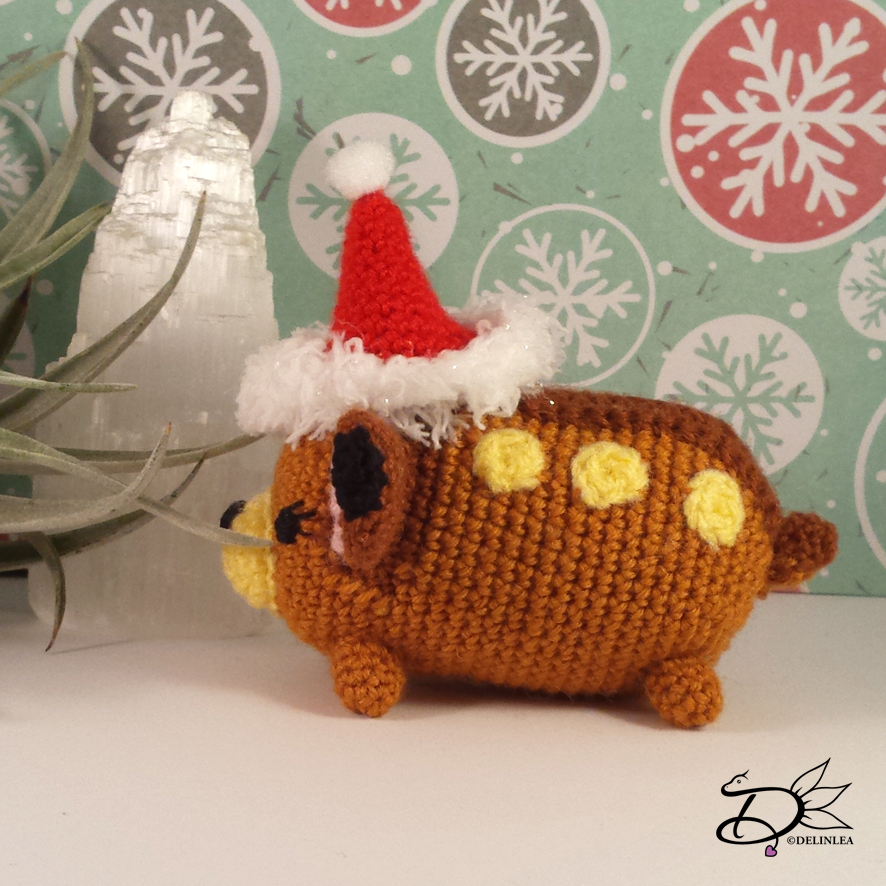
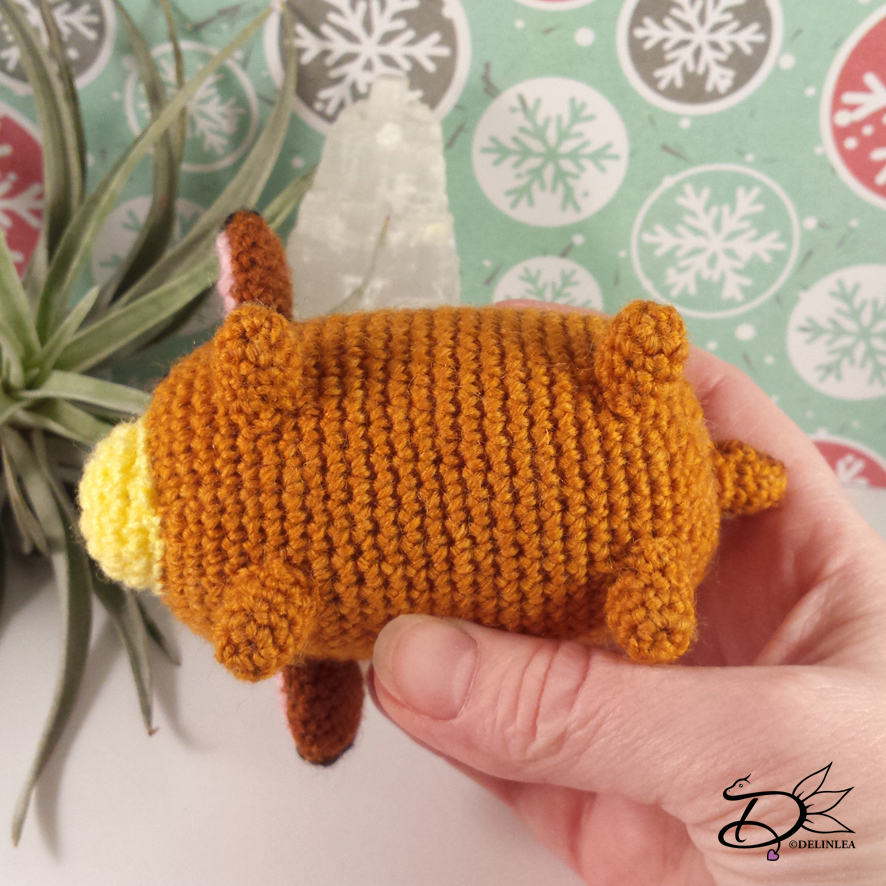
Sew the legs on to the bottom of the body, the front legs are pointing to the front. The back legs are pointing to the side.
From the Dark Brown part of his head, add the stripe over his back up till his but. Sew it on, when done, sew the tail to the end of the stripe.
Along the stripe place 3 dots on each side and sew them on.
For his nose, place it just under the middle of the face. and sew it on.
Position the ears on both sides of the ears, keep the in the Dark Brown part of his head and sew them on.
Put his Santa hat on.
For the eyes you can either choose to use felt or you can embroider them on. I chose to embroider them on, cause yeah why choose the easy way haha. But which way you choose, Bambi will look cute.

And that’s a wrap! ^-^ I love how Bambi turned out, and now I wanna watch the movies haha, let’s relax a bit with Christmas ^^ Have a wonderful day everyone! And if you have the time to make one of my DIYs, share them with #DelinleaDIY on Twitter or Instagram!

Love
Danielle


Posted in: Christmas, Christmas Countdown 2017, Crafting, Tsum Tsum Tagged: Amigurumi, Bambi, Christmas, Christmas Countdown, Crochet, Disney, DIY
« Vorige 1 2 3 4 5 … 34 35 36 37 38 39 40 41 42 43 44 Volgende »

What are you looking for?!

My Socials

Ko-Fi

I love making all these free things for you, tho it would be very helpfull if you can support me on Ko-Fi! (You don’t have to tho, totally up to you!)

Ko-Fi Shop!!

In my Ko-Fi shop you can find PDF Amigurumi Patterns!! You can pay easily with PayPal.
Go to the shop here!!

Recent Blog Posts

  • ♥ Happy 2022!
  • ♥ Day 12; Lights
  • ♥ Day 11; Flower Deco
  • ♥ Day 10; Snowman
  • ♥ Day 9; Gingerbread Houses

Recent Comments

  • Erzsebet M. Marosvari op ♥ My Entry For a Faber Castell Contest
  • Delinlea op ♥ Pietje Gnome Amigurumi
  • Delinlea op ♥ Toy Story Alien TsumTsum Amigurumi
  • Delinlea op ♥ Pua Tsum Tsum Amigurumi
  • Charli op ♥ Free Pattern; CNY Mouse Amigurumi

Categories

  • animation
  • Beadwork
  • Blogmas 2018
  • Blogmas 2020
  • Blogmas 2021
  • Books
  • Bujo
  • Christmas
  • Christmas CAL 2019
  • Christmas Countdown 2017
  • Contest
  • Crafting
  • Crochet
  • Drawing
  • Drawing Lesson
  • Easter
  • Geen categorie
  • Life
  • Miniature
  • Nail Art
  • New Year
  • Paper
  • plush
  • Pokemon
  • Poseable Art Doll
  • Recipe
  • Sewing
  • Shop Pattern
  • Sinterklaas
  • Social Media
  • Tsum Tsum
  • Ufufy

Copyright © 2026 Delinlea - My little fantasy world.

Family WordPress Theme by themehall.com