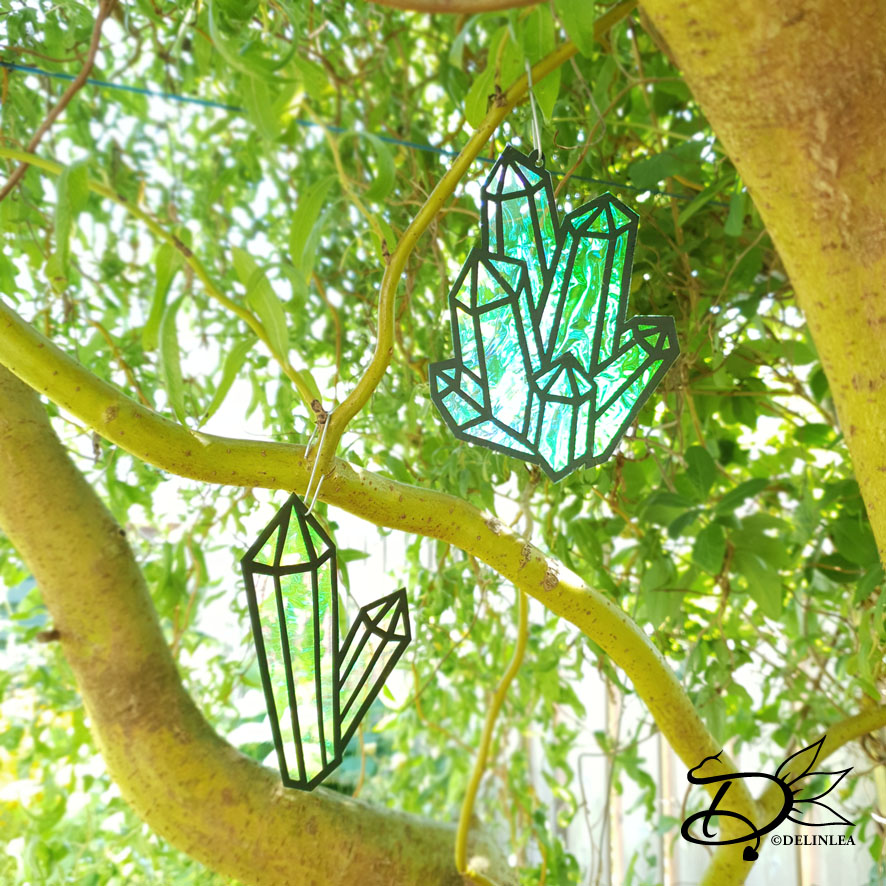
♥ Crystal Sun Catchers DIY
Hey Lovelies! Whenever I see those stained glass sun catchers I am in love. Do you know what I mean? I hope you do. Forever ago, I saw sun catchers in the shape of crystals, and I always wanted to own them. I still haven’t been able to get them tho. But, why not make a DIY of it, with just simple materials, like cardboard and iridescent foil?! Why haven’t I thought of that sooner. Oh well, better late than never xD. Let’s explain to you how I made them.
For this DIY you’ll need:
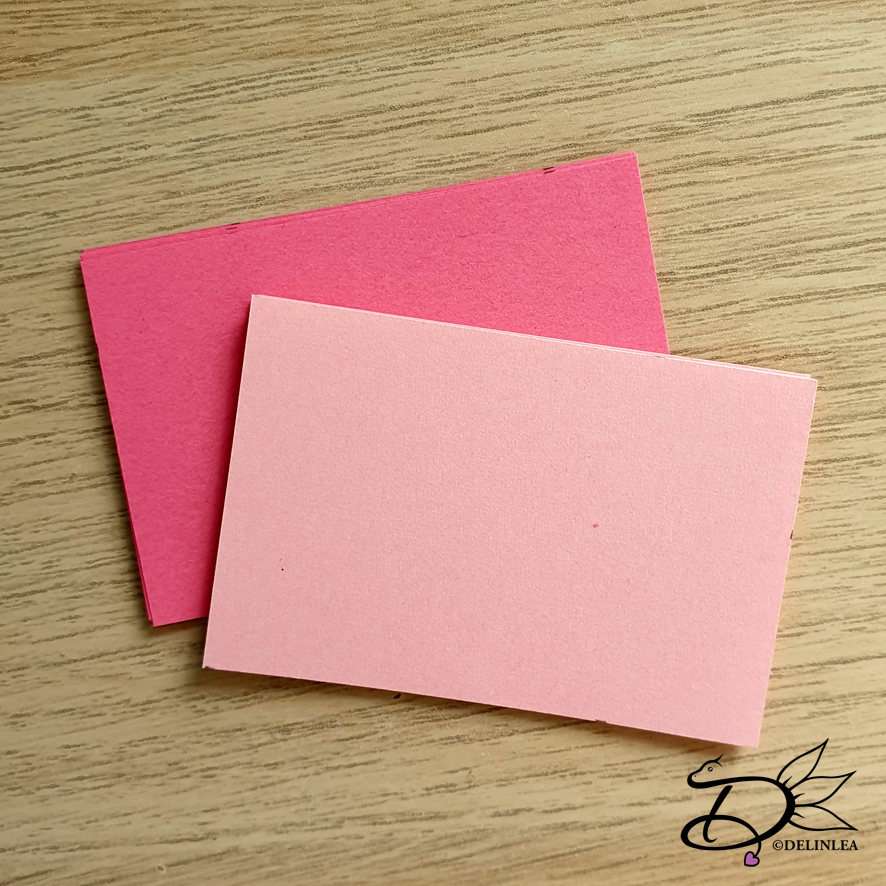
♥ Black Cardstock. (or a color you prefer)
♥ Iridescent Wrapping Foil or other see-through stuff.
♥ Pencil.
♥ Scissors.
♥ X-Acto Knife.
♥ Cutting Mat.
♥ Ruler.
♥ Glue.
♥ Crystal Sun Catchers DIY
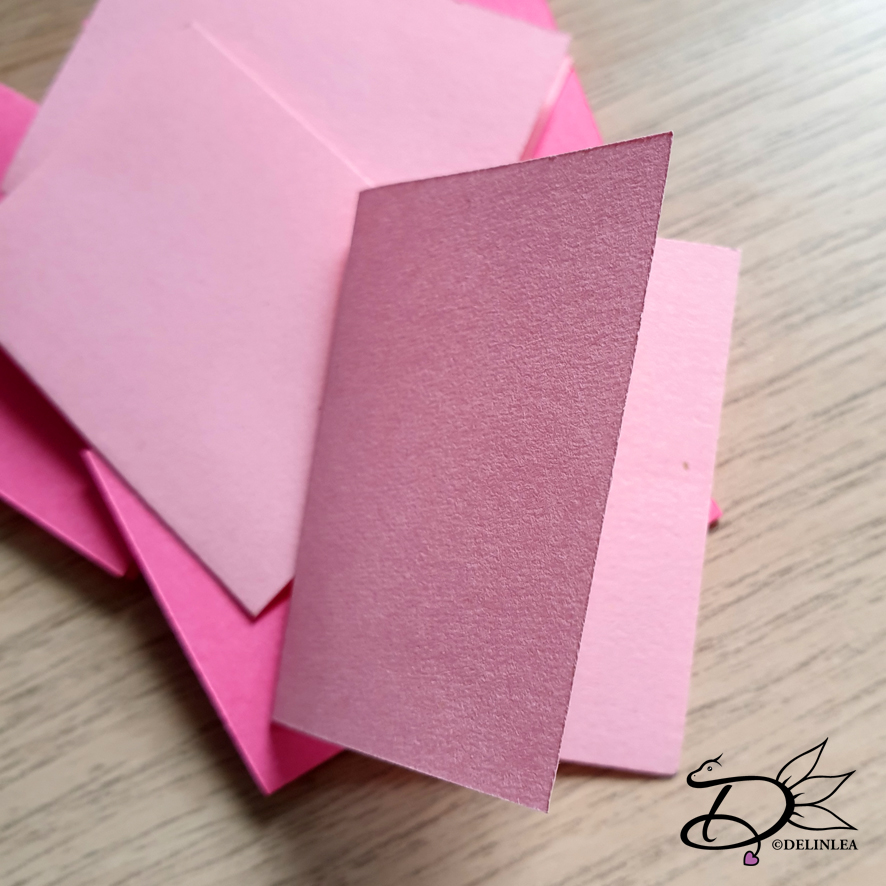
Take your cardstock and double it, you need 2 of the same shape to make 1 sun catcher.
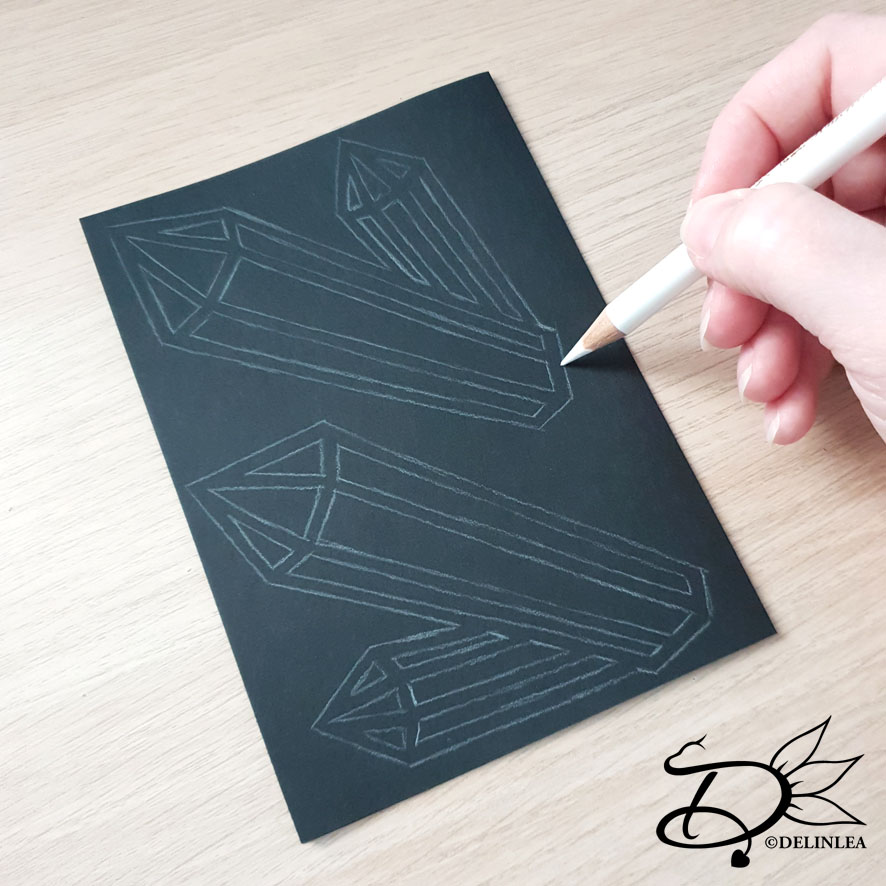
First you need to draw yourself some crystal shapes. This is not too hard, since crystals come in all shapes and sizes. So, make them however you like. If you find it difficult to make something up, google some crystal line art. I used a white pencil to make it easier to see on black paper.
I made my lines about 3mm thick. So I got a nice border.
You might wanna think of making a little extra bump where you wanna hang it from. So you can make a hole in there. Or you can skip this and poke a hole through the foil/border.
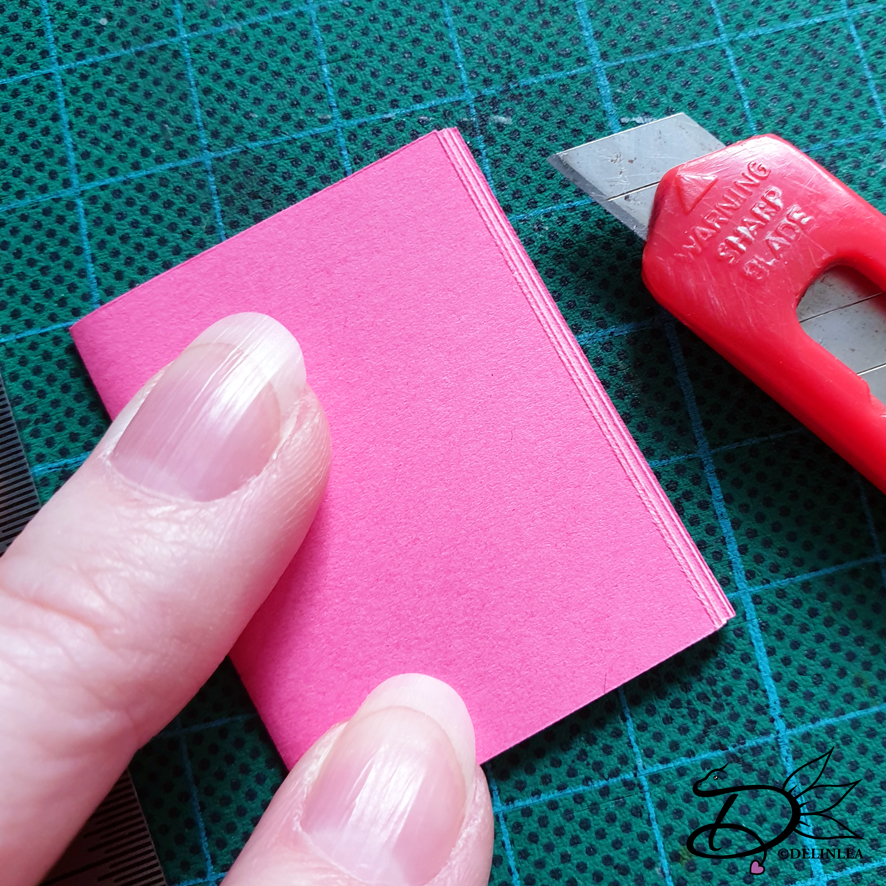
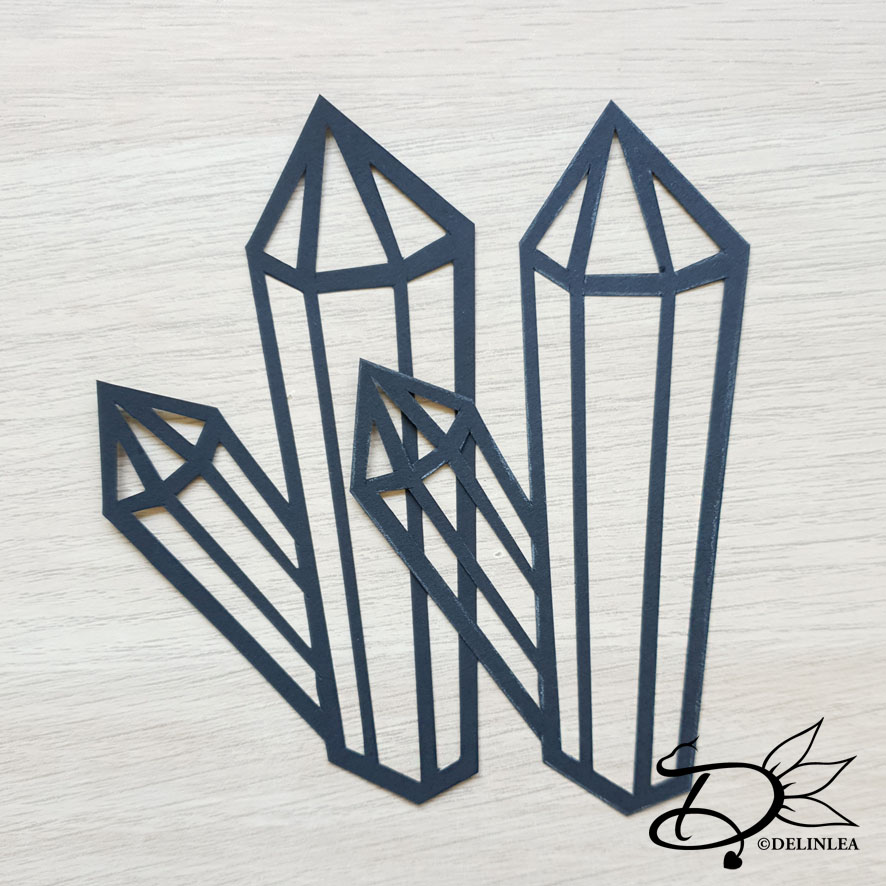
Cutting
Now cut the shape out, make sure the two layers of cardstock stay together in the same spot. You might wanna use some tape. I first did all the shapes on the inside. Use a x-acto knife and a ruler for nice clean lines. Last I did the outer lines to release the shape from the cardstock.

Foil
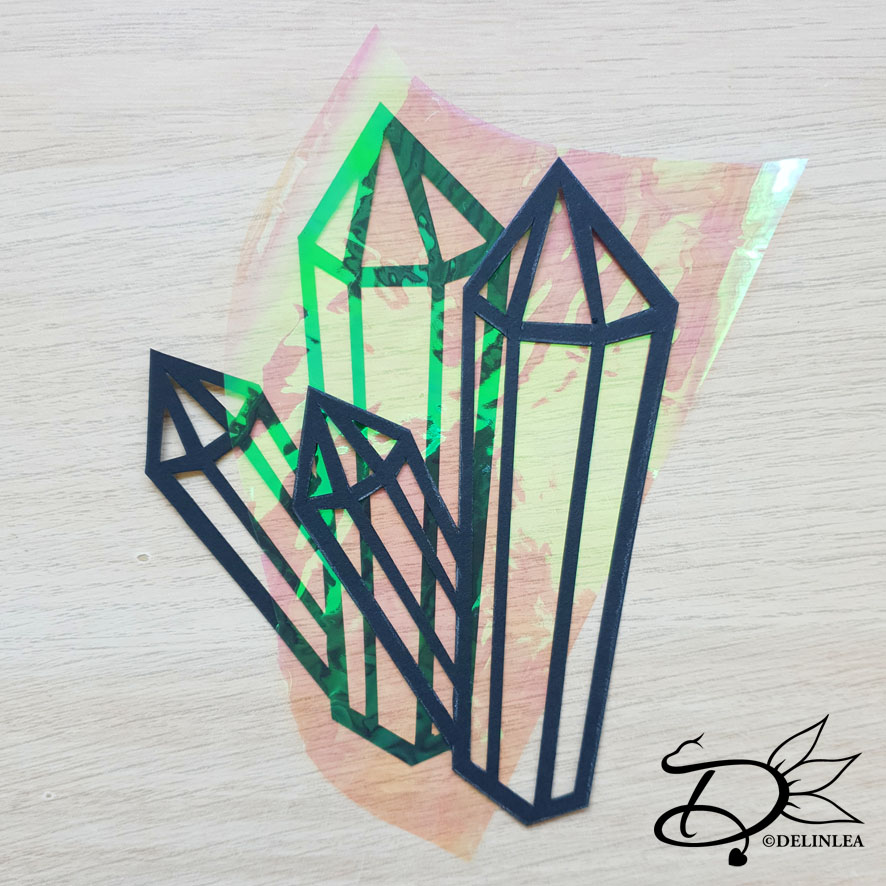
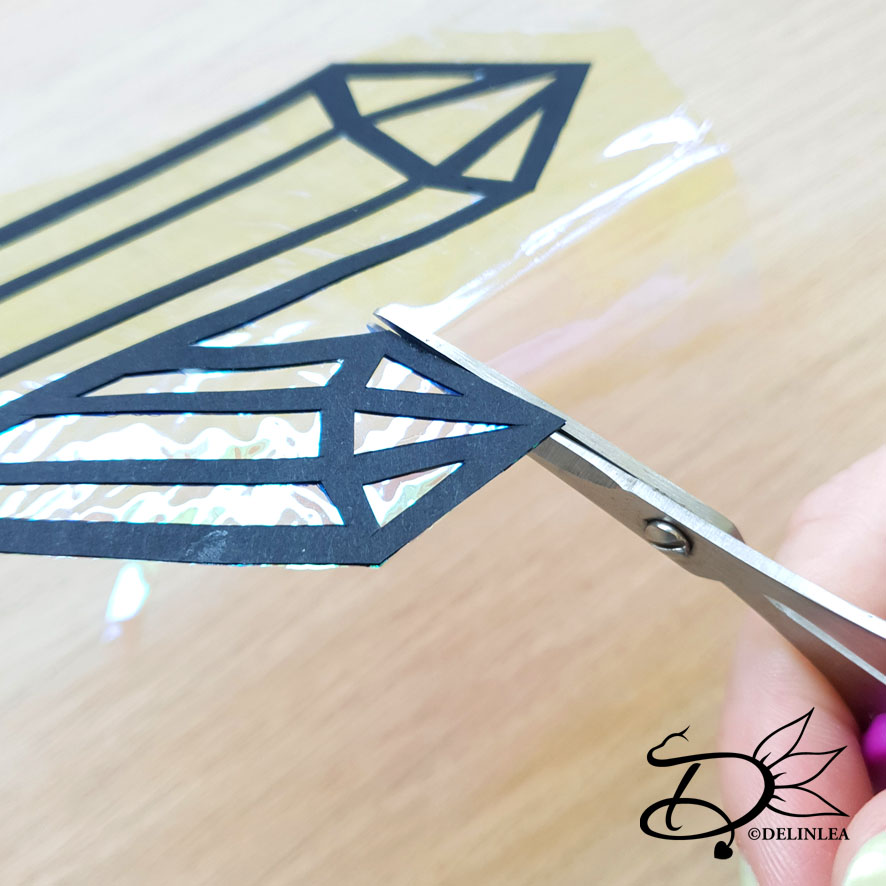
Take out your foil and place your shape on it to be able to cut the shape out roughly. Make sure to leave some border.
You needed two of the same shape to sandwich the foil in between. Now, glue the cardstock to the foil, make sure to line both sides up. Be careful with the glue, it’s not pretty when the glue is all over the foil. If the glue still get’s on the foil, if you used water based glue, you can remove it with a bit of water when it’s still wet. Let it dry thoroughly.
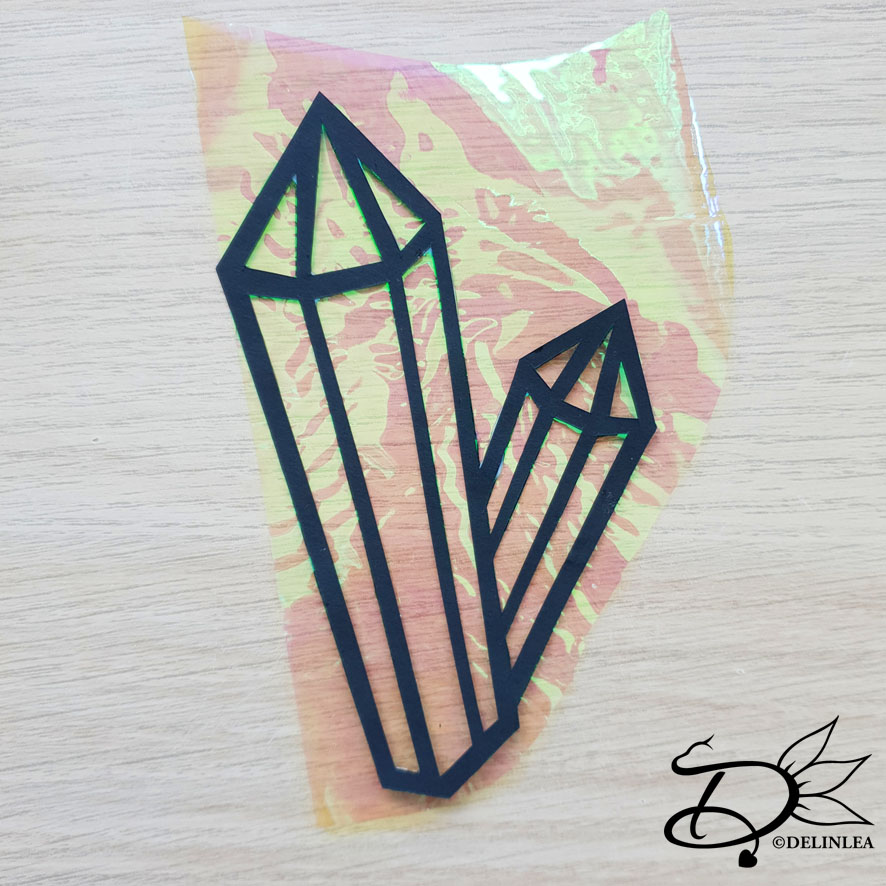
Last you can trim off the excess foil with scissors or an x-acto knife. If you wanna hang your crystal, poke a hole through the foil/border or if you made that little bump, make a hole in there.
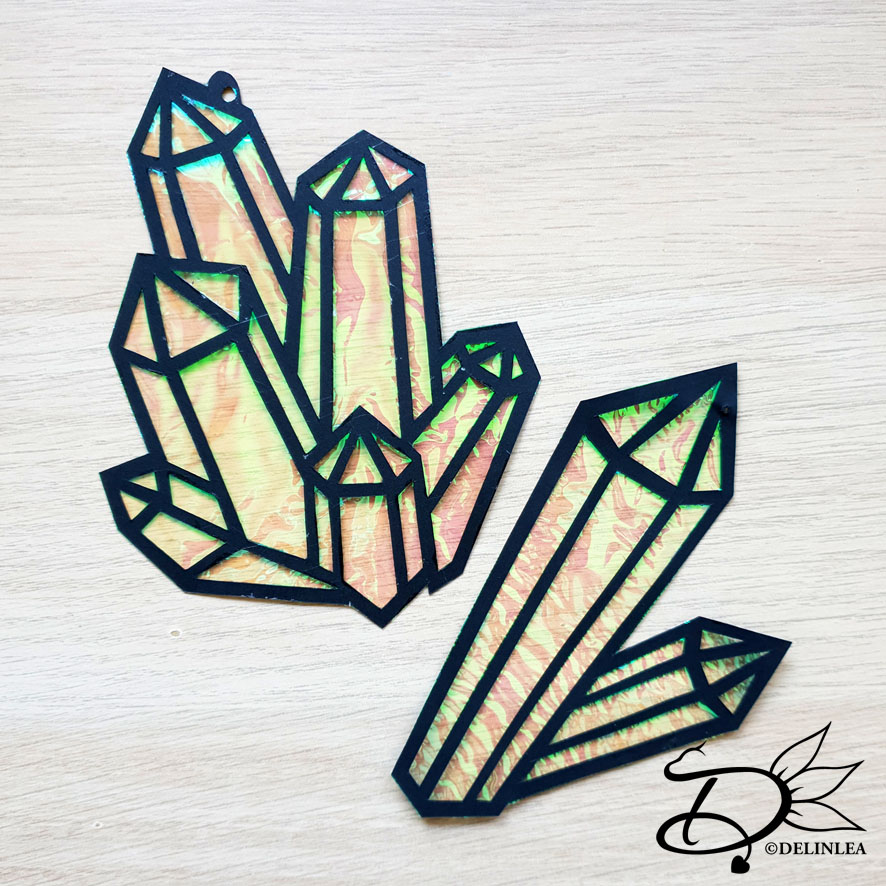
And there you have it, your Crystal Sun Catchers with just simple materials. I hope you enjoyed this little tutorial! If you made them, don’t forget to share with me on Twitter or Instagram with the #DelinleaDIY.
Have a wonderful day and I’ll see you next week.
Love
Danielle