Delinlea - My little fantasy world
  • ♥ Home
  • ♥ About Me
  • ♥ Blogmas 2021
  • ♥ Free Patterns
    • ♥ Amigurumi; Spring/Easter
    • ♥ Amigurumi; Fall/Halloween
    • ♥ Amigurumi; Winter
    • ♥ Amigurumi Tsum Tsum
    • ♥ Amigurumi Ufufy
    • ♥ Amigurumi Others
    • ♥ Christmas Countdown 2017
    • ♥ Blogmas 2018
    • ♥ Blogmas 2020
  • ♥ Tutorials
    • ♥ Easter
    • ♥ Home Deco
    • ♥ Others
  • ♥ Drawing Lessons
  • ♥ FanFic
    • ♥ Chapter 1
    • ♥ Chapter 2
    • ♥ Chapter 3
    • ♥ Chapter 4
    • ♥ Chapter 5
    • ♥ Chapter 6
    • ♥ Chapter 7
  • ♥ Gallery
    • ♥ Crafts
    • ♥ Drawings
    • ♥ Poseable Art Dolls
  • ♥ Links
  • ♥ Contact
    • Privacy Policy

pink

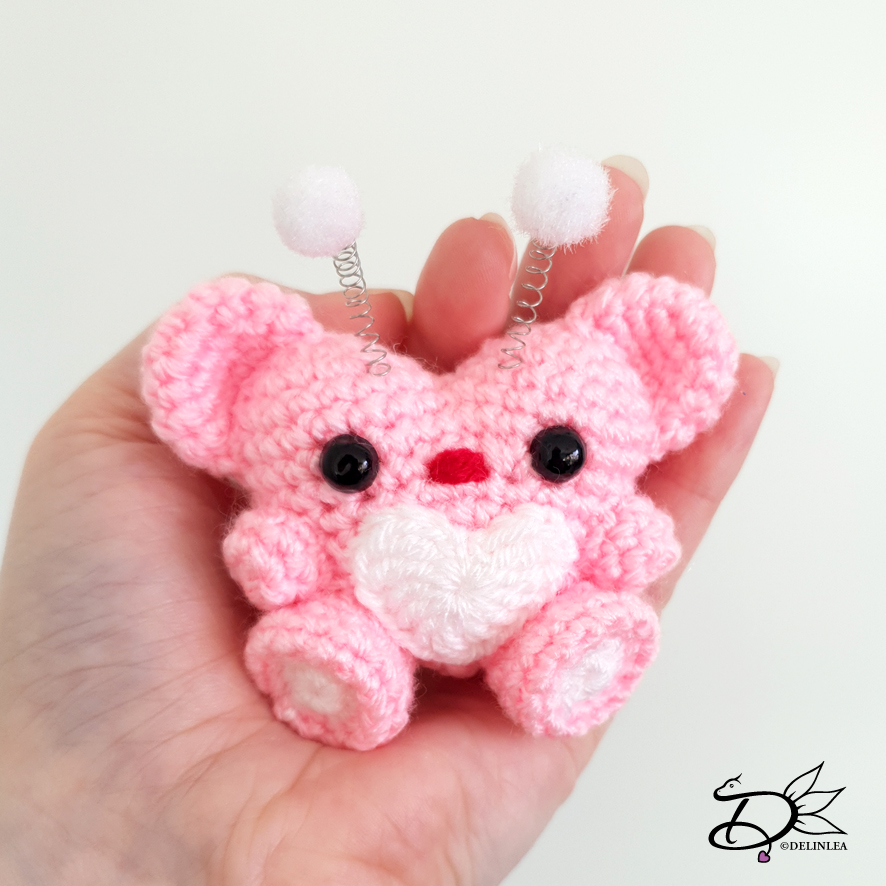
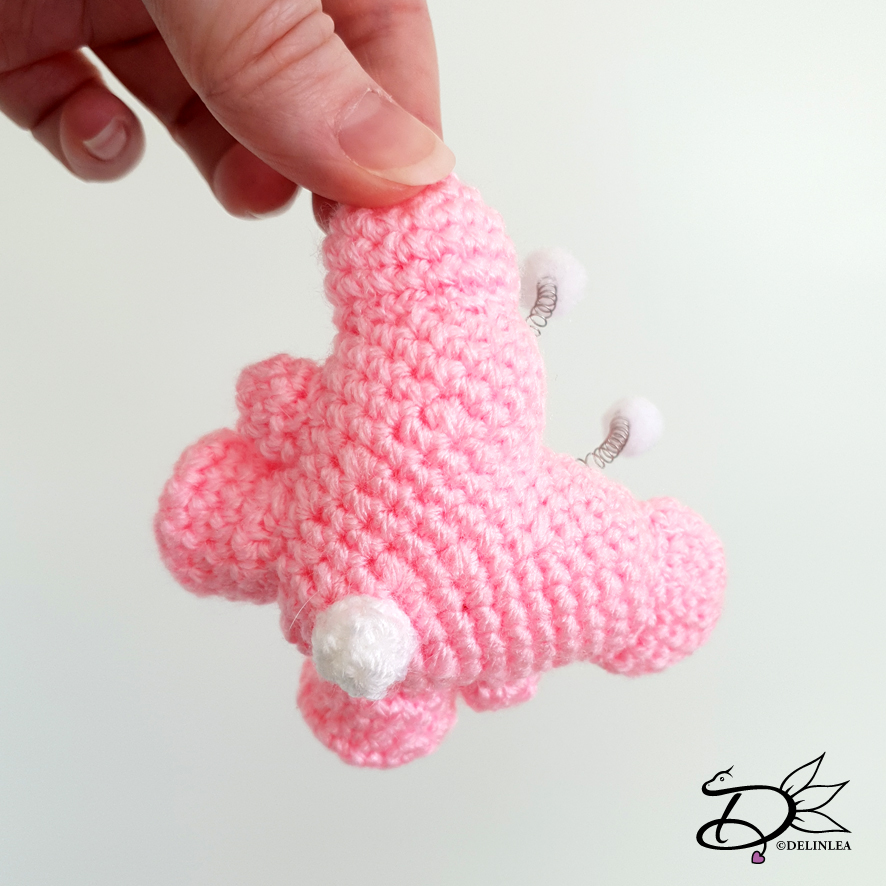
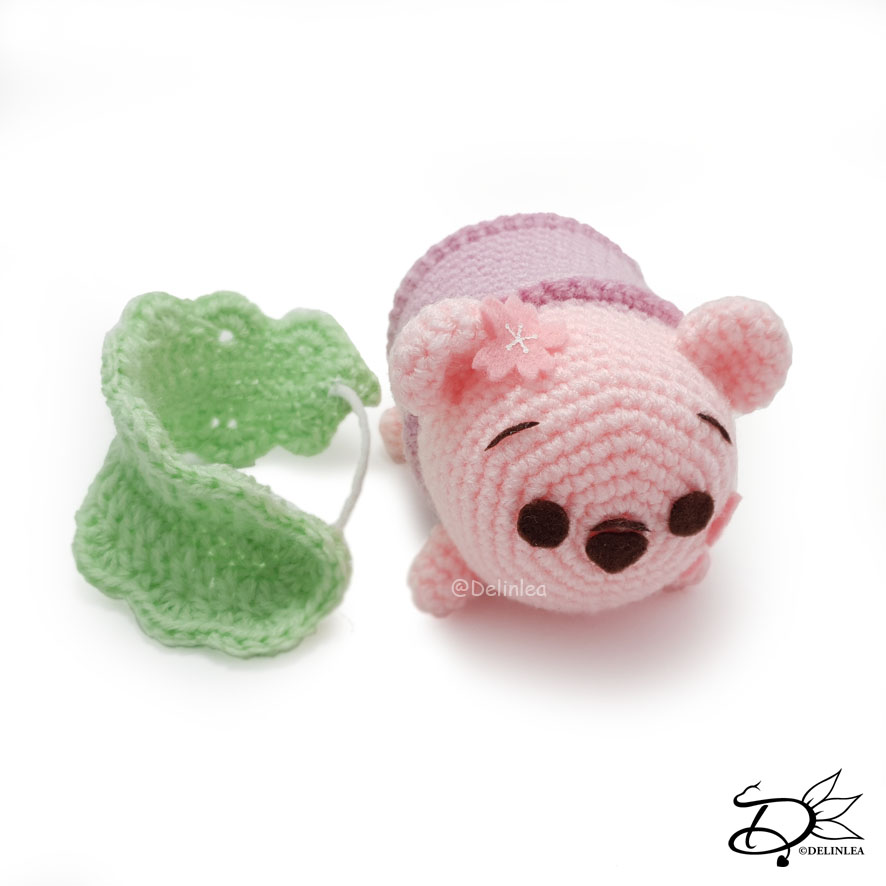
♥ Sakura Mochi Tsum Tsum Amigurumi

8 april 2021 by Delinlea Leave a Comment

Hey Lovelies! Spring has arrived, but the weather here acts like it is Winter. We sorta had a white Easter instead of a white Christmas haha. Is the weather acting weird, where you live, as well? Let’s try to make this blog a bit more Spring like so we can enjoy it at least inside. With this adorable Sakura Mochi Winnie the Pooh Tsum Tsum. I chose to make this version with my Winnie the Pooh Tsum Tsum pattern that you can find here. The pattern for the leaf will be in this blog.

Sakura Mochi Winnie the Pooh Tsum Tsum made with the amigurumi Technique

For this Pattern you’ll need:
♥ This Winnie the Pooh Tsum Pattern.
♥ Yarn in the color Light Pink, a Darker Pink and a Light Green. (I used Zeeman Supersoft)
♥ Crochet Hook (I used a 2mm hook).
♥ Stitch Marker
♥ Stuffing.
♥ Scissors.
♥ Sewing Pins.
♥ Yarn Needle.
♥ Brown & Pink Felt for the facial details/Sakura.
♥ (Fabric) Glue.
♥ Piece of Elastics. (Optional)

Stitches used (US Terms):
Magic Ring.
CH = Chain.
SLST = Slip Stitch.
SC = Single Crochet.
HDC = Half Double Crochet.
DC = Double Crochet.
Picot = Picot of 3SlSt.
ST = Stitch.
Inc = Increase.
Dec = Decrease.
(…) = Repeat the space in brackets the given number of times.
[…] = Total number of stitches.

Sakura Mochi Winnie the Pooh Tsum Tsum made witht the Amigurumi Technique

Pattern Winnie the Pooh Sakura Mochi Tsum Tsum.

This pattern is made using continues rounds, use a stitch marker to mark the first st of each row. If worked differently, it’s stated with that part.

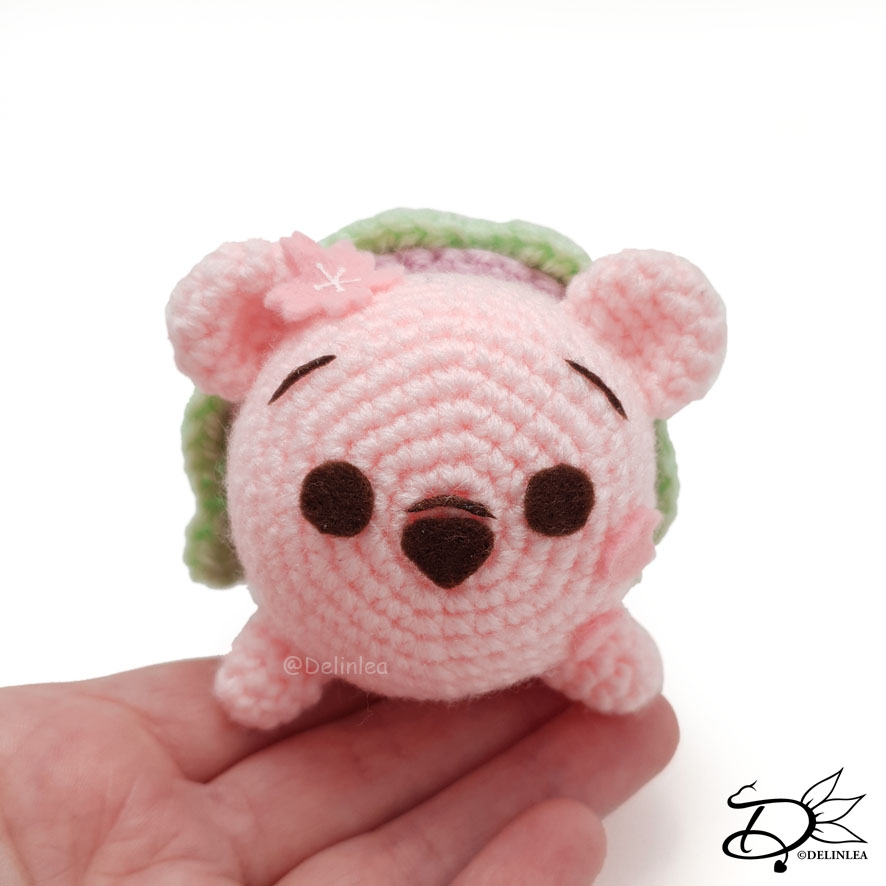
Use this pattern to make Winnie the Pooh. For the Yellow parts you use Light Pink and for the Red part you’ll use Darker Pink. The shawl that’s in the pattern, you’ll leave out. Assemble Pooh as written in that blog.

Next let’s make the leaf.
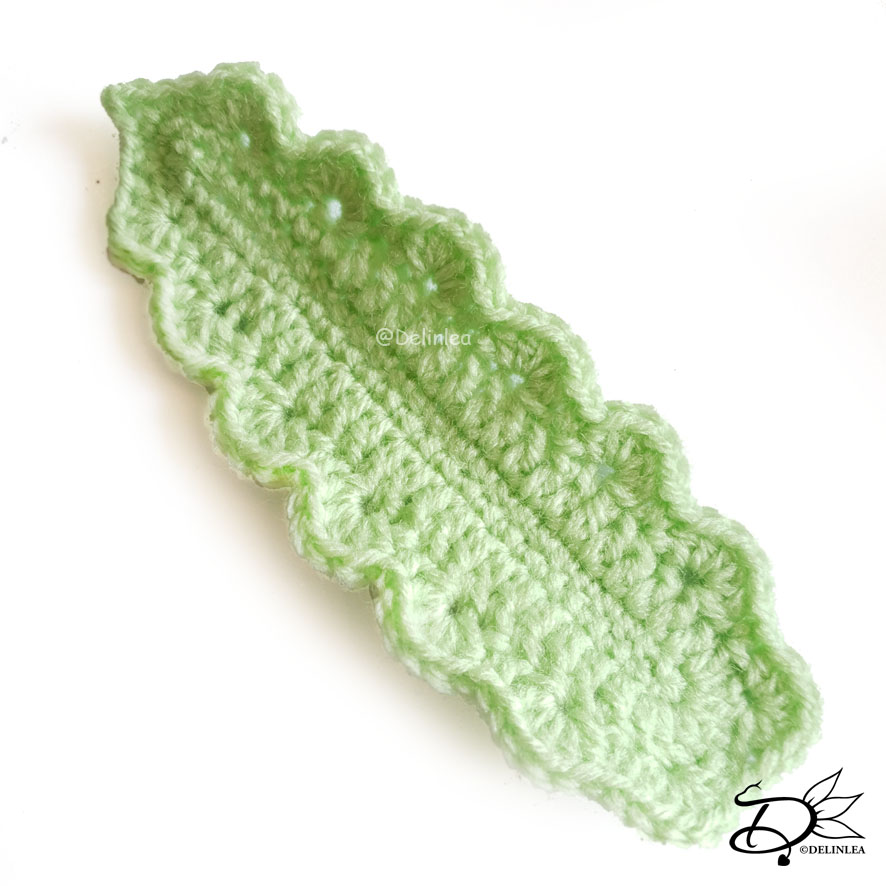
Leaf
Use the color Light Green.

1: Ch26, insert in second ch from hook, 24SC, 3SC in the next st, continue along the other side of the chain, 23SC, inc. [52]
2:5SC,2HDC, 17DC, 2DC in the next st, 3DC in the next st, 2DC in the next st, 17DC, 2HDC, 5SC, inc. [57]
3: (1SC, skip 1 st, 5HDC in the next st, skip 1 st) 14 times, 2SC, picot. [87]
Fasten off and leave a long tail.

Assembling

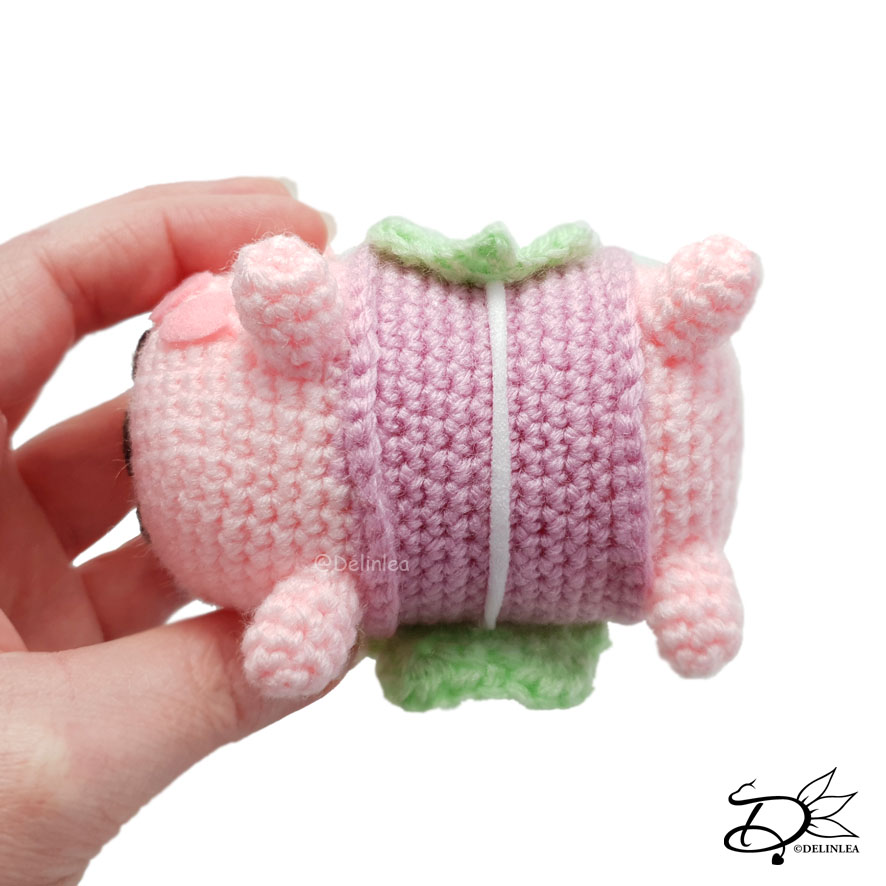
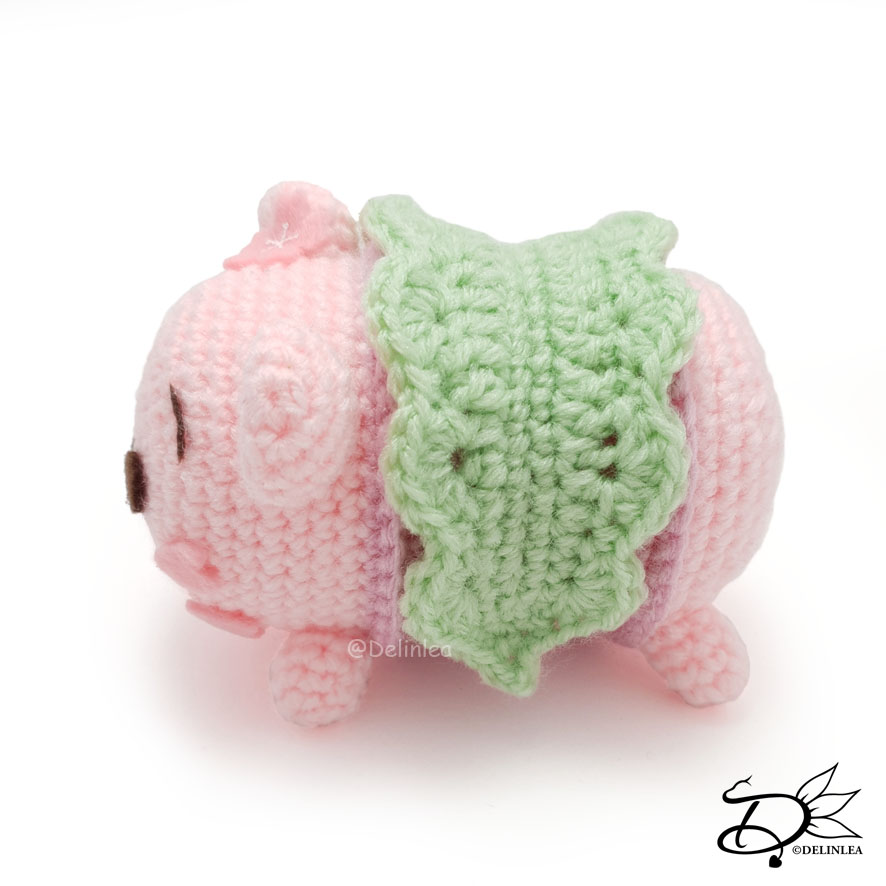
Of course you don’t have to assemble much now, since you already assembled Winnie the Pooh. All you have to do, is to add the leaf around his body. You can sew this on to Winnie the Pooh. Or, if you wanna be able to remove the leaf, use a bit of elastics in between the tip and the end of the leave and sew this on.
Don’t forget to cut some sakura blossom/petals out of felt and glue those on your Tsum. To really give those spring vibes.

Your Sakura Mochi tsum is done! Ofcourse you can do the same with other Tsum patterns, just switch out all the color to different shades of pink. It would look really fun to have multiple together. If you made some yourself as well, make sure to show me on Twitter or Instagram with #DelinleaDIY, I’d love to see what you made with my pattern!

I hope you had fun and I wish you a wonderful day!

Love
Danielle

PS. if you love those Tsum Tsum patterns, maybe you’d like to support me on Ko-Fi?! So I can keep making content like this!

// ©2021 Delinlea / Danielle Kaal // Items made with this pattern may be sold in a limited number. Credit to ‘Delinlea’ is appreciated. Not allowed for mass production or commercial purposes. You may not reproduce, translate, share, freely distribute or sell this pattern as your own in digital or printed from.

Posted in: Crafting, Crochet, Tsum Tsum Tagged: Amigurumi, Crochet, cute, Disney, Free Pattern, haken, kawaii, mochi, pink, Sakura, spring, Tsum Tsum, Winnie the pooh

♥ Free Pattern; Hearty

6 februari 2020 by Delinlea Leave a Comment

Hey Lovelies! Are you ready for today’s blog? I hope you are. Soon it will be Valentine’s day, so to stay in the love thoughts I made something with a heart, used as a body for today’s amigurumi! You can make this for your lover.. or.. maybe even better something just for yourself. It’s very important to love yourself! Hearty will love you for sure. Let’s go to the pattern.

Hearty

For this Pattern you’ll need:
♥ DK Yarn in the colors; Pink and White. (I used Stylecraft Special)
♥ Some extra Red yarn for the Nose.
♥ Crochet Hook (I used a 2,5mm hook).
♥ Stuffing.
♥ Scissors.
♥ Sewing Pins.
♥ Yarn Needle.
♥ Wire, 0,3mm, about 10cm.
♥ 2 White Mini Pompom’s, 1cm in diameter, bought or made by yourself.
♥ Glue.
♥ Safety Eyes, 7mm.

Stitches used (US Terms):
Magic Ring.
CH = Chain.
SLST = Slip Stitch.
SC = Single Crochet.
DC = Double Crochet.
TR = Treble Crochet.
ST = Stitch.
BL = Back Loops.
FL = Front Loops.
Inc = Increase.
Dec = Decrease.
(…) = Repeat the space in brackets the given number of times.
[…] = Total number of stitches.

Pattern Hearty

For this pattern you will work in continues rounds, unless stated otherwise.

Body
Use the Pink yarn.

1: 6SC in Magic Ring. [6]
2: 2SC in each st around. [12]
3: (1SC, inc) 6 times. [18]
4: 18SC. [18]
Cut the yarn and make row 1-4 a second time without cutting the yarn.
5: 9SC, attach the other part you made earlier, 18SC, continue working on the first part, 9SC. [36]
6: 36SC. [36]
The eyes go between those 2 rows, about 3cm apart.
7: (4SC, dec) 6 times. [30]
8: 30SC. [30]
9: 30SC. [30]
10: (3SC, dec) 6 times. [24]
11: 24SC. [24]
12: (2SC, dec) 6 times. [18]
13: 18SC. [18]
14: (1SC, dec) 6 times. [12]
15: 12SC. [12] Stuff.
16: Dec all around.[6]
Fasten off and weave in tail.

Belly
Use the White yarn.

In a Magic Ring, Ch3, 2TR, 3DC, Ch1, 1TR, Ch1, 3DC, 2TR, Ch3, SlSt in the base of the Magic Ring and pull tight. Leave a long tail for sewing.

Arms (Make 2)
Use the Pink yarn.

1: 6SC in Magic Ring. [6]
2: (1SC, inc) 3 times. [9]
3: 9SC. [9]
Fasten off and leave a long tail for sewing.

Feet (Make 2)
Start with the White yarn.

1: 6SC in Magic Ring. [6]
2: 2SC in each st around. [12]
Change to the Pink yarn.
3: FL, 12SC. [12]
4: 12SC. [12]
5: 12SC. [12]
6: Work this row just as you would normal, but also work in the BL of row 3 at the same time. This way you will create some definition in the feet. It can be a bit fiddly, but it’s doable. 12SC. [12]
7: 12SC. [12]
8: 6SC. [6]
Fasten off and leave a long tail for sewing. Stuff as well.

Tail
Use the White yarn.

1: 6SC in Magic Ring. [6]
2: 6SC. [6]
Fasten off and leave a long tail for sewing.

Ears (Make 2)
Use the Pink yarn.

1: 6SC in Magic Ring. [6]
2: 2SC in each st around. [12]
3: (3SC, inc) 3 times. [15]
4: 15SC. [15]
5: 15SC. [15]
Fasten off and leave a long tail for sewing.

Assembling

I always use sewing pins to position all of the parts first. This way I can easily move things around until I am happy with how it looks. I suggest you do the same.

Under the eyes, position the Heart Belly first and sew it on. From there position the feet the way you want them and sew those on too. Now you know where the arms go and the tail as well, sew those on. Last but not least sew on the ears, I place them from the first row of the body down.
From the wire, twist it around something round, like your crochet hook, but make sure your are able to get it off. Twist the whole length of the wire, closely beside each other. Take it off and cut in half. Stretch it to the length you want and glue one side to the pompom and one side to the head of the body.
With the bit of Red yarn, stitch on the nose as a finishing touch of Hearty!

Congratz! You finished Hearty!! xD I hope you enjoyed this pattern, if you did, please show me on socials! I would love to see!

Have a wonderful day!

Love
Danielle

Posted in: Crafting, Crochet Tagged: Amigurumi, bear, Crochet, cute, Free Pattern, haken, hearty, kawaii, pink, Valentine

What are you looking for?!

My Socials

Ko-Fi

I love making all these free things for you, tho it would be very helpfull if you can support me on Ko-Fi! (You don’t have to tho, totally up to you!)

Ko-Fi Shop!!

In my Ko-Fi shop you can find PDF Amigurumi Patterns!! You can pay easily with PayPal.
Go to the shop here!!

Recent Blog Posts

  • ♥ Happy 2022!
  • ♥ Day 12; Lights
  • ♥ Day 11; Flower Deco
  • ♥ Day 10; Snowman
  • ♥ Day 9; Gingerbread Houses

Recent Comments

  • Delinlea op ♥ Pietje Gnome Amigurumi
  • Delinlea op ♥ Toy Story Alien TsumTsum Amigurumi
  • Delinlea op ♥ Pua Tsum Tsum Amigurumi
  • Charli op ♥ Free Pattern; CNY Mouse Amigurumi
  • Peter Pesch op ♥ Pietje Gnome Amigurumi

Categories

  • animation
  • Beadwork
  • Blogmas 2018
  • Blogmas 2020
  • Blogmas 2021
  • Books
  • Bujo
  • Christmas
  • Christmas CAL 2019
  • Christmas Countdown 2017
  • Contest
  • Crafting
  • Crochet
  • Drawing
  • Drawing Lesson
  • Easter
  • Geen categorie
  • Life
  • Miniature
  • Nail Art
  • New Year
  • Paper
  • plush
  • Pokemon
  • Poseable Art Doll
  • Recipe
  • Sewing
  • Shop Pattern
  • Sinterklaas
  • Social Media
  • Tsum Tsum
  • Ufufy

Copyright © 2025 Delinlea - My little fantasy world.

Family WordPress Theme by themehall.com