Hey lovelies!
It’s still snowing outside! OMG I just wanna be outside haha. Snow is just the best thing in the world.
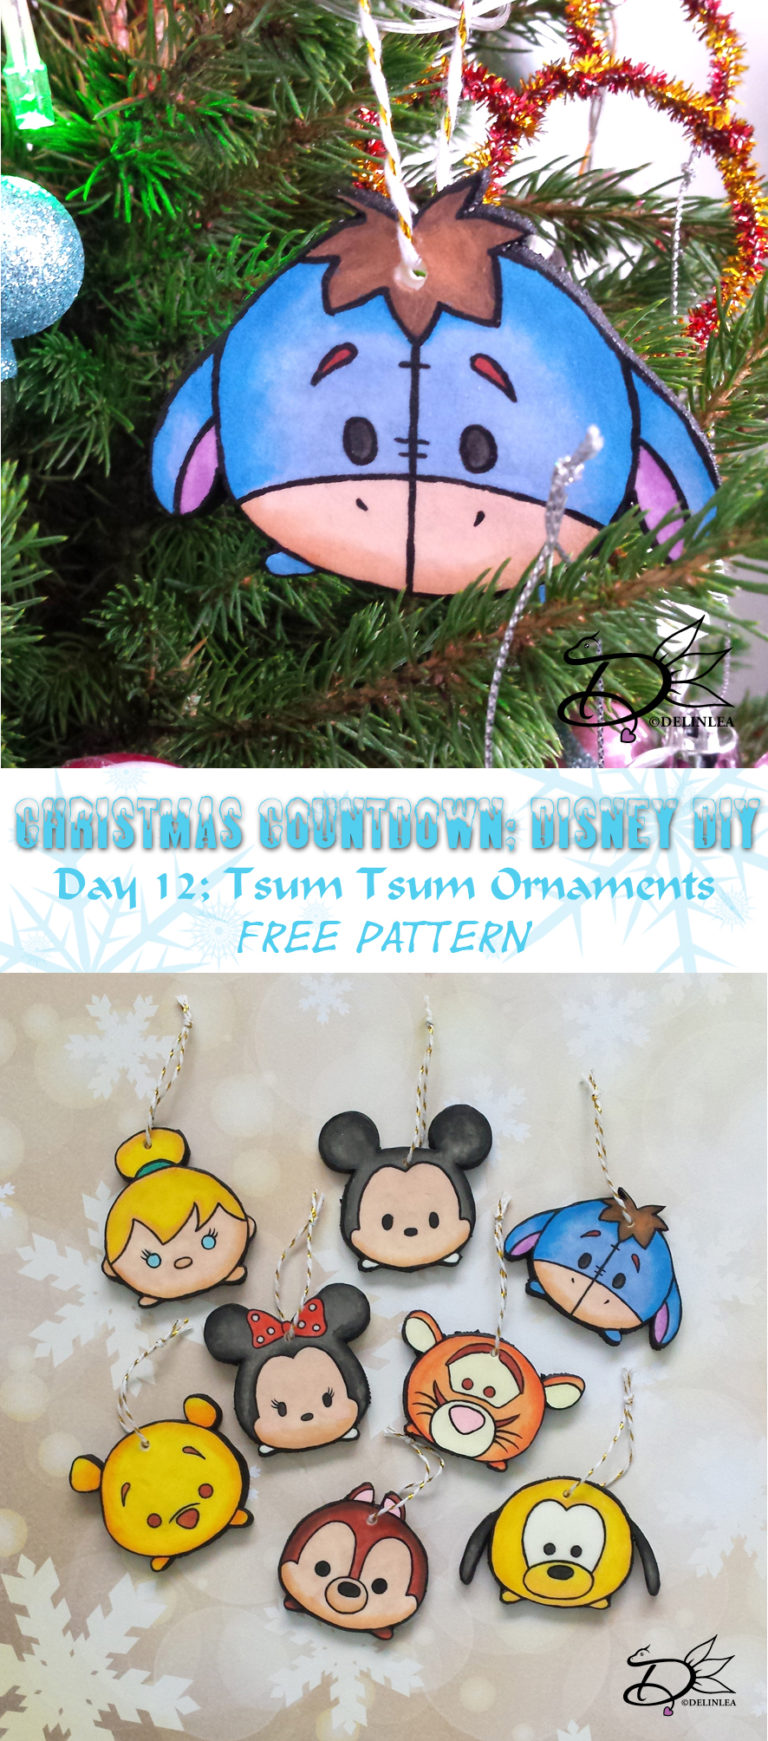
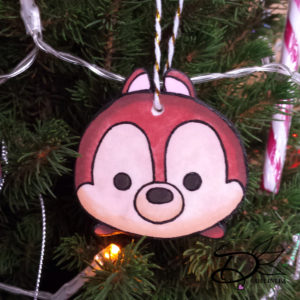
Anyway I made you a Tsum Tsum clay ornament tutorial with a homemade clay recipe, with just 2 ingredients. I love how quick you can make this clay and you can either choose to let it air dry or bake it in the oven. Let’s dive into the tutorial!
For the clay you’ll need:
♥ 1/2 Cup Cornstarch.
♥ 1 Cup Baking Soda.
♥ 3/4 Cup Water.
♥ A Pan.
Further you’ll need:
♥ A pencil.
♥ Paper.
♥ Rolling pin.
♥ X-acto knive.
♥ Straw.
♥ Watercolors.
♥ Black Acrylic
♥ Bakers twine or any other thread.
♥ Brushes.
♥ Baking tray. (optional)
♥ Parchment paper. (optional)
♥ How to make the Clay
For the clay, mix all the ingredients together in a pan. Now cook the mixture over medium heat until it starts to thicken. When it does, remove it from the heat, put it in a bowl and cover it with a damp towel until it’s cool enough to handle. Knead the clay well to be sure you have no lumps or bubbles. Now the clay is ready to use! ^-^
♥ Ornaments
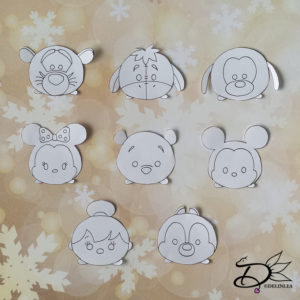
Let’s start making the ornaments! Draw out some line art Tsum Tsum’s on paper, you can use google for some reference, that’s what I did. When you are happy with how they look, cut them out, and put them aside for now. (you can also print out some line arts from google if you feel to lazy to draw them xD).
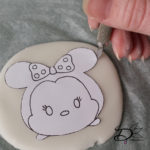
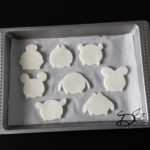
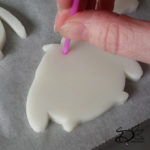
Next, roll out the clay on a flat survice with a rolling pin, until it’s about 0,5 cm thick. Don’t roll it out to thin, otherwise the ornaments won’t dry flat. Put the paper Tsum Tsum you just drew on top of it and go along the edges with a x-acto knive. Make as many as you want and put them on a baking tray with some parchment paper. Make some holes with a straw for hanging. Now you can either choose to let the ornaments air dry in a warm place for at least 24 hours. Or you can choose to bake them in the oven, what I did. If so, place them in the middle of the oven and bake them on 80°C for about an hour. When they are 30 min in, make sure to flip them over. And when ready let them completly cool down. They can still be a bit wet, but that will dry over time, don’t worry.
♥ Coloring
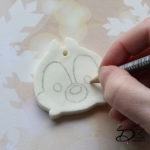
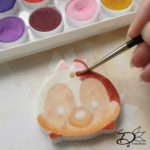
Now take your dry, white clay ornaments and draw on your Tsum Tsum face with a pencil. (You can use those drawings you made in the beginning, as reference.) Now you are ready to start coloring them, it’s very easy to use watercolors for this, but don’t use too much water. Well, you will know what’s too much and too little haha. Just have fun and make them as fancy as you want. I just realized you can also put some glitters on there, specially for Christmas!
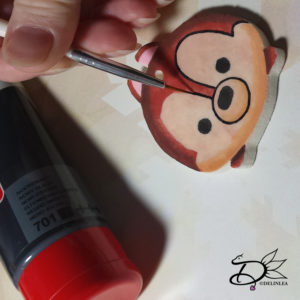
To make them more neath, take a thin brush or liner brush to make lines with black Acrylic. you can also cover the sides with black acrylics if you like.
Now take about 15cm of bakers twine and put it through the little hole you made before letting them dry. And now hang them wherever you want! I love how mine turned out, they look so cute in the Christmas tree. I guess I will make some more after this countdown. Haha not much time to make more now xD.
I hope you will like this tutorial, and that you will make many! How cute would they be as a gift for someone! Have a nice day lovelies, and don’t forget to share them with #DelinleaDIY.
Love
Danielle

