Hey Lovelies!
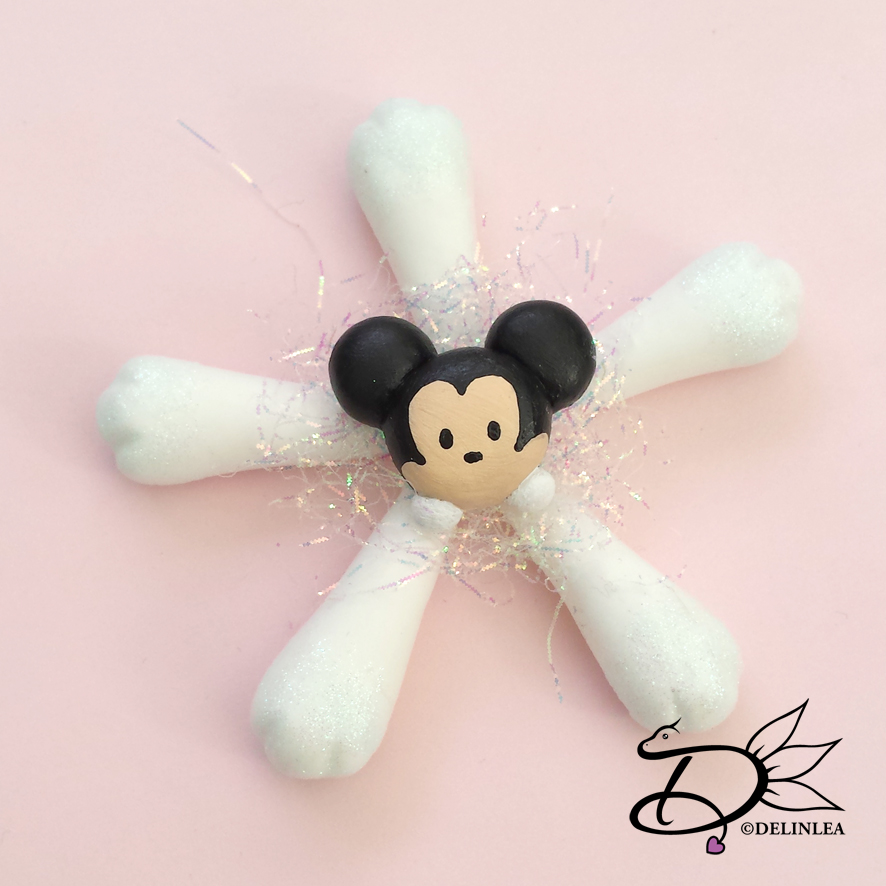
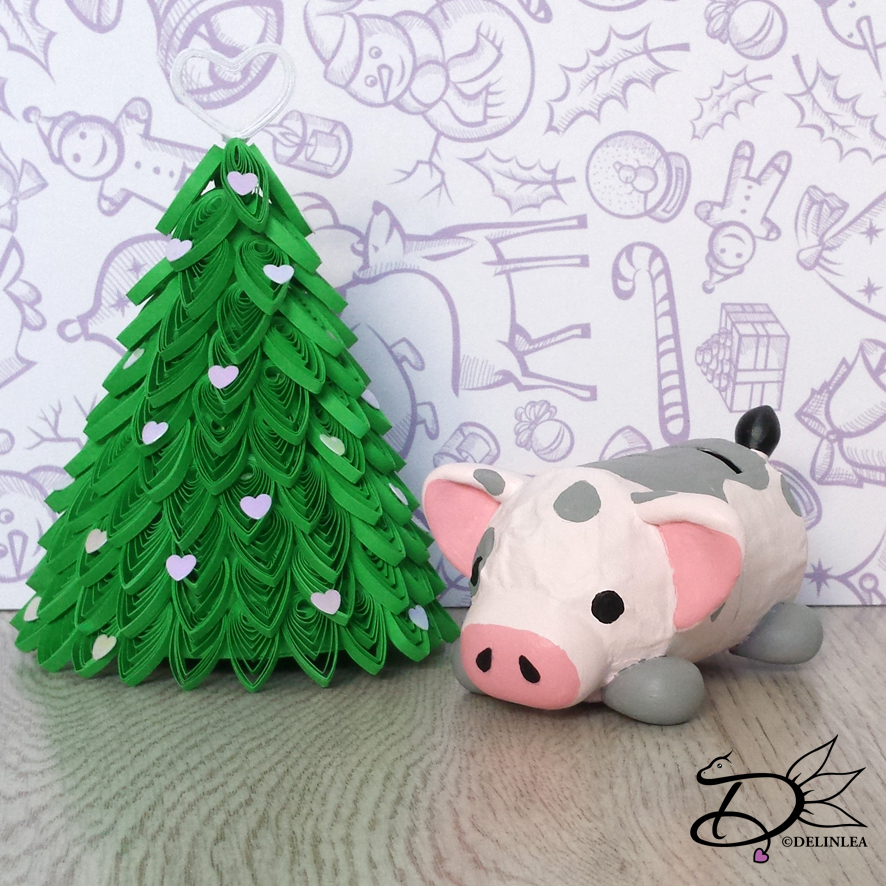
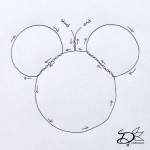
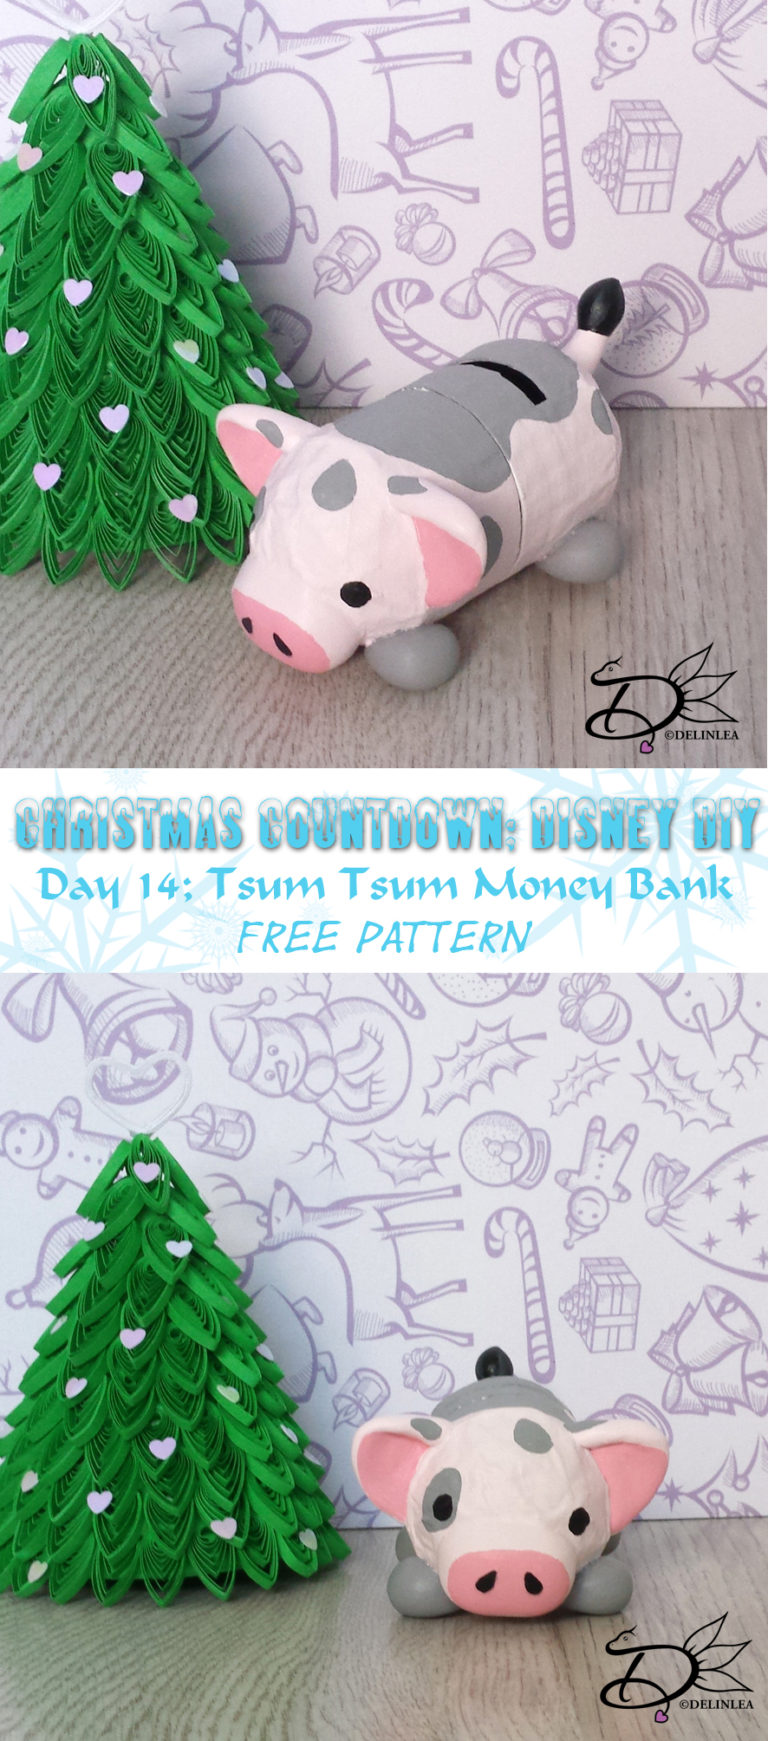
A new day a new DIY, are you ready?! Today we will make a Tsum Tsum Money Bank! Even tho it’s not really Christmassy, I thought it would be a cute gift. OR as a new years resolution, to safe money? haha. Use it however you want, it’s cute anyways. Hope you have fun making this one! Oh! And you can ofcourse choose yourself which tsum tsum you wanna make, I chose to make Pua of Moana. ^-^
For this DIY you’ll need:
♥ Toilet roll tube.
♥ 2 Waterballoons.
♥ Glue.
♥ Acrylic Paint.
♥ Gesso or White Piant.
♥ Black Cardboard.
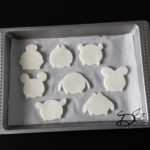
♥ Air Dry Clay.
♥ Varnish.
♥ Newspaper.
♥ Pencil.
♥ Ruler.
♥ X-acto knive.
♥ Brush.
♥ How to start.
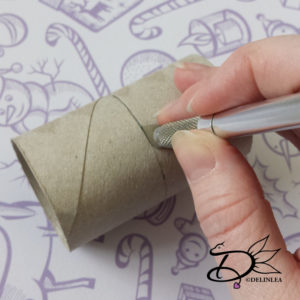
Take the toilet roll tube and measure with a ruler about 5,5cm in length. You can ofcourse make it longer or shorter, just how you want your Tsum Tsum to look like. Now cut it down to the disired length with a X-acto knive. Be careful, don’t cut yourself. (I made made mine 7,5 cm at first so my pics are looking different at the beginning.)
When you have done that, devide the roll in 2 even parts, this is the place where your moneybank will open and close.
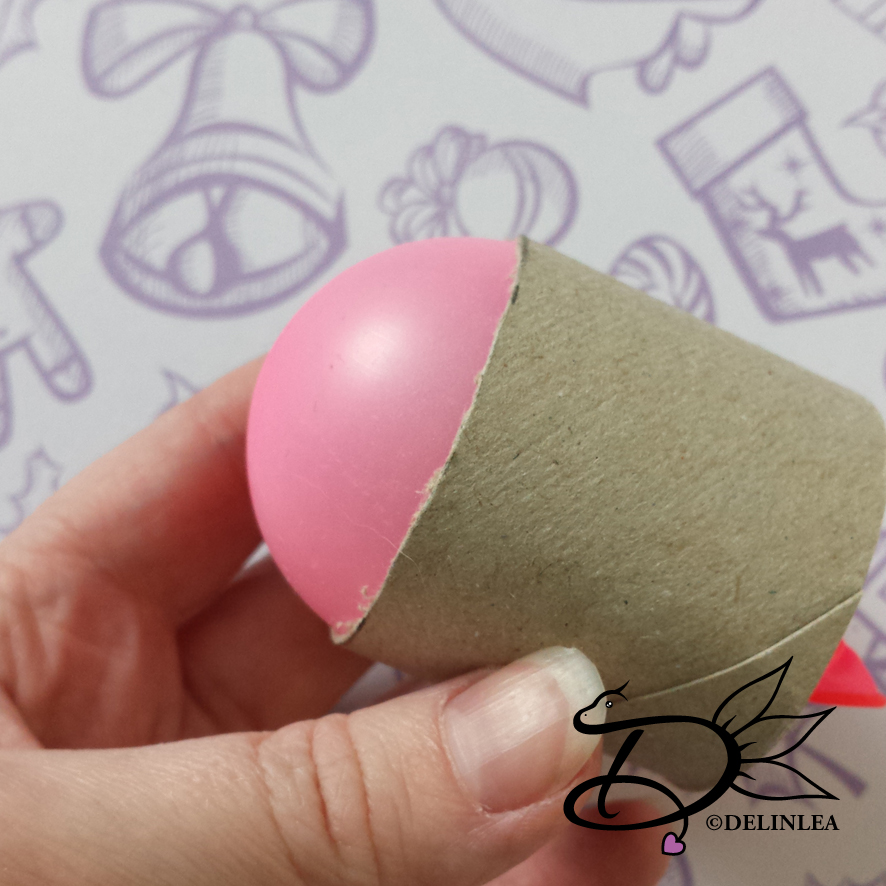
Take your waterballoons and blow them up, don’t make them too big cause they need to fit in the toilet roll tube, but make them big enough that it’s sticking out a bit on both sides. This way the balloon will stay in place without any tape. One of these sides, the one without the knot, will be the rounded shape of your tsum tsum.

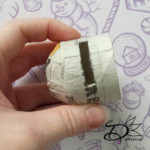
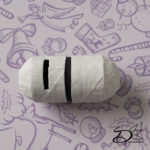
Now on to the paper maché part, get the glue ready and make small strokes of the newspaper. Glue the strokes on to both parts of the body. Don’t cover the part where the balloon has the knot. That’s the part where the body connects again to make a full tsum tsum. Make about 4/5 layers so it’s strong enough when you remove the balloons after drying. When you are ready let the parts dry over night.

♥ The next day.
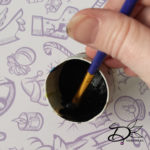
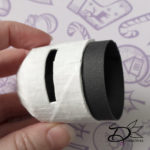
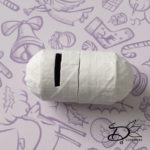
Remove the balloons when the are completly dry! Now it’s time to make the opening to put the coins in. I took one part of the body and measured it about 1cm from the edge, then made it about 0,5cm wide and 3cm in length. You can make it bigger or smaller, depending on the coins in your country. Use an X-acto knive to carefully cut the opening. When you have done that, paint the inside black and the outside white with gesso or acrylic paint.
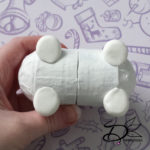
Make from black cardboard a stroke of 1,5cm by 14cm and draw a line in length at 0,5cm from the edge. Glue this in the the part of the body where you made the opening for the coins in. Glue only the 0,5cm part in length. Now you can put the body together.
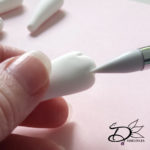
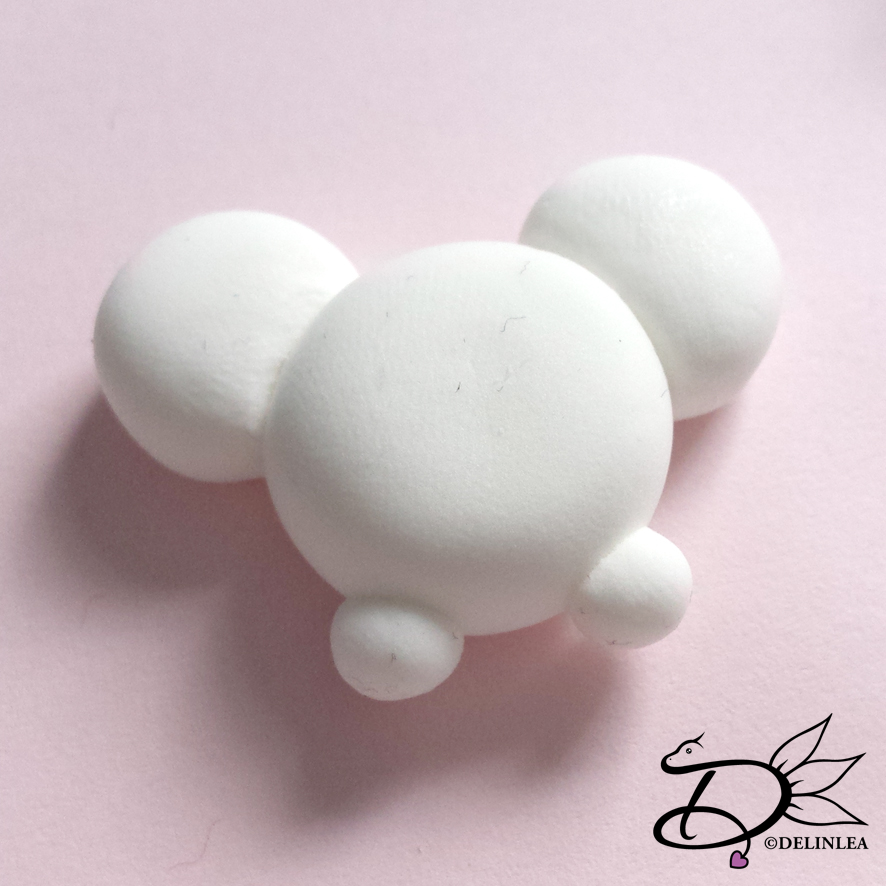
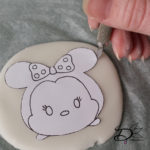
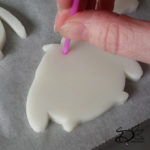
Make 4 balls out of clay for the legs. And make all other body parts of clay if needed, depends on which tsum tsum you chose. Glue the clay parts to the body and let them dry.
♥ Painting.
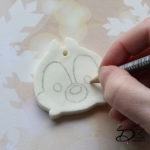
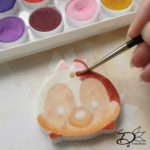
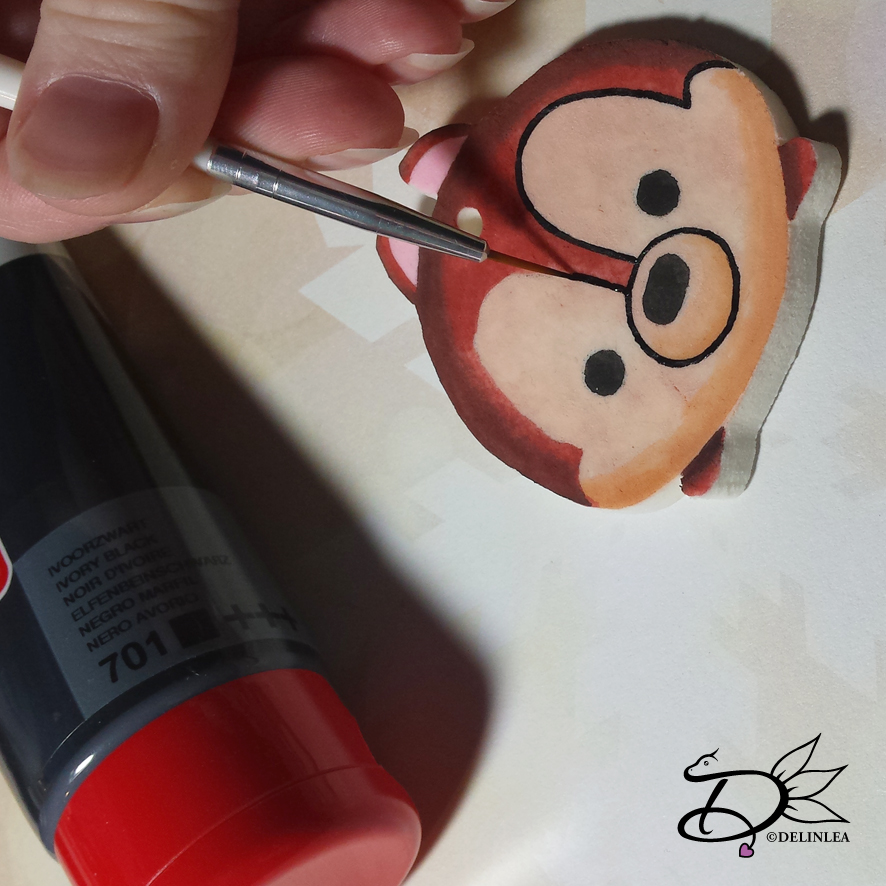
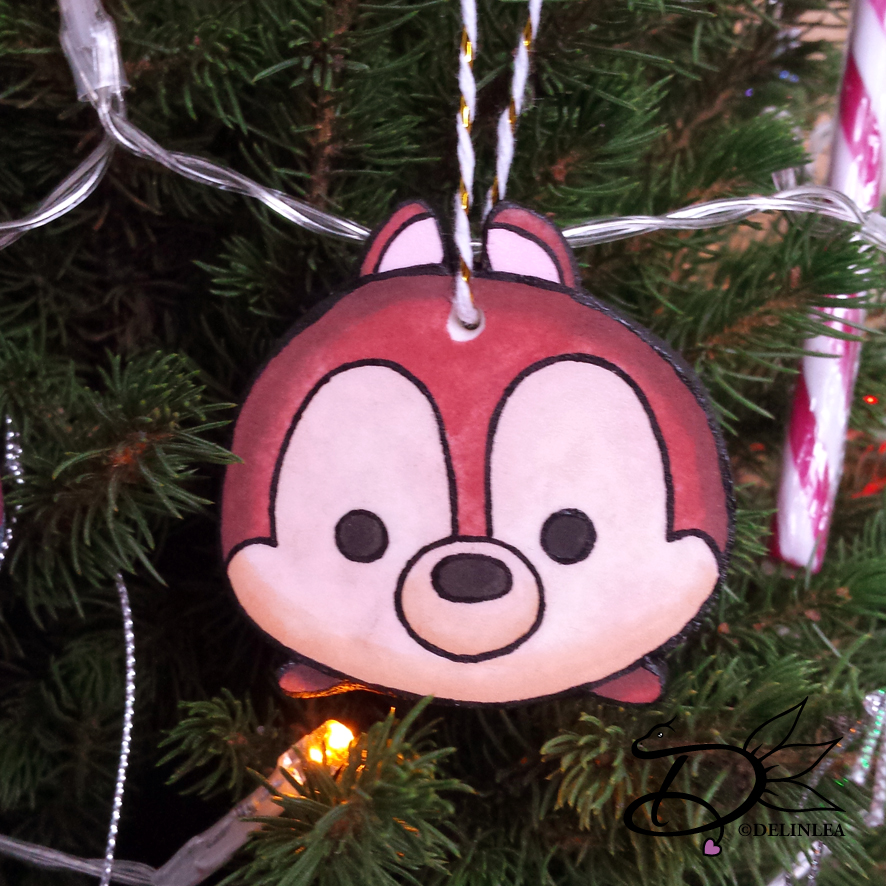
Now on to the last part of making the tsum tsum money bank! Let’s paint! Use acrylic paint in the colors you need. If you find it hard to paint the design straight on, draw it on with a pencil first. This way it gets less frustrating. If you want you can also varnish the whole thing when you are done painting. This will protect your tsum.

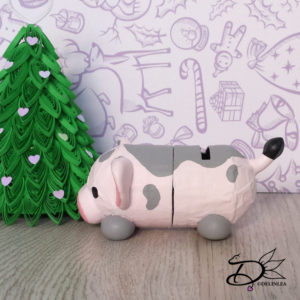
And I guess we are ready! I hope your Tsum Tsum money bank turned out cute! Let’s hope they safe a lot money for us haha (will they be magical?!) Don’t forget to show yours with the #DelinleaDIY I would love to see yours.
Have a lovely day all!
Love
Danielle